Whether you’re trying to prevent mix ups from lookalike items at work, on sports teams, or family members, there are just certain things that are flat out difficult to personalize.
For example, my mother in law gifted my boys duffle bags for soccer. Having triplicates of the same nylon bag is great for making sure that no one got a “better” bag. But without some identifier, it makes it difficult for the kiddos to figure out whose bag belongs to whom.

In this same situation, growing up my mom took a sharpie and wrote our names on the straps of our bags.
Fortunately there’s a way of personalizing without going full on retro.
Most people shy away from using iron on (or HTV) decals because the nylon bags melt so easy.
The simple tips with these kinds of bags are that you want to minimize the exposure of high heat that you can.
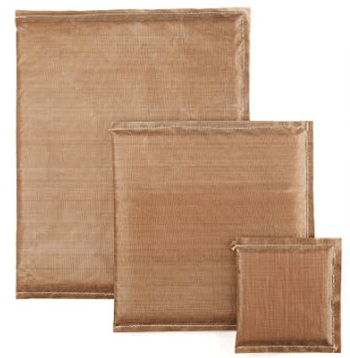
One you have selected your decal or made your own with your favorite sports font (and cut your HTV with your cutting machine), you want to grab a couple extra items. You want a pressing pillow or a folded up towel that you can place inside your bag and prevent an accidental melting of the two sides of your bag together.
Note: a pressing pillow is going to be a better option because it’s a smooth surface. Even when the nylon starts to get warm from the pressing, it’s a smooth surface that will keep your bag’s fabric smooth where you press. With a towel, especially terry cloth or a towel with some nap to it, the nylon will form against the nap and leave a texture behind when it cools down. So if at all possible, try to keep your barrier something with a smooth surface just to take you that one extra step closer to a perfect final product.
With your barrier inside your bag, you can then place your decal wherever you want on the bag. Just make sure that the pressing pillow or towel is directly under where your decal is going to be placed.
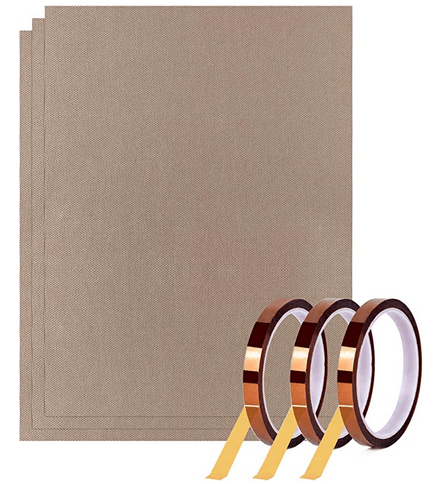
Depending on who you talk to, some crafters are going to tell you it’s okay to use parchment paper or wax paper over your decal. I’m going to steer you away from this advice. The nylon bags melt so easily (especially seeing that your decal is going to need some heat exposure to adhere properly). What is going to eliminate the potential for bag melt is to use a teflon sheet.
Teflon is going to distribute heat better than the other options. The heat bleeds out and so there’s not that clear demarcation that this was where your head source was applied. (This is especially important with an iron or a mini press, where you have a bit more precision with where you are pressing your heat.
Parchment paper will only keep is an okay alternative. I recommend making sure that your press is on a lower temperature, because parchment paper will not prevent discoloration from high heat on a delicate material.
If I can talk you out of one option, it would be the wax paper (or the press and seal that I’ve heard some crafters use as a vinyl carrier). You don’t want the wax (or the press and seal) side to be in contact with your heat source. There will be a residue transfer that is just going to give you some problems you definitely don’t want to deal with. And there are some materials, like nylon, that will absorb in anything that’s an oil based material. It is possible for the wax paper (or press and seal) to leave a halo effect on your nylon where you pressed. And it will be most noticeable if you’re like me and point your iron or press in any and every direction. Instead of having crisp lines, the halo could appear like a faint comic speech balloon.
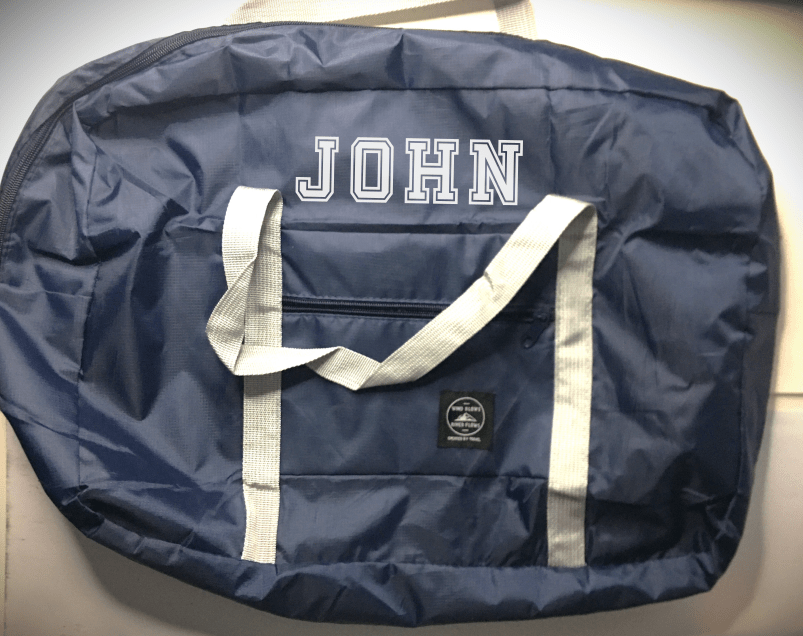
For the bags that I personalized for my boys, I used a teflon pressing pillow and covered the HTV with a teflon sheet.
Even though the job would have been quicker with my heat press, I opted for my mini press. It was easier for when a couple of the corners of a few letters didn’t want to adhere like the rest. I could pinpoint directly to the spot.
Note: Nylon doesn’t require as long of a press as cotton or canvas. So be sure to either drop your temperature a little or cut your pressing time. It’s easier to press a little longer than to scorch the nylon.
What’s great about knowing how to apply decals onto thin nylon bags is that now I know how I want to commemorate my kiddo’s sports teams through the years. I’ve designed some team logos that I will add on from previous sports seasons. And if I can’t come up with a design for some of the crazy young kiddo team names out there (like Tiger Squirrels) I can pick and font and just add the name.
I hope these tips will help take away the fear factor of personalizing items that we tend to stay far away from. By taking proper precautions and knowing how a material will react to something (like heat), you can most certainly make adjustments to make it a usable material for your creativity!
If you haven’t heard or seen Teflon sheets or pressing pillows here are a couple of links to familiarize yourself with the products. These are affiliate links. I may receive a commission for purchases made through these links, but at no extra cost to you.

Leave a comment