There are several reasons why the skill of rebinding a book is useful. So whatever your reason, join me with using a binding machine. (Disclaimer: this is not rebinding as a preservation method. Rather this is rebinding for functionality.)
My reason for rebinding is that I’m a home school mom that looks for schooling on a budget by making all my curriculum last for all my kiddos. I have a few tricks to make this happen, it the one problem we had across the board last year was that our curriculum books would not stay open
One reason why a book does this is because the glue binding is to restrictive for the books to stay open.
As I dismantled the curriculum, I noted this was exactly our problem because the glue wasn’t just on the ends of the pages, keeping it within the paper cover, but also between pages. It wasn’t so noticeable looking at the books but it was glaringly obvious when I took the books apart. Unfortunately you won’t be able to see what I saw because I used a smaller book for my pictures today. But the book I used for today, did have this issue when it came to breaking down the cover. So, we’ll get there in a moment.
From my learning curve of already breaking down three years worth of curriculum books, here’s the easiest way to cleanly break apart your book with minimal page damage.
Things you’ll need
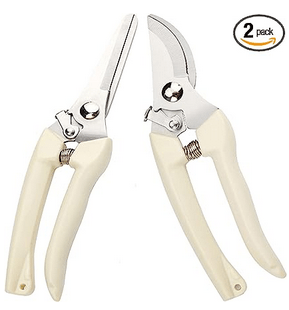
- Book
- Exacto knife
- Ruler (if you need help cutting a straight line)
- Binding machine
- Binding wire
Breaking down the book
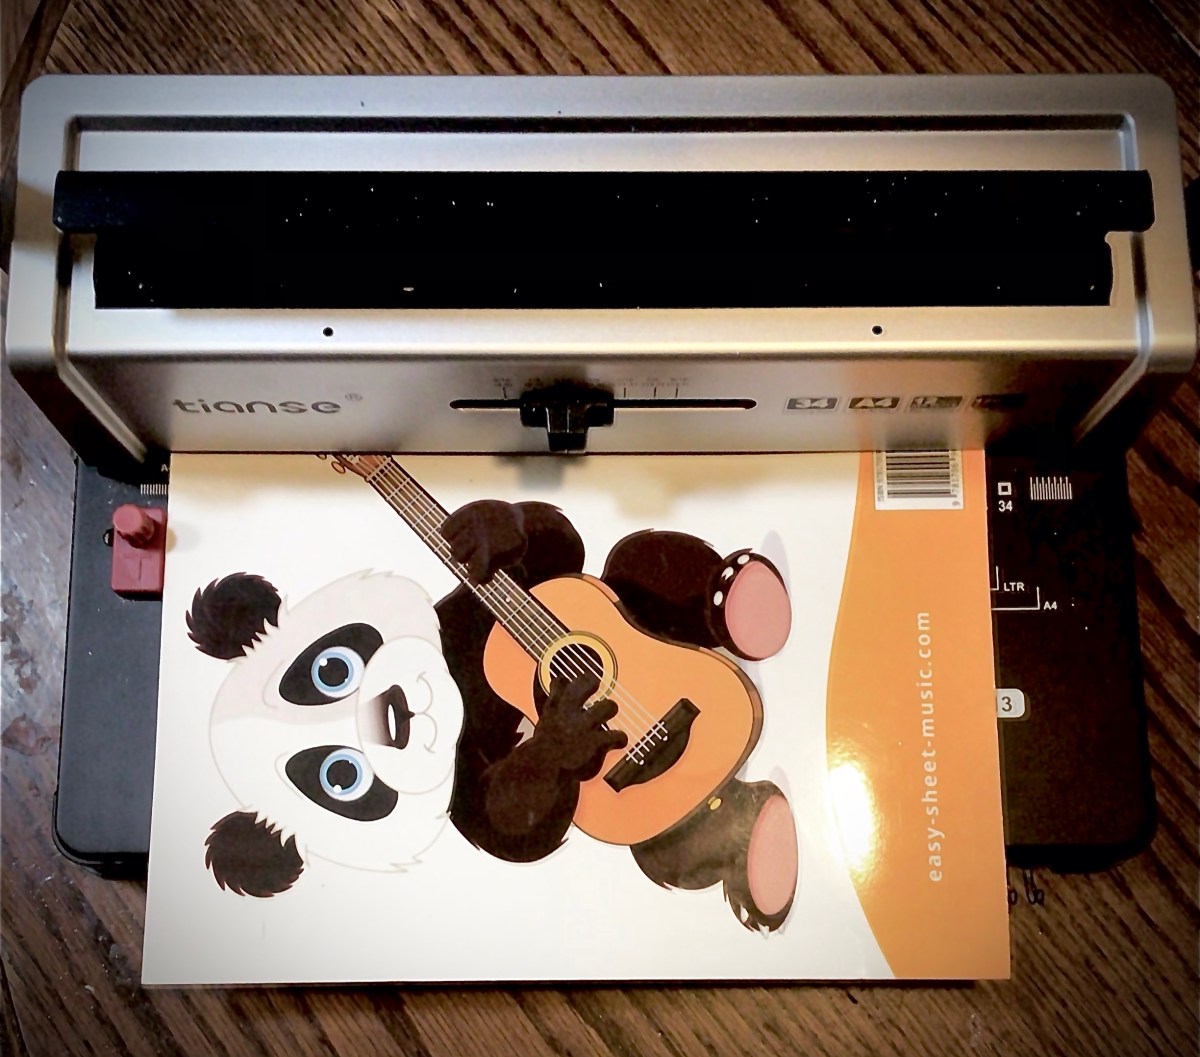
First you want to open up the binding.
I open the book up in the middle and run the exacto knife blade down between the pages, down into the spine. Depending on how much glue was used and how sharp my blade is, I may need to run the blade more than once. When I’ve it through the binding, the book will split open and separate in half.

Going either direction in the book, turn a few pages and repeat this cut and separate. These few pages are now ready to pull out of the book, much like when you pull a few pages off of a pad of paper.
If the pages do not want to come easily out of the book, thin out this grouping by cutting between pages again.

TIP: If you have to pull hard, there’s a great chance your pages are going to rip. It’s much better to cut out pages one at a time than potentially ripping your pages in half.
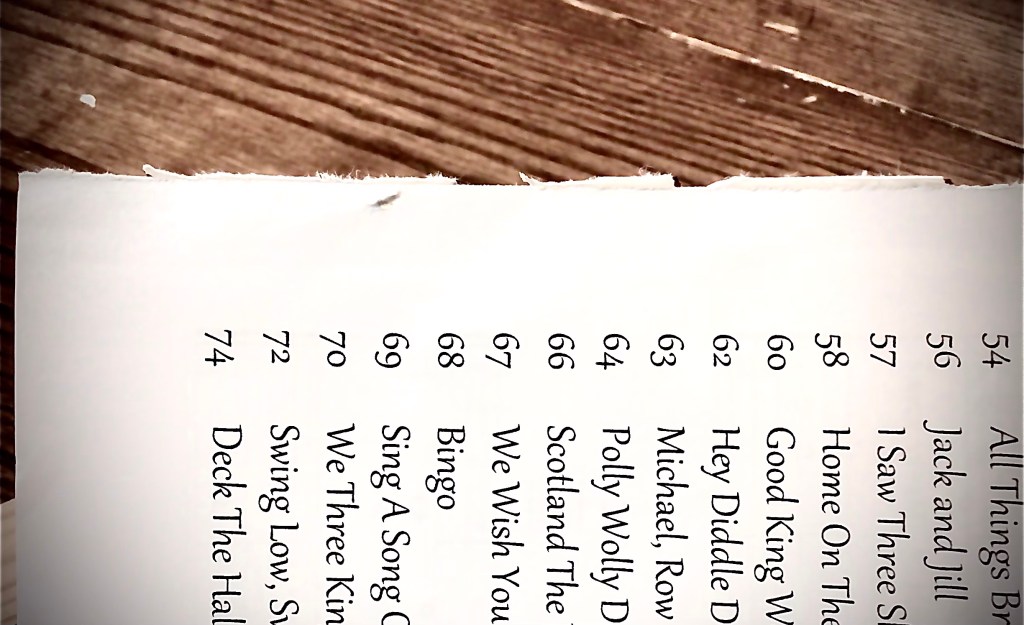
As I go through the book, I set the pages aside so that they stay in order. This is particularly important for books that don’t have page numbers. I dread spending extra time reading pages to make sure I have them in the right order. It hasn’t happened with rebinding books, but I’ve dropped manuscripts in the past and learned the hard way to always number my pages.
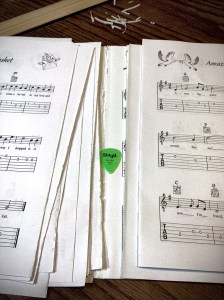
When I separate a group of pages out from the book, I separate them individually and clean off the glue binding still attached to the sheets of paper. If the glue is elastic like rubber cement, it peels off easily. If the glue is brittle, this is another moment of when I potentially get tears in my pages. So if the glue doesn’t want to come off, it may need to be cut off.
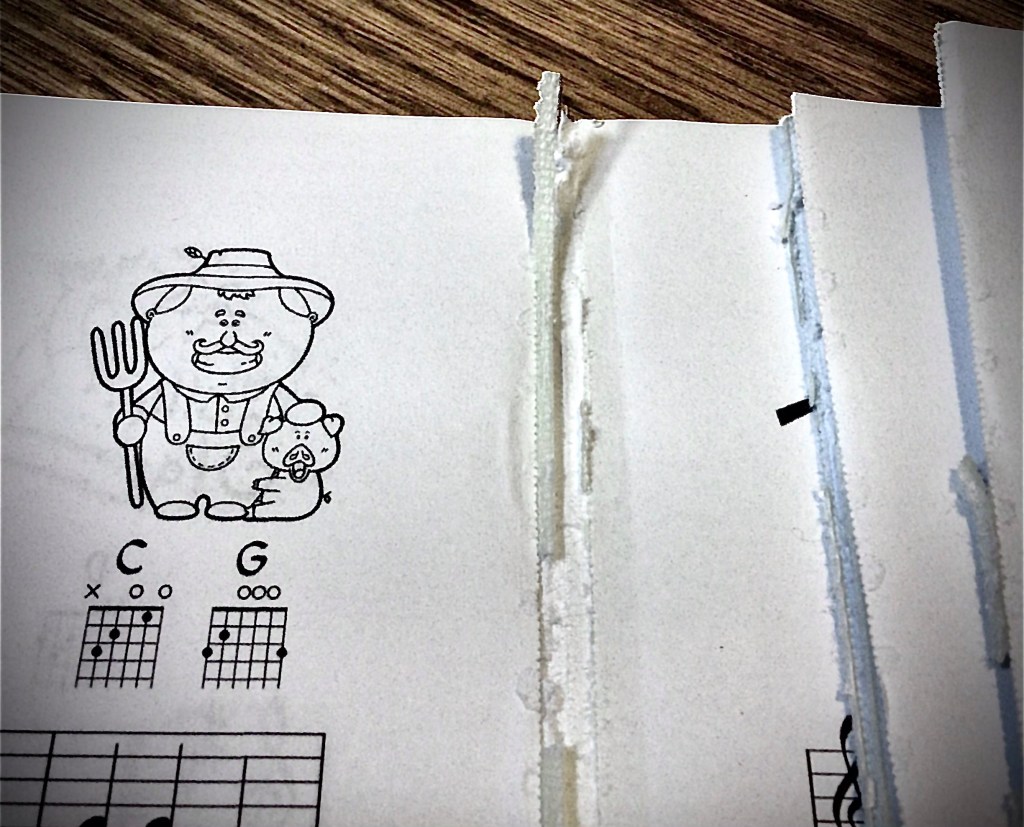
With this book, all the pages separated cleanly, with the exception of the first and last pages, which were glued to the cover. So those pages I left glued to the cover. It’s easier to leave them then to separate them.


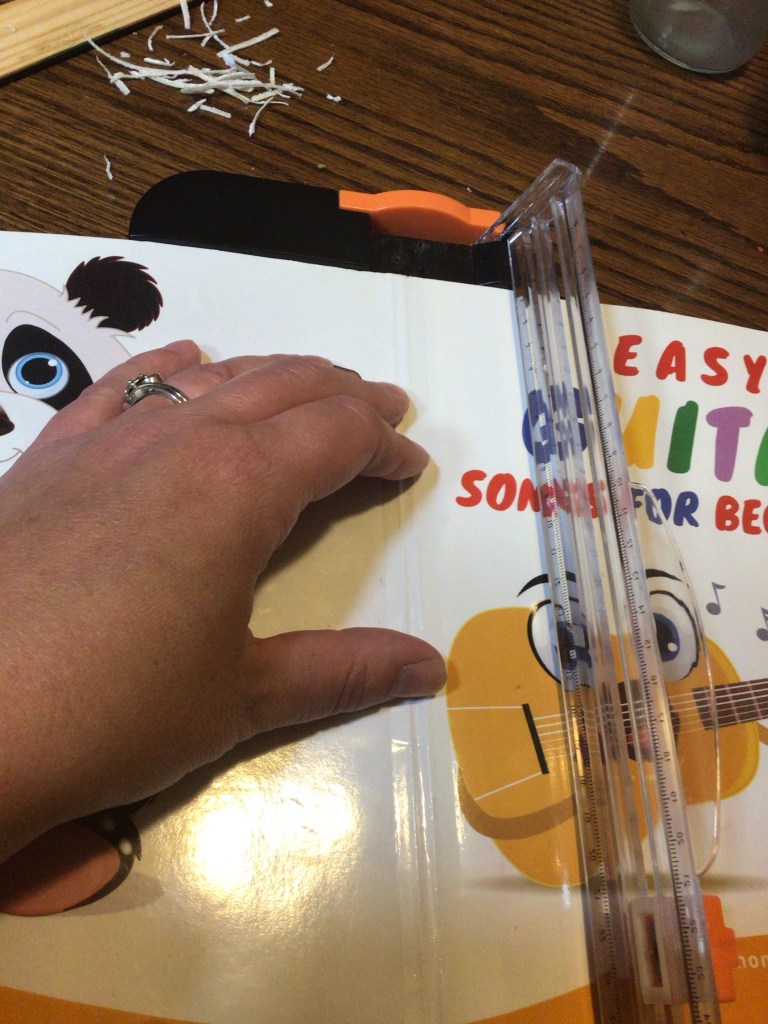
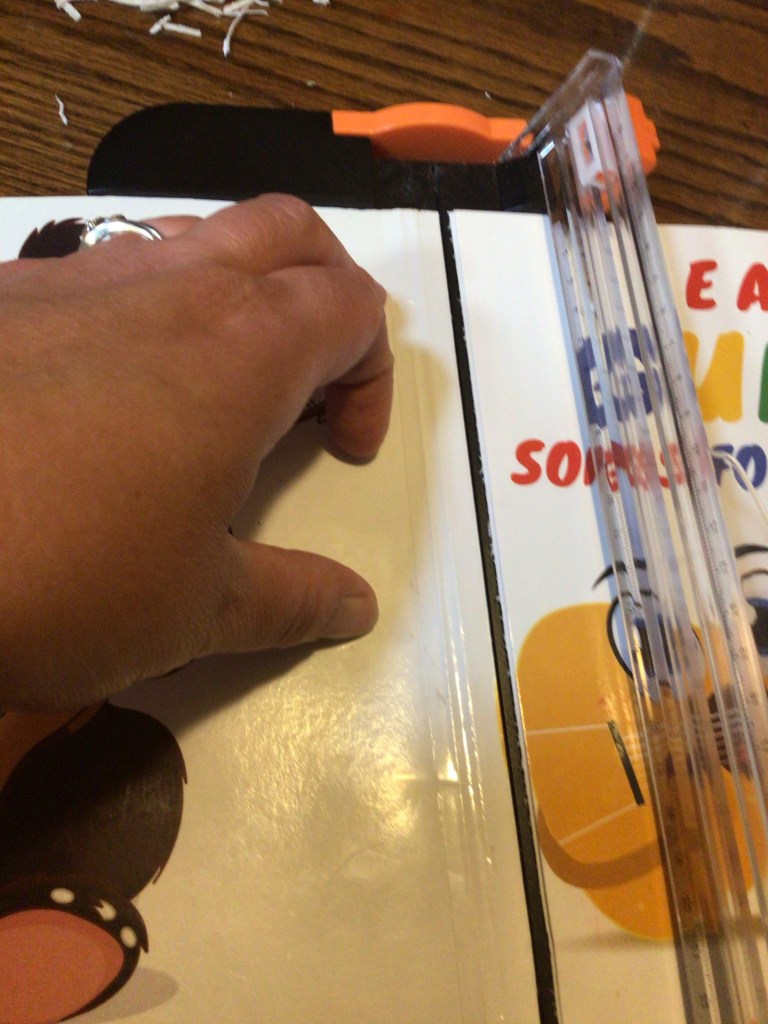
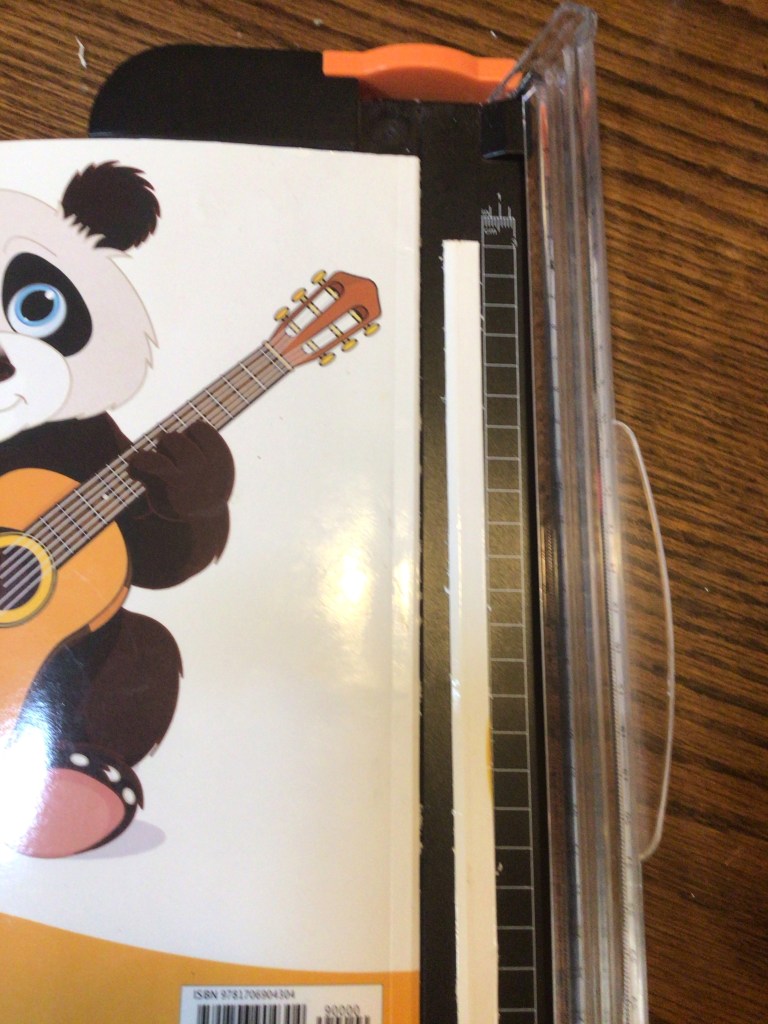
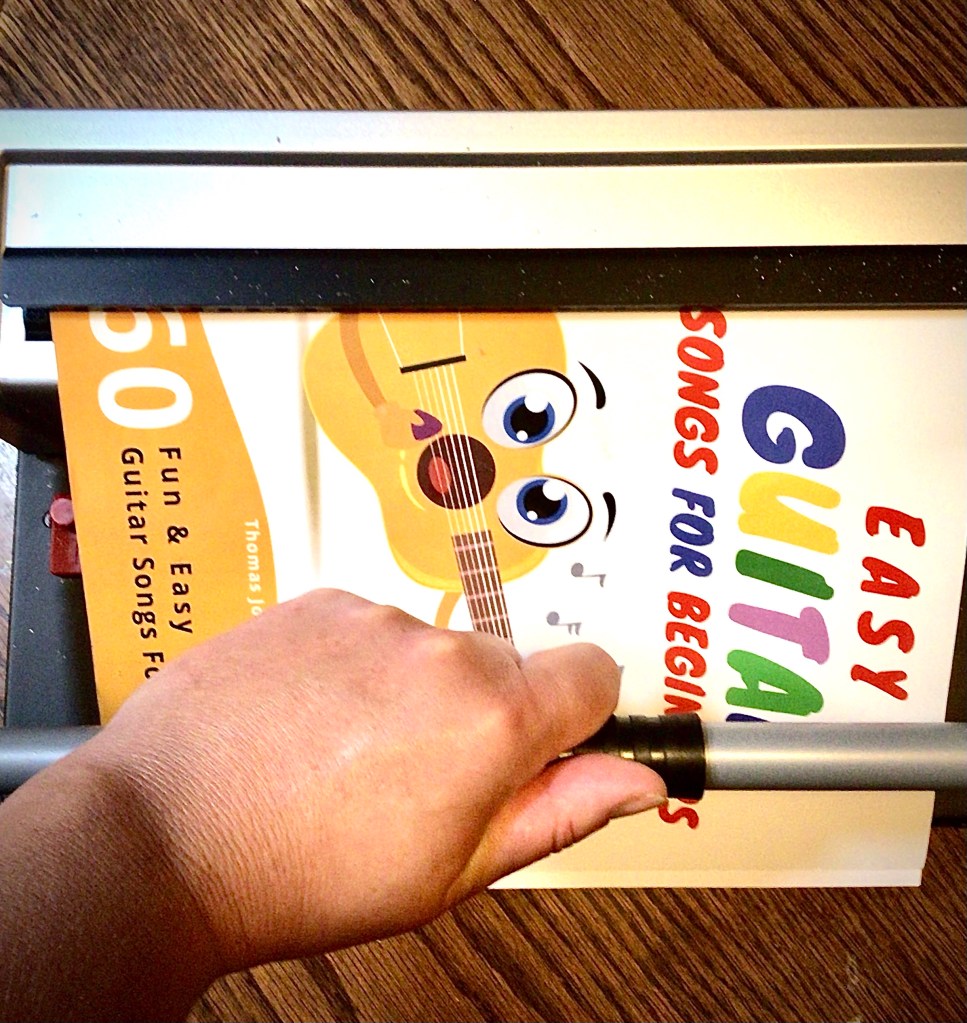
Once the pages are removed, it’s easy to break down the cover. I line up cover crease with my cutting machine and cut the cover off from the spine of the book.
TIP: A crafting paper cutter can get the job done. It a guillotine paper cutter is going to give you a better finished edge on your cut.
Reassembling Your Book
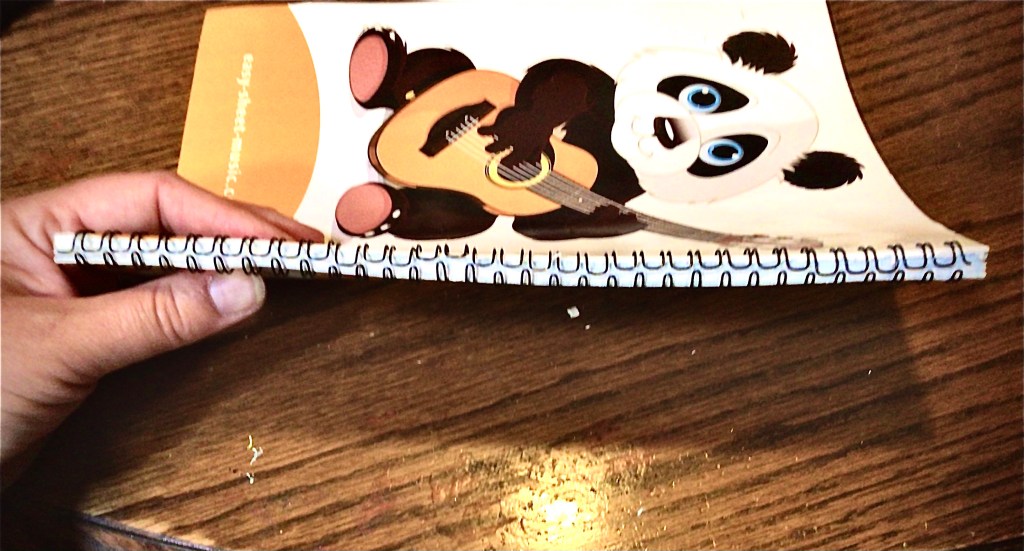
With the pages cut, free from residual glue, and in page order, it’s time to put the book back together. (See below for setting a binding machine up.)
There are two ways of perforating your pages. You can start from the back of your book and work your way forward. Or you can work your way from front to back. Depending on which way you work will determine where determine which way your binding is facing when you’re finished. The thicker part of the whole binding is what fits into the binding machine frame holder. So if you want the thicker part in the front, start with the front of your book. If you want it in the back, start with the back of the book first.
Right now I like the thicker portion in the back, so I start with the back cover of the book and work. I also find that the glossy side of these paperback covers punch better when the glossy side is up. This means that when I punch my back cover, I punch with the back/glossy side up and then flip and put back/glossy side down when I place it on the binding. In similar fashion (to keep everything perfectly lined up), I punch my pages back side up. And then they also get flipped and placed onto the binding back side down.


This can be tricky when I finally get to my front cover, because my glossy side is going to be face down.
The reason why I personally don’t like having glossy side down is because half the time the perforator doesn’t want to cut cleanly. I either have attached chads, or the cut is incomplete.
There’s two ways I’ve found to fix this. One, you can hold the cover down firmly and press the handle down several times. Or two, leave that first attached page on the cover and punch both together. The paper chad being pushed through the cover’s hole seems to clear out that cut.
TIP: Another cause of attached chads is that the collection tray in the bottom of the binding machine is full. If things aren’t curing as well as they did a time or two ago, you may want to check to make sure he tray is empty.
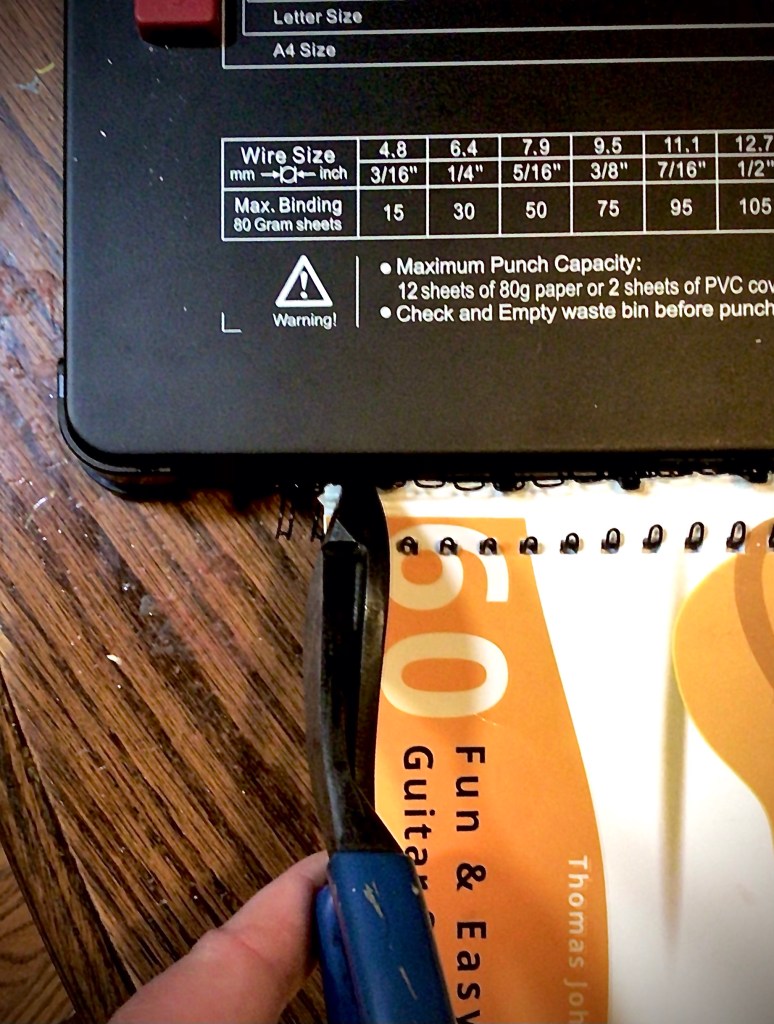
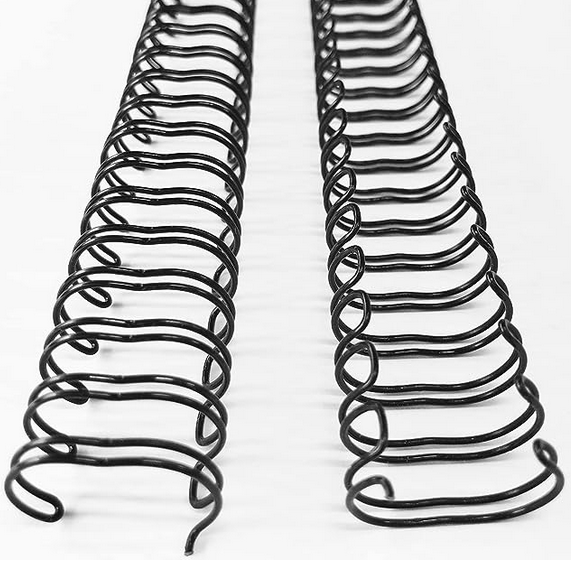
Sometimes I trim down the binding wire when I punch the back cover. This time I waited until I finished punching everything. I even know people who wait to cut the wire down to size until after the binding is closed. There’s no right or wrong time to do this step, just be aware that the wire will more than likely need to be trimmed according to your project size. And pair of wire cutter is all that you need to snip off the extra length.
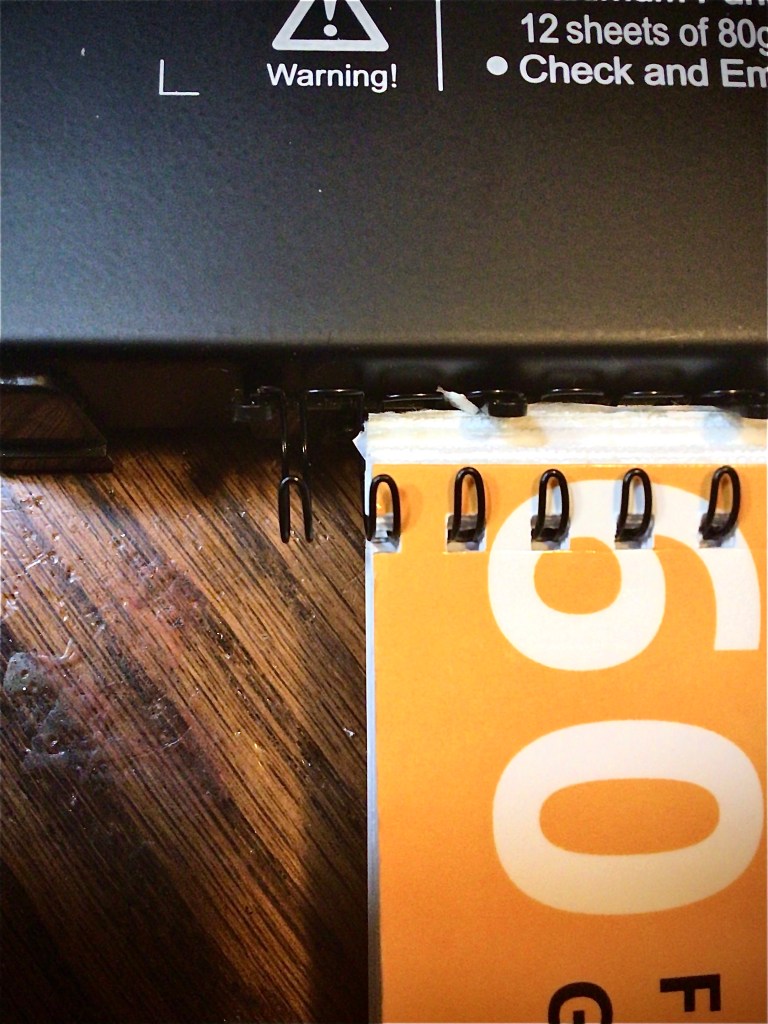
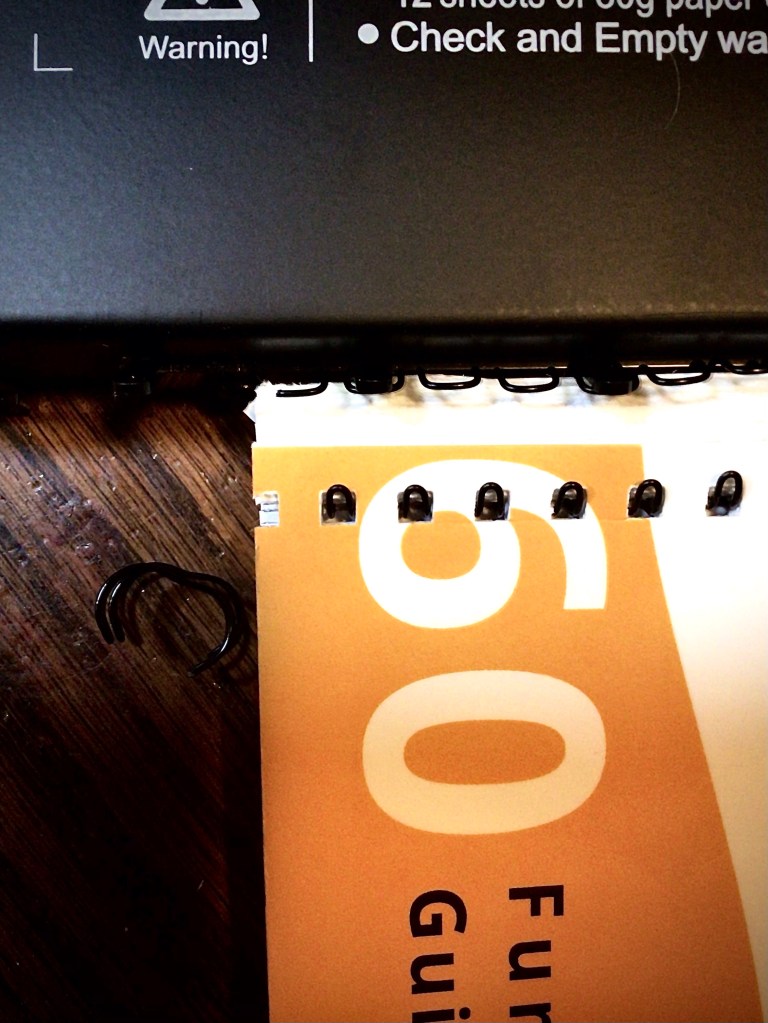
To close the binding all you need to do is pull the binding from the frame, insert the binding into the wire closer, and press down the handle.
TIP: For the best results for closing the binding, I rotate the binding opening as you see in the picture below. This keeps a round shape instead of turning oblong.


Depending on how many pages you have, and the capacity of your wire size, you may find that you over crimp the binding. This is most noticeable when you open up your book. The book doesn’t lie flat and the pages bow.


When this happens, all that I do is use my fingernail and pull out the small tooth prong. If I pull the wire out too much, I push the tooth back in.
It is possible to use the wire close again to make the binding even. Or you can leave it as is.
The one thing I want to caution against is not closing the wire far enough. It’s easy to think that you’ll avoid over crimping by under crimping. (I also thought this.) The problem is that if you don’t close the wire binding enough the cover and pages are going to slip out through that gap.
My personal preference is to err on the side of slightly too tight. I can always loosen up the binding until the pages lie flat.

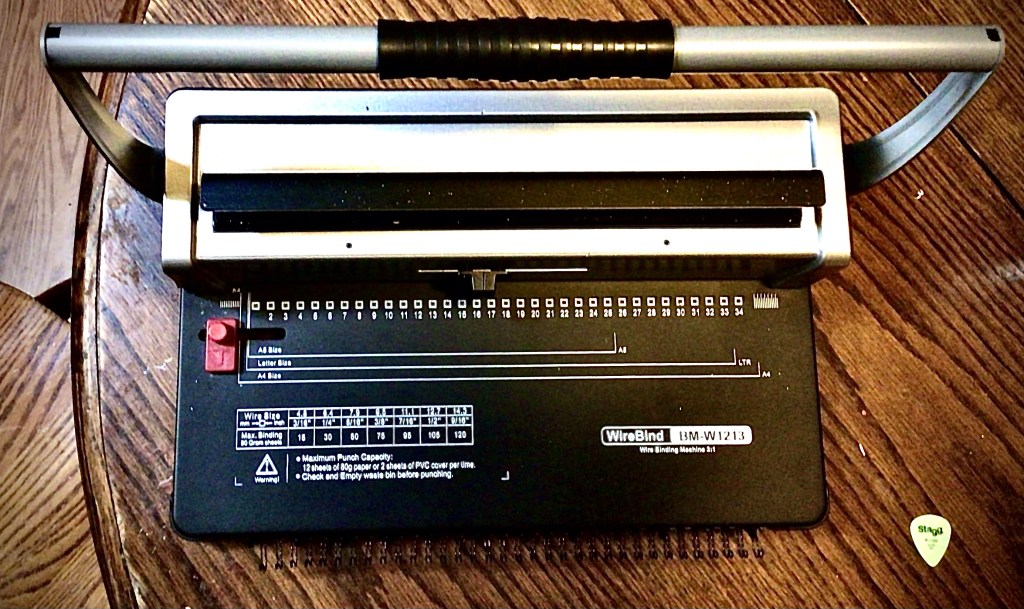
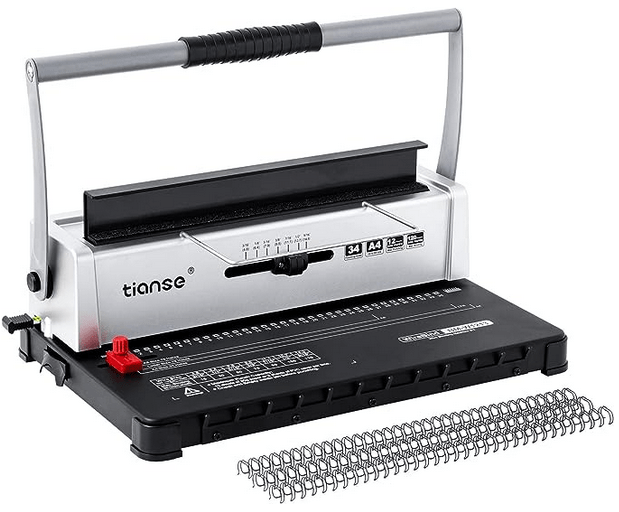
Setting Up a Wire Binding Machine
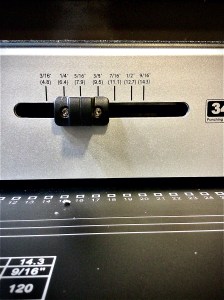
The first thing I like doing is adjusting my wire size. Checking sizes is the area that I have the tendency to forget. So I have to start my routine with this step. Nothing would be worse than loading up my 9/16th inch wire and still having the machine set for my 5/16th inch wire.
This setting doesn’t have any impact on the punching. So it’s not like I can take a look at any of my pages and see that something is off. This setting is for the wire closer, telling how far it needs to compress down on the wire to close the binding.
The next setting I check is the margin control. Most machines have a 3, 5, and 7. These set up how far away from paper’s edge you want the holes punched, in millimeters.
If you’re like me, and didn’t grow up using the metric system, you might be lost as to which setting to use. And no the larger setting isn’t always the best.
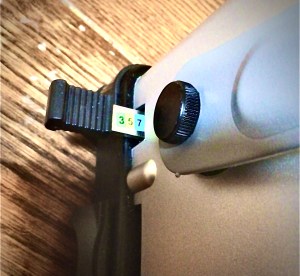
For my 5/16th inch wire I use the 3mm setting. 5mm can pass but makes the pages stick together in the center of the binding. 7mm is a real headache. However, for my 9/16th inch binding I like the 7mm setting for when I’m not filling to capacity. But when I’m near capacity, I use 5mm, releasing some of the space inside 5he binding.
You can play around with these adjustments and find what you prefer using. Just make he mental note of how the mm depth relates to the space available in the binding.
TIP: When you’re ready to punch, make sure you put your paper firmly into the machine. If your paper doesn’t hit the margin control wall on the inside, the holes will be punched on the edge of your paper. If you push too hard, you will change your margin settings. So instead of 3mm you could end up punching 5 or 7mm. So be firm but don’t shove.
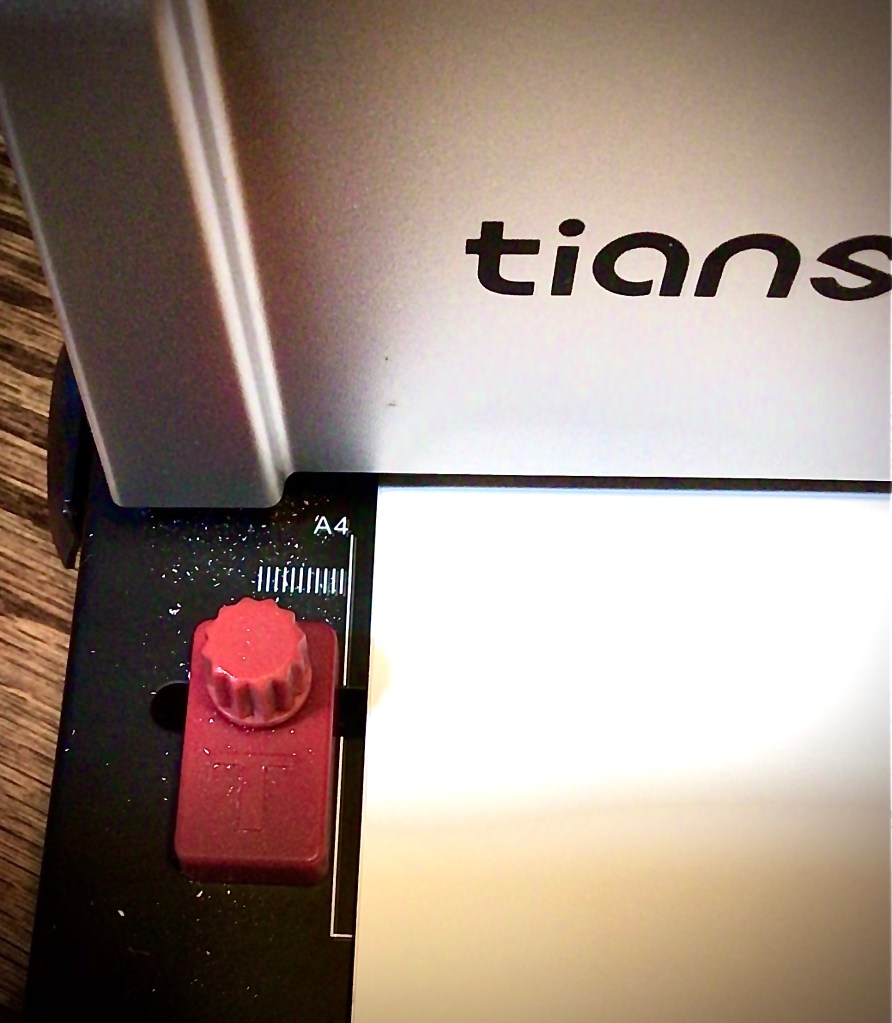
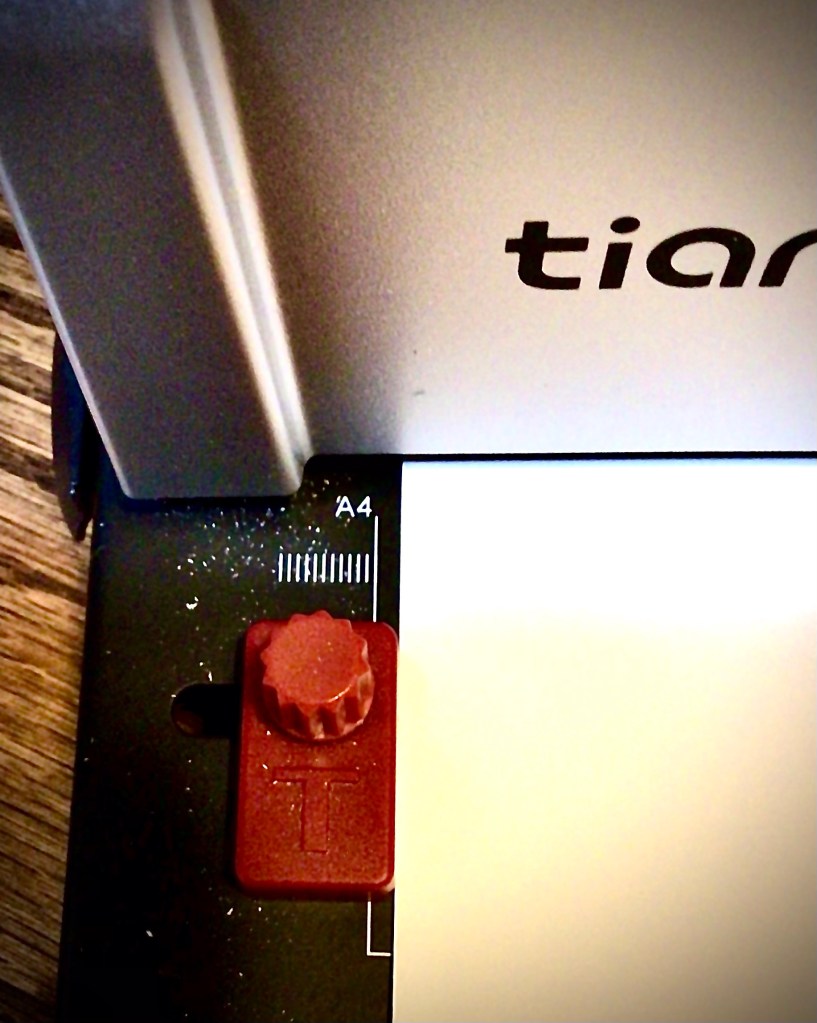
Finally I turn my attention to my page guide.
These square markings show the holes. The hole size and placement are fixed. That’s why you see them marked on the plate. This allows you to see where you want to place your paper and know where the holes on the edge of the paper are going to fall. There is a generous margin in the left hand side, so place your right hand side where you want it.


I find that I like my page to be near the left face of the square that I can see. This works well for an A4/8.5 x 11” sheet of paper. Although you can see that this particular model has guides for different sized pages.
Once you have your page where you want it, you can adjust the red knob on the left. Secure it up next to the left hand side of your page. This ensures that the following pages all line up perfectly with the first.
Just be aware that if you punch your pages going one way (example face first) and then switch the opposite direction (example back first) there is a great chance that your pages won’t line up. The uniformity of the holes makes sure that all the holes line up once you place the pages on the binding wire. But the page edges won’t be flush.
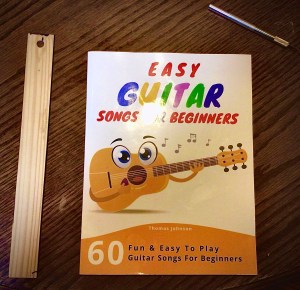
This is one of my favorite tools for this year. Yes there are Bette ones on the market, but I’m all about being frugal and functional. And this binder hits the mark for me. I have countless paperback books that have been worn out from being read over and over again. So this allows me to rebind books other than just my homeschooling curriculum.
What books would you rebind?
Are you interested in starting to rebind your own books? Here’s some affiliate links of items seen in the post above.
TIP: if you purchase a different binding machine, make sure to take note if it is a plastic comb binder, wire binder, or spiral binder. Each one requires a different machine because the holes are different. Even with wire binding, make sure to check which pitch (how many holes per inch) your machine requires. When I first bought my machine, I accidently ordered a 2:1 pitch wire binder. The machine I purchase takes a 3:1 pitch
This post contains affiliate links to products. We may receive a commissions on products purchased through these links, but at no extra cost to you. These items listed here are from Amazon but may be purchased at local markets.

2 responses to “Rebinding Books”
-
At tgis time iit appears llike BlogEngine is the ttop bloggingg platform available
right now. (from what I’ve read) Is thzt what you aree usng on your blog?LikeLike
-
No, I use a different platform. What I recommend people do is look at the different platforms available to you and see which one feels organic for you. The platforms that were recommended to me felt like more work and confusing. So rather than telling you which ones are “best”, I highly recommend you find the one that feels natural for you to use. You’ll want to to produce more posts and have more fun doing them!
LikeLike
-


Leave a comment