A Cup for Me and You

Being crafty, I love it when I have the opportunity to bring a craft to any of my kiddo’s class. This week I got to dress up and have fun in a 3’s Preschool Class for their Harvest Party.

Whether you’re a parent, teacher of a class, or helper in a co-op class, you find out real quick how quickly the sticker price adds up on crafts. Needless to say, a dollar store is very handy when gathering items for a craft, especially when you can find blanks that are in a bundle.

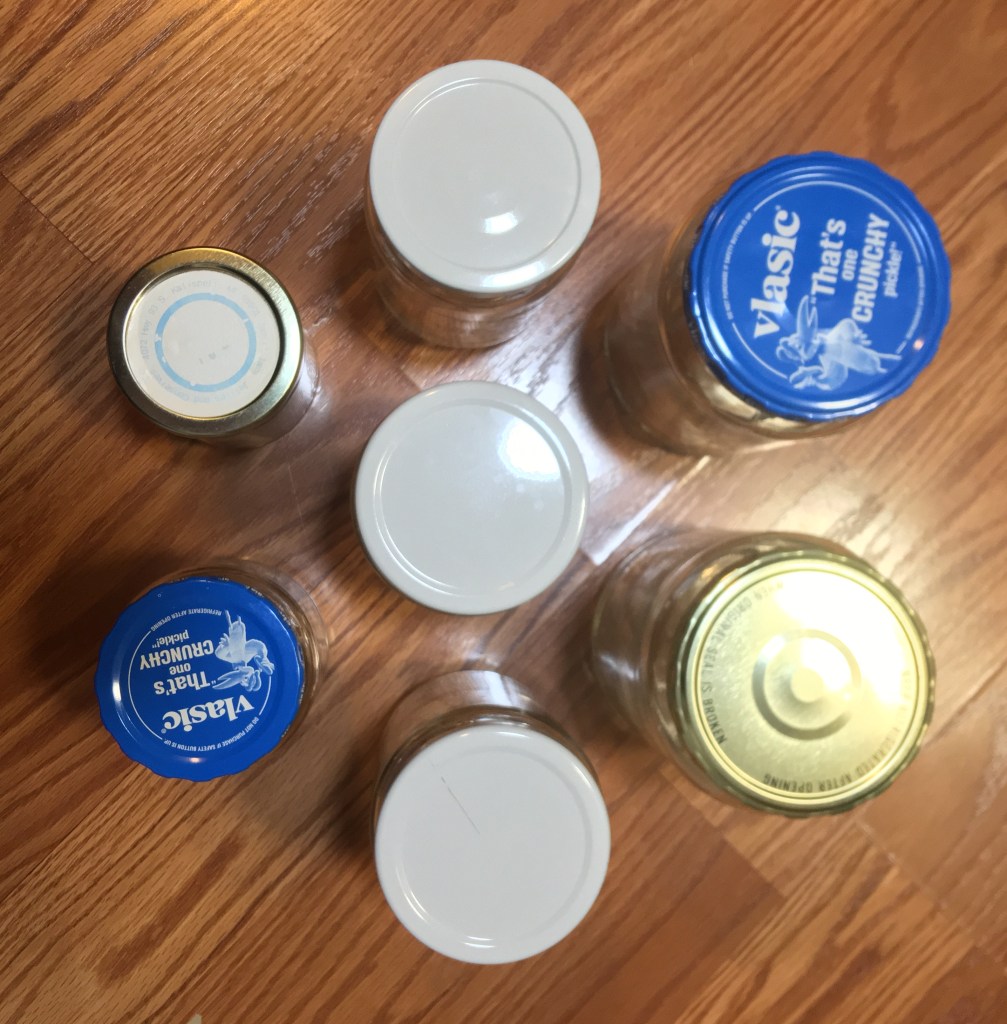
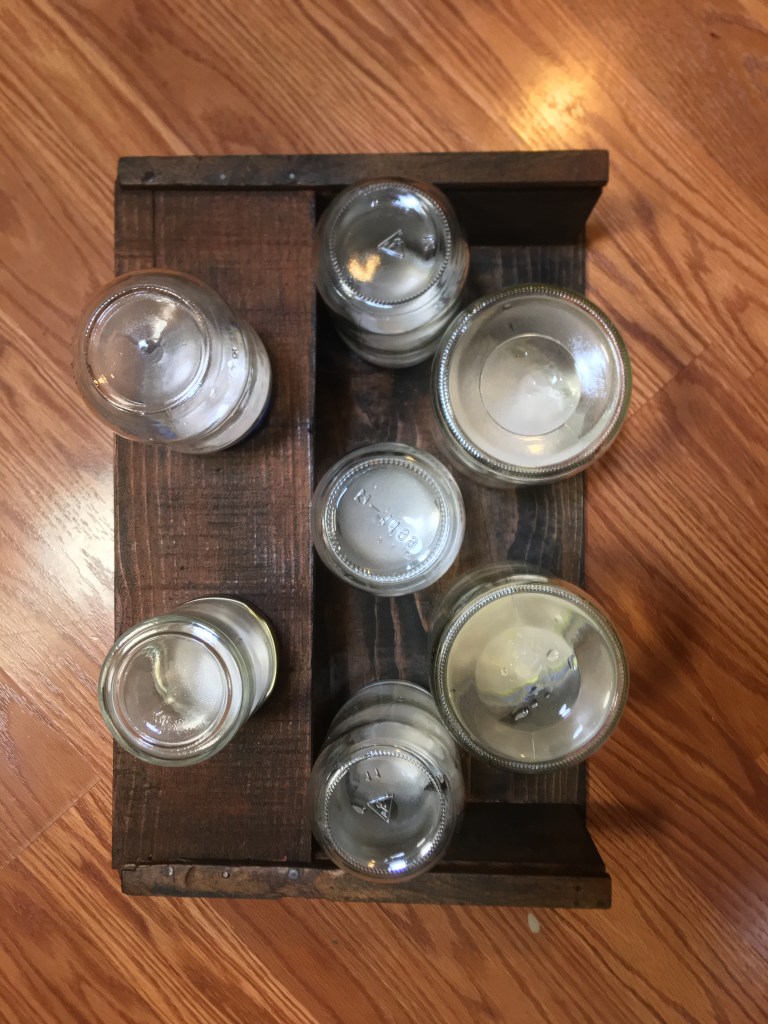
I found these cocoa cups and thought they were perfect for a craft. (The co-op preschool class that my kiddo is in is a wonderful blend where not everyone believes in celebrating all the holidays on the calendar. And I love these classes because there’s an opportunity to bring a little different.) So for this craft, I focused on embracing this comfort drink for the cooling weather.

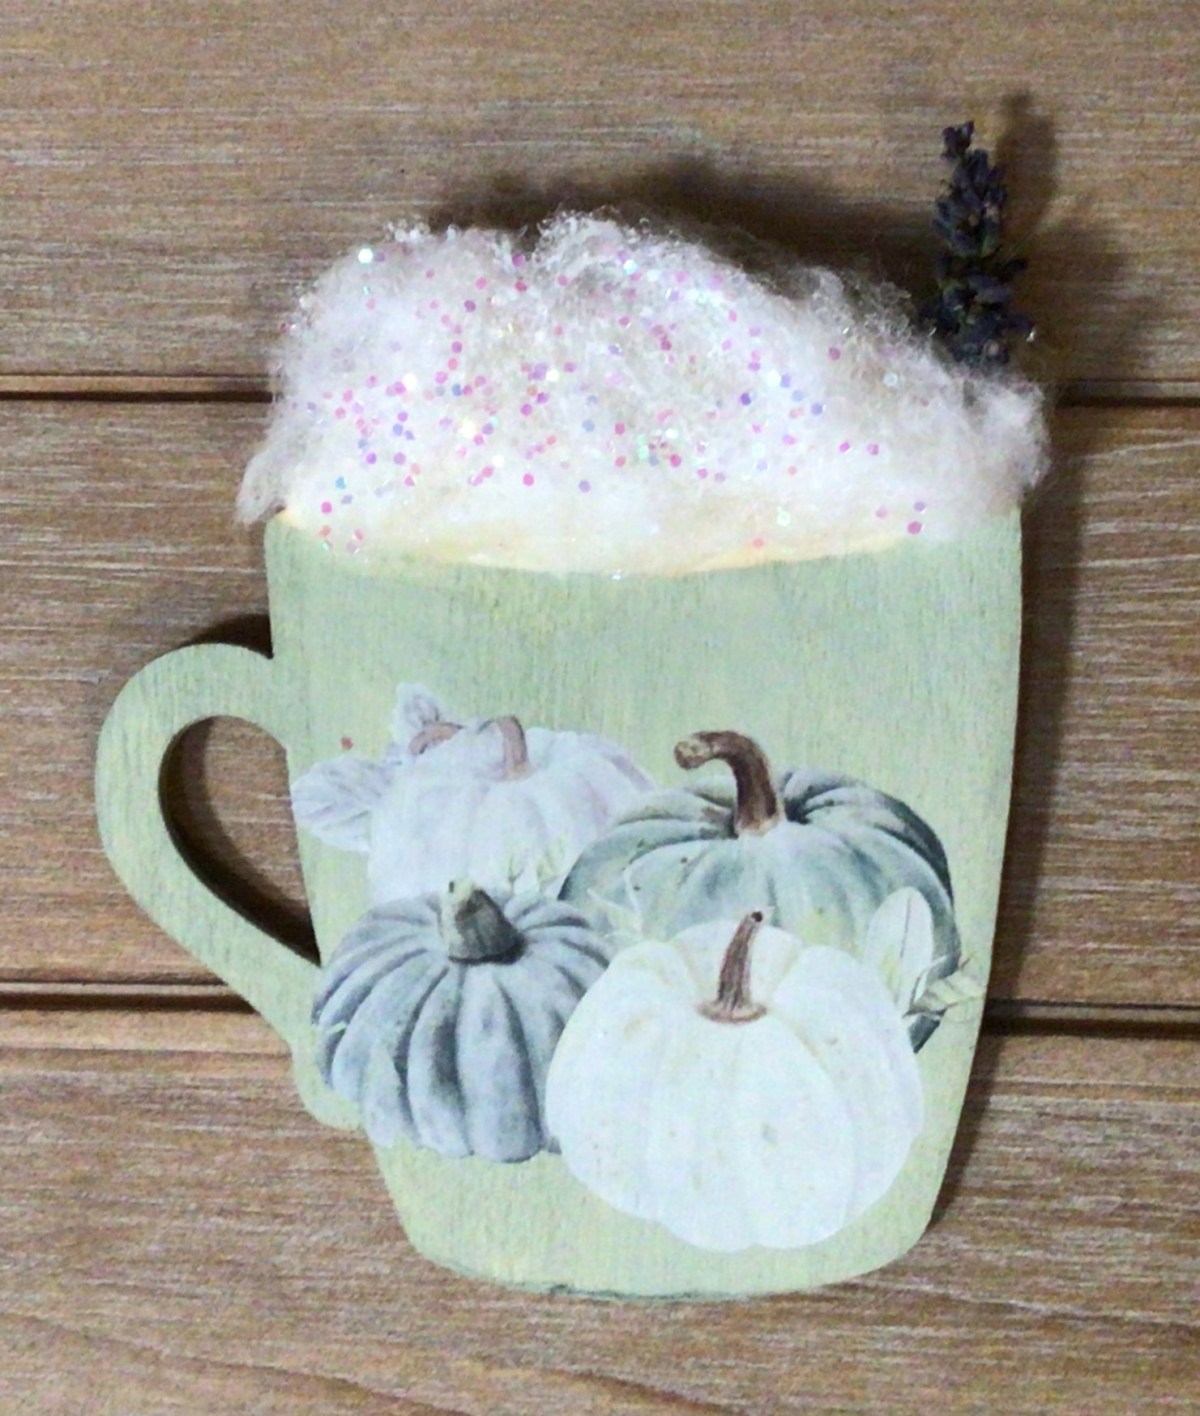
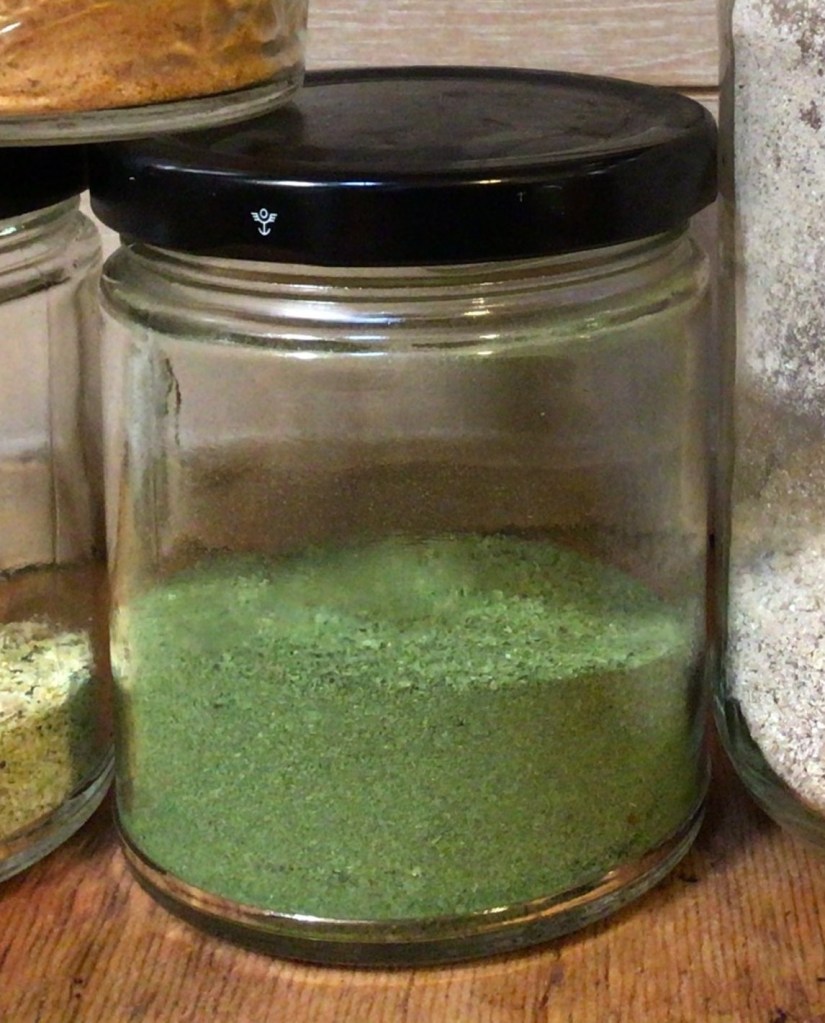
For the mock up that I made for the teacher, I painted the mug with a single coat of sage colored acrylic paint. The one thing I love about balsa wood crafts is that it absorbs the paint and dries rather quickly with great coverage.

The next step was to add the whipped cream. For this I used hot glue and a cotton ball. For playing around purposes, to build up a 3d effect, I started with putting down a line of glue at the top of balsa wood swoop. I pressed the cotton down and pulled it up to keep a wispy and light effect. Then I added one more line and applied the cotton (continuing to pull it upward) and worked my way down to the lip of the mug. There were about 4 rows that I put in, with additional spots added, to fill in any bald spots.

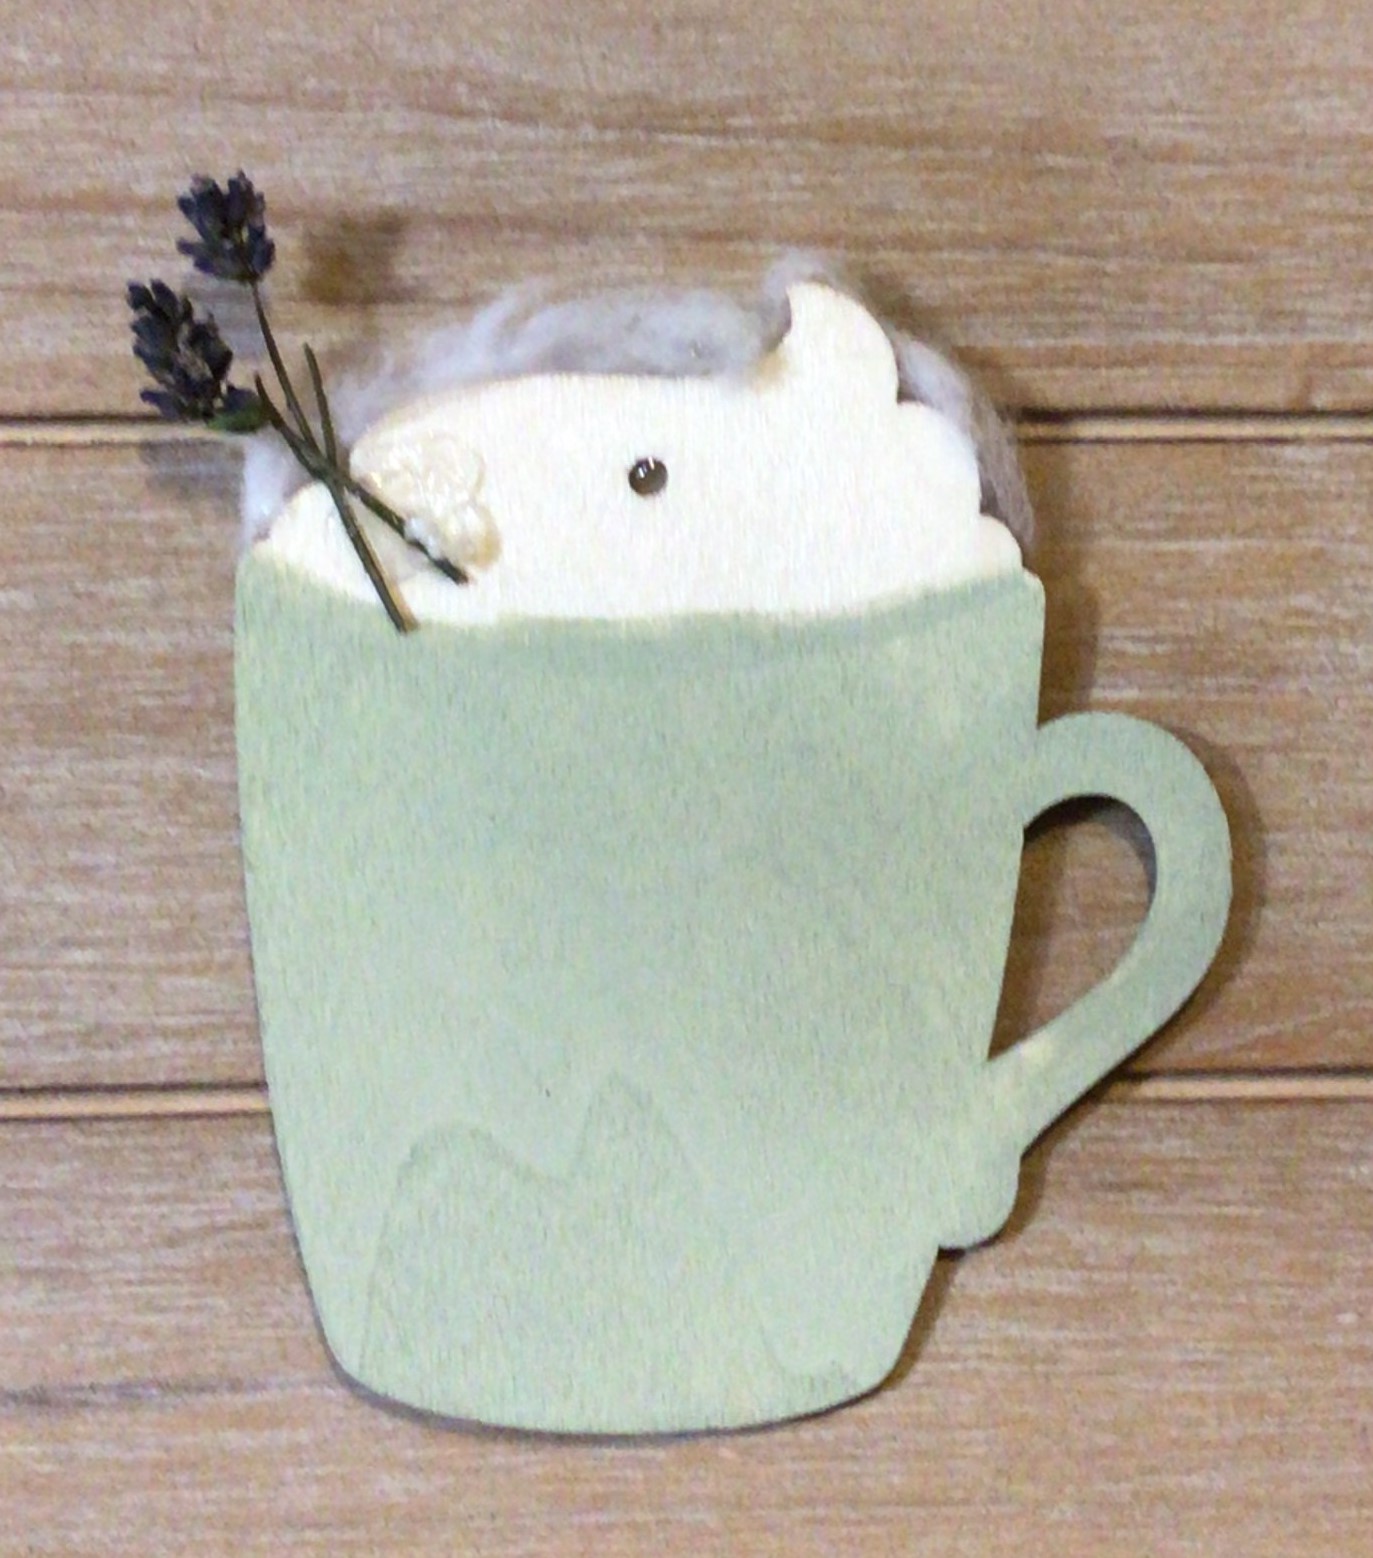
On the flip side I glued on two sprigs of lavender before laying down the cotton on the back side. If lavender is not your thing, the mini coffee stirring straws would be perfect substitutes because they’re thin enough for the cotton to overlap without any bulges and gives the illusion of something coming out of your cocoa.

Advertisements

To decorate the mugs with a fall theme, I also grabbed these rub-on transfers from the dollar store as well. Each packet of transfers was enough to decorate the packet of 8 mugs.

In order to prevent fussing with all the elements with preschoolers, I put a mug and 3 transfers (a large, medium and small) in an envelope. Mainly I did this to keep things fair so the first group of kiddos wouldn’t take all the large pumpkins and leave the smallest leaves behind for the last group.

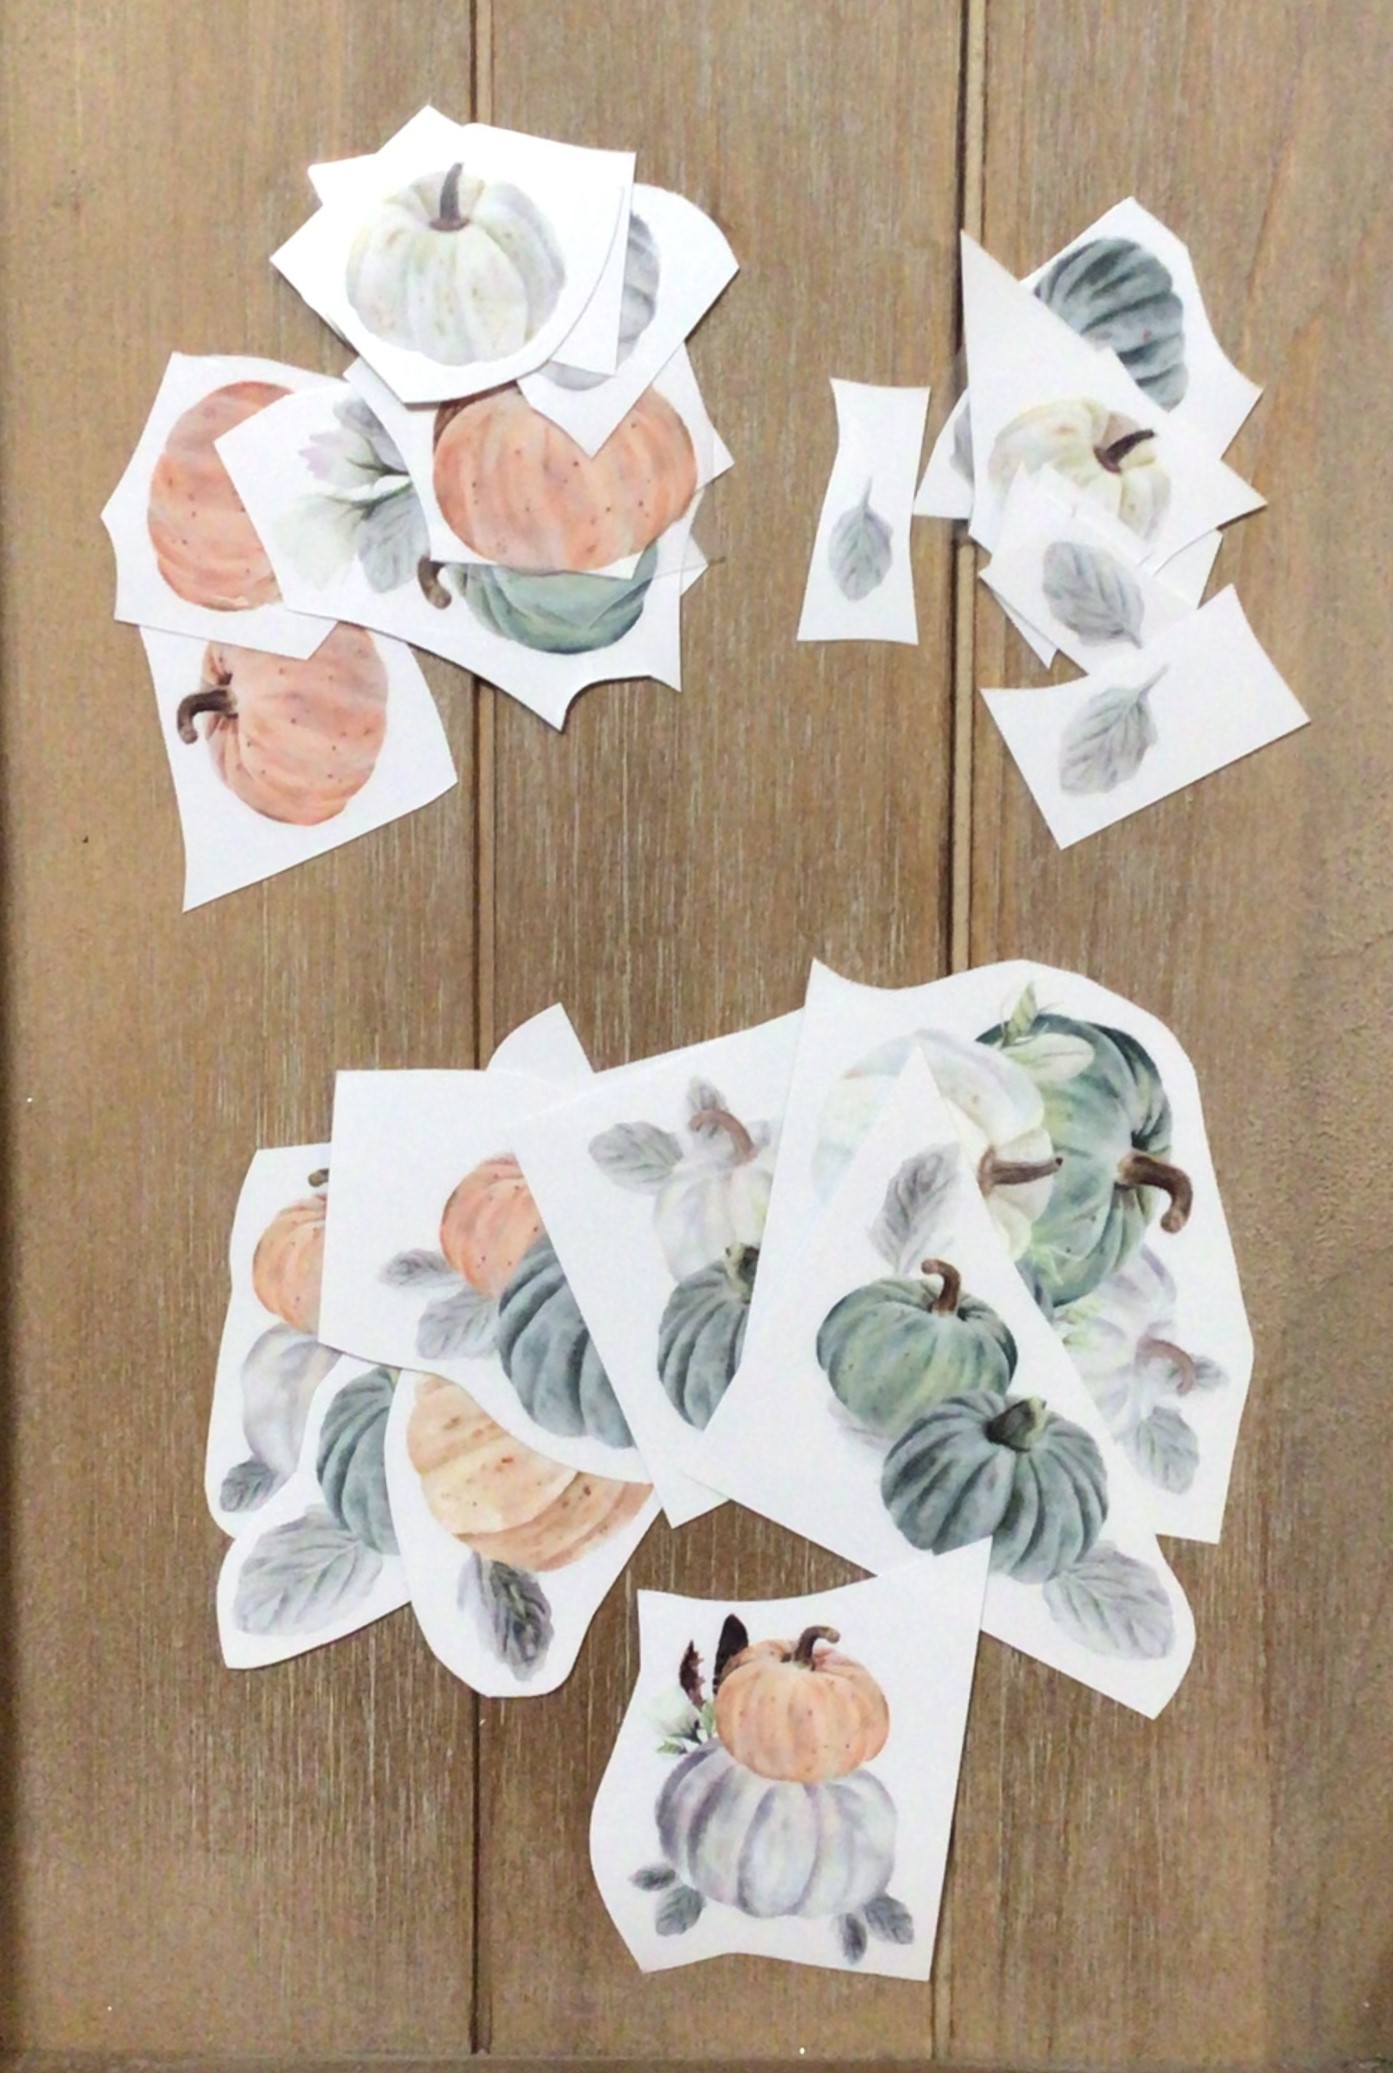
Here’s the thing with these transfers, they take some work. My original expectations were that these would be true to their name and take a little bit more rubbing than traditional stickers. In fact, the directions on the back of the package inferred such an expectation. But that’s not what I experienced. They don’t rub on at all. You have to scrape these babies onto your surface. I used a plastic crafting scraper and that tool failed to apply the rub on. I didn’t try using a coin like a scratcher ticket, but that idea is still in the back of my mind. The thing that worked for me was scraping the rub on with my finger nail.

Even with a thorough scraping of my nail, the transfer didn’t apply fully on the larger pumpkin groupings. And this was my biggest disappointment. BUT the transfers are forgiving. You can line these failed transfer sections back up and apply with relative success.

My biggest tip with these transfers is to take your time and gently lift up the clear transfer sheet. If the transfer doesn’t release, put the transfer back down and scrape it some more.

The original plan was to have the right above picture the completed project. The fact that I could see the hot clue peak through on the cotton prompted me to pull out my can of spray glue and glitter. Just by adding this little additional detail was enough to transform matted rough looking cotton back into something frothy and light looking.

That and I like glitter!

Advertisements

I kept this mock up to be pretty basic in design because I wanted it to be re-creatable for the preschoolers. Now if I were making this mock up for older kids or even a MOPS (or other ladies’) group then I would have dressed up the mug and made it more ornate with either some hand designs with acrylic paint pens, glitter pens, metallic embellishments, or so many other crafting items. In fact, I really wanted to take a small cluster of crafting fall leaves and make a little thin ribbon embellishment on the top of the mug handle.

There are other options for the whipped cream portion as well. I used cotton and my hot glue gun because I wanted the kids to be able to take their mugs home that day. But if you have more time with your class, you can use other materials and glues. I thought it could be fun using more glitter, or the tiny foam balls. Chunky white yarn could be amazing, especially for incorporating more whipped cream swirls. And I know kids would have amazing fun gluing marshmallows on top of the mug. (But I’ve seen kids pull off and eat food items off of crafts way too often. So I tend to opt out of that option. But… if I were to throw caution to the wind and let the kiddos play with marshmallows, then I would skip the glue entirely. Instead of glue I would use a royal icing. It dries like glue but is much more child friendly for those who eat crafts!

How did the craft turn out?

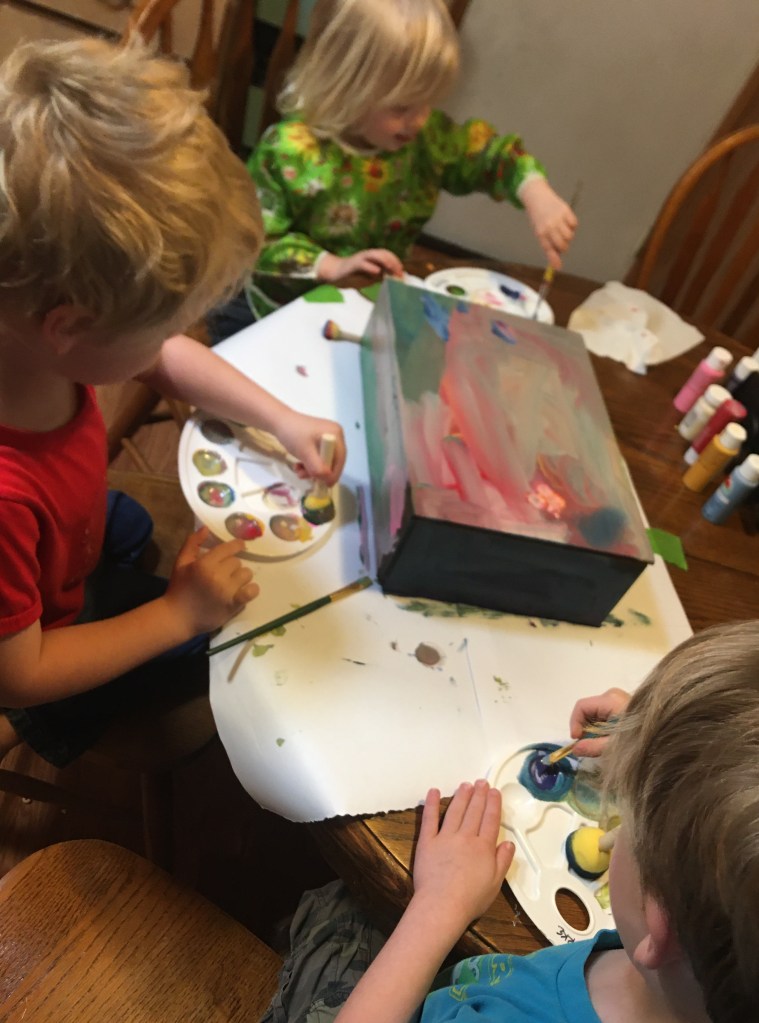
Oh my goodness! That day was just as chaotic as you think it’s going to be when you sign up to help in the class on a party day.

First, the schedule got blown out of the water and my party craft was slotted for right before the end of class, and parent pick up. I think it pretty much averaged where the kiddos made these mugs in about 3-5 minutes each.

Fortunately, this craft is easy to punt with and save time. First, skip the painting! Balsa is a wonderfully creamy color. And with the “rub-on” transfers, the focus goes to the transfers. To be honest, one of the girls really did beg to paint her mug the “pretty green”. She loved it and wanted it too. Fortunately the glitter saved me from a meltdown.

Advertisements

Kids love glitter!!!

I probably should have sprayed not just the cotton, but the whole mug to let them glitterfy the whole mug in lieu of the painting portion.

For the cotton portion, I just stretched the cotton ball out and handed it to the kiddo. I applied a liberal amount of hot glue and let the kids put the cotton down. (There was no incident with the glue. This 3’s class did an amazing job!)

The last step was to spray the cotton with spray glue and send the kids back to the table to finger sprinkle glitter onto their whipped cream over a paper plate. (If you spray from the mug toward the top of the whipped cream, you keep the spray entirely on the cotton.)

All of the mugs turned out differently. Some added more transfers than others. These kids lost interest in the transfers because they were not able to scrape hard enough to get them to apply. So if you’re doing this for young children, find a tool that lets you (preferably the kids) to apply with ease.

Advertisements

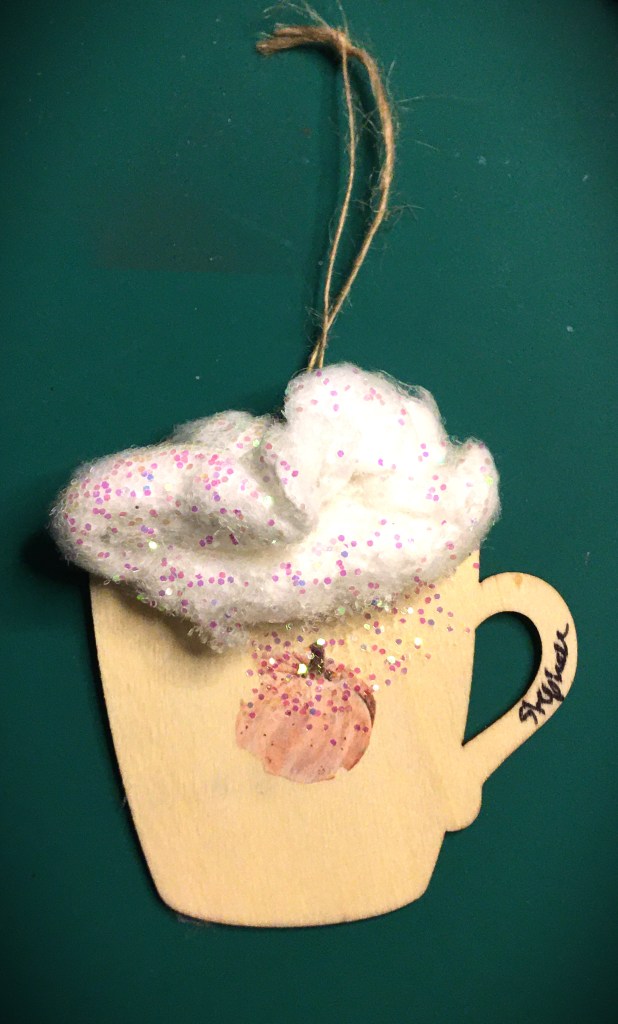
I wish I would have had time to take pictures of the ones that got made. This one was the one my kiddo made. Of course the one that followed me home was one of the less decorative one. So please don’t assume that this craft was too much for young kids. Time was the failure for this craft. My 6, 5, and 3 year olds were all excited for this craft and I stashed the extra mugs so that they could make them this weekend. I’ll update this post with how the mugs turn out when kids have time to do this project at their pace with the materials they want to use.

Now that November is around the corner, and winter on its’ heels, there is still plenty of time for a craft like this! Change up the colors and decoration add ons for Thanksgiving, Christmas, New Years, and even Winter Theme for January and February. Cocoa is something that kids love year round. (In fact, mine begged me for cocoa regularly during the summer!) So feel free to incorporate this easy craft into your curriculum or busy box for when you need something for kids to do. Or even do this yourself for those moments when you want to let loose on some creative steam but need to have it finished in a 10 minute crafting window!

Let me know how your crafts turn out!!!

Processing…
Success! You're on the list.

Leave a comment

Saucy Saves

It all started when I had a West Coast Clam Chowder that was too thin….

I learned how to make clam chowder from my mom. And she started her chowder with a roux. Nothing says “please give me a headache” more than trying to fix a roux based sauce or soup than your sauce being too thin. It’s not like you can add more flour because it’s not cooked out. And you can’t make corn starch slurry to thicken it up. I mean technically you can, but it’s not the same. The flavor gets thrown off and the texture is also not the same.

That’s when I had the brilliant idea of adding instant potato flakes. I put diced potatoes in my chowder and so the potato flakes made sense because it’s dehydrated powder that absorbs your excess liquid AND you get to keep the potato flavor.

Over the years, from this dehydrated potato beginnings, I have started dehydrating more and more of my vegetables.

It just made more and more sense, because if you really look at all the seasonings in the seasoning aisle in the grocery store, just about all of it comes from plants, herbs, and their seeds. We already season our food with produce. It’s not a far leap to move to use vegetables as seasoning.

Advertisements

From my chowder I moved to thickening my brown sauce made in my caste iron pan when I once again added too much water. This sauce the water evaporates relatively quickly. But this time I added dehydrated mushroom powder. It added an earthy note to my brown sauce and thickened up in just a few minutes instead of the several minutes that cooking off the water takes. Once again, the flavor improved.

And to be honest, I’ve hated working out the lumps of flour when I tried to re-thicken with flour like my mom use to. Depending on the day, I’m convinced that the flour was giving me attitude, “I’m just going to stay lumpy because there’s nothing you can do about it!”

So my comeback to my lippy flour has become, “Oh yeah? Well I’m going to use vegetables then. They don’t lump up like you do.”

I’m still waiting on some of my produce to finish growing in my garden to replenish some of my vegetable powders, but I’d like to introduce you to some of my favorite powdered veg.

From left to right you Zucchini, Spinach, Mushrooms, and sliced Mushrooms. The orange powder on top is the combination of yellow, orange, and red sweet peppers. You know that bag of small peppers in the produce department? Those are the ones that I dehydrated and turned to a powder.

I’m all out of my powdered Butternut Squash. This one is actually my work horse. It has a nice sweet flavor that my boys don’t know that I’m adding vegetables into a meal.

Not only does my powdered veg work as a thickener, it doubles as my mom hack of hiding vegetables from my children who don’t want to see certain vegetables on their plates. Peas and Carrots are still acceptable on the plate, but all the others, I have to get pretty creative. And instead of renaming vegetables to some weird name, like my mom did, I just prefer seasoning everything with it.

Do you have a recipe that your family is always asking for?

Do you always tell them “Absolutely not!” because it’s your recipe and you don’t want anyone else to have it?

If you want to be generous this Christmas, you can dehydrate and turn your secret ingredients into a powder and make a seasoning pack or bag of instant soup.

This is particularly a great idea for loved ones who live across the country from you and shipping out a sauce or soup just isn’t practical! You don’t have to ship glass containers, liquid, or even have the weight of the ingredients that still contain their water content.

Maybe the person you’re gifting is a hiker or camper. But gifting them dehydrated food, in the form of seasoning, you’re able to give them the nutrition they need and taking up a fraction of their pack space.

Not sure about that statement?

Take another look at the pictures of my powdered vegetables. The Spinach is contained in a 9 oz jar and is currently holding two bunches of spinach. Yes, that is two grocery store bunches of spinach.

Looking for a funny gift for your cook or baker this Christmas?

Here’s a design that can take on many different meanings. It’s perfect for your secret recipe cook, a white elephant present, or for that home cook whose mystery meals are not exactly the best surprises to hit the dinner table.

Here’s a sneak peak for Abstract Cooking, which is officially released on Monday.

Processing…
Success! You're on the list.

2 responses to “Saucy Saves”

  1. Lyle Avatar

    This article extremely informative, I have learnt so much from it.

    Like

    1. Pacific Northwest Event Design Avatar

      Thank you for reading! I am so glad that you were able to learn from me.

      Like

Leave a comment

Advertisements

Repurposing A Frame

(This post contains affiliate links to products. We may receive a commission for purchases made through these links.)

It never fails that you find something very cute to give something, but it comes with non-removable art that just not fit with what you want to gift or make for yourself. Maybe it is art that isn’t your style. Maybe it is a design that’s so cheap and is exactly the reason why you find it at the dollar store.

For example, I found this cute frame.

I found that the size was cute. And I absolutely loved the beaded clutch like handle. Best of all, I loved how the frame and handles were very much reminiscent of unfinished wood. This was the perfect blank slate that I could do so much with!

The negative mark was the non-removable art. Truth be told, I almost put this back on the shelf.

But here is how I turned this dollar store product into the perfect blank to make a personalized present.

First you paint over the non-removable art

Especially if you like the current state of the finish of the frame you’re working with, you want to grab some masking tape and tape off the frame to protect it from the paint. It doesn’t matter how handy you are with a paint brush, you really do want to take the few extra minutes to tape off the frame. It just takes an unexpected sneeze or someone sneaking up behind you, knock on the door, ring of the phone, or that your brush slips.

Apply the tape on the inside edge of the frame. Cut down the tape to the corner of the frame, so you can fold the edges over.

The tape that I used here was Green Frog Tape.

Once the frame is taped off, take your paint of choice and cover the original art.

I used Waverly Cashew Chalk Paint. Because this color is so pail, it took about 4 layers to cover up the dark original colors. The important thing to remember is that you always want to paint with thin layers. First they paint dries quicker. Second, you can apply cleaner layer lines.

If you choose to put on a thicker layer of paint to compensate for dark colors, it just takes forever to dry before you can add successive layers of paint.

Once the paint dries…

You have the choice of what you will do next. You can apply a stencil to paint on your new design. Or there is the option of hand painting a picture.

If you are done with all painting options, you’ll want to remove the tape.

Removing Tape

Depending on who you talk to, there are a handful of different theories on which time to remove the tape.

OPTION 1:

Some crafters say, remove the tape while the paint is wet. Yes, this method prevents peeling up the paint that you just laid down. The problem I have with this method is that if the paint is wet on the surface, it’s wet on the tape. So you have to pay attention to the paint on the tape as you pull it up:

  • Paint ending up back on your blank because of the tape flopping over backwards (or paint side down) on your frame.
  • Paint ends up on your fingers. Sometimes you forget, or think you avoided paint transfer, and then you find out later you had a small drop of paint on your finger and now you have a paint finger print.
  • Paint ends up somewhere else on your, like your shirt or pants.

OPTION 2:

Other crafters advise that you remove the tape when the paint is dry. This method is great for preventing all options of potential paint transfer. However, the problem with this method is that sometimes the paint adheres to the tape and pulls up off your project when you remove the tape. This is especially the case when the original surface is smooth or plastic.

OPTION 3:

A third group will tell you to wait for the paint to mostly dry. This is the happy medium to the first two options.

I’ve never been able to make OPTION 1 or 3 work for me. If there’s any wet paint, I’ll somehow find a way of getting it on me or transferring back onto my project. So my go-to is OPTION 2, wait for the paint to dry.

TIP for OPTION 2: right before you remove the tape, take an exacto knife, and run the blade along the bottom of the masking tape all around the frame. This will effectively separate the tape and paint.

What if my paint strips off with tape removal?

Have no fear! Take a breath and don’t panic. This is an easy fix.

The first thing you’re going to do is build back up your layers of paint on the surface where the paint stripped off.

TIP: To create the illusion of no paint stripping, keep from this new set of corrective paint layers from overlapping on to the original dry paint that remained intact.

Once you’ve built back up the layers of paint that had peeled off, you’re going to add one more layer of paint over the original and new paint. This will cover over any potential seams in the paint.

The best of all is that if you are going to add any decal over this paint, it is possible for the decal to cover over any potential seams. If you’re using this as a shadow box, the items you place in front of the painted back ground will cause enough shadows to distract from the seams.

This is an example of where one less layer of paint can show the difference of your paint patch job. Make sure to do the same number of layers, plus an additional layer over both original and new paint.

Adding decals over the background paint with transfer tape

I want to mention one more potential problem you can face, with paint peeling, with a project like this. Whether you’re adding vinyl or a decal with a clear piece of transfer tape, you will want to be mindful of this transfer tape. Even if the transfer tape has low tack, it can still find a way of holding the paint more than the paint is holding on to the project surface.

The way that I have gotten around this problem is that I think of the transfer tape ONLY having contact with the vinyl or decal, and hold those elements in their place for application. I go out of my way to NOT press the transfer tape down onto the paint.

Instead, what I do is gently place the design down on the painted surface so there is absolutely no adherence. The bonus to this is that you can use a weeding tool, palate or other tool to nudge the design center (or any other location) on the frame. Once the decal or vinyl is exactly where I want it placed, I only press down on the decal/vinyl with my finger. The pressure from your finger is enough to get the decal/vinyl to adhere. And once your elements are all pressed, you can then peel off the transfer tape without it pulling off your paint!

Can’t find a frame like this, but want to make one?

I have no idea if I will find this beaded frame again at my local dollar store. In fact I would be surprised if I ever did. There’s something about the cute things in that store chain, that you pretty much only find in stock one time.

The good news is that this is an easy frame to create!

Originally this frame has a 4 x 4 inch work space. But you can select any shadow box of any size.

You can make the wooden bead clutch handle by using a thick jute twine and stapling it to the frame.

Yes! This handle is literally stapled to a mini shadow box frame.

If you want a supply list, to make your own frame, here are the items you will need:

  • Shadow Box: 4×6 Frame, 8×8 Floating Glass Frame , 8×8 White Shadow Box, 3-Frame Set
  • Jute Twine
  • Wooden Beads: 16mm (Thumbnail size), 20mm (US Quarter is 24mm)
  • Staple Gun (if you choose to use a standard desk stapler, make sure that you use several staples on either side of the twine. The twine can be reinforced by using wood glue and gluing to the shadow box.)
  • Scissors
  • Paint/Stain (optional–if you want something other than unfinished wood)

I hope you have just as much fun as I had making this Affirmation Gift!

The Baby Affirmation cut file used for this project can be found in my shop here. To personalize with the child’s name, just select your favorite bold font and place in the provided blank space.

Processing…
Success! You're on the list.

Leave a comment

Just A Touch of Spice

Long before I met my husband, his father had made and gifted him (and his siblings) a handmade spice rack. For well over a decade, we had intentions of displaying this gift and filling it with spices. However, the convenience of buying spices really took away the need of using the tins.

A few years ago I played around with my dehydrating skills and found new seasonings to cook with that I never thought of making.

I love mushrooms. There’s a gentle earthiness that comes with using them in a recipe. And when your family doesn’t go out of their way to eat mushrooms, I sneak them into sauces by dehydrating the mushroom and then grinding them down to a powder with a spice blender. Now I can have the benefit of having the flavor profile without my family seeing it and making their picky faces.

My absolutely favorite “spice” to cook with is actually butternut squash. I roast the squash in my oven. When it’s finished cooking I remove the flesh from the skin and mash it. From there, I take the mash and spread it across the fruit roll up tray of my dehydrator. Once the mash dries out, I also put that in my spice grinder and turn it into powder.

Here’s the absolutely most beautiful thing about turning your vegetables into powder! If you have a child or family member who turns their nose up at even the mention of vegetables, you turn it into a powder and season your food with it and your family has absolutely no idea that they are eating vegetables!

Not only this, but if you’ve made sauces before you are fully aware of how the traditional flour and corn starch have no benefit of flavor. You have to remember to cook down your flour. And if you use too much corn starch, and have sensitive taste buds, you can actually taste it. So there’s the issue of the texture; corn starch has a different texture and appearance than flour. But…instead of using these two traditional thickeners you can use dehydrated vegetables.

I prefer using potato flakes over flour and corn starch hands down. You can use potato flakes minutes from finishing your cook time. So if you forgot to cook flour to make rue, you have potato flakes. If you hate making slurry with corn starch and then wait for it to set, use potato flakes. I’ve had slurry take anywhere up to 10 minutes to take effect. But with potato flakes, it’s generally set in about two minutes.

That is my #1 mom hack of thickening a sauce, stew, or soup.

My #2 mom hack is using butternut squash instead of sugar!

If you’ve made your own tomato sauce before, you know the debate among the community: use sugar or not. Sometimes you need that sweetness to balance out that flavor profile. However, if you’re trying to eliminate sugar, or keep it to a minimum, what do you do?

You add butternut squash powder!

It’s sweet. You have an added vegetable in your meal. Plus, you have the added bonus of having yet another thickening agent that is healthy for you.

Advertisements

You would think, for as much as I make seasoning and thickening agents from vegetables, why haven’t I grown my own herbs yet?

It wasn’t until this year that I set out, with intention, growing herbs. And it was a great thing that I focused on herbs this year.

A family member tested positive this year with the strain of covid with assaults the gastro-intestinal track. But I had fresh herbs on hand that are anti-viral in nature, giving your body the building blocks to strengthen your immune system to do its job that it was designed to do.

Bay leaves are anti-viral, good for your body no matter which virus your body is fighting.

Lemon balm is also an anti-viral, but its properties are good for the whole coronal family of viruses. So it’s good if you test positive or if you’re fighting off the common cold (it’s from the same family).

So with these two herbs, and my homemade chicken stock, I had the building blocks to make a broth for this family member. Because their GI was being affected, of course food is sounding pretty horrible compared to other strains. To this broth, I added other herbs that I knew were beneficial for delicate GI and combating nausea; ginger, mint….

I’m still working on the recipe to making it recreatable. But I know I’m on the right track because this family member asked me to make a second batch of broth, because it tasted good AND it soothed their stomach so they could get some nutrients into their body.

The whole point of the broth was not to cure them from the virus. The whole goal was to get the nutrients into their body for them to get their body everything they need to fight the virus. Our bodies are amazing things. They’re meant to fight off disease. We just need to give them the building blocks to do their job.

And that is what is amazing about growing a garden. Whether you’re growing food to put on the table or growing herbs to make food taste better without all the extra ingredients in the now $6-10 bottles of seasoning at the store (sometimes more, and if they’re on the shelf).

Consider what it is that you can grow for your family. You may not have the yard to grow a garden. But with a sunny window, you can grow a few easy low maintenance herbs that are good for fighting colds and viruses. I buy bay leaves, because I don’t have the space for a bay tree. But Lemon Balm can be grown in a pot in a sunny window. And the mint family (which lemon balm comes from) is prolific and among the easies things you can grow. Plus it’s something that you plant once and it will keep coming back and grow.

Please comment below with the herbs you grow or with any hacks you have for using vegetables in a new way!

The file, Seasoning Labels, I used for these herb layers are now live in my shop here. The file comes with the labels oval in shape. To create these in the round, I just resized the oval into a circle. This font is amazing for retaining its shape!

Processing…
Success! You're on the list.

Leave a comment

Finding Hardware

What are your feelings about sharing a garage/shop with someone?

I find it frustrating! I have my office/craft space organized with containers that are labeled with its contents. So even if I have containers down I know exactly what’s in it at a glance. And it’s super easy to put away and clean up.

The garage… I so wish, with every wish available I could send my family away for the weekend to organize it and find an official home for everything. And you can guess it. My problem is that my husband has a way he wants it and our two ways of organizing a work space for repairs, large projects, and keeping our hand tools are two very different ways of thinking. The funny part is that more times than not, it’s my husband who’s coming to me to find a specific tool. And yes, I keep my own stash of hammer, screw drivers, and allen wrenches that I zealously guard like my fabric scissors. If you touch them, you better put them back where they belong, LOL.

And if you’ve built anything for any length of time, you know how hard it is to find screws, nails, and washers specific for your project. God Bless my Husband, but he has that garage that we’ve all seen our grandfather’s have: screws in a coffee can, nails in jars… they may have a home but you have to dig for the style and size of hardware that you’re hunting for.

So for my husband’s birthday this year, I had my boys help me build my husband a caddy to separate all those pieces of hardware into an easy to access place that you can quickly grab without feeling like you’re sorting through that bag of unmatched socks. And Bonus for my bragging rights, is that I sourced everything for this caddy from our garage.

This caddy is perfect for a garage, craft room (of all types), office, or anywhere you need to space save and easily access anything. While you’ll see I labeled these specific for garage hardware, you can take this idea and run with it for crafting. Instead of nails, label it buttons. For a Teacher’s classroom, instead of tacks, label for push pins. Change bolts to paper clips. You can completely cater this project to anyone and their passion!

Advertisements

Here is everything that I used:

  • Wood Box
  • Hammer
  • Tack Nails
  • Hand Sander
  • Black Wood Stain
  • Acrylic Paint with Brushes
  • Glass jars
  • Electric Drill with Drill Bit
  • Nuts and Bolts (small)
  • Size Appropriate Wrenches
  • Vinyl
  • Hardware Labels
  • Weeding Tools
  • Transfer Tape

The box that I used is a wooden box (about 12″ by 8″) that’s very similar to a cigar box with sliding lid. The lid was missing and one of the long sides was about to fall off. So I just removed the lid and nailed it to the top of the box.

One reason why I wanted to reshape the box was to have a little hidey shelf, in case my husband wanted it. You know the little objects you want to put in a safe place, but usually any counter space is a place prime for losing the thing you want to put in a safe place. So here’s a safe place. This box was rough, because it wasn’t meant to be decorative. I sanded the box on all sided before staining it. Yes, it maintained the rough look and feel. But I also fully appreciate the rustic aesthetic.

Advertisements

While the stain dried, I cleaned out my fridge from all the jars of pickled items. I’m not a pickle eater. Nor am I a fan of pickled vegetables. BUT my husband loves them. And my fridge door is where I sourced this collection of empty jars for this project. (I was not about ready to take from my canning jars, although I’ve seen people use canning jars for their hardware holders.)

After the jars were washed and I found which ones were similar in size, I placed them on the underside of this caddy. The smallest jars I put on the shelf. And I went back and forth if I wanted the row of two or the row of three jars to be in front. I chose to put the set of three in the center just for symmetry. Plus, I knew the screws were going to go in the larger jars. And other than the nails, these are the most sought after hardware in my house. So I put those in the front to make it the most convenient to grab.

While the jars dried, from their scrubbing, I set the kiddos up for painting the caddy. They got a bit distracted and wanted to play instead of use tools, but they dropped everything to paint for their dad. And since my husband loves their art, I sacrificed my want to keep the wood stain, which was my favorite part. But I kept the underside stained so a piece of me was still there.

I’m showing you this step, because you can make your caddy however you favor it. You can keep it clean and upscale. Or you can make it very family orientated. There’s no wrong way to make this caddy.

Advertisements

During this drying time, I cut out my labels with my cutting machine and assembled the layers ahead of time. That way when I was ready to apply theses labels, everything was lined up and ready for a simple peel and stick on the jars.

When the jars and the acrylic paint dried, I grabbed my drill, nuts, bolts, and jars. The first thing I did was drill a hole in the center of the lids. (If you are opting to use canning jars, make sure the lids you choose to use have already been used to preserve your food. That way you still have good canning lids ready to use in the future.)

After you are finished drilling, place your jars on the caddy in the exact places you want them. This pre-spacing is very important, especially when you have rows of jars next to each other like I have on the center and right side. I didn’t want the row to go over the edge, for esthetic reasons. If you have all your jars the same size and they second row comes over the edge, it’s okay. You may want to consider painting the jar lids to keep a uniform look. But the placement is also important because you will find that your jar lids are a smaller diameter than your jar sides. So by pre-spacing your lids, you will make sure you can screw your jars into your lids and not have an issue with the box sides or the shelf.

While you hold your lid in place, drill a hole through your caddy. When you hold is completed, you thread the bolt through the caddy and the lid and secure it with the nut. Hand tightening the nut and bolt will not be enough. You will want to tighten them with a wrench. This is most important if your bolts are short and if you want to be able to (un)screw your jar without holding onto the lid.

TROUBLE SHOOTING: If you find it difficult to keep your lid in the correct place for drilling, without moving, here are a couple of ideas you can use to assist in keeping your lids in place. Before drilling, use masking tape to tape your lid down to the caddy. Another option is to use a hot glue gun and place a circle of glue around the center of the lid. Be careful not to glue the center. You don’t want to drill through glue.

Advertisements

Once your jar lids are all secure, you’re ready to label!

To get labels to stick with the most success, clean your jar with a cotton ball soaked in rubbing alcohol. This will remove any oils, dust, soap, or anything else that could cause your vinyl to not secure cleanly to the jar.

It is crafter’s choice how you want to add the labels. You can place your jars on a work surface and apply them off the caddy. Or you can apply the labels while on the caddy. I chose to have all the jars attached to the caddy because the only jars that were a perfect match were the three that put in the center row. They were from the same company of pickled vegetables. All my other jars were different sizes, but very similar in measurements. However, if I applied my labels off caddy and centered them on the jars, then none of my labels would have lined up. However, with my jars on caddy, I could get the labels to line up near perfectly and give the illusion that all my jars are matching. The exceptions of course are my small jars in the back (washers and nuts). But those are tiny jars hidden in the back and completely understandable why nuts would be larger than washers.

However, if you’re the personality type that is bothered by things not absolutely, perfectly matching, then please ignore my chaos here. Work to your strengths and show us the beauty of our symmetry and perfectly lined labels. I love watching your work. But if you’re the type that can’t get things to line up perfectly, know that there are ways of lining things up even when your jars are millimeters off in their heights.

Mounting the Hardware Caddy

I’m sorry I do not have a picture of this for you today. We’re in the process of reorganizing our garage and we’re not sure yet if we’re wall mounting or rack mounting this caddy. I will update this post when we get that project finished, so you can see how you might choose to mount your caddy.

The one thing that you need to be aware of is how gravity is going to work when you have the jars filled with their hardware.

Remember, I organized my jars so that my heaviest and largest jars are on one side. If I install with screw jars forward, all the weight and pull are going to be forward. So I will need to compensate. If I install the screw jars in the back, toward a wall, there will be very little compensated needed because the center of gravity will be near the wall and negligible.

For wall mounting, I would want to have my screw jars forward and screw the back side of the box into the wall, with a screw in each corner of that board. Preferably I would want to screw the caddy into a stud, because that will carry the weight beautifully. If it’s impossible, hit at least one stud (which I would center the caddy on and put in an additional set of two screws, in additional to the corner screws). If all I have available is drywall, I will definitely put in wall anchors and drill the screws into those. That way the weight of the hardware will not weaken the dry wall and pull out of the wall under too much weight.

If we choose to go with mounting the caddy on our rack, I will do that using conduit bracket mounts. I will use at least three brackets on the screw jars side. That way, the weight of the screws will pull straight down. there will also be a bracket or two on the back just for stability purposes for when the screw jars are removed, and the center of gravity changes.

Another option for rack mounting is to use a block of wood. The caddy (jars removed for installation) I would put on the bottom side of the wire shelf, with the block of wood on the top of the shelf. Then drilling a screw through the open space of the shelf into the block of wood. This option is not the one I would personally go with, because it doesn’t work with how we use our shelves in the garage. But I did want to mention it because the caddy can be screwed into an existing shelf that you might have.

While there are many ways of installing a caddy like this, I want to put out one more idea. If none of the above work for your situation, you can add wall mounts to the back of your caddy. There are all sorts of alligator grip picture hanging mounts that you can use. With a trip to your local hardware store, you can find picture mounts that can hold portraits up to 50 pounds. That is over kill for this project, but I want to mention that this is another option that could work for you.

Please send in pictures or let me know who make this for. As I mentioned, this example of a hardware caddy I made for my husband for his birthday. But this is perfect for a Father’s Day gift, Graduation gift, something for a teacher, crafter, or even just as another option for home organization.

Files used for this project:

You can find Hardware Labels here.

Processing…
Success! You're on the list.