More and more people are moving to containers for growing their home gardens. So what do you do when you get sticker shock over the container prices online or in the box stores?
You build one!

Everyone talks about pallet projects. But I want to introduce you to crate raised beds.
My husband works for a company that builds machinery. The crates that are used there are tossed. Being resourceful and having access to free crates to reuse and repurpose, this is the way I build the majority of my container garden. This also has the added bonus of solving my time problem. I have so much on my plate, that building raised beds from scratch isn’t an option.
AND if you know how to use a pair of scissors and a staple gun, you can absolutely make this garden container!
There are so many different crates out there. The ones that I have and use as raised bed were formerly forklift crates. (They originally housed large machinery parts.)
With the crates you source, there are a couple of things to keep in mind.
- If there is plywood (whether the floor or sides), you will need to remove it and replace with wood that hasn’t been chemically treated.
- The crate floor should be solid. This will help contain your soil.
- The sides are okay if they have gaps. We’ll line this and the soil will stay in.
- Is this going to be a permanent or temporary container for your garden?
This last question is very important. It will determine if you need to source other materials for your container. You may find that you need screws, power drill, or even other parts if you plan on turning into a cold frame or want to add features like hoops.
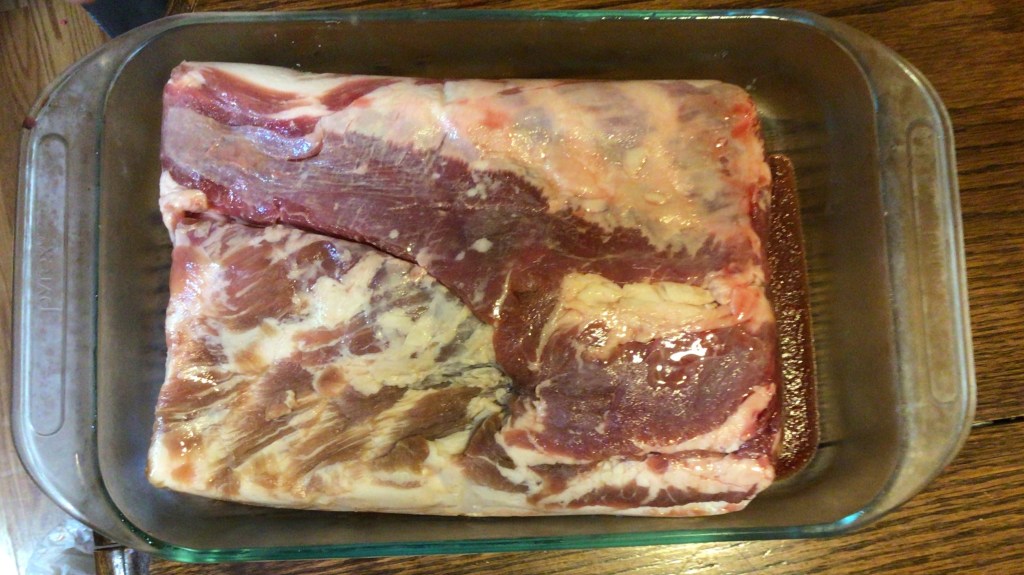
The containers that are brought home to me are made out of pine. The boards are stapled together.
The containers that are brought home to me are made out of pine. The boards are stapled together. I know that these crates were not built to last forever. They’re not even sealed for weather. But being limited in time for my garden builds, I opt for leaving my crates as is.
Tip: you can weather protect wood by scorching it with a torch.
If you find that your crate is stapled together, this feature is going to limit how many seasons you will get out of your container.

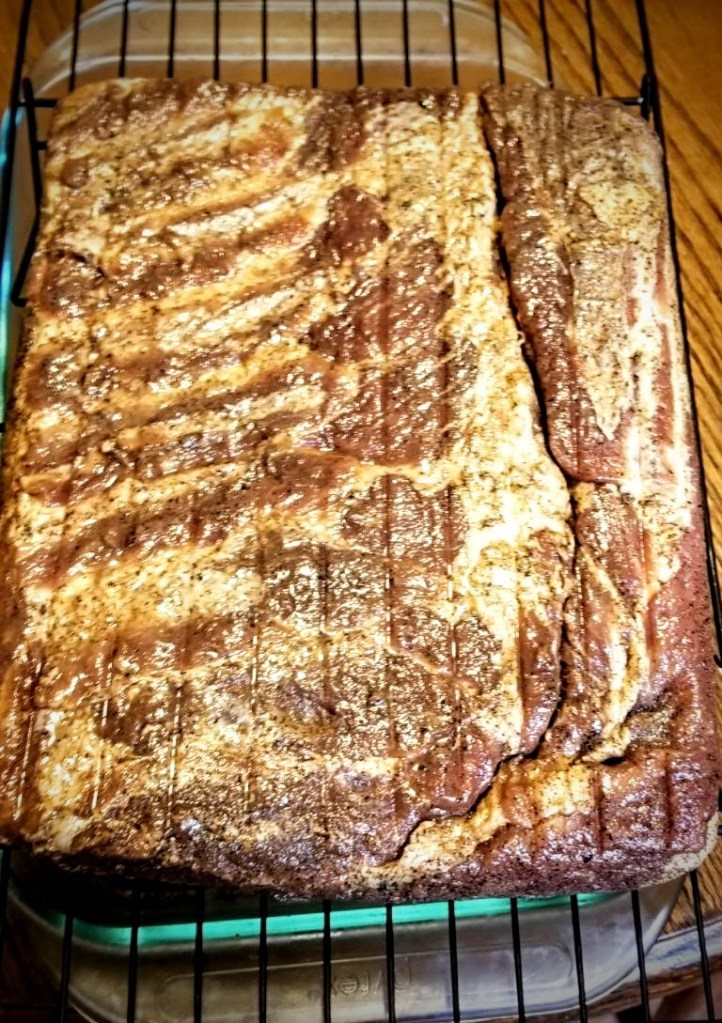
For example, the boards of my 36″ x 36″ potato crate (above) started to pull away at the start of the third year. The wood is weathered but still as strong as the day the crate came home. This is one crate that I wished I would have reinforced with screws before filling. This crate got place before filling with dirt. And with the exception of this front face, there’s no easy way of coming back in to push the board back in place and screw in. It’s tightly spaced with other structures.
Tip: My hindsight advice is to increase the longevity of your crate container, reinforce the boards with screws, right from the beginning. This will prevent awkward maintenance in a few years.
Let me walk you through how I make my raised beds from crates
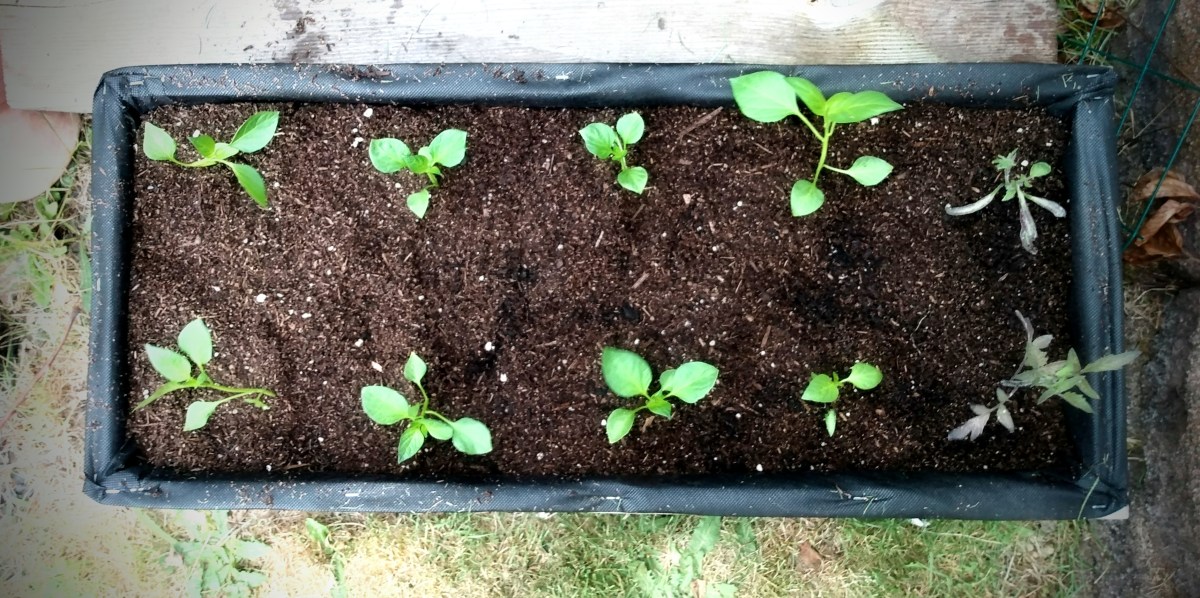
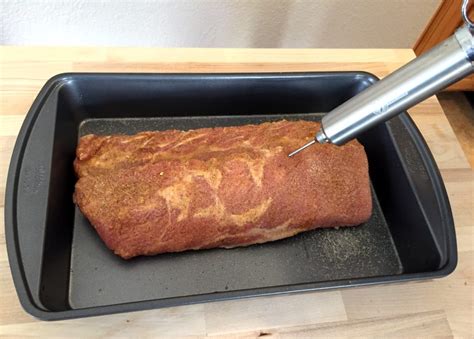
I’m using the smallest of my new crates 12″ x 32″ and about 18″ deep. (This one has been sitting for a couple months waiting for me to decide what I wanted to plant in it this season. I was gifted some pepper starts and knew exactly where they were going to go.)
Items you will need:
- Wood Crate
- Garden Weed Barrier
- Scissors
- Staple Gun
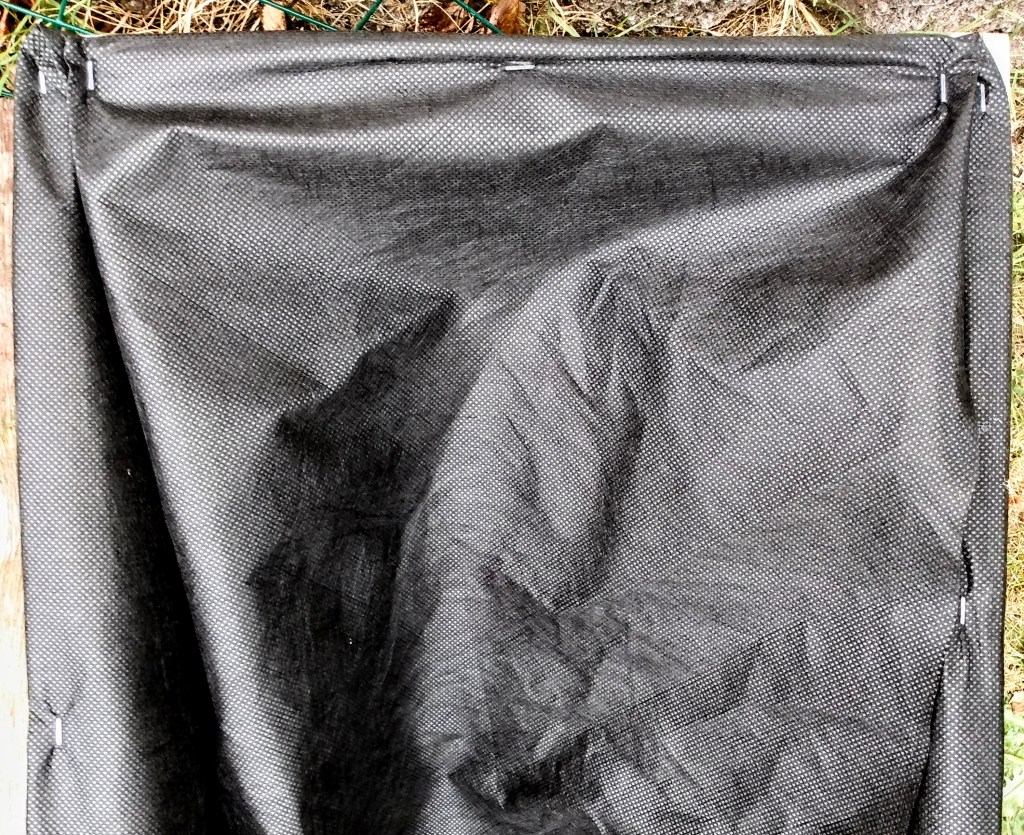
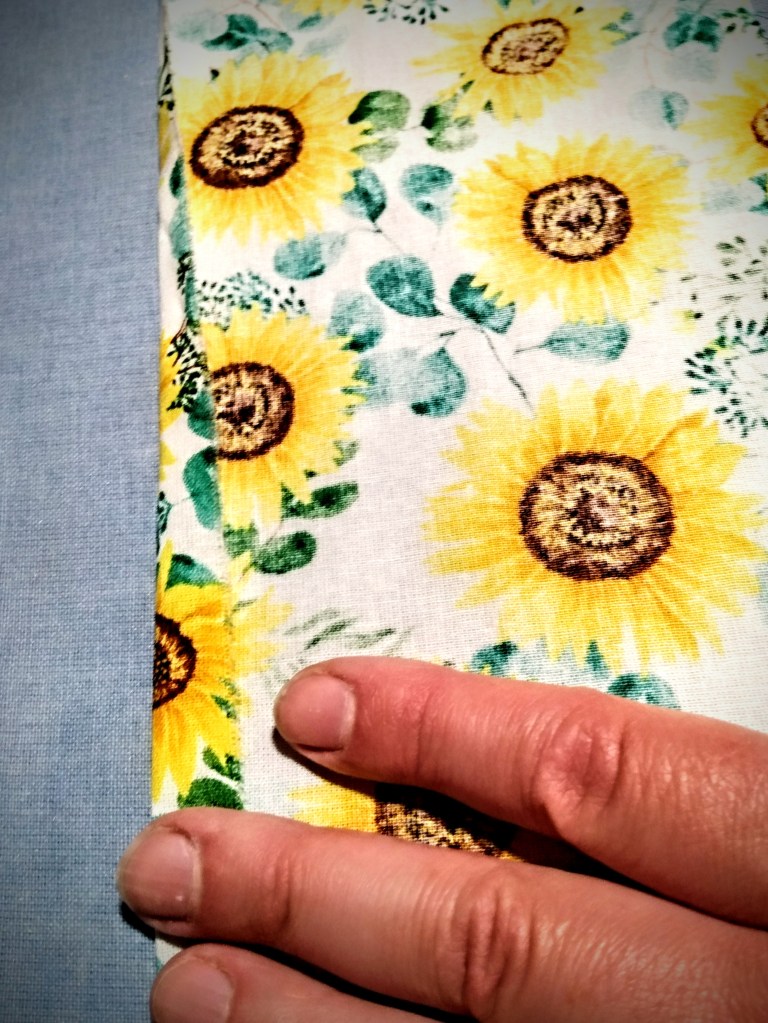
The first thing I do is fold over the edge of the garden barrier, to make a smooth finished edge, and staple it down across one edge of the crate. It’s not necessary to make a finished edge. I just like this step because sometimes the cut on my roll of barrier is slanted. So by making a new straight edge, this makes it easier to lay the barrier without worrying about it running sideways across the crate.

Note: When I line a crate larger than the width of my garden barrier, I line one side of the crate. Once that first piece is secure, I run a second piece for the opposite side of the crate. The overlapping of the barrier happens in the middle of the crate. There is no need to secure in the center floor of the crate because the weight of the soil will keep the barrier in place.
With this first edge of the crate secure, I drape the garden barrier across the top to make sure I’m laying it in centered and straight. Then I push the barrier down into the crate and make sure that the barrier has enough give to accommodate the full size of the bottom of the crate.

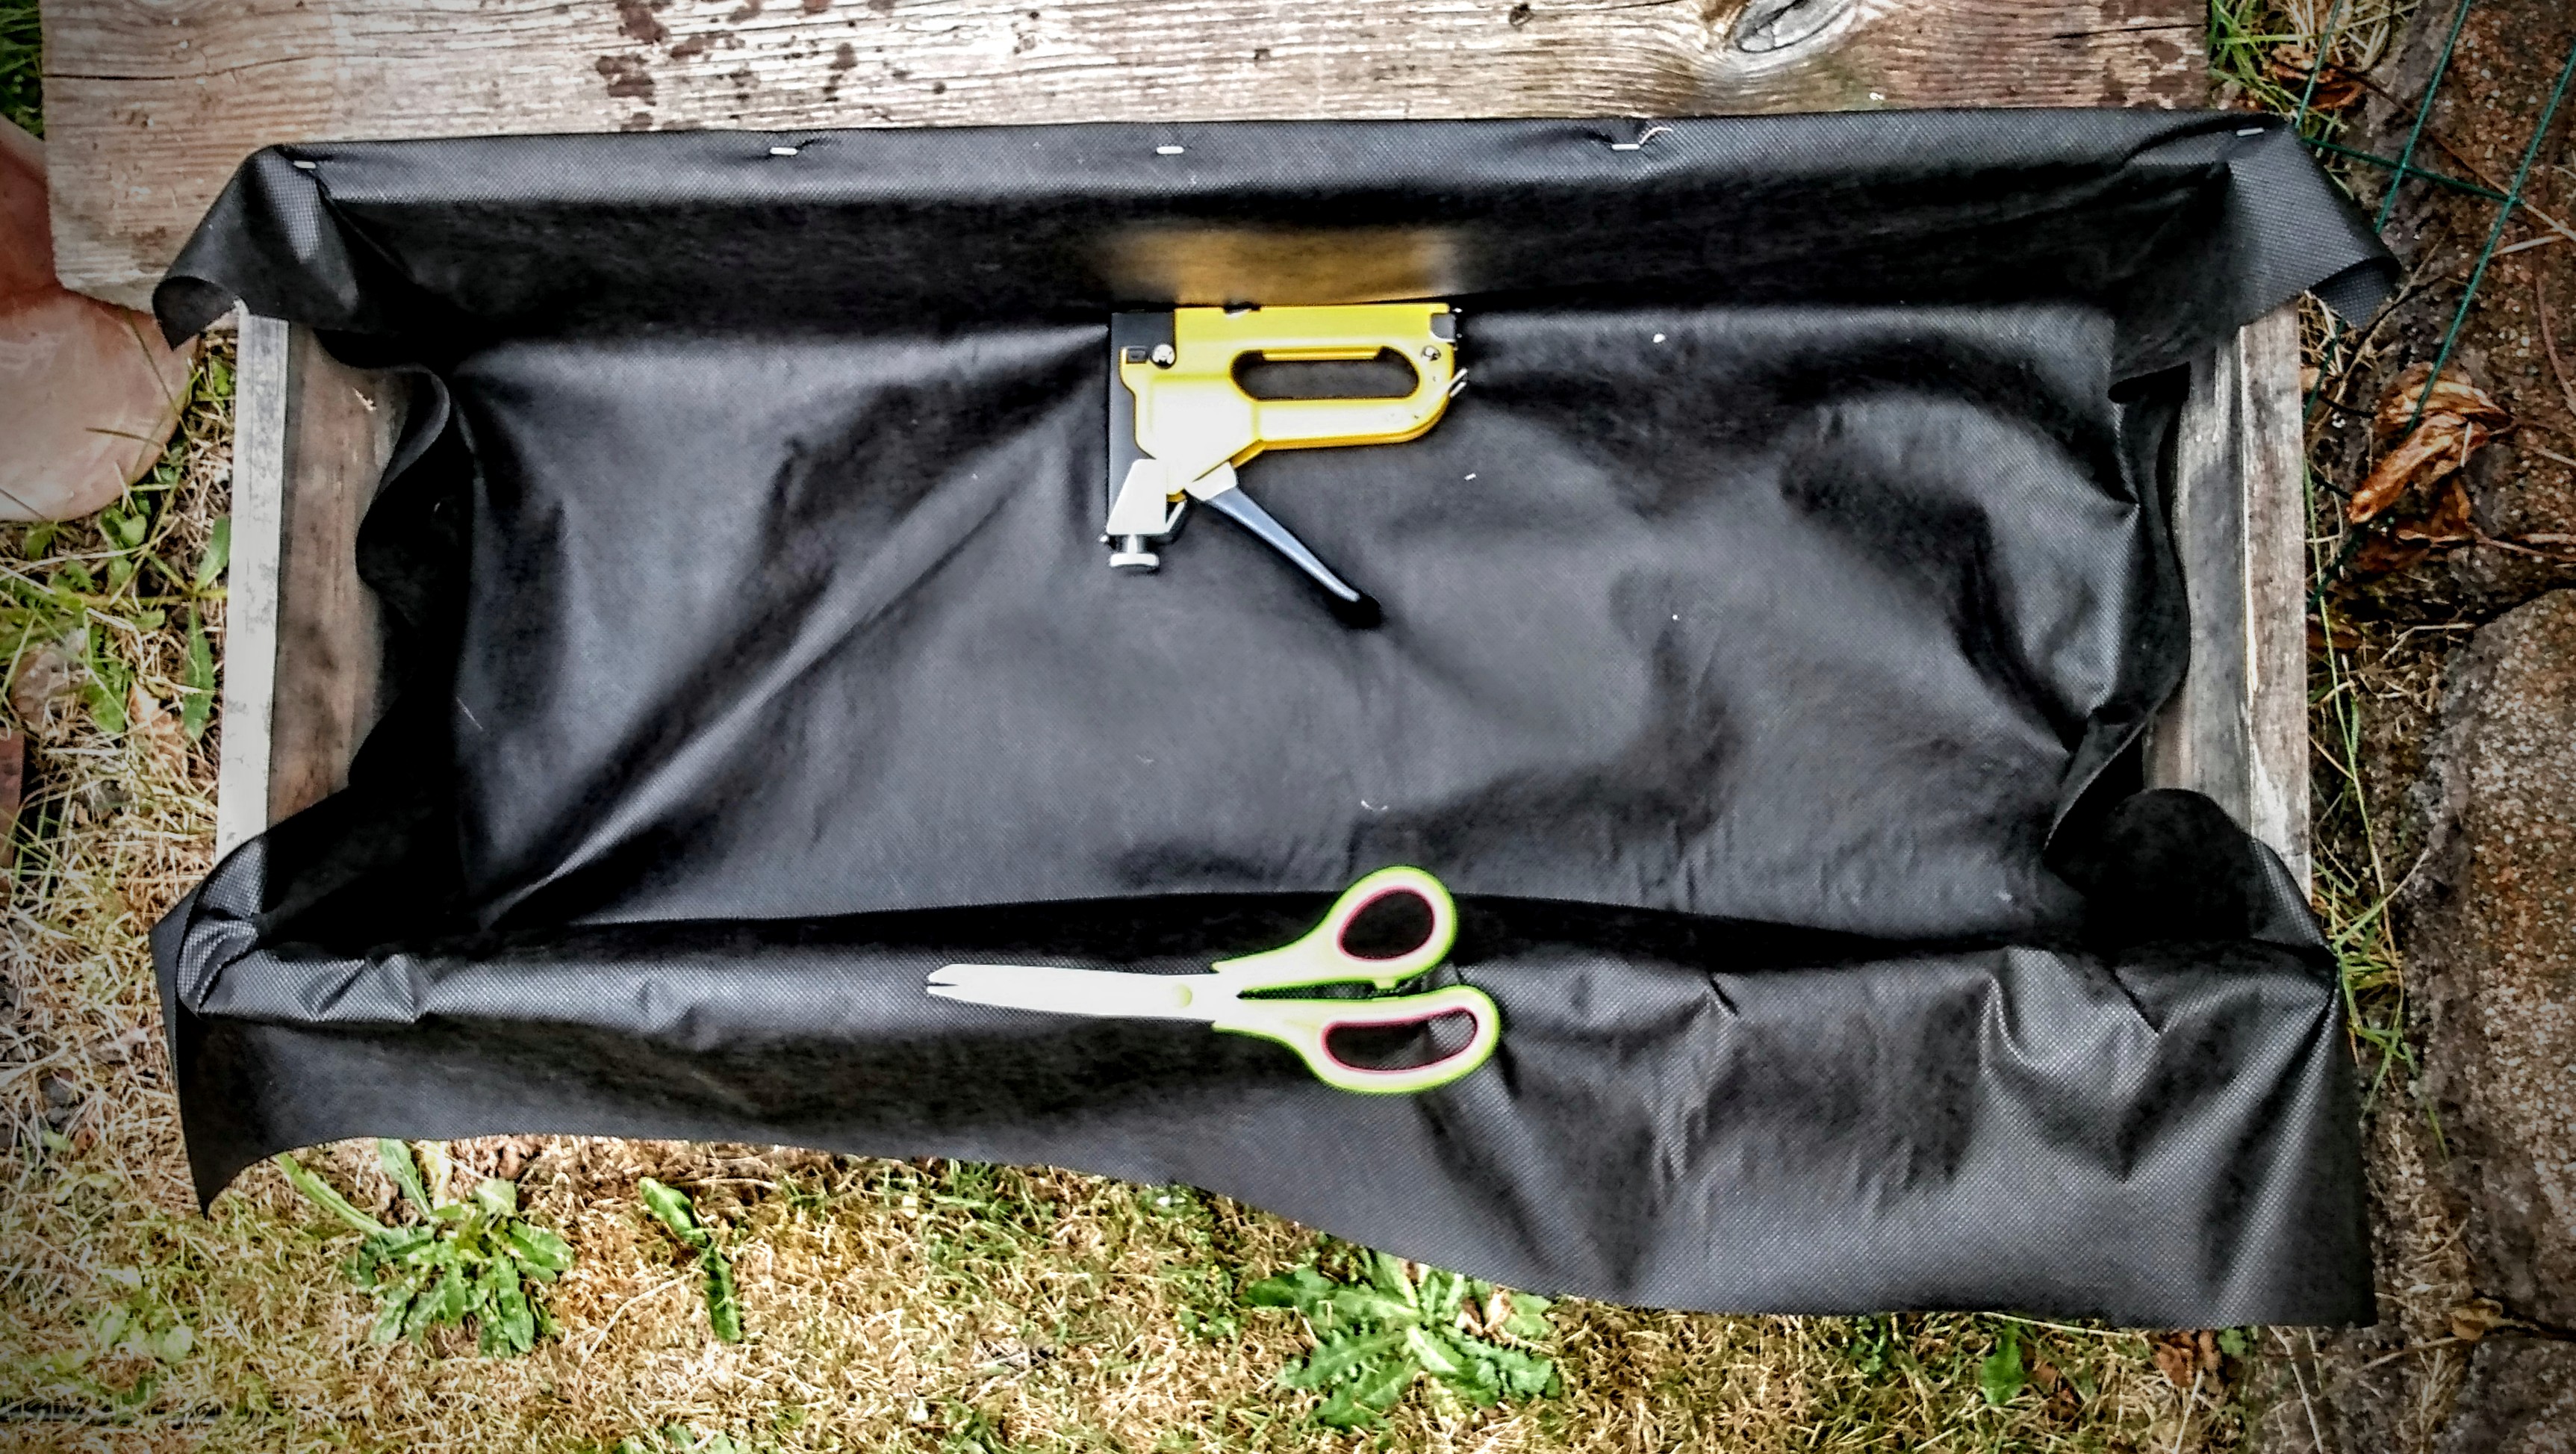
As you can see in the second picture, I trim my garden barrier a little longer than I need to fit inside the crate. One reason is that I usually don’t cut a straight line (obviously seen here). But more importantly, I learned over the last two years that you want more barrier inside the crate than you will think.
The crates I lined the first year, fitting the liner tightly to the inside. The following spring I noticed that these barriers started ripping out at the staples after the first winter of water and freezing. The barrier needed some flex that I did not allow for. So now I give some allowance.
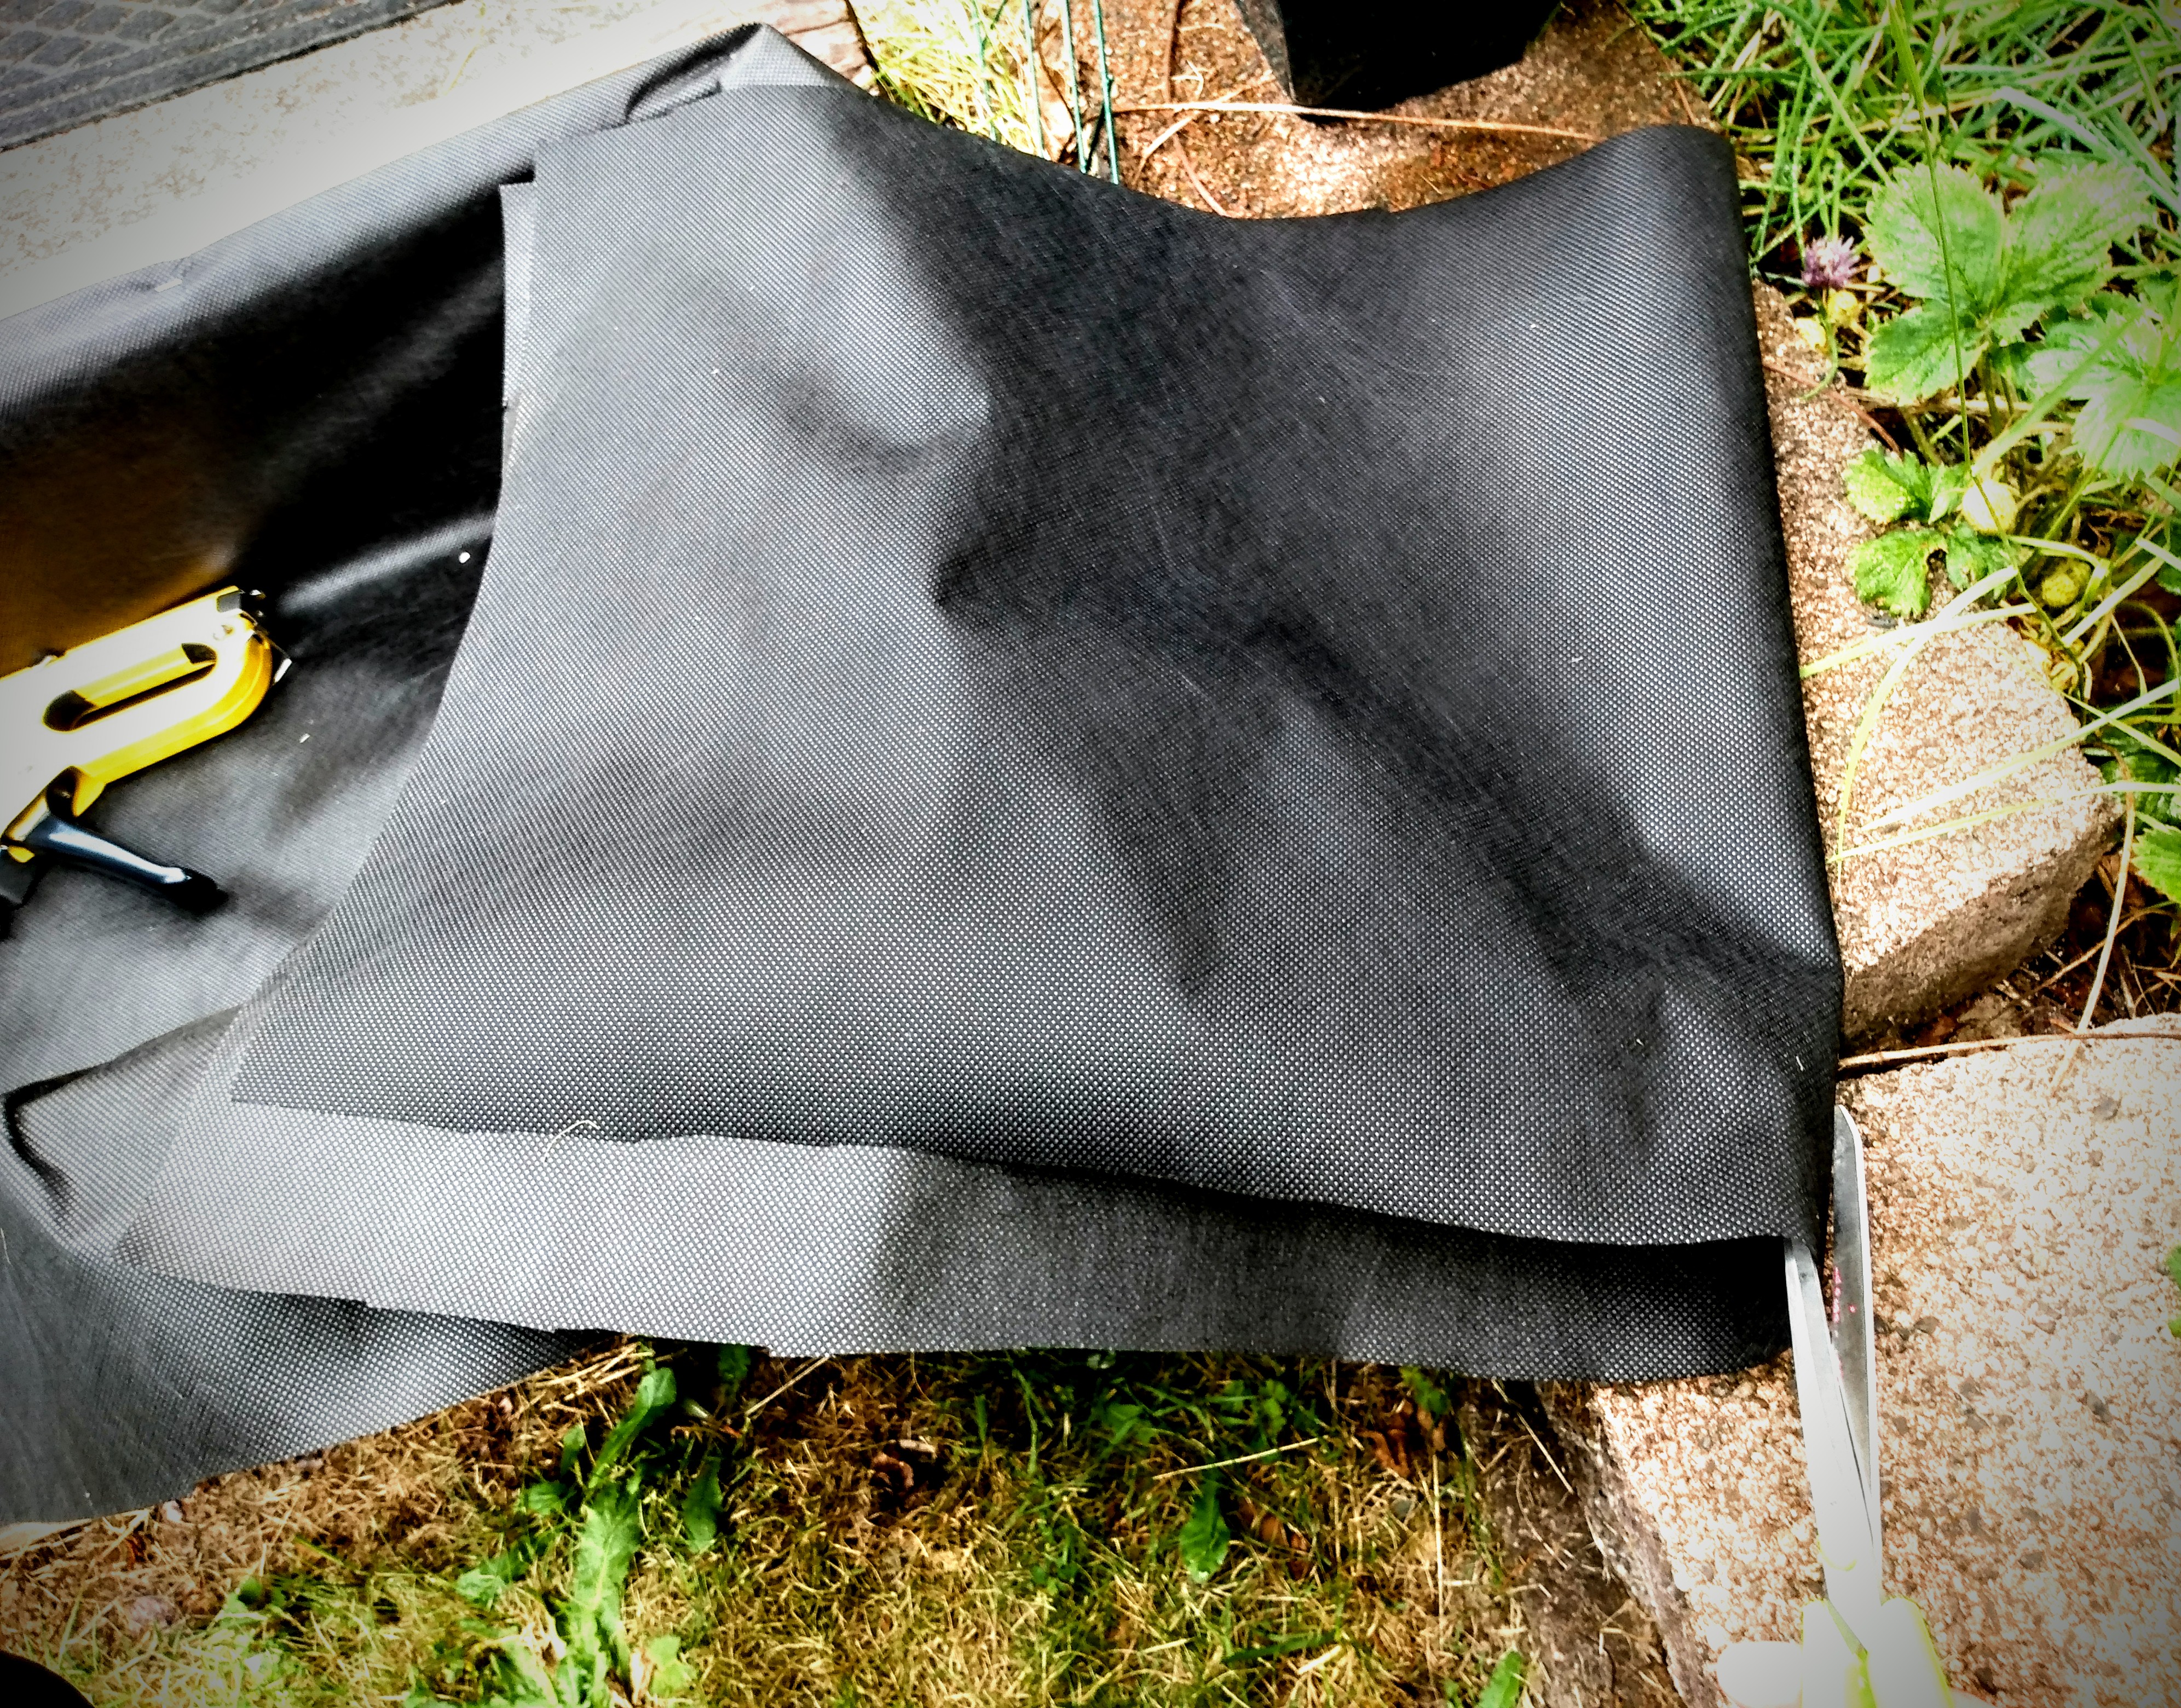
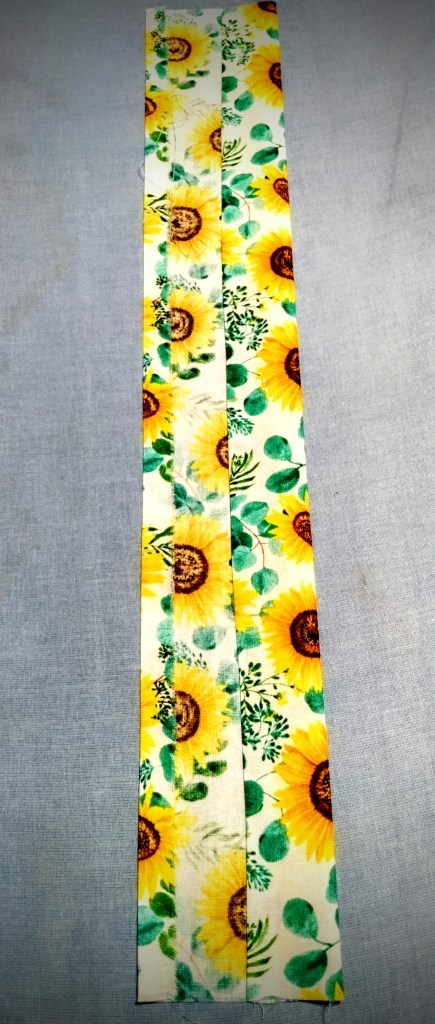
Before I put my garden barrier away (and focus on securing the lining), I cut the width of the short side of the crate. Then I fold this strip of barrier in half and cut. Each half will line the sides of the crate. These side pieces I set aside (or stuffed in my pocket for this crate because of the wind). I set the roll of barrier to a side and go back to folding over the edge of this second crate long side, and staple it down in place.
Once the long sides of the crate are secure, I secure the edges along the short side to hold them in place before securing barrier down the short sides. This keeps them up and out of the way. And if you’re lining a crate while it’s windy out, you will thank me for having the barrier stay in one place so you can move through this project in the least amount of time.
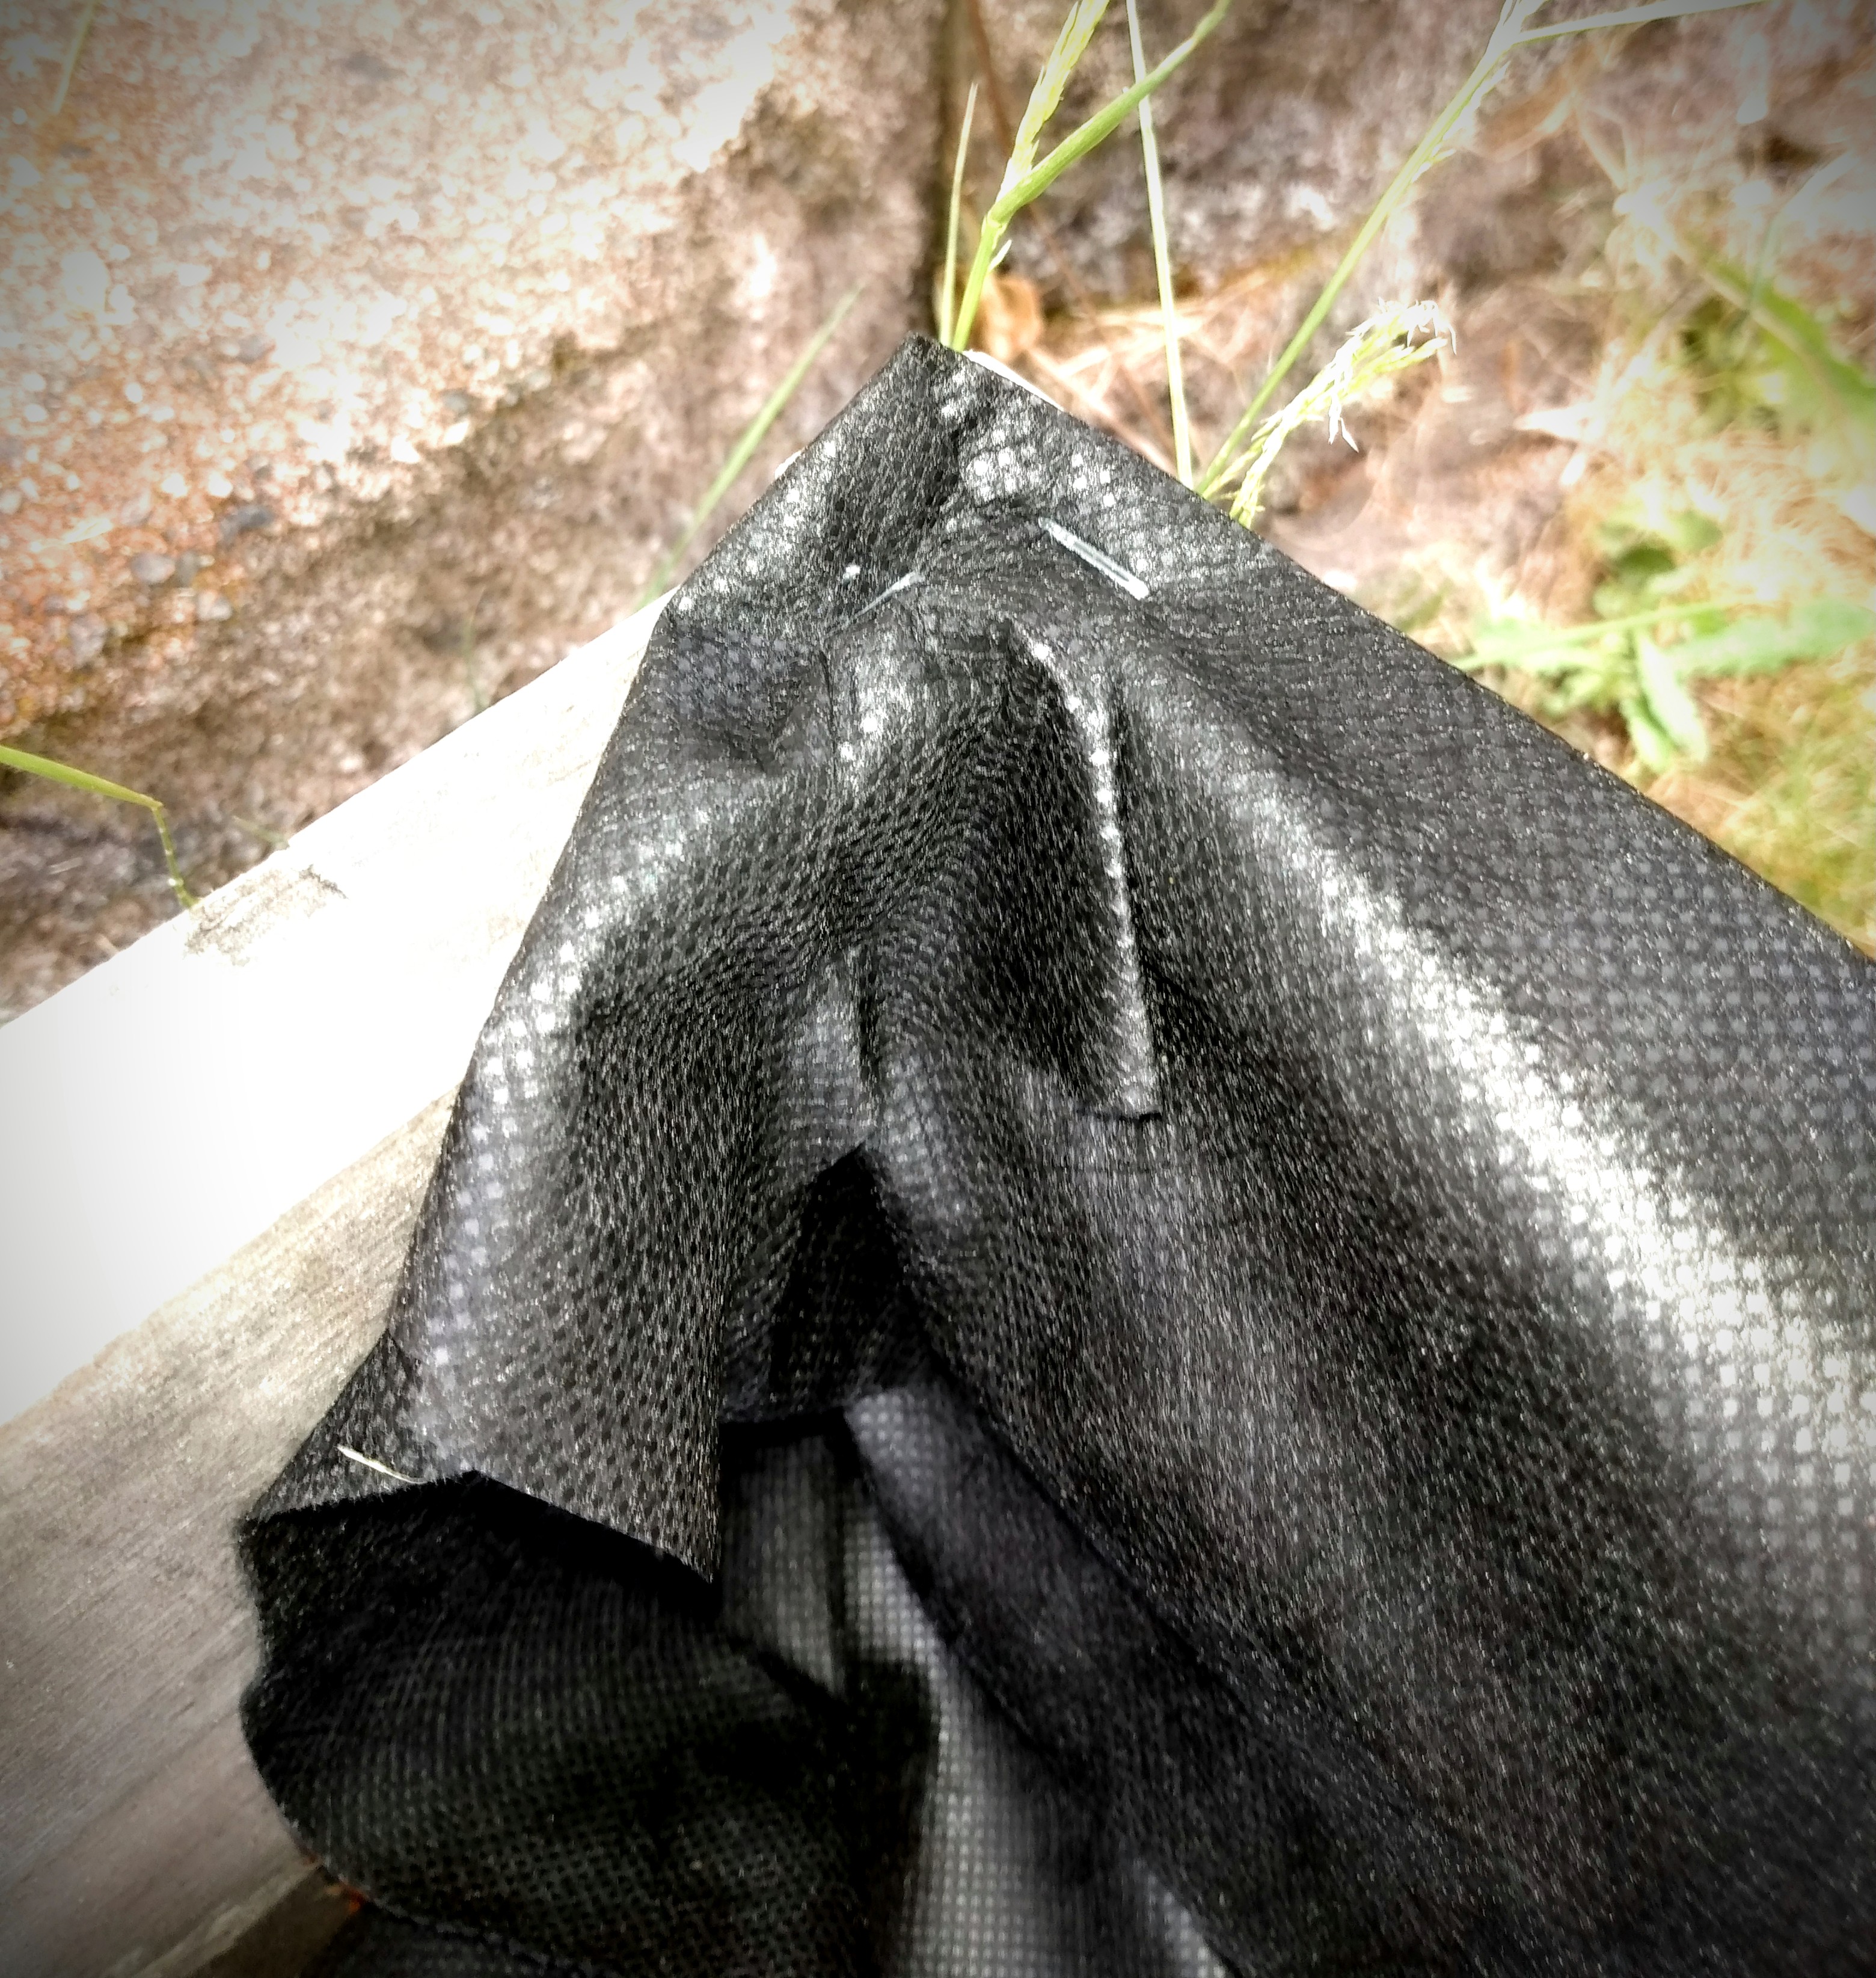
First I take the overlap, from the edge of the crate, and fold this corner down before stapling. This gives a reinforced edge as well and bringing the excess barrier down inside the crate. This doesn’t look pretty, but this is all about telling the barrier where you want it to go and keeping it contained.


Can this excess be trimmed off?
Of course it can. But you will see in just one moment, by keeping the excess length and tacking it up the side, you are creating a barrier that will keep all your soil in your raised bed without having a completely sealed liner. I use the weight of my soil to work for me so I have less steps to take.
For the next step, I pull out one of my side crate pieces of barrier that I just cut and line my first short side. I fold the edge of the barrier down, just like I did with the long side of the crate, and stapled down this top edge and pushed the rest of the length of this side down over the rough edges that were tacked down from the longer side. This flap is great because not only does it cover the edges of where dirt could go down and over time wash out of the bottom of the crate, but it also redirects any of this soil movement back toward the center of the crate.
So if you have the choice of having a generous flap (like seen here in picture two) or trimming it down, make an educated decision in favor of what’s going to help you maintain your soil. After all one of the problems with container growing of any kind is the loss of soil, mostly through drainage at the bottom of your container.


Once you secure the second short side of the crate, you will see here in picture 3 that you have a fully lined crate.
The first time I lined a crate, with no one telling me how to do it, I must have taken an hour to do this. Even with taking pictures, this only took me about 15 minutes. The larger crates don’t take any additional steps. So it really is time efficient to take a fully made wood crate and line it to make your own raised bed.
If you did not line your crate where you want it’s forever home to be, make sure that you move it now. Even with this smaller crate, the weight of it filled is more than I can move on its own. Even with a hand cart, I still wouldn’t want to move it because I could just see myself knocking it over and spilling all my soil all across my yard. For my sanity (and your own), I just make sure I place my crate raised beds before I fill them.
How I fill my raised beds
I’ll start by saying that I don’t fill my raised beds like everyone else.
One reason is that I don’t have the gardening budget to buy as much soil as I would need to fill all my crates, especially the large ones.
Another reason is that I’ve talked with many people about different types of gardening are available for each of us to choose from.
The drawback to container growing (even raised beds) is that there comes a time where there will be a depletion of nutrients in soil. So even though I do top off my crates with raised bed potting soil, I choose to think long term with my raised beds.
Hugelkultur and Mound gardening have beautiful foresight in them. Both of these forms of gardening is that they put long term “food” into their structure building. Both contain wood (usually in the form of branches and limbs of trees, logs in larger structures) which is slow release nutrients that takes many years to decompose and incorporate nutrients back into the soil. If fact, this is the best way of getting the micronutrients into the soil that standard commercial fertilizers do not ever put back into your containers.
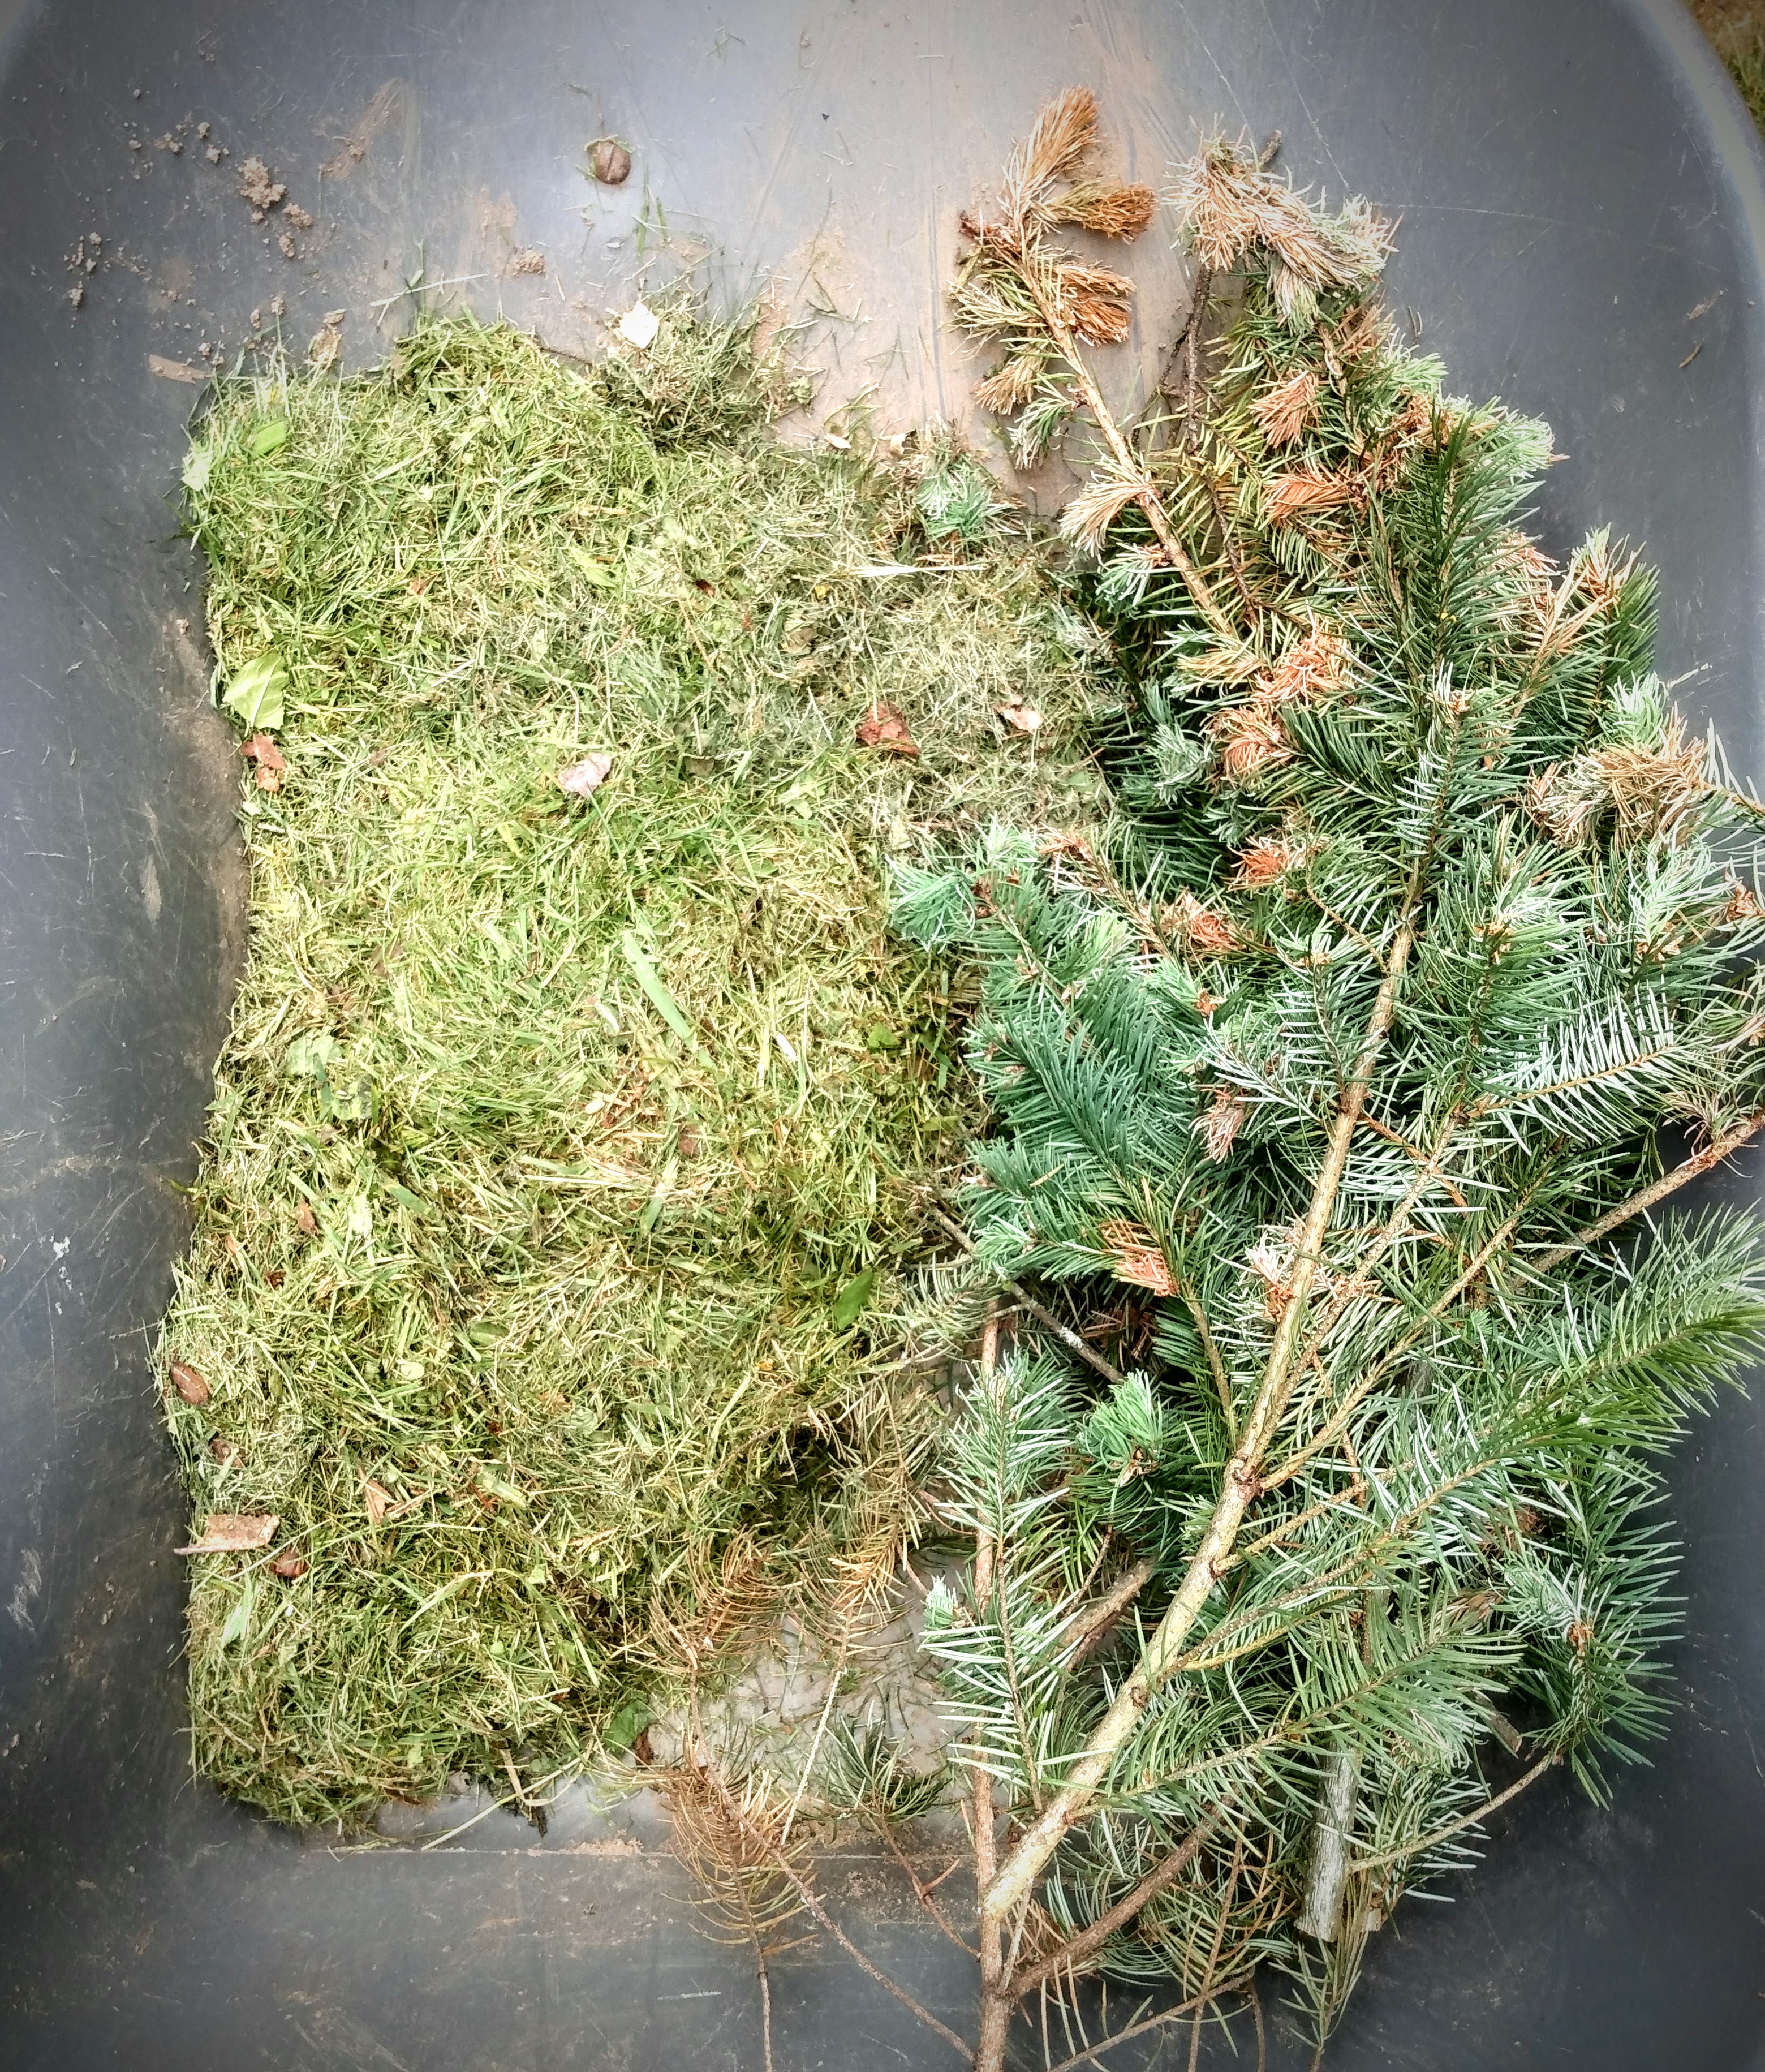


For this reason, I went back to my yard waste and compost. I grabbed some pine branches that we recently trimmed off of our trees, and a couple of handfuls of grass clippings. Especially with the large crates, these fillers are going to be amazing.
In the bottom of my crates I put the largest branches. Normally I put in camp fire sized pieces of wood in the bottom. This small crate doesn’t have depth for that. So I started off with what I consider my second layer, thin branches. Ever green boughs are perfect, not just because of the thicker needles (which take longer to break down than leaf waste) but also because they take up space.
Next I put down green grass clippings. One, they take up space and leave nice medium for plants to spread out their roots. Two, the grass fills in the branch gaps and holes perfectly.
Think of that science experiment where you’ve seen rocks added into a jar first. Then it’s followed by pebbles, then sand, and then water. It’s a perfect example of maximizing the fill of a contained space with an incondensable material like rock.
I pack my raised beds with as much long term nutrients as I can. And this method of packing with larger material first, working your way down to the smallest, is the best way of packing your container box.
From here, I went back and grabbed a couple of pitchforks worth of raw compost (complete with some of my worm residents) and the last of my current supply of raised bed potting mix.

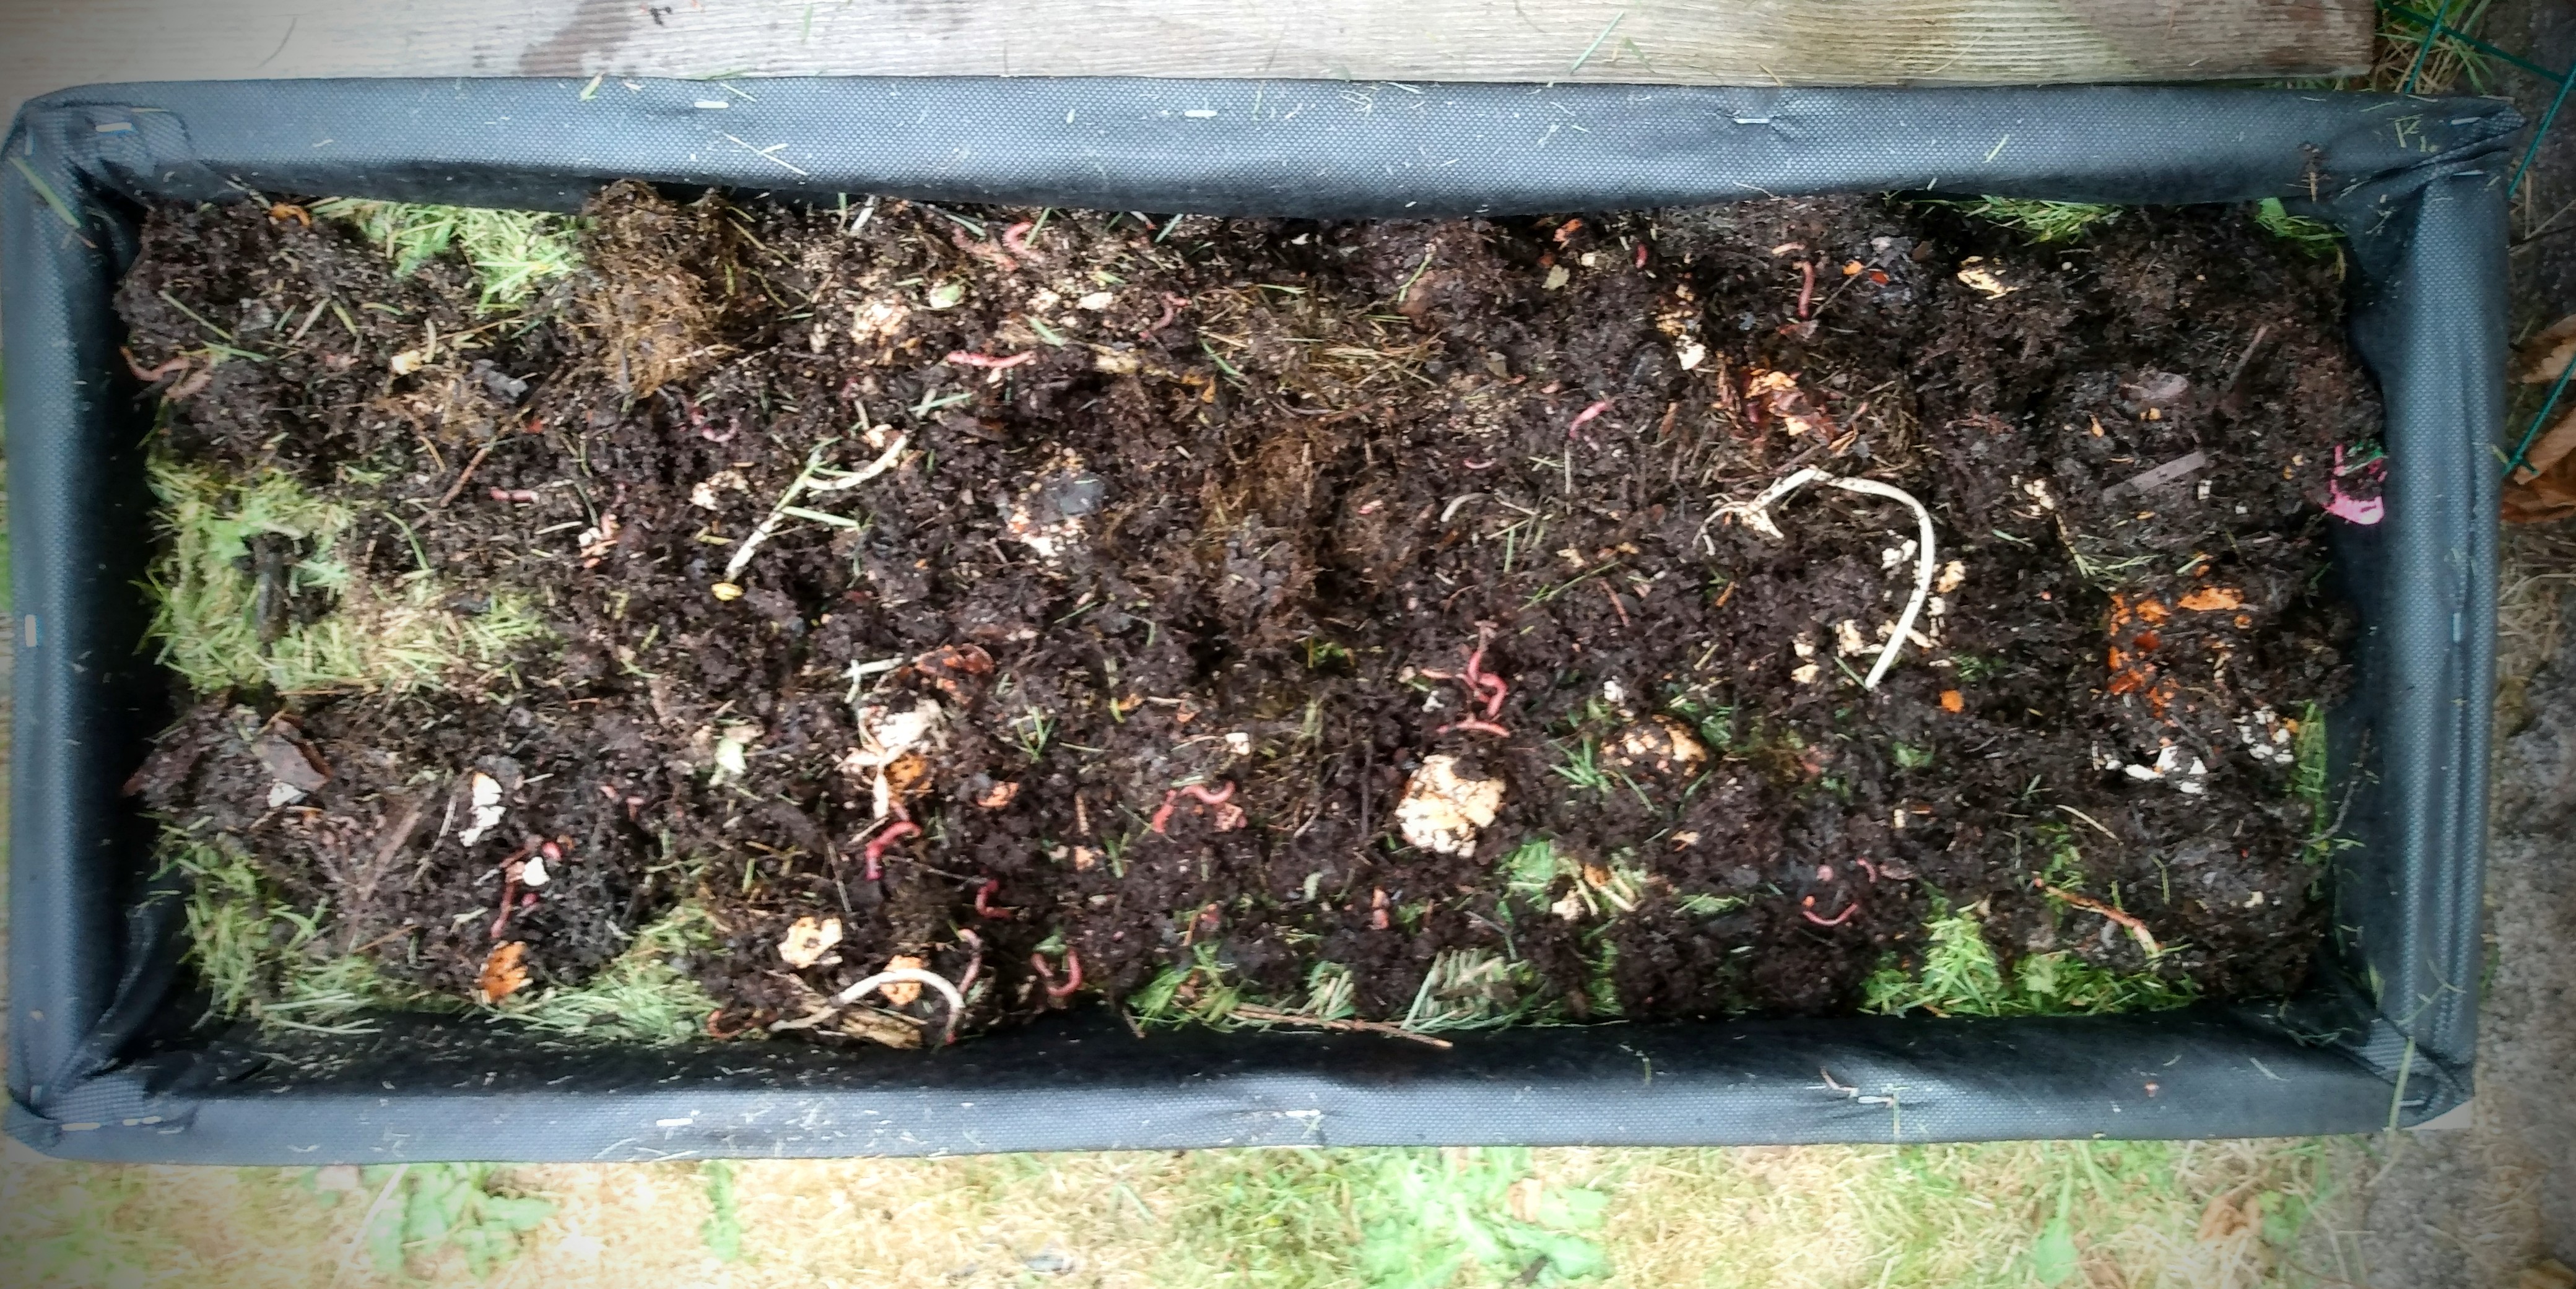

Of course it was the moment that my kiddos saw me grab the compost that they came rushing at me. My youngest dove in and tried to rescue the worms from being placed in this crate. He was acting like I was kicking them to the curb and evicting them. It took me a moment to tell him that he didn’t need to take them back to the in ground garden, I need them here.
And that’s one thing that I haven’t heard anyone talk about. We all know that worms are great for our garden. In fact we don’t give them a second thought in our in ground garden. So why aren’t we talking about them in our container gardening?
Worms are very much needed for a good growing biome. They help break down materials. And since I put in some large materials, I could let them do their own thing, or I can see if I have some worms who want to take advantage of this new home. (And this is another reason why I don’t fully seal off my lining in the crates. The worms are free to come and go as they move their way through any loose openings that take place over time. (And these openings do happen, but they’re more controlled.)
Anyway, I chased my youngest down and got my worms back in my compost. Then I quickly dumped the potting soil down on top to keep him from digging them back out. (I swear that child loves worms!)
I finish off with the raised bed potting soil because that is ready to go and host my pepper starts.

The down side to this layered nutrients in a raised bed
You may want to choose to do straight soil. Especially if you’re planting starts that will shortly need to have structures to assist in their growth. Just like these peppers will need some structure.
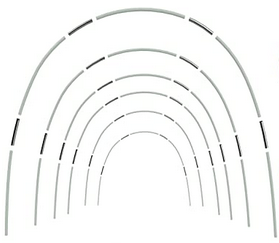
This layering, especially in this smaller size of crate, makes it impossible to add bamboo stakes for my peppers. They were just falling over. Fortunately, I have some carbon fiber cold frame hoops. I haven’t added them yet to this crate, but I’ll put in a hoop over each row to drop lines for the peppers to grow up.
I mention all of this, because if you choose to layer and expect it to hold up a stake or tomato cage, this first year just doesn’t give it the soil density to hold up a structure. So be prepared to come up with an alternate plan.
Another disadvantage to this layering is that as you can see in these pictures, I filled my crate up to the top. Over the course of this growing season, and especially over winter (when the rain helps to draw all the smaller soil material to settle into the branches in the bottom, I will see that this crate will only be half full next spring.
In the spring, I’ll add more compost and soil into this crate. At this point I can add mulch on top and the volume of the crate will not go down any further.
Again, this isn’t a horrible down side. It’s just one to be aware of and plan for. But this crate is now set up for many years of container growing. It will be sustainably nutrient rich, especially when I add the mulch and keep that going every season.
How do you like to container grow?
Here are a couple items I find useful in my garden.
This post contains affiliate links to products. We may receive a commissions on products purchased through these links, but at no extra cost to you. These items listed here are from Amazon but may be purchased at local markets.

One response to “Make A Container You Will Love”
-

[…] Make a Container You Will Love is how I start off all my new boxes. This time I reused one of my existing boxes. My onions didn’t do so well in it this past grow season, so I’m changing it up to see how my garlic will do here. […]
LikeLike


Leave a comment