How was your Christmas? Were you able to spend time with those you love?
In my house the whole month of December is difficult. But that’s the life of having a handful of young children in the house. I use to think that starting to decorate at the beginning of December and putting out presents as soon as they were wrapped was adding to the incessant build up of excitement and driving mom bonkers.
Nope.
We did things differently and things didn’t improve. My gift making still happened at night. Or should I say lasting into the wee hours of the morning. Lets just say that coffee is my friend.
But….

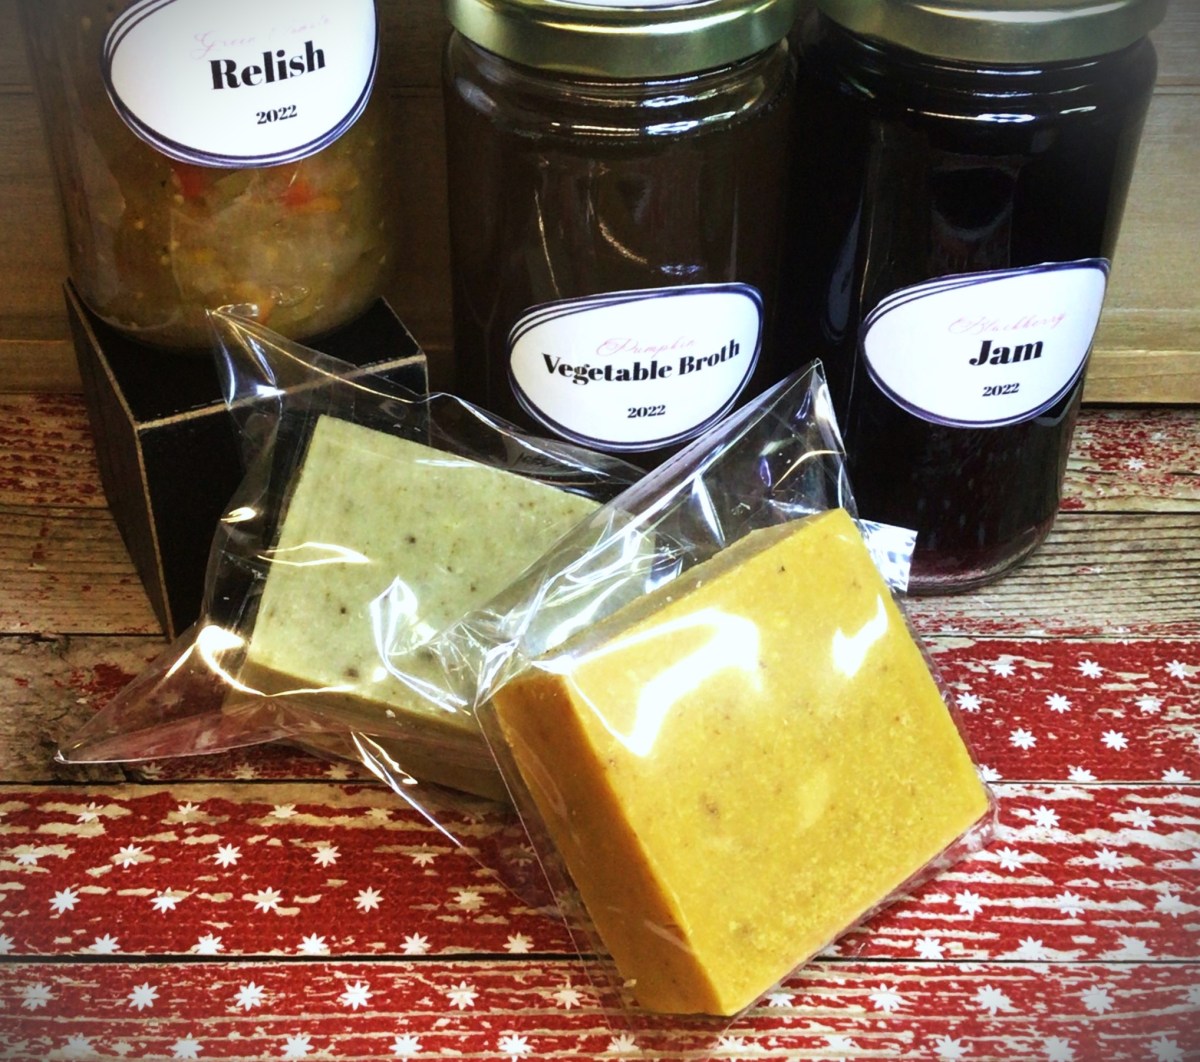
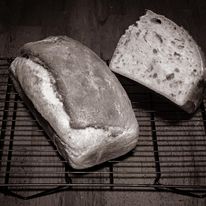
This gift, especially the soap, was probably my favorite gift to give.
I didn’t know how many people were having skin issues this year. And most people don’t talk about what they quietly suffer with. Part of it is the “I’ve tried everything” and no product on the market works.
The truth is that the local grocery stores have aisles dedicated to soap. And when you’re in that aisle you grab what you’ve purchased in the past (which may have been the brand that you grew up using) or it’s a sale based off of the label and its marketing claims. And we think that these area our only options.
You have another option
This is the video (three ingredients) that I watched that set me on the path of making my own soap, almost 3 years ago. It was an empowering feeling for me to make my first soap, Goat Milk Soap (4 ingredients), and stop buying the store bought soaps which have an ingredient list that looks something like this:
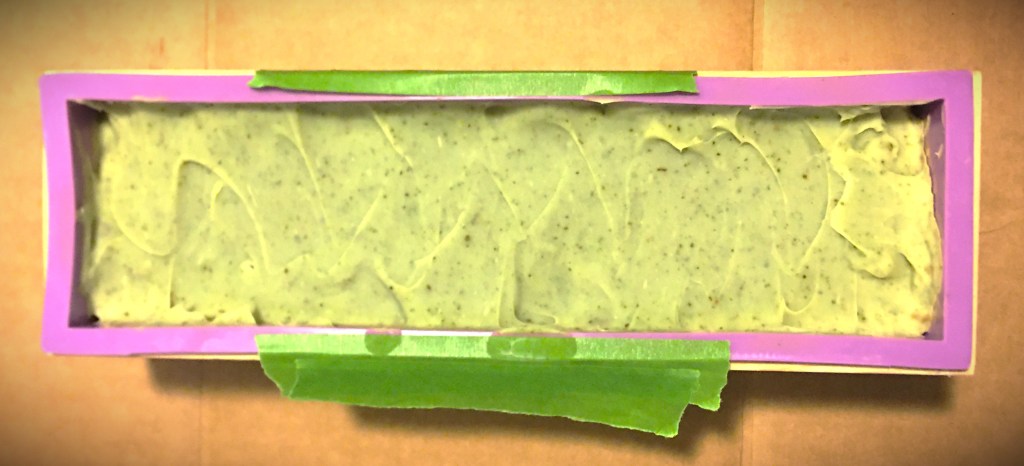
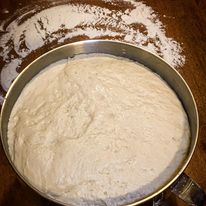
The comfrey soap in its mold.
Even though I took many chemistry courses in college, I can only tell you half of what is on product labels like this. If my children can’t sound out what the words on these kinds of labels have, that means that those ingredients are stuff made in the product labels of these soap corporations. Companies do this (take organic or natural items and change one chemical compound in the chain) they have made something they can patent and prevent other people from recreating (by pain of legal actions).
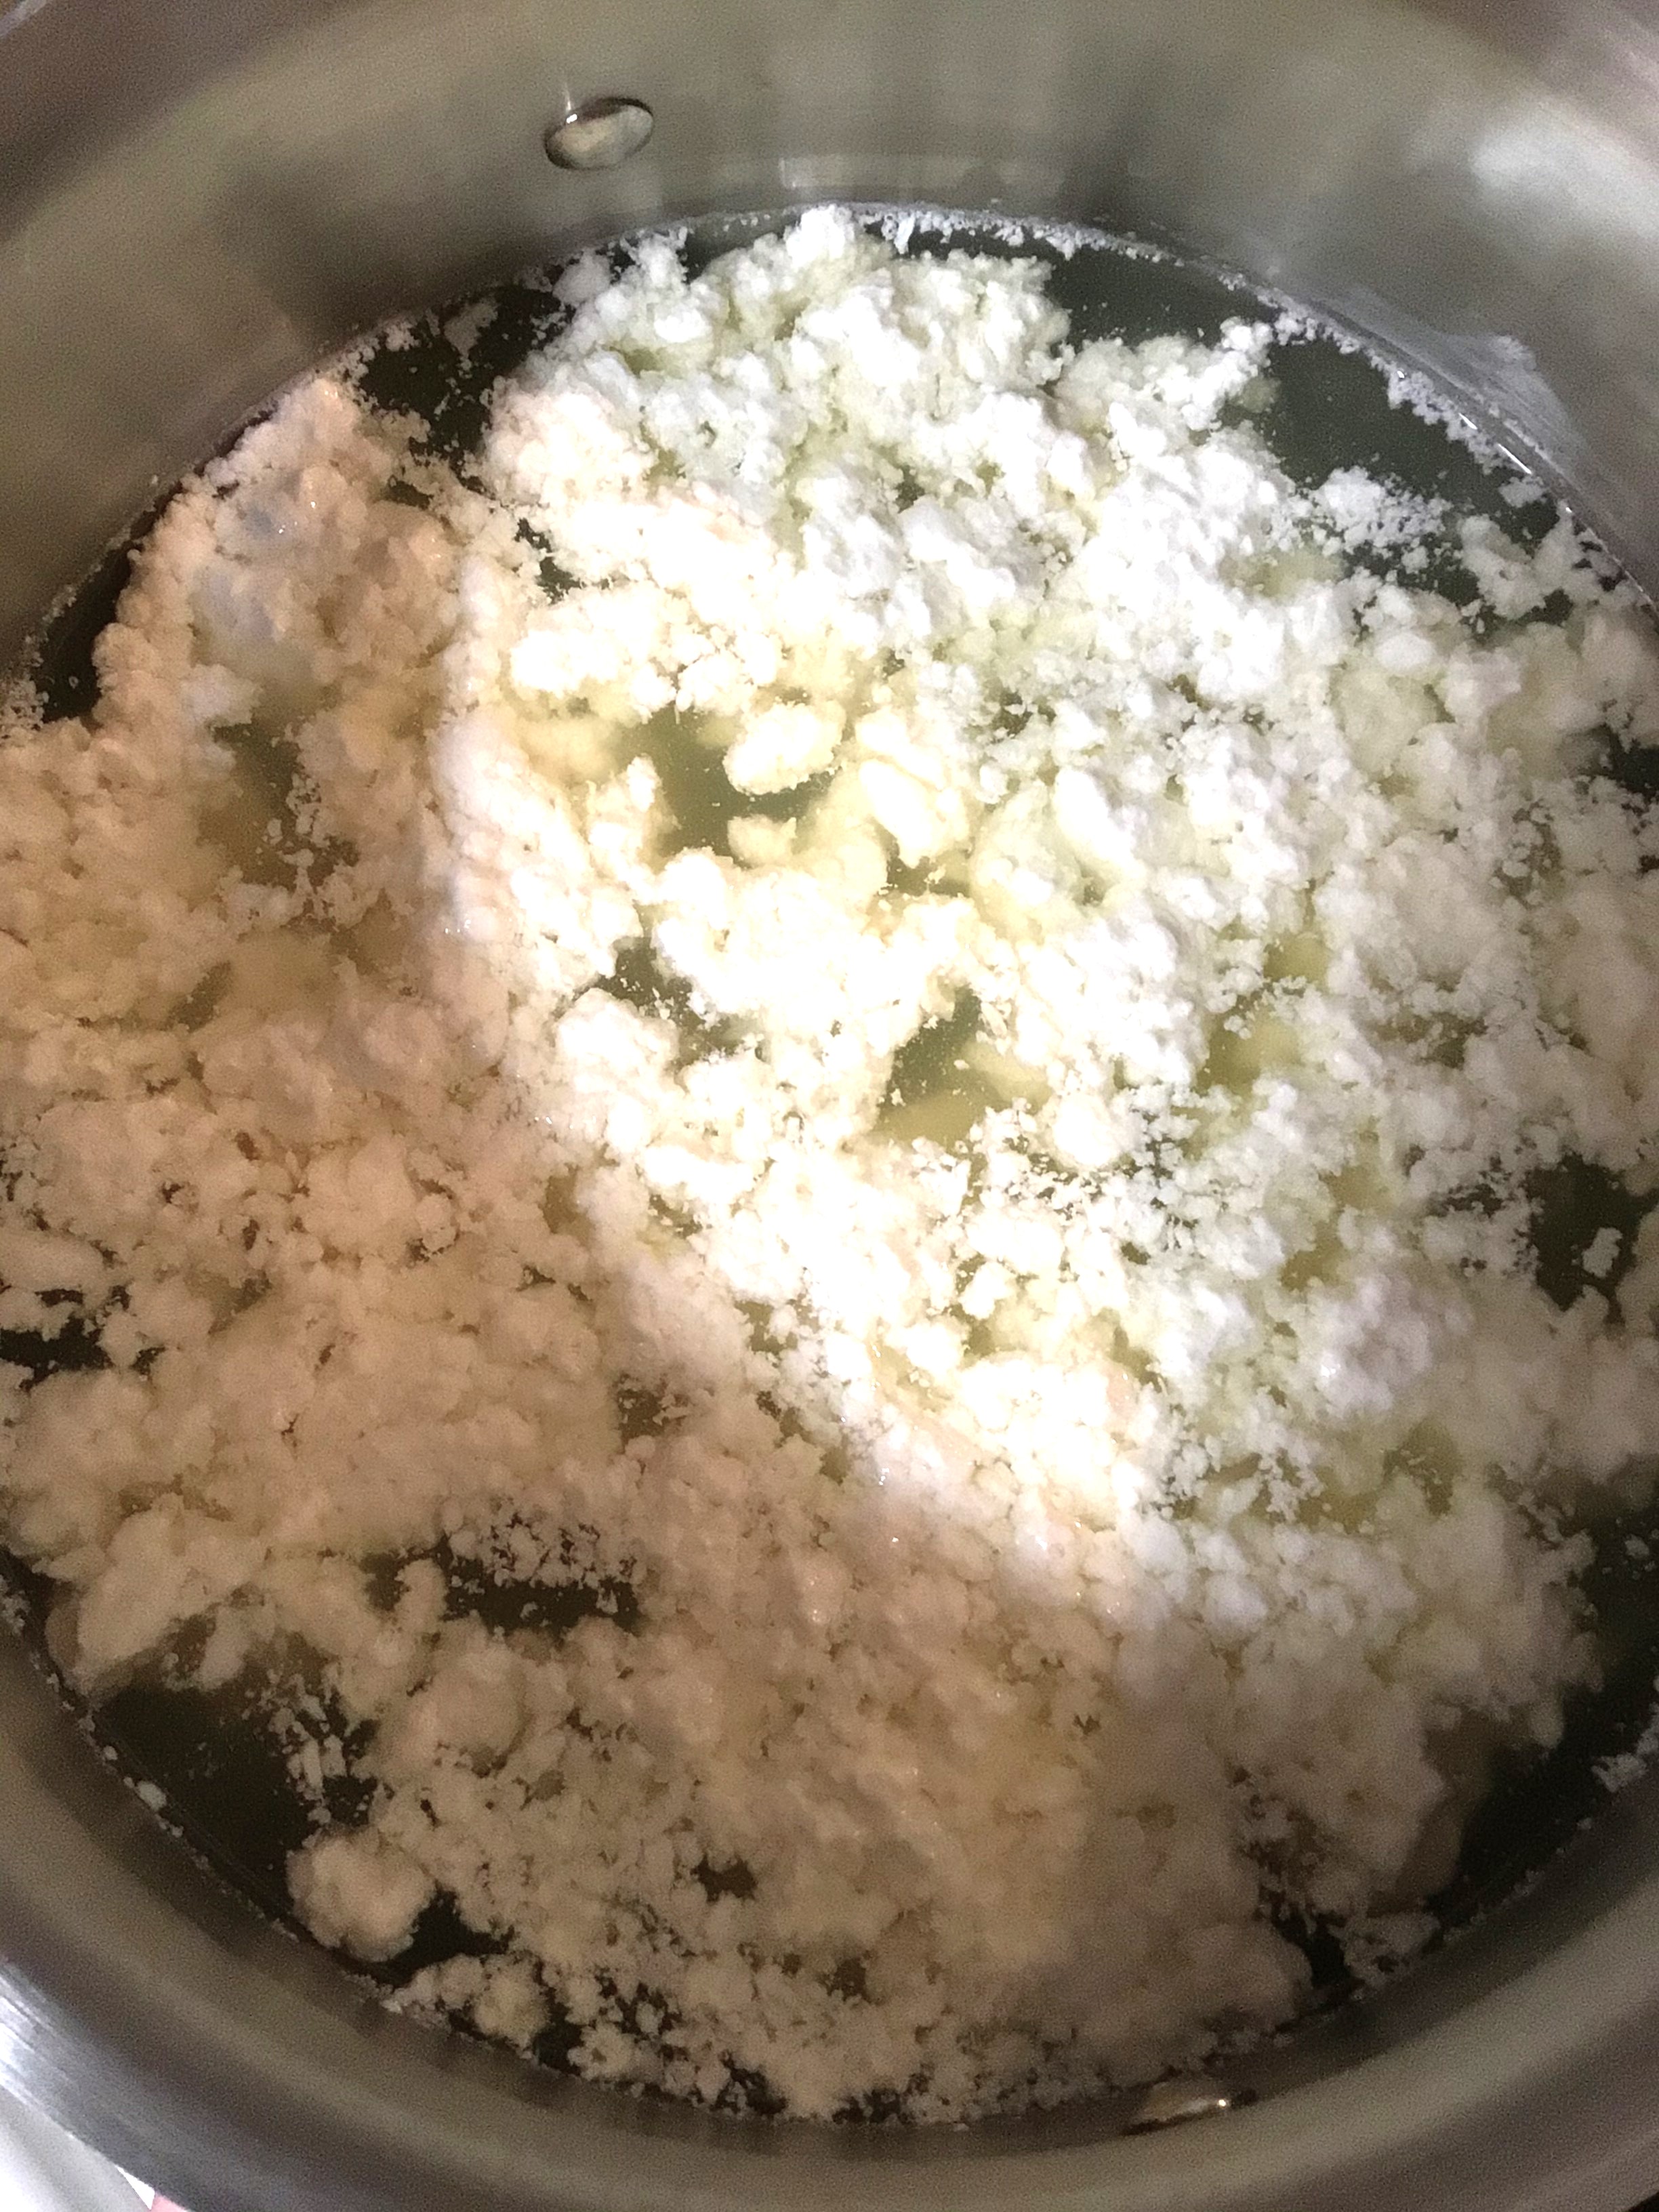
Soaps are made out of three items and three items alone: water, lye, and fats.
Yes, even those soaps that people claim are made without lye are actually made with lye. There’s a product on the market, melt-able soap base, that people claim is lye free but that is not true. This soap base is where the emulsification of the lye and fats has already happened for you. The lye and fats have already gone through the process of combining and so the lye has become safe to touch and no longer corrosive like in its original form (whether you use a crystalline lye or wood ash).

Here’s an example of a soap base. The first 5 ingredients are fats, followed by water, and then lye (sodium hydroxide). The end of the list is all the little extras that they added in to make their soap base unique from the others on the market.
In essence, this is an already made soap that a person at home can reshape and have the option of adding other things into for further personalization.
If you’re nervous about using lye, a soap base is going to be a good option for you. It’s not the best thing for your skin but definitely better than all the major brands on the store shelves.
Note: When making soap from scratch, with lye, you will need to cure your soap. This means that after you remove it from its mold (after it’s solidified for 24-48 hours), it will need to cure. This means that the soap sits for 4-6 weeks to dry out. While the soap dries, this allows the chemical transformation through emulsifying the lye and fats, to finish its work. When completed, they lye is no longer corrosive. The lye and fats molecular structures are completely joined and stable
Ingredient list from the soaps I made for Christmas
The two soaps that I made this year were Pumpkin Oatmeal and Comfrey Tea Tree.
Comfrey Tea Tree: Olive Oil, Aloe Vera, Coconut Oil, Avocado Oil, Lard, Sodium Hydroxide (Lye), Comfrey, Bentonite Clay, Tea Tree Oil
Pumpkin Oatmeal: Coconut Oil, Olive Oil, Distilled Water, Lard, Sodium Hydroxide (Lye), Almond Oil, Pumpkin Pure, Rolled Oats, Honey
Both soaps have only 9 ingredients that anyone can understand, colors of the soap come from the natural ingredients, and I can tell you the purpose of each of these ingredients and why they are good for your skin. You don’t need the lab chemicals to create lather or bar hardness. You don’t need the lab fragrances to give you a pleasant scent to wash with.
Note: “Fragrance” listed on an ingredient list of a mass produced soap, approved by USA FDA regulations, is all that has to be noted on a label even though it can include up to 200 different “fragrances” to make the scent of your soap. This is allowed because it’s modified in the lab and falls under proprietary patent laws.

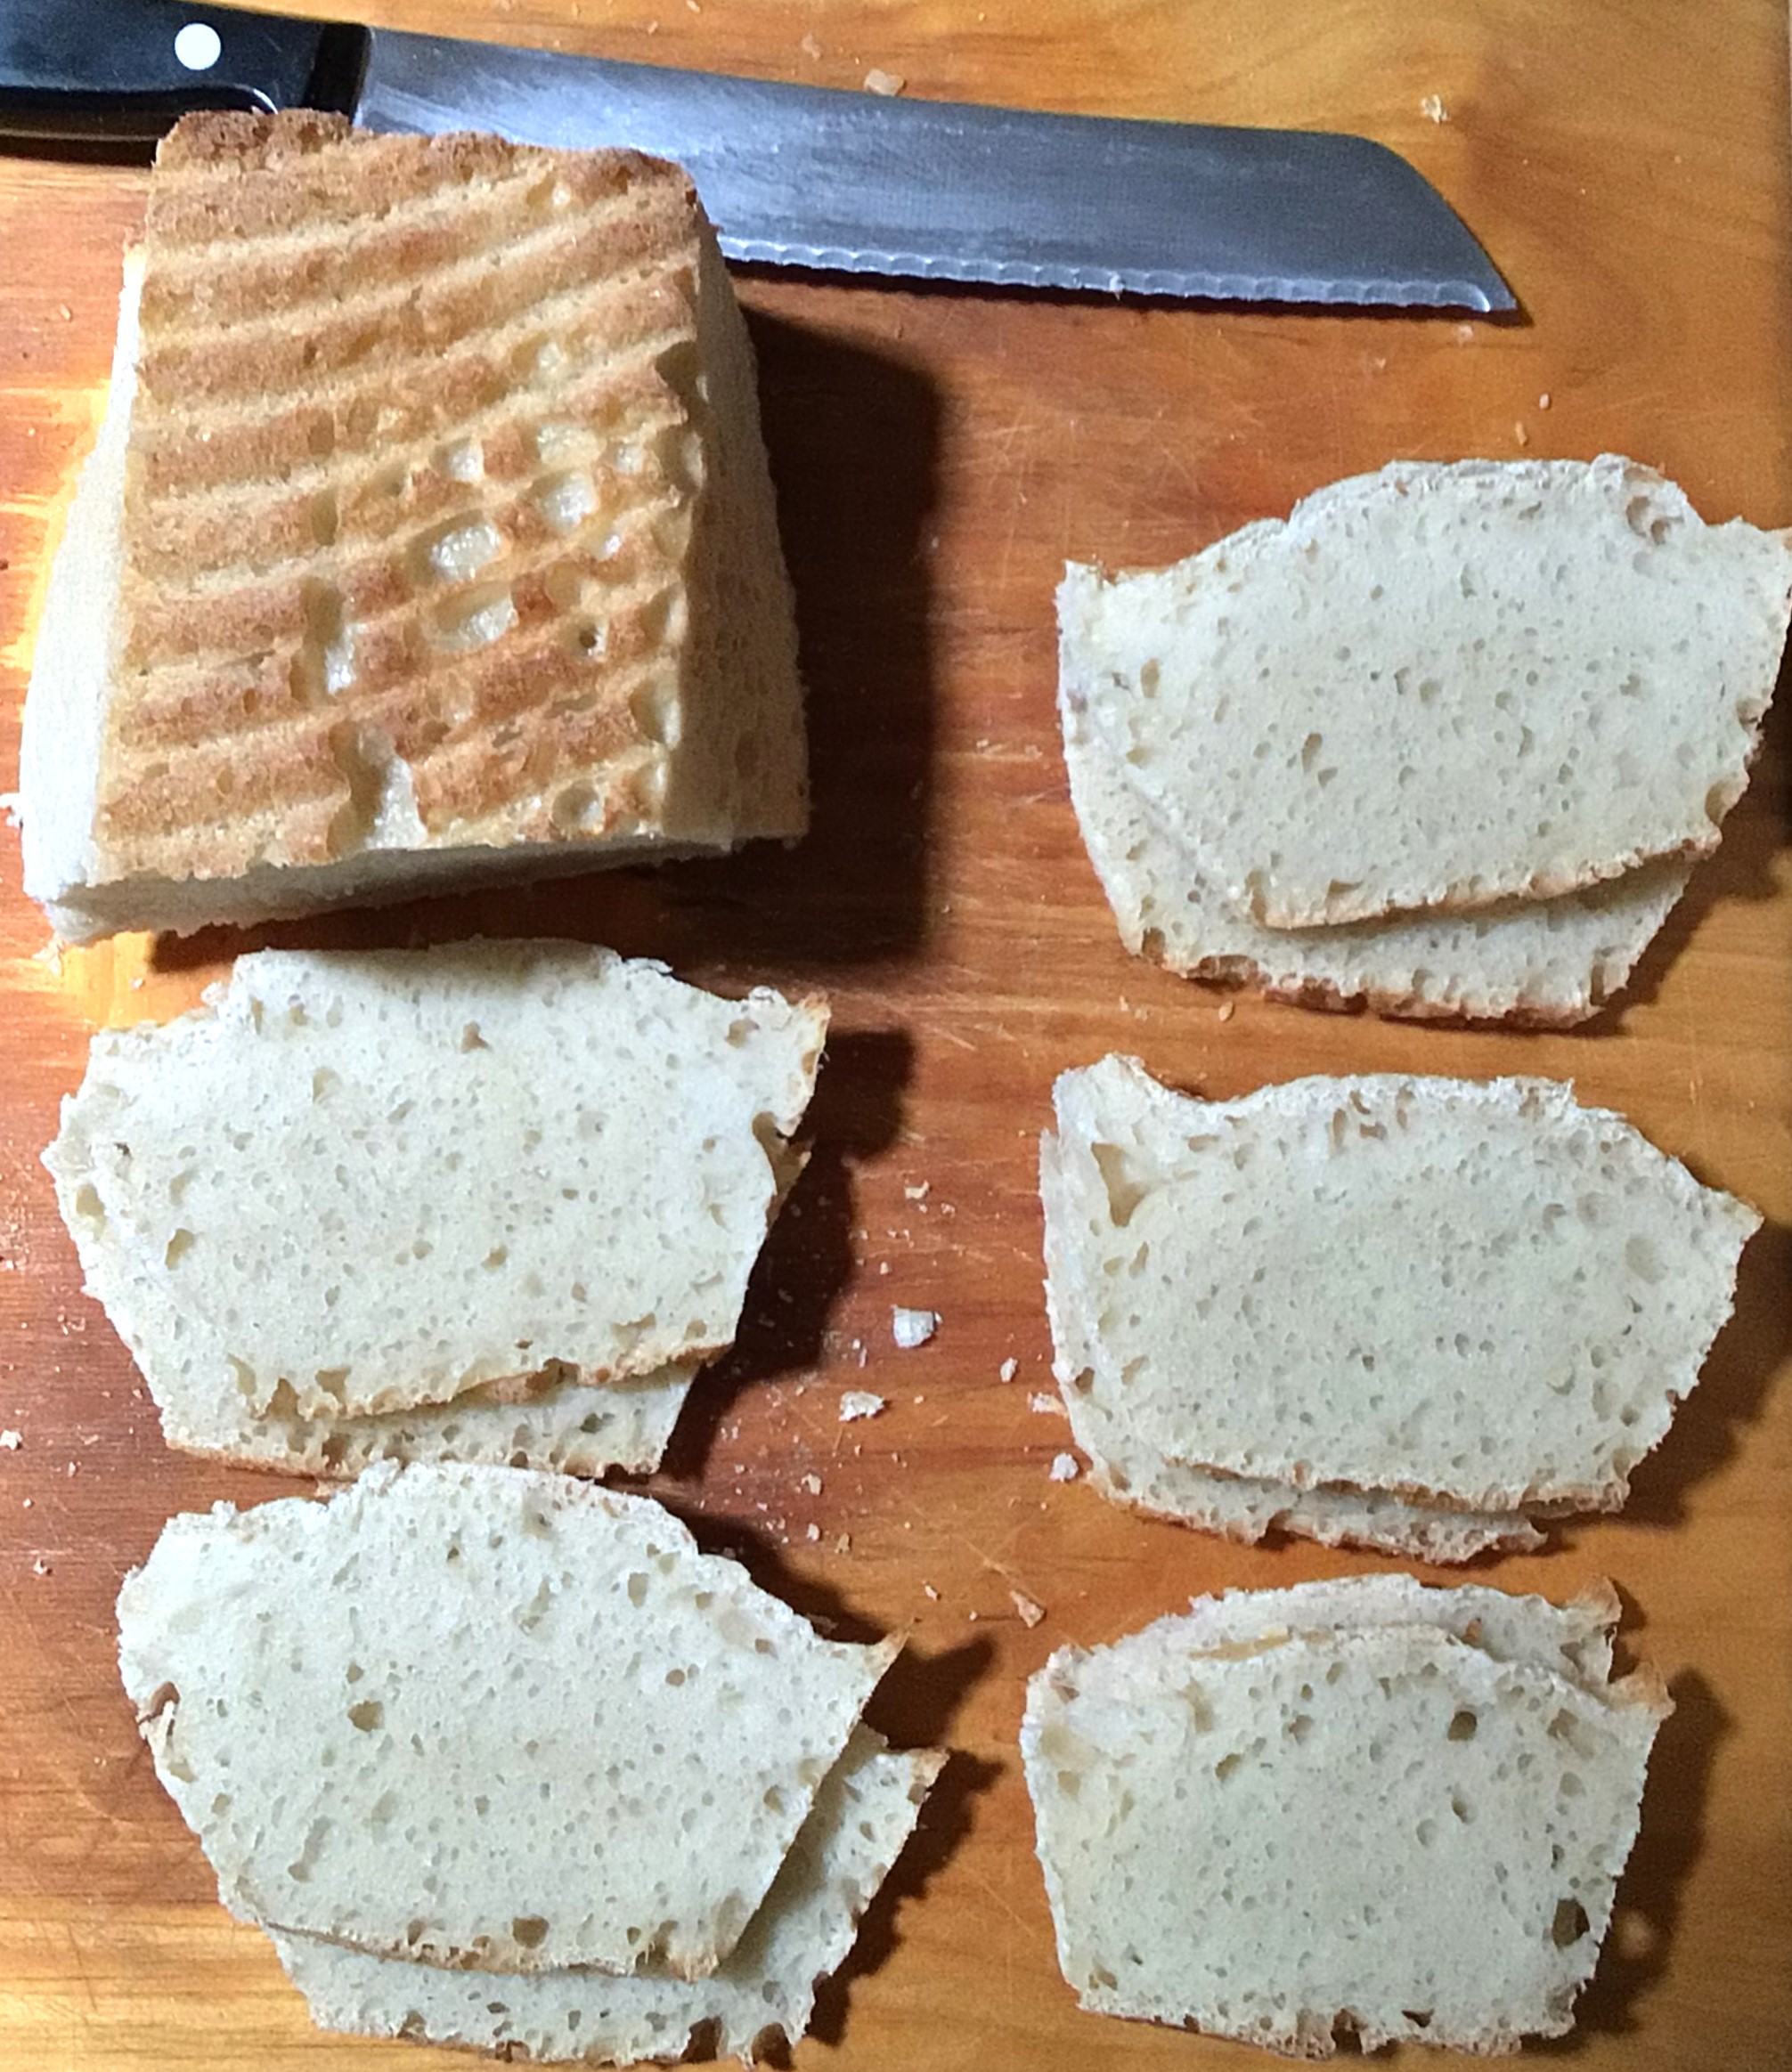
Some of the comfrey soap after I cut it and before I set it aside to cure.
I know that not everyone approves of lard use in soap, usually for religious beliefs, but this fat can be switched out for tallow (beef, goat, or deer) which can align with religious beliefs. Or these animal fats can be omitted completely for the wide world of plant oils.
The variety of fats, found naturally in the world, each have different properties for your skin health and how it functions in a bar of soap. For example, lard is a single ingredient that adds hardness to the soap bar, creates lather, and adds to the shine and conditioning/softening of skin and hair.
One book that I highly recommend for understanding how fats work in soap making and benefits to your skin and hair is Simple & Natural Soapmaking by Jan Berry
Origin of the fats is also going to play a part in how it reacts with your skin.
Shea Butter is not all the same. In fact, this week I just learned that not only is there a difference in quality of Shea that comes from heat vs. cold pressed processed Shea, but also the region. If I remember the documentary correctly, Uganda Shea butter is absorbed quicker into the skin than the Shea produced from other regions. And I never would have thought it, but the beauty industry is already capitalizing on the difference of absorption rates of the Shea butter produced from eastern and western Africa. It’s not all the same.
So if you by chance tried Shea butter beauty products and felt like the fat just sat on the top of your skin instead of being absorbed as you were promised, the reason isn’t because Shea failed you. It’s because you used a product that had a lesser quality of Shea.
In this instance, if you can afford to purchase a higher quality of Shea butter, all evidence shows that this purchase for a higher quality is most definitely well worth it. I’m all for finding the deal, but moving forward I’m now going to purchase a better quality of Shea.
With animal fats, whether the animal grazed on foods naturally available to the animal vs. grain fed and various injections will all be passed on to you through your skin.
Why what you put on your skin matters
It took me going through my second quarter of Anatomy & Physiology to learn that your skin is your largest organ in your body. Your skin keeps all your insides in, but it also is a filter from the outside world trying to come inside you.
I really don’t know why I was so surprised by all this because growing up we all have the conversations about needing lotion for our skin. We already know that we can correct some conditions by adding lotion or medication, depending on what’s wrong with our skin. But we never think about what we are adding to our skin daily that’s potentially causing the problems to begin with.
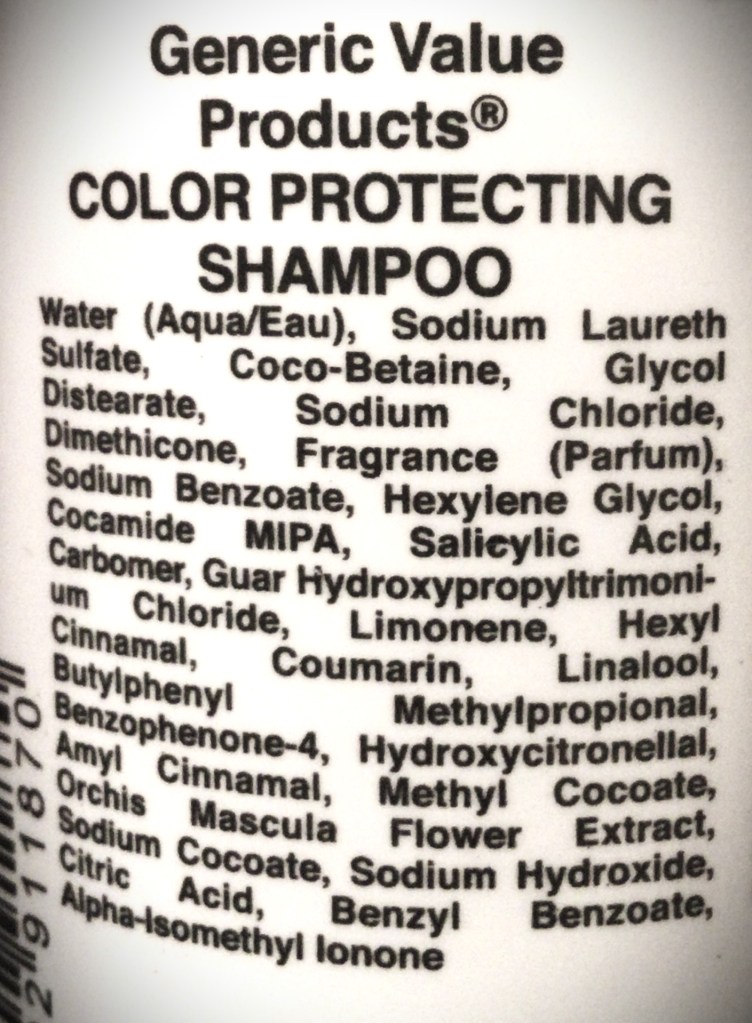
An example of a soap label. Notice the difference in readability and ingredients compared to a bar of soap I made (my shampoo bar, currently curing, is the same ingredients that the bar of soaps listed above).
We’re told to wash our hands regularly, especially during cold and flu season (not to mention the marketing for this habit over the last three years). With this increase reminder to wash your hands, how long is that ingredient list? How many of those ingredients do you know how to say, let alone identify what they do in the soap? Is it your hand soap that is adding to your cracked hands during the winter?
For example, my hands crack and bleed every winter. There has never been a lotion that I could find to ease the pain, let alone prevent the cracking in the first place. Christmas was when my Comfrey soap finished curing and I could use this recipe for the first time. Just by the first use alone, the redness of my irritated skin cleared up. The cracks decreased in size by half and by the next day they were all healed. I still have dry knuckles because I stopped using the Comfrey soap (leaving it for my son who has more sensitive skin in need of good soap). The Pumpkin soap isn’t as healing, but it’s still preventing the cracks. The Comfrey soap has aloe vera in it (which the pumpkin does not), so I might have to change that recipe to add some aloe in.
But I think you can start to see just by how your ingredients work, the natural function of things found in your garden, you can easily make a soap for yourself, family or loved ones that meet your skin type needs and not have to spend hundreds or thousands of dollars on store products that just don’t work.
There’s just so much to talk about with soap making. I will have to come back to this subject in upcoming posts. But I wanted to start the thought in your mind that you really can make your own soap. You don’t have to just survive and live with the condition(s) that you currently have. The first step is to start by cutting that ingredient list in half. The fewer the ingredients and shorter the syllables of the words mean that you understand what you are putting on the largest organ of your body. You can pinpoint what irritates your skin and you can pivot by switching out a fat or other ingredient that offers a vitamin or mineral that your skin actually needs.
Leave me a comment below if you’re looking for a solution to an issue.
In 2023 I’m looking forward to talking more about how herbs and garden ingredients can benefit your body. And all you have to do is add them as a seasoning to the foods you already cook, which benefits your body from the inside. And you can already start now with making soap to help your body from the outside. Skip the lab ingredients and start using luxurious soap that uses all natural ingredients which can eliminate all the extras that you need to “fix” what other products are doing to you.
For example, one lifestyle change for my family is that we are switching to homemade shampoo bars. My goal is to find the recipe that makes a shampoo bar where I don’t have to use 3 different conditions to combat the dryness that I’m convinced is caused by the long ingredient list on my shampoo bottles.
Happy New Year!!!
Products that were either mentioned in the post or items that you may find valuable in making your own soap.
This post contains affiliate links that give us commissions on products purchased at no additional cost to you. These items listed here are from Amazon but may be purchased at local markets. These products were paid for by us and are not the only products available.
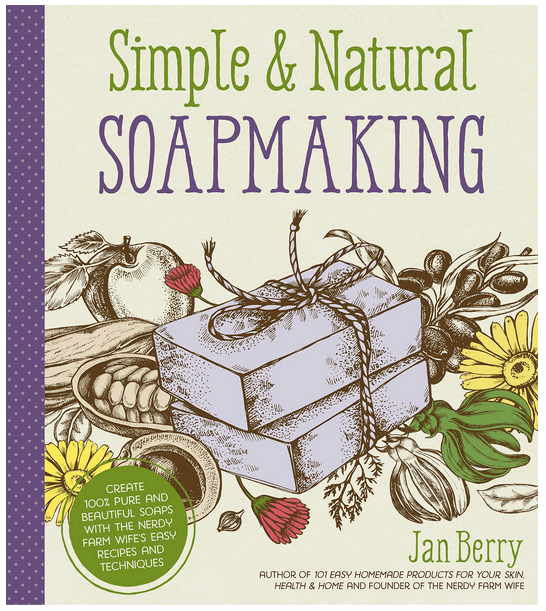
Simple & Natural Soapmaking by Jan Berry
After watching videos and reading different books, this is my personal favorite resource for recipes, ingredient information, and general soap making information.

I prefer cutting my own bars of soap and this is the set that I wished I would have bought the first time. The cutting block takes the guesswork out of eyeballing a uniform and straight cut.

This is great for just getting started and you don’t want to think about portioning out bar sizes. The disadvantage is that the silicone is very flimsy under the weight of the soap. So make sure that you have cardboard or another hard surface to tansfer the molds to a different location while the soap solidifies.

3 responses to “Lather Up”
-
-
My granny made lye soap, used it all her life, never had skin problems, i make basic lye soap myself, 3 lbs of greese, bacon preferably, but the drainings off cooked meat, 2 gallons of water, and one can lye, , i greate up some for clothes soap, i use it in place of aal types of soap, melt it and mix with water for dish soap, works better than cascade in the dish washer, the only problem is aquiring the lye, it extreamly hard to get in the stores because it is one of the main ingreidants in the manufacture of meth, and everytime i make soap i have to call the police and noify them, so i dont get charged with making meth, it smells the same, making meth or making soap,
LikeLike
-
There shouldn’t be any fear in purchasing lye. I’ve been purchasing it for a few years now and have never had to report to a registery. There are certain over the counter medications that I’m aware of that there is a registry because of of it being associated with drug manufacturing. And in the instance of that product registry, there is a notation of who is buying what and at what quantity. For the manufacturing of drugs there is a specific amount that law enforcement starts paying attention to. For the average person, making soap at home, they are not going to come close to hitting that limit. I mention all this to prevent unnecessary fear from being spread.
Thank you for sharing how you make your soap! And also sharing how you use it to also to clean clothes and dishes.LikeLike
-
-


Leave a comment