Just A Touch of Spice

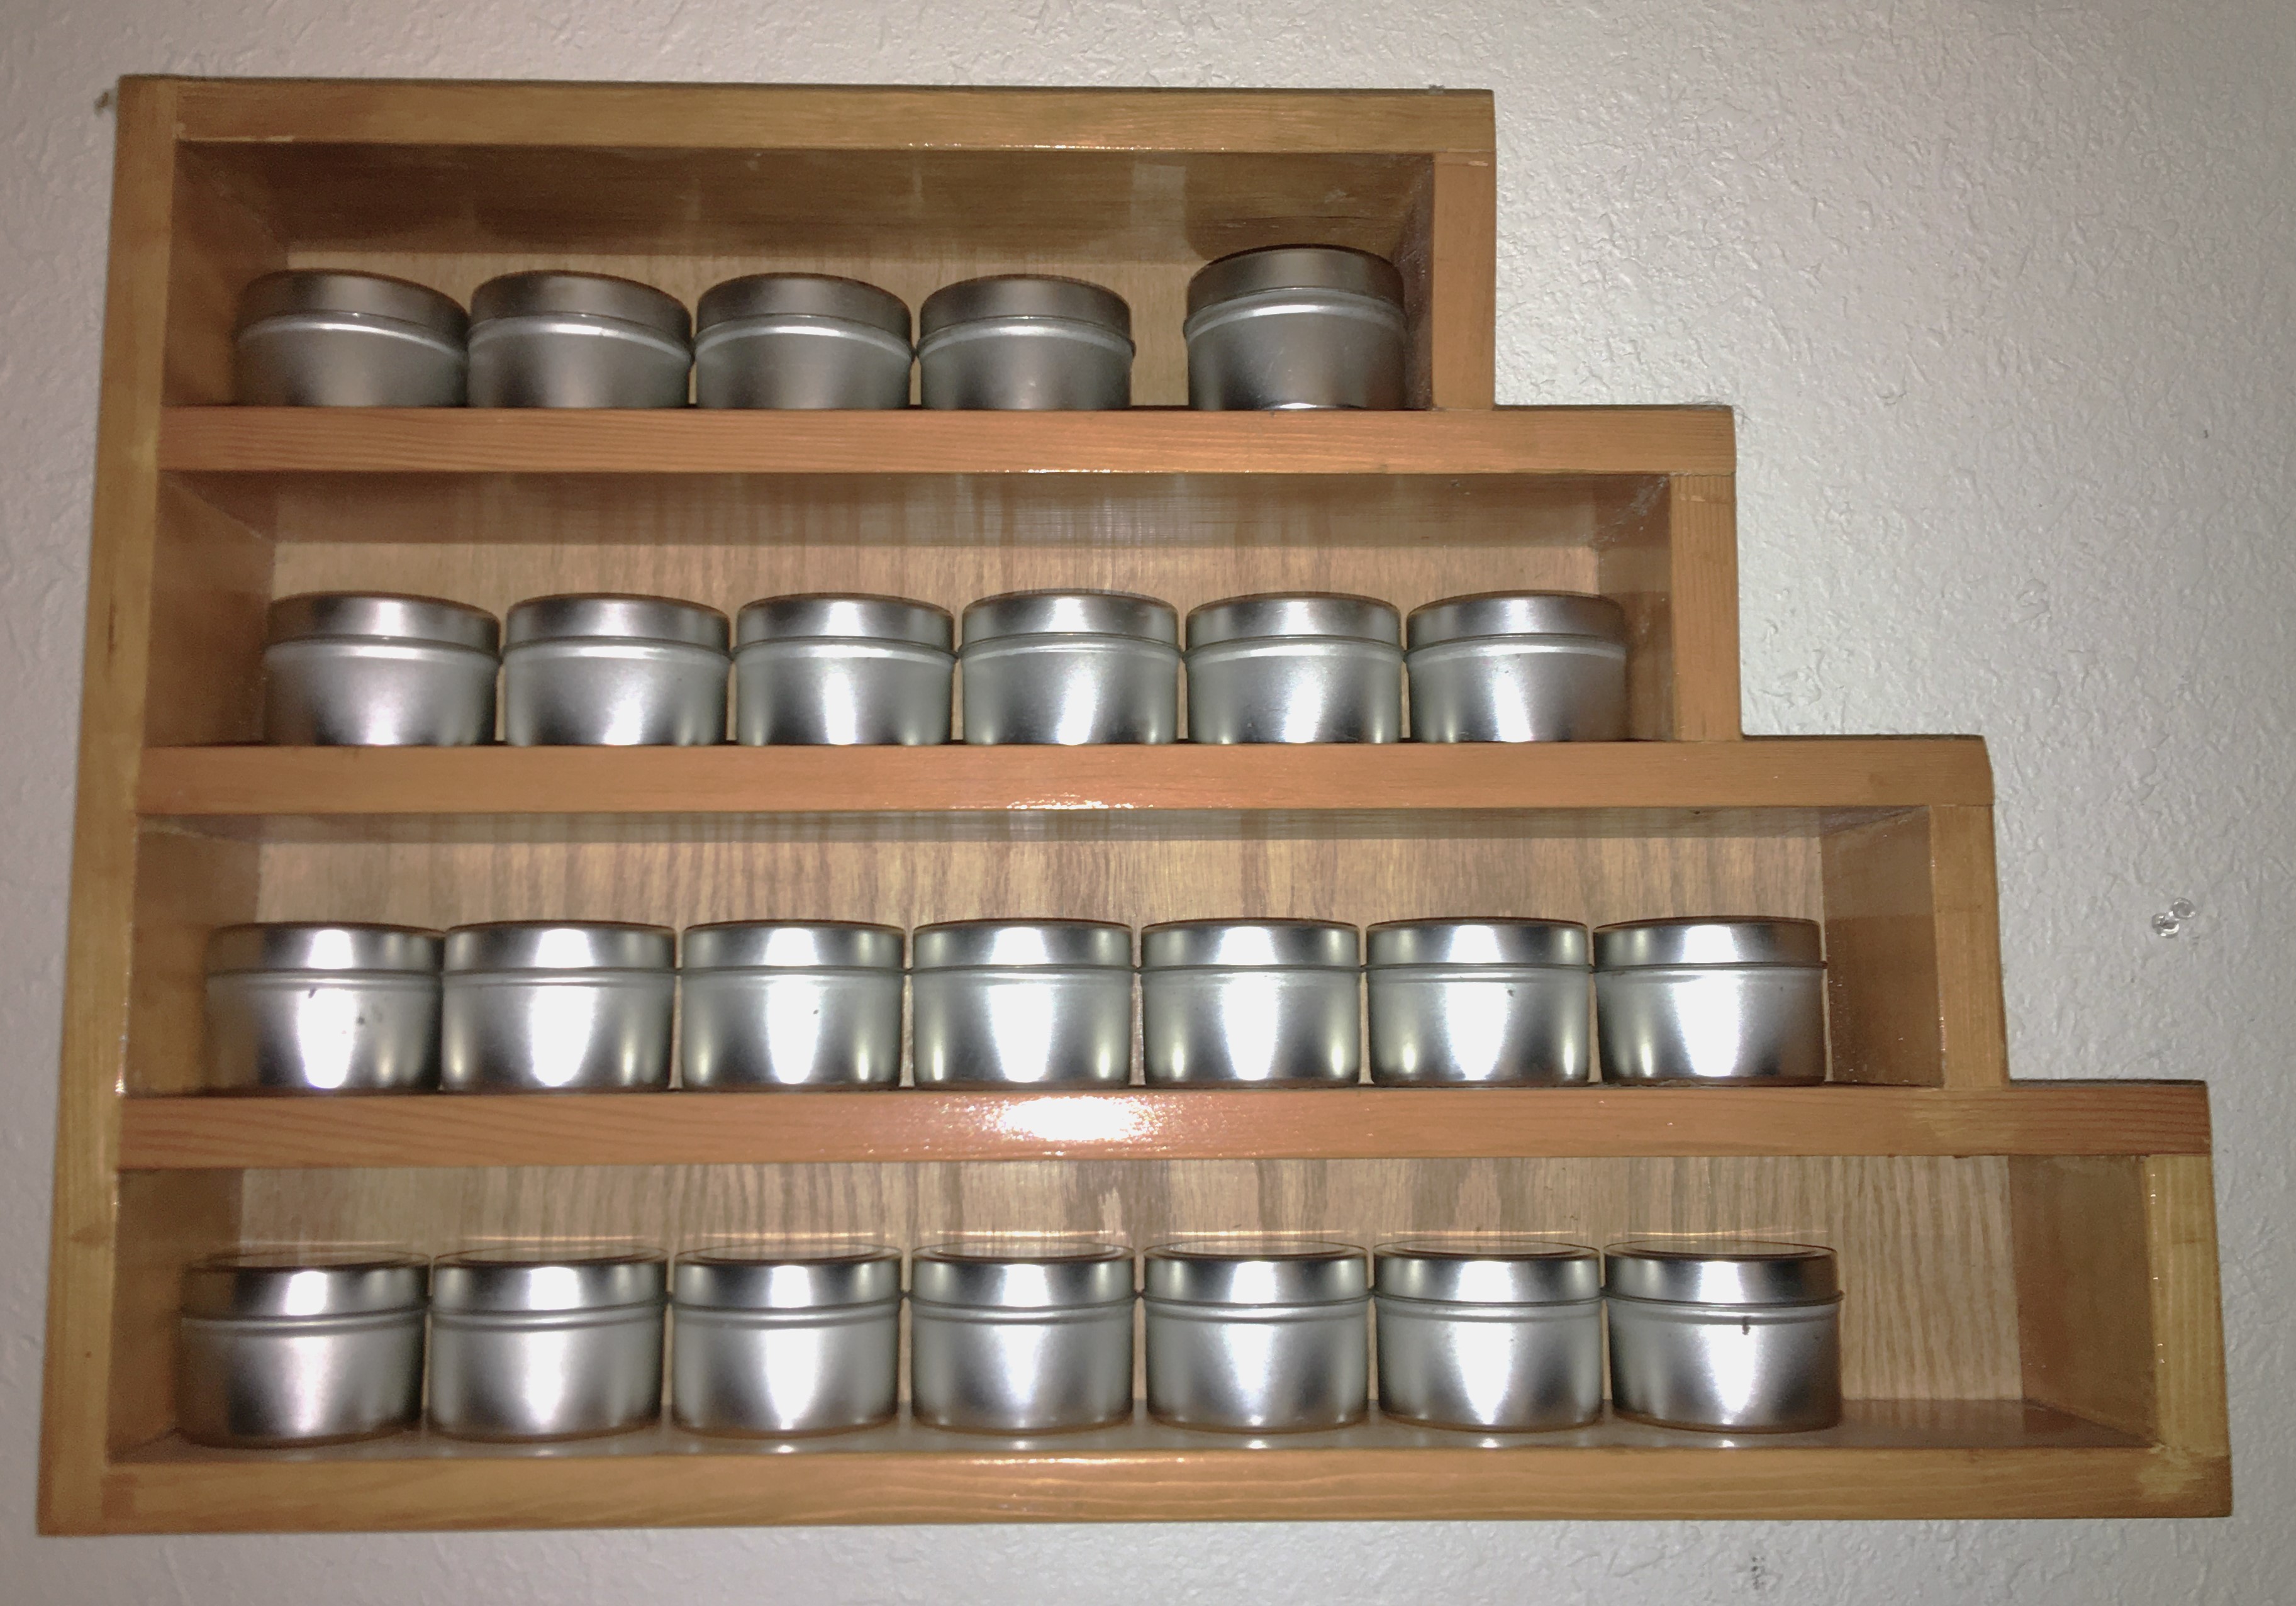
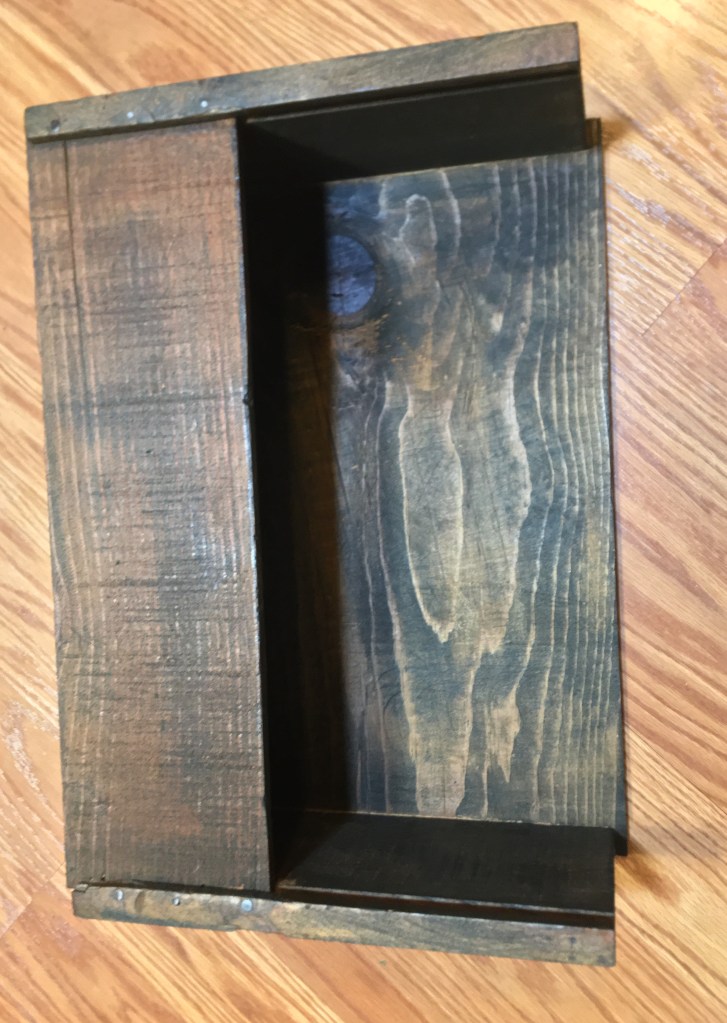
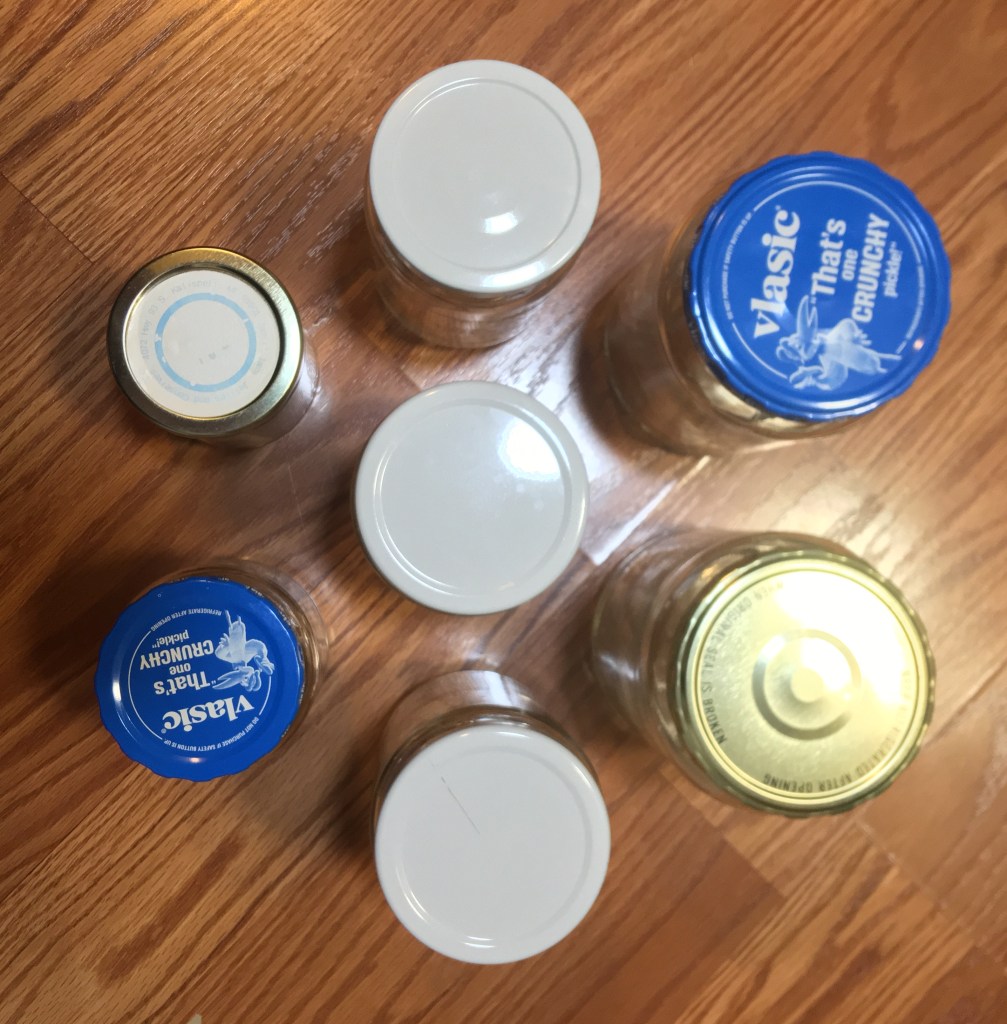
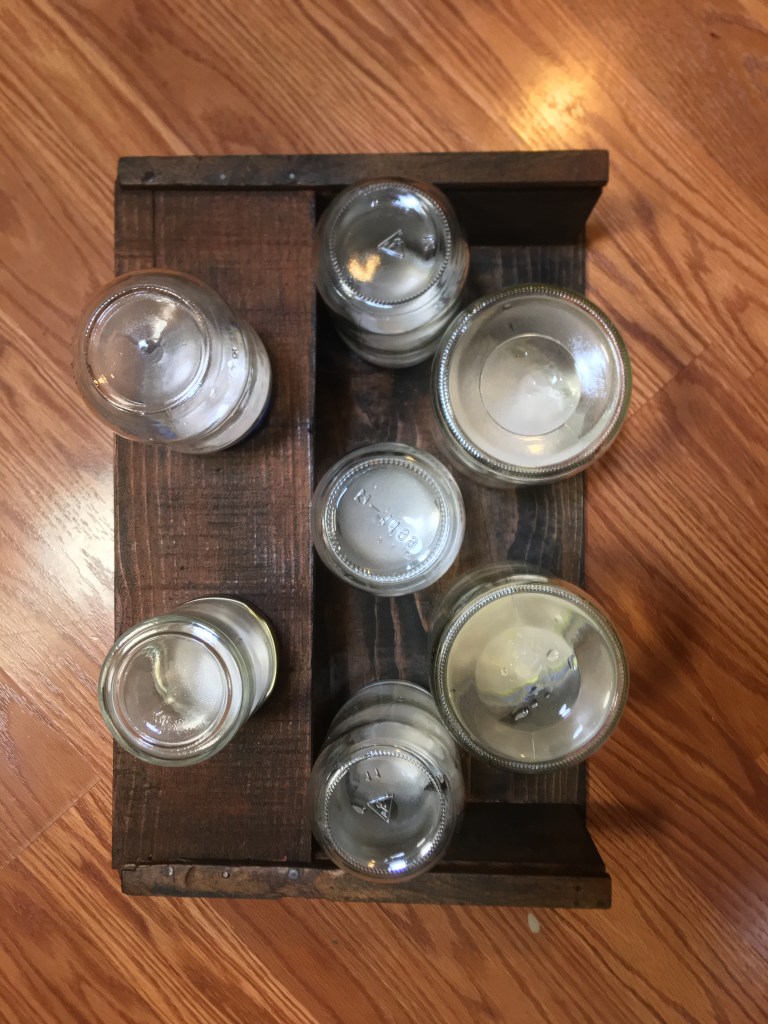
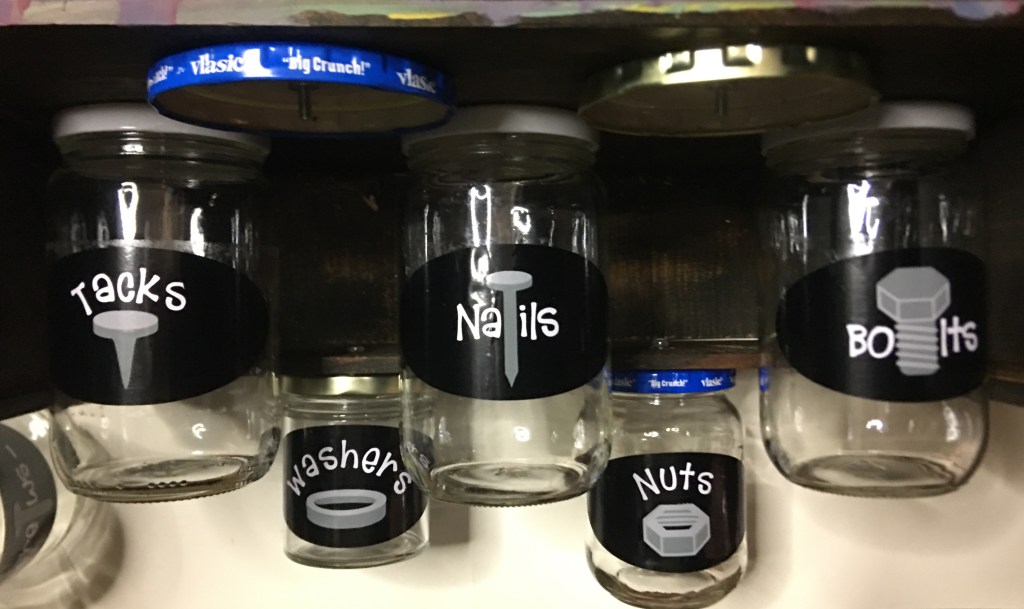
Long before I met my husband, his father had made and gifted him (and his siblings) a handmade spice rack. For well over a decade, we had intentions of displaying this gift and filling it with spices. However, the convenience of buying spices really took away the need of using the tins.

A few years ago I played around with my dehydrating skills and found new seasonings to cook with that I never thought of making.

I love mushrooms. There’s a gentle earthiness that comes with using them in a recipe. And when your family doesn’t go out of their way to eat mushrooms, I sneak them into sauces by dehydrating the mushroom and then grinding them down to a powder with a spice blender. Now I can have the benefit of having the flavor profile without my family seeing it and making their picky faces.

My absolutely favorite “spice” to cook with is actually butternut squash. I roast the squash in my oven. When it’s finished cooking I remove the flesh from the skin and mash it. From there, I take the mash and spread it across the fruit roll up tray of my dehydrator. Once the mash dries out, I also put that in my spice grinder and turn it into powder.

Here’s the absolutely most beautiful thing about turning your vegetables into powder! If you have a child or family member who turns their nose up at even the mention of vegetables, you turn it into a powder and season your food with it and your family has absolutely no idea that they are eating vegetables!

Not only this, but if you’ve made sauces before you are fully aware of how the traditional flour and corn starch have no benefit of flavor. You have to remember to cook down your flour. And if you use too much corn starch, and have sensitive taste buds, you can actually taste it. So there’s the issue of the texture; corn starch has a different texture and appearance than flour. But…instead of using these two traditional thickeners you can use dehydrated vegetables.

I prefer using potato flakes over flour and corn starch hands down. You can use potato flakes minutes from finishing your cook time. So if you forgot to cook flour to make rue, you have potato flakes. If you hate making slurry with corn starch and then wait for it to set, use potato flakes. I’ve had slurry take anywhere up to 10 minutes to take effect. But with potato flakes, it’s generally set in about two minutes.

That is my #1 mom hack of thickening a sauce, stew, or soup.

My #2 mom hack is using butternut squash instead of sugar!

If you’ve made your own tomato sauce before, you know the debate among the community: use sugar or not. Sometimes you need that sweetness to balance out that flavor profile. However, if you’re trying to eliminate sugar, or keep it to a minimum, what do you do?

You add butternut squash powder!

It’s sweet. You have an added vegetable in your meal. Plus, you have the added bonus of having yet another thickening agent that is healthy for you.

Advertisements

You would think, for as much as I make seasoning and thickening agents from vegetables, why haven’t I grown my own herbs yet?

It wasn’t until this year that I set out, with intention, growing herbs. And it was a great thing that I focused on herbs this year.

A family member tested positive this year with the strain of covid with assaults the gastro-intestinal track. But I had fresh herbs on hand that are anti-viral in nature, giving your body the building blocks to strengthen your immune system to do its job that it was designed to do.

Bay leaves are anti-viral, good for your body no matter which virus your body is fighting.

Lemon balm is also an anti-viral, but its properties are good for the whole coronal family of viruses. So it’s good if you test positive or if you’re fighting off the common cold (it’s from the same family).

So with these two herbs, and my homemade chicken stock, I had the building blocks to make a broth for this family member. Because their GI was being affected, of course food is sounding pretty horrible compared to other strains. To this broth, I added other herbs that I knew were beneficial for delicate GI and combating nausea; ginger, mint….

I’m still working on the recipe to making it recreatable. But I know I’m on the right track because this family member asked me to make a second batch of broth, because it tasted good AND it soothed their stomach so they could get some nutrients into their body.

The whole point of the broth was not to cure them from the virus. The whole goal was to get the nutrients into their body for them to get their body everything they need to fight the virus. Our bodies are amazing things. They’re meant to fight off disease. We just need to give them the building blocks to do their job.

And that is what is amazing about growing a garden. Whether you’re growing food to put on the table or growing herbs to make food taste better without all the extra ingredients in the now $6-10 bottles of seasoning at the store (sometimes more, and if they’re on the shelf).

Consider what it is that you can grow for your family. You may not have the yard to grow a garden. But with a sunny window, you can grow a few easy low maintenance herbs that are good for fighting colds and viruses. I buy bay leaves, because I don’t have the space for a bay tree. But Lemon Balm can be grown in a pot in a sunny window. And the mint family (which lemon balm comes from) is prolific and among the easies things you can grow. Plus it’s something that you plant once and it will keep coming back and grow.

Please comment below with the herbs you grow or with any hacks you have for using vegetables in a new way!

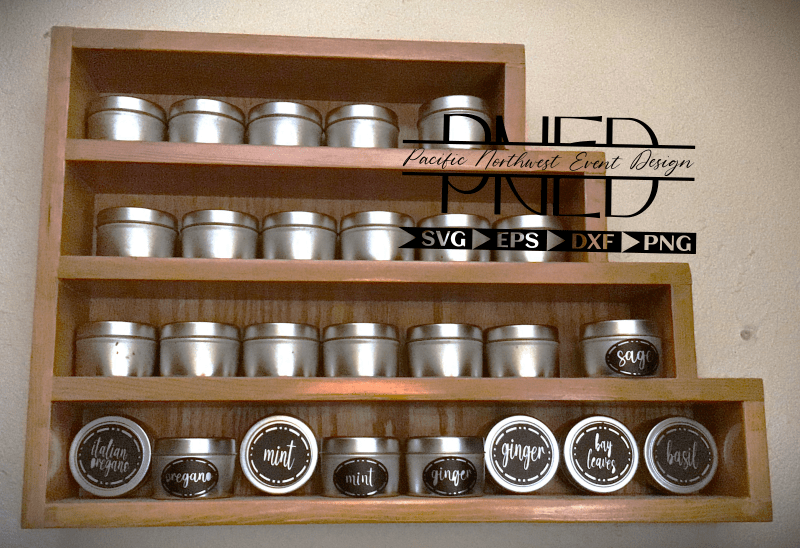
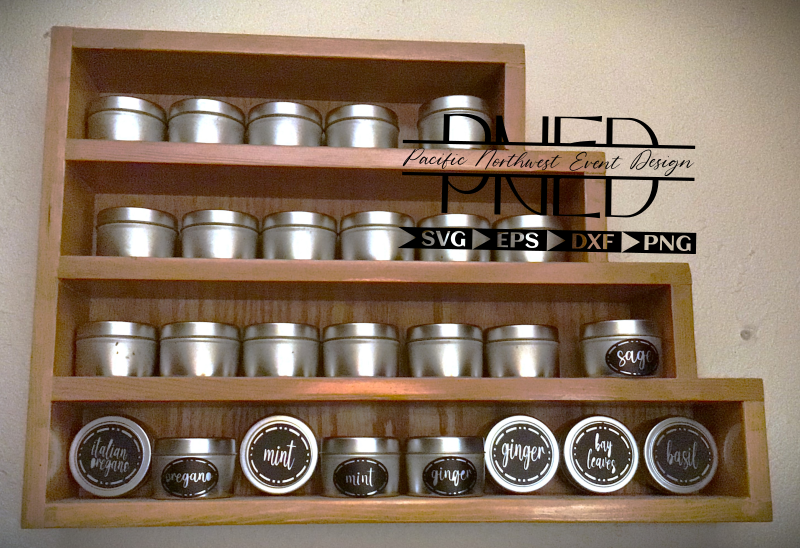
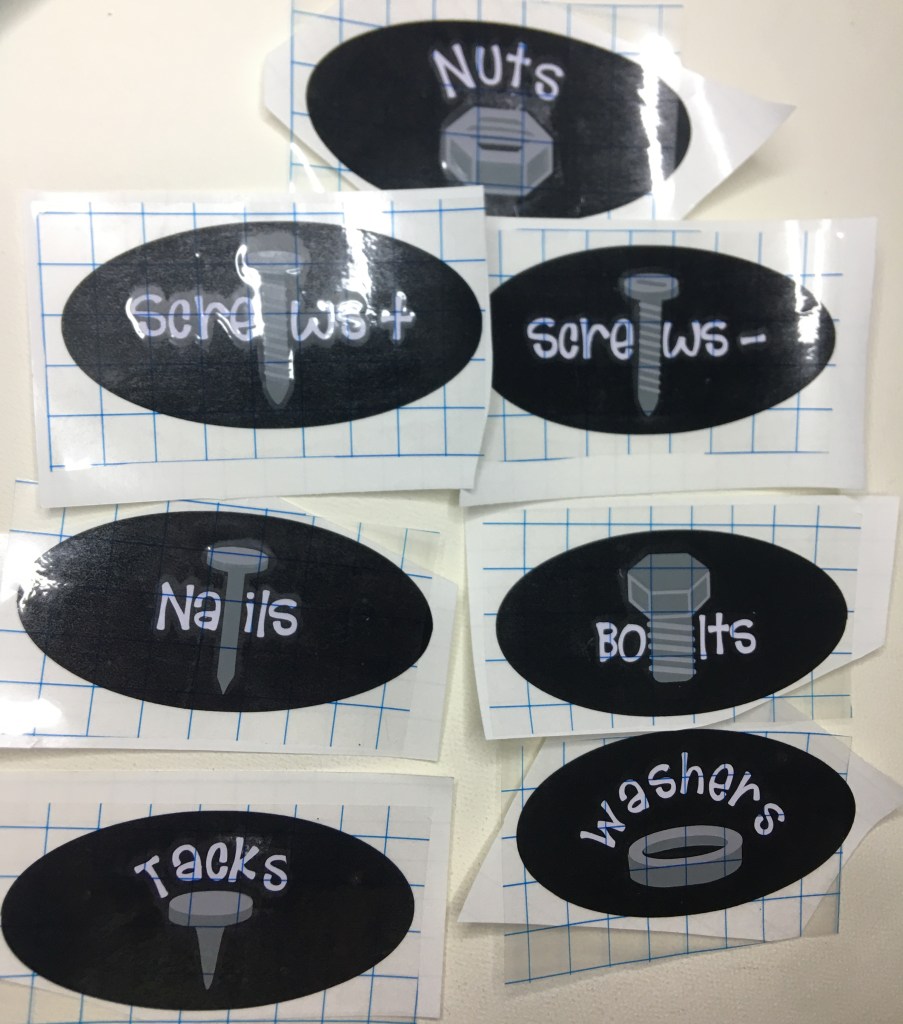
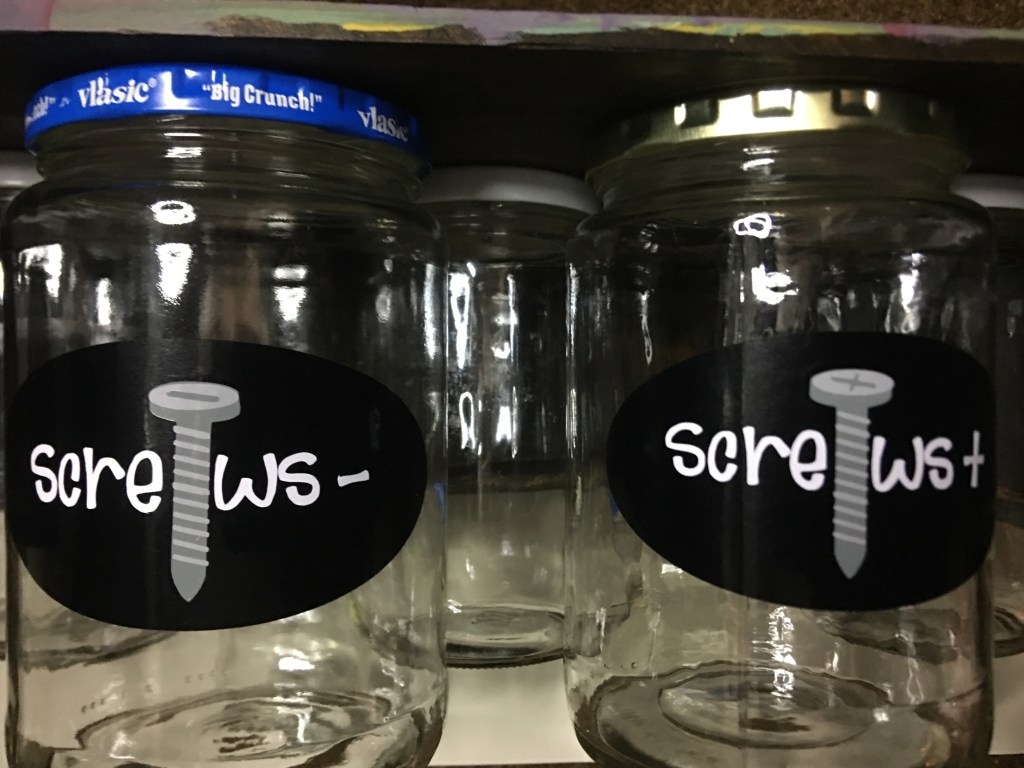
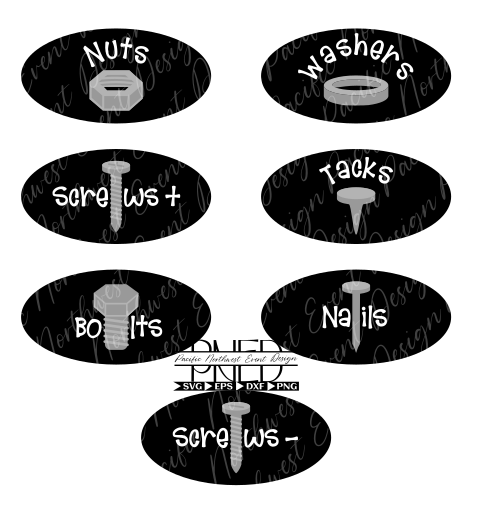
The file, Seasoning Labels, I used for these herb layers are now live in my shop here. The file comes with the labels oval in shape. To create these in the round, I just resized the oval into a circle. This font is amazing for retaining its shape!

Processing…
Success! You're on the list.

Leave a comment

Finding Hardware

What are your feelings about sharing a garage/shop with someone?

I find it frustrating! I have my office/craft space organized with containers that are labeled with its contents. So even if I have containers down I know exactly what’s in it at a glance. And it’s super easy to put away and clean up.

The garage… I so wish, with every wish available I could send my family away for the weekend to organize it and find an official home for everything. And you can guess it. My problem is that my husband has a way he wants it and our two ways of organizing a work space for repairs, large projects, and keeping our hand tools are two very different ways of thinking. The funny part is that more times than not, it’s my husband who’s coming to me to find a specific tool. And yes, I keep my own stash of hammer, screw drivers, and allen wrenches that I zealously guard like my fabric scissors. If you touch them, you better put them back where they belong, LOL.

And if you’ve built anything for any length of time, you know how hard it is to find screws, nails, and washers specific for your project. God Bless my Husband, but he has that garage that we’ve all seen our grandfather’s have: screws in a coffee can, nails in jars… they may have a home but you have to dig for the style and size of hardware that you’re hunting for.

So for my husband’s birthday this year, I had my boys help me build my husband a caddy to separate all those pieces of hardware into an easy to access place that you can quickly grab without feeling like you’re sorting through that bag of unmatched socks. And Bonus for my bragging rights, is that I sourced everything for this caddy from our garage.

This caddy is perfect for a garage, craft room (of all types), office, or anywhere you need to space save and easily access anything. While you’ll see I labeled these specific for garage hardware, you can take this idea and run with it for crafting. Instead of nails, label it buttons. For a Teacher’s classroom, instead of tacks, label for push pins. Change bolts to paper clips. You can completely cater this project to anyone and their passion!

Advertisements

Here is everything that I used:

  • Wood Box
  • Hammer
  • Tack Nails
  • Hand Sander
  • Black Wood Stain
  • Acrylic Paint with Brushes
  • Glass jars
  • Electric Drill with Drill Bit
  • Nuts and Bolts (small)
  • Size Appropriate Wrenches
  • Vinyl
  • Hardware Labels
  • Weeding Tools
  • Transfer Tape

The box that I used is a wooden box (about 12″ by 8″) that’s very similar to a cigar box with sliding lid. The lid was missing and one of the long sides was about to fall off. So I just removed the lid and nailed it to the top of the box.

One reason why I wanted to reshape the box was to have a little hidey shelf, in case my husband wanted it. You know the little objects you want to put in a safe place, but usually any counter space is a place prime for losing the thing you want to put in a safe place. So here’s a safe place. This box was rough, because it wasn’t meant to be decorative. I sanded the box on all sided before staining it. Yes, it maintained the rough look and feel. But I also fully appreciate the rustic aesthetic.

Advertisements

While the stain dried, I cleaned out my fridge from all the jars of pickled items. I’m not a pickle eater. Nor am I a fan of pickled vegetables. BUT my husband loves them. And my fridge door is where I sourced this collection of empty jars for this project. (I was not about ready to take from my canning jars, although I’ve seen people use canning jars for their hardware holders.)

After the jars were washed and I found which ones were similar in size, I placed them on the underside of this caddy. The smallest jars I put on the shelf. And I went back and forth if I wanted the row of two or the row of three jars to be in front. I chose to put the set of three in the center just for symmetry. Plus, I knew the screws were going to go in the larger jars. And other than the nails, these are the most sought after hardware in my house. So I put those in the front to make it the most convenient to grab.

While the jars dried, from their scrubbing, I set the kiddos up for painting the caddy. They got a bit distracted and wanted to play instead of use tools, but they dropped everything to paint for their dad. And since my husband loves their art, I sacrificed my want to keep the wood stain, which was my favorite part. But I kept the underside stained so a piece of me was still there.

I’m showing you this step, because you can make your caddy however you favor it. You can keep it clean and upscale. Or you can make it very family orientated. There’s no wrong way to make this caddy.

Advertisements

During this drying time, I cut out my labels with my cutting machine and assembled the layers ahead of time. That way when I was ready to apply theses labels, everything was lined up and ready for a simple peel and stick on the jars.

When the jars and the acrylic paint dried, I grabbed my drill, nuts, bolts, and jars. The first thing I did was drill a hole in the center of the lids. (If you are opting to use canning jars, make sure the lids you choose to use have already been used to preserve your food. That way you still have good canning lids ready to use in the future.)

After you are finished drilling, place your jars on the caddy in the exact places you want them. This pre-spacing is very important, especially when you have rows of jars next to each other like I have on the center and right side. I didn’t want the row to go over the edge, for esthetic reasons. If you have all your jars the same size and they second row comes over the edge, it’s okay. You may want to consider painting the jar lids to keep a uniform look. But the placement is also important because you will find that your jar lids are a smaller diameter than your jar sides. So by pre-spacing your lids, you will make sure you can screw your jars into your lids and not have an issue with the box sides or the shelf.

While you hold your lid in place, drill a hole through your caddy. When you hold is completed, you thread the bolt through the caddy and the lid and secure it with the nut. Hand tightening the nut and bolt will not be enough. You will want to tighten them with a wrench. This is most important if your bolts are short and if you want to be able to (un)screw your jar without holding onto the lid.

TROUBLE SHOOTING: If you find it difficult to keep your lid in the correct place for drilling, without moving, here are a couple of ideas you can use to assist in keeping your lids in place. Before drilling, use masking tape to tape your lid down to the caddy. Another option is to use a hot glue gun and place a circle of glue around the center of the lid. Be careful not to glue the center. You don’t want to drill through glue.

Advertisements

Once your jar lids are all secure, you’re ready to label!

To get labels to stick with the most success, clean your jar with a cotton ball soaked in rubbing alcohol. This will remove any oils, dust, soap, or anything else that could cause your vinyl to not secure cleanly to the jar.

It is crafter’s choice how you want to add the labels. You can place your jars on a work surface and apply them off the caddy. Or you can apply the labels while on the caddy. I chose to have all the jars attached to the caddy because the only jars that were a perfect match were the three that put in the center row. They were from the same company of pickled vegetables. All my other jars were different sizes, but very similar in measurements. However, if I applied my labels off caddy and centered them on the jars, then none of my labels would have lined up. However, with my jars on caddy, I could get the labels to line up near perfectly and give the illusion that all my jars are matching. The exceptions of course are my small jars in the back (washers and nuts). But those are tiny jars hidden in the back and completely understandable why nuts would be larger than washers.

However, if you’re the personality type that is bothered by things not absolutely, perfectly matching, then please ignore my chaos here. Work to your strengths and show us the beauty of our symmetry and perfectly lined labels. I love watching your work. But if you’re the type that can’t get things to line up perfectly, know that there are ways of lining things up even when your jars are millimeters off in their heights.

Mounting the Hardware Caddy

I’m sorry I do not have a picture of this for you today. We’re in the process of reorganizing our garage and we’re not sure yet if we’re wall mounting or rack mounting this caddy. I will update this post when we get that project finished, so you can see how you might choose to mount your caddy.

The one thing that you need to be aware of is how gravity is going to work when you have the jars filled with their hardware.

Remember, I organized my jars so that my heaviest and largest jars are on one side. If I install with screw jars forward, all the weight and pull are going to be forward. So I will need to compensate. If I install the screw jars in the back, toward a wall, there will be very little compensated needed because the center of gravity will be near the wall and negligible.

For wall mounting, I would want to have my screw jars forward and screw the back side of the box into the wall, with a screw in each corner of that board. Preferably I would want to screw the caddy into a stud, because that will carry the weight beautifully. If it’s impossible, hit at least one stud (which I would center the caddy on and put in an additional set of two screws, in additional to the corner screws). If all I have available is drywall, I will definitely put in wall anchors and drill the screws into those. That way the weight of the hardware will not weaken the dry wall and pull out of the wall under too much weight.

If we choose to go with mounting the caddy on our rack, I will do that using conduit bracket mounts. I will use at least three brackets on the screw jars side. That way, the weight of the screws will pull straight down. there will also be a bracket or two on the back just for stability purposes for when the screw jars are removed, and the center of gravity changes.

Another option for rack mounting is to use a block of wood. The caddy (jars removed for installation) I would put on the bottom side of the wire shelf, with the block of wood on the top of the shelf. Then drilling a screw through the open space of the shelf into the block of wood. This option is not the one I would personally go with, because it doesn’t work with how we use our shelves in the garage. But I did want to mention it because the caddy can be screwed into an existing shelf that you might have.

While there are many ways of installing a caddy like this, I want to put out one more idea. If none of the above work for your situation, you can add wall mounts to the back of your caddy. There are all sorts of alligator grip picture hanging mounts that you can use. With a trip to your local hardware store, you can find picture mounts that can hold portraits up to 50 pounds. That is over kill for this project, but I want to mention that this is another option that could work for you.

Please send in pictures or let me know who make this for. As I mentioned, this example of a hardware caddy I made for my husband for his birthday. But this is perfect for a Father’s Day gift, Graduation gift, something for a teacher, crafter, or even just as another option for home organization.

Files used for this project:

You can find Hardware Labels here.

Processing…
Success! You're on the list.

Taming Fly Aways!

I know these are common problems for family get-togethers. Either, your family is so large, that when you have a pot luck style meal there is always the problem of not having enough table space. Or your family is enjoying the sun with a BBQ and you spend more time than you can admit chasing down paper plates, napkins, and even silverware.

My family suffers from both of these problems. Every year.

Inspiration hit when I watched this video, tutorial using dollar store Jenga Blocks, from She So CraftDee. This video was so well put together with directions, that I don’t want to recreate what this talented woman did. So I will just direct you to her video if you want to learn how to create structures using Jenga Blocks. Instead, I will proceed with the road blocks I faced while working with this tecnique and how I made this Paper Goods Caddy.

Materials

  • (54) Jenga Blocks (I used 48 of one style of blocks and 6 blocks of another style)
  • Hot Glue Gun and Glue
  • Multi-Purpose Cement 0.5 fl oz (E6200 would be the best choice)
  • Ruler (Optional)
  • Paint
  • 1.25″ Nails
  • Hammer
  • (14) 0.5″ Wood Cubes
  • (3) Square Pen Holders
  • Glitter Paper
  • Metal Gift Tag
  • Vinyl
  • Transfer Tape
  • Elmer’s Glue
  • Glitter
  • Acrylic Paint Pen (optional)
  • Flat Face Rhinestones (optional)
  • Jewelry & Metal Glue (optional)

Project Dimensions

The overall dimensions are 17″ wide by 6.5″ high by 7.5″ deep. The interior of the silverware holder squares are 2.5″. The plate holder is 9.5″ wide by 1.75″ deep. The napkin holder is 7.5″ wide by 1.75″ deep.

This accommodates 9″ paper plates and standard sized napkins. In the picture are 9″ plates and cocktail napkins (6.5″). The dimensions can be adjusted according to your family needs.

Before I jump into how to assemble this caddy, I want to start with the pitfall of gluing options.

She So CraftDee only uses hot glue. I do want to draw attention to the fact that it’s not just any hot glue stick, but wood glue. Full disclosure, I have not yet worked with hot wood glue so I cannot attest to the strength or durability. But for the crafter who does not use hot wood glue or have never heard about it, it is not going to function the same way as the standard glue stick that you have in your craft stash. So please do not expect standard hot glue to work like hot wood glue.

I have decorated in enough wedding and other events that, professionally, I would not put trust in wood glue alone to hold a vase that holds water and everything else that adds weight. An LED pillar light is only going to weigh ounces. However, the weight of a glass vase filled with water, stones, flowers, and anything else of weight is going to add up quickly. There is no telling if and when glue will fail. So I would highly recommend that you reinforce your build in the legs and the base frame so that you can rest assured that you won’t have a catastrophe on your table tops. Wood glue and standard hot glue would all be adequate for any non-weight baring sides.

Advertisements

Because this Paper Goods Caddy is a functional piece, you will definitely need to use something much more substantial, for reinforcement. I used Multi-Purpose Cement (from the dollar store) as my primary gluing option, with the use of standard hot glue to hold the blocks in place while the Cement cured. For a home craft, the Multi-Purpose Cement is a good choice if you just need a little bit of glue. You will use the full 0.5 fl oz tube for this project. However if you are a professional, I would recommend E6200 over all other glue.

TIP #1: Examine your Jenga Blocks. You want to make sure they are solid wood with no cracks, grooves, or holes. The cheaper Jenga Blocks do not give you the easiest surfaces to work with. I had a couple of blocks that had a gaping hole where the wood was laminated together. The glue went straight down to my work surface. If sanding doesn’t give you a smooth working surface, paint your blocks. The glue actually held much better to the painted surface than the laminated wood surface. Plus, the paint fills the gapes and grooves for you. Just be sure to let your paint dry overnight.

TIP #2: If you are using colored blocks, like I did, set up the pattern that you want your bricks to be in before you start gluing. This will keep your pattern uniform in the front and the back.

Prep the Silverware Holder

Please feel free to decorate the silverware holders in your personal style. However if you want to recreate what you see in the pictures, these are the steps that I took.

  1. Paint the top 2/3 of the pen holder with white acrylic paint. (Allow to dry.)
  2. Paint the bottom 1/2 with teal acrylic paint. (Allow to dry.)
  3. Cut Glitter Paper (or vinyl of choice) into 2.5″ strips (the number will vary depending on the length of your Glitter Paper or vinyl choice). Also cut 3 additional strips at 1″.
  4. Slide a 2.5″ strip into a box and crease the edge. (This will give you the cleanest edge and prevent you from mismeasuring the inside of the box.) Trim on the crease.
  5. Remove the backing and place on the inside face of the box.
  6. Repeat 4-5 for the remaining 11 inside faces of the three boxes.
  7. Take a 1″ strip of Glitter Paper and apply it to the bottom outside edge of the pen holder box.
  8. Tack the edge of the Glitter Paper closed with a dot of glue.
  9. Repeat steps 7-8 for the other two pen holder boxes.
  10. Glue two of your boxes together, Glitter Paper seam sides together. Use a very liberal amount of Multi-Purpose Cement in the center, with a rectangular frame of Hot Glue. NOTE: Hot Glue does leave a gap between items glued together. So if you want zero gap please use Cement only. You will need to clamp together the boxes until the glue dries (an estimate of 1-2 hours).
  11. Set Aside for Assembly.
Advertisements

Prep Gift Tag

  1. Take a left over piece of 2.5″ strip of Glitter Paper. If it is large enough, wrap it around from top front, down, over the bottom edge, and up the back side. If it is not large enough, take two pieces that fully cover the front and back and cover each side.
  2. Trim the edges of the Glitter Paper that run over the edge of the metal gift tag.
  3. Create the hole, matching the metal gift tag, by piercing the Glitter Paper covering the hold.
  4. Using your cutting machine, cut “Family” (or any other phrase of choice). The Font I used was Chunky Confetti.
  5. After you weed your vinyl, apply “Family” with transfer tape onto your gift tag.

Prep the Paper Goods’ Feet (Optional)

My oldest son informed me that we needed to add a bottom so that the napkins and the plates could stay in the holder. He was concerned about his grandma having to put in and take out her paper goods. So I designed this so that the Caddy is not just a holder, but it’s a moveable container that can keep the goods in and be easy storage.

  1. Take 7 of the 1″ cubes and glue them end to end. This is one foot.
  2. Repeat with the other 7 cubes to make a second foot.

NOTE: you can use Hot Glue for this prep because the feet will not hold a lot of weight. I chose to the Multi-Purpose Cement because I have clamps, and I want to ensure that in the heat of the summer sun, the hot glue will not soften and become weak.

Advertisements

Paper Goods Caddy Assembly

From my stash of Jenga Blocks, I wanted to use ones with colored ends, but didn’t have enough. So this is the reason why I used 48 blocks of one style and 6 blocks of another style (which were used on the sides of the plate holder). The two different styles of blocks had different heights, which lends to the floating brick illusion. The floating bricks could be more prominent by using an even smaller set of Jenga Blocks, still using the 2 row build.

  1. Mark off your Jenga Blocks. My blocks were about 3″ wide so I drew two lines at inch increments so that I could work fast and glue all the bricks together uniformly.
  2. Glue together your two row sections, 3 bricks on top of two. In the inch section I put a large circle of Cement with two dabs of Hot Glue on either side. Once Hot Glue dries, you are free to move on to the next piece to glue.
  3. You will have 6 sets of two rows.
  4. Glue together your napkin face plate, starting with the rows. Make 2 sets of 3 blocks, glued together end to end. And make 2 sets of 2 blocks, glued end to end.
  5. Start with the base and work your way up. One top of one of the 3 blocks, center a 2 block set and also glue on the arms that will attach to the plate holder. On top of the two arms and the set of two, glue on the other set of 3. On top of that glue on the last section of 2.
  6. Set the base for your plate section, by making 2 corners. If you are using two different sized blocks for a floating brick look, your larger blocks will be used here on the sides (they are the unpainted bricks in my photos). Glue your side piece on top of your front and back corner piece. Do this for the other side. NOTE: your center bottom piece is not going to be attached to anything for a few steps, so set those off to the side for the moment.
  7. Space out your corners by setting a two row section on top, do not glue.
  8. With your corners set, remove the two row section without moving the base corners, place your napkin face plate. Once you have the napkin face plate center, you know where to add the Cement and a single dab of Hot Glue.
  9. This amount of glue is not enough to keep the napkin face plate in place, so you will need to hammer one nail into each arm of the face place, into the base corner, so that it will offer the stability to the napkin face plate.
  10. Glue the two row section, which you used to space the corner sections, onto the middle arms on the side of the plate section. Use a dab of Cement and Hot Glue.
  11. Repeat this last step with a two row section for the back of the plate section.
  12. Glue a side arm, on top of the two row sections, on each side.
  13. Repeat steps 10-12 to form the middle of the plate section.
  14. Repeat steps 10-11 to form the top of the plate section.
  15. Turn the Caddy upside down and glue in the middle sections that were set off to the side, back in step 6.
  16. To reinforce the face plate a second time, you will use 4 nails to nail both sides of the left and right Jenga Blocks above it.
  17. Where you would like to add glitter, paint on your glue and apply glitter.
  18. (Optional) Use your acrylic pen and draw on a frame around the front edge of each of your blocks, front and back.
  19. (Optional) To add gems, place a dot of Jewelry & Metal Glue where you would like to add your Rhinestones. You can glam this up as much as you want, including using only Rhinestones instead of glitter (step 17).
  20. Hot Glue your “Family” Gift Tag to the Napkin Faceplate.
  21. Glue the single silverware box, upright on the right hand side. Apply the Multi-Purpose Cement Glue and Hot Glue onto the Jenga Blocks (to the height of the silverware box). Attach the silverware box.
  22. Tip the Cady on its side so you can position the Double Silverware Box. As you look at the side of the Cady, note that the middle row is the front of the Plate Holder. Use the Jenga block to create a 45° angle. The front bottom of the Silverware Box is lined up with the bottom edge of that middle Jenga Block. The top back edge of the box will be in alignment with the front of that back row of the Plate holder.
  23. Remove the double box and apply the Multi-Purpose Glue and Hot Glue to the side of the Cady where the Double Box will sit.
  24. Attach the Double Box to the Caddy.
  25. Turn the bottom of the Caddy upside down and apply Multi-Purpose Glue and small dabs of Hot Glue to the two recessed sections of the middle row.
  26. Attached the two feet, centered on that middle 4th square, into those recessed sections.

Congratulations! You have completed a space saving Paper Goods’ Caddy.

Please leave a comment how this caddy turned out for you.

If you’ve seen a project that you want more information on how to make, please let me know so I can set you up for success!

Empty Tomb is now live. 100% of preceeds will go to the support of orphans in Rwanda.

Processing…
Success! You're on the list.
Advertisements

On the Move

Some of the most fun conversations are the ones where I get to talk about some things that just don’t come up in a normal conversation. And there is one that I just can’t pass up!

From my personal Facebook account Lynn Z. wrote:

Congratulations❤️❤️❤️Great. Moving this week to new home and I need help!

Lynn, Congratulations on your new home!!!! I am so excited for you. There’s so many opportunities and possibilities with a new home. I can’t wait to see the pictures you share of your home once you’re settled.

It’s been a while since I’ve moved so any moving tips I might have are going to be outdated and everyone knows already. For example, box up your rooms individually and mark each room on all sides. That way you’re not hunting for the lable and the box gets dropped off in its appropriate place. An analytical (list detailed) person would take it a step further and write a number on each box. And in your new home place a post it, with a number written on it, so anyone helping you move can help put the right “Bedroom” box in the correct bedroom. Having a number on the box also allows the analytical person to make an exact detailed list of everything that is in each box so you don’t have to open a box to find that specific one thing you’re looking for.

Now this tip isn’t exactly a moving tip, but I know it sure is helpful in so many areas of life. Especially when you’ve lived a lifetime in a house, like I know Lynn has.

These small totes are amazing! They are in and out of stock all the time at my local dollar store. I always grabe a few more when I see them in stock. They are an 8 x 6 x 4 inch container that has been amazing for my small house. As you can see above, they are my work mule for my crafting space. (I have the wall mounted 4 sqauare cubbies. They stack beautifully and I ovbiously have enough room for two rows. It keeps my items organized and I can find my supplies in seconds when I’m creating.

But I also use these all around my house. You know how you’re hall/bathroom closet gets overrun with all those small items so you don’t have room for your bath towels? This was my solution. I have a container for back up toothbrushes and tooth paste, my boys’ bath soaps/bubbles/other items, hair cutting supplies/tools, and most importantly my first aid kit! Let’s face it, when you’ve lived in your home for a while (or live in a tiny house for a family my size), you don’t keep the packaging. So something like this makes it easier to organize your home without losing prime real estate. And in the case of moving, the ability to put in a box quick, stack, put straight on your new shelves is a God send.

Taking from the days of decorating large venues, it also helps organize your boxes. For Christmas we would decorate Casinos during the night. We would load up 2 or 3 box trucks and have a crew that was broken up into multiple teams. If you’ve been in a casino, you can appreciate how much work takes into transforming those buildings in just one night. We had measurements for each surface we hung garland on, clusters of ornaments, trees, wreaths…everything. Everything matched and we had to make sure each team had all their area’s specialized items.

On a house moving scale, I also recommend having a Box A and Box B method. If someone is downsizing or starting their new home in a minimalistic fashion, it helps to have your household broken down into must-haves and want-to-keep. You don’t want to spend your whole time in your new house fishing through boxes and deciding on the spot what you have room for and what you want to get rid of. Open your Box A/must-haves first. Place those items. If you have room for anything in your Box B/want-to-keep, then you can add those. However, we all know that when we move, we want our homes to look like home ASAP and not live in boxes. So that’s the benefit of Box A. You have that ready to put away the moment you enter that room to unpack. Box B can be left in a corner to get to in a couple of days, or when time allows. Meanwhile, your home is functional from day one.

Here is an example of my Box A and Box B method for my christmas tree decorations. My boys are 5, 4, and 3. So you better believe I have tree decorations that they are not allowed to touch. Box A has all my fragile items. Box B has all the items that if dropped or handled by boys, they’re not going to devestate me. This makes it so easy for me and my Christmas loving boys. I pull out my boxes and the boys can start right in on decorating the tree without me having to hover or them asking. They know that these are theirs and they have complete liberty to decorate the family tree.

It doesn’t matter if you’re moving, decorating a large venue, putting together a small party, it is definitely a time saver to plan everything ahead of time. Organize your work space to create the atmousphere of quick assembly. Have everything you need within reach and at easy disposal. When you’ve finished assembling your decorations, put them in travel containers/boxes that make sense for depositing in one place for a quick installation and efficient movement. Keep all your table decor together. You’re entryway items in their own container. This is especially important for Wedding DIYers. You depend on friends and family members to set up what you spent months putting together and planning. If everything is in the one box, they don’t have to hunt for anything. And it makes the clean up afterward just as quick. It goes back in that one container. Nothing gets left behind and everything is quick. And lets face it, everyone wants to party and not spend all night cleaning up. Beign efficient is the name of the game to allowing friends and family enjoy themselves and be the help you need to pull off that wedding of your dreams.

This box divider is my BEST friend. In fact I have a few variations of this. I forget where I bought this 11 x 6.5 x 1.5 inch plastic box. But I’ve very certain this was orginally packaged and sold for storing cake decorating supplies. At least that is what I kept my tips, connectors, and bags in when I took a cake decorating class before I met my husband and made my last move. As you can see, I found a new home for my cake decorating and put my household fix it items here. This is where I keep all my exta pieces from IKEA build it yourself items, my dry wall screws, nails, screws, washers, allen wrenches (before this I could never find those bad boys when I needed them) and left over components to my bed frame. This type of set up made my last big move (after marrying my husband) an absolute breeze. I didn’t lose my washers and screws for my canapy frame. They were all there and ready for assembling when we arrived. Plastic bags always get lost in a move. But a good storage container like this, keeps things organized and easier to find in a room that’s filling up with opened boxes and fill.

Compartmental organization like this also a must have for installing or striking an event. For weddings I cannot tell you how many saftey pins I have gone through. And there is always a need for three different sized pins. Having all your tools and equipment on hand and seperated for quick grabs is essential. It always feels like you never have enough time to get done all that you need to get done. So whatever leg up you can give yourself, the more you will thank yourself.

If there is a subject you would like tips on How I Can Do That, please leave a comment below on what you would like to see. Also join my email list. I send out a weekly newsletter letting you know about new blogs and when new designs are released at http://www.pacificnorthesteventdesign.com

Processing…
Success! You're on the list.