
There’s one skill that I’ve wanted to learn from a friend of mine, incorporating mason bees into my garden.
Here in North America, mason bees are the indigenous bee. They pollinate 45 times more than honey bees. And if you have young children, you don’t have to worry about there being an altercation and your child (or pet) from being stung. (We’ve been teaching our kiddos about bees because one day I want to have honey bees for honey production. So they already know what’s expected of them when it comes to our pollinating friends.)
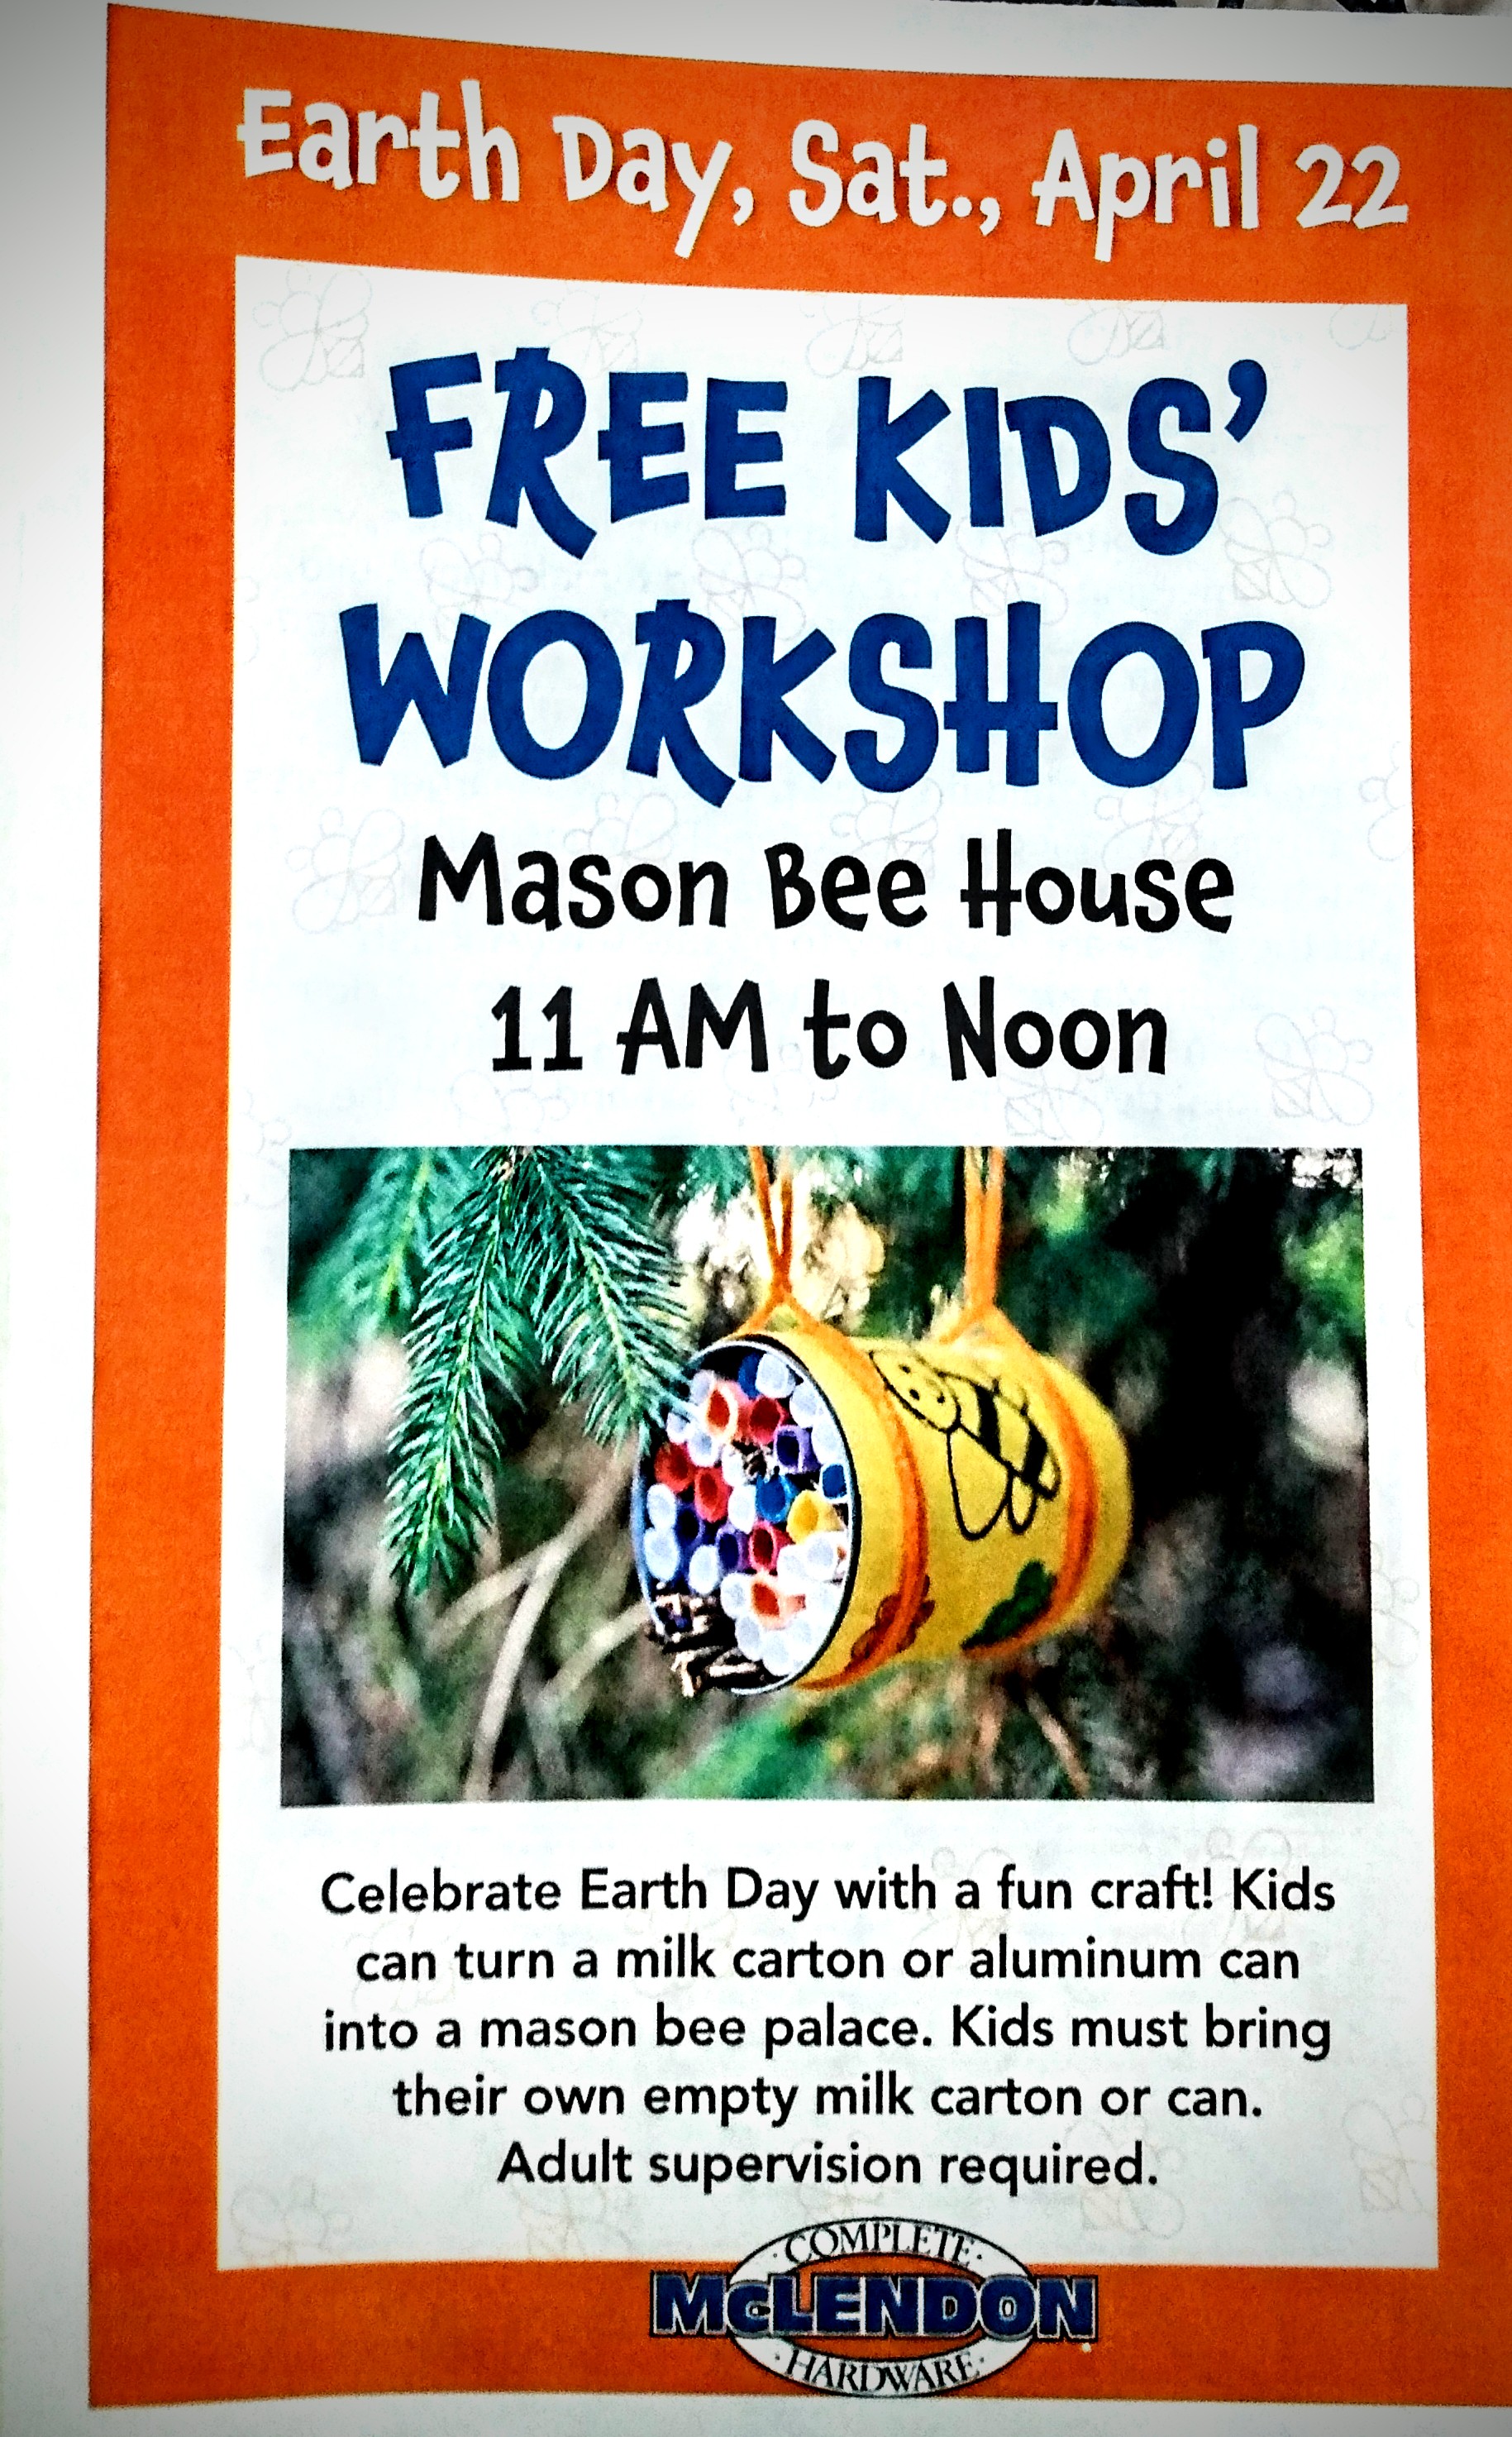
I can’t even begin how excited I was when I received an email from a family locally owned hardware store that they were doing a craft for Earth Day, which involved making a home for mason bees.
Today I’m sharing with you the process that my kiddos went through to make a home for mason bees.
We were instructed to bring a soup can or cardboard milk container. The hardware store supplied the craft materials to decorate and make the bee home.


All my milk cartons still had milk in them and I haven’t bout soup in a can for well over a year now. What I did have available was an empty ten pound can. So if you don’t have a small can, know that it’s possible to make a home with a larger can.
Things you will need:
(Feel free to modify with the materials that you have on hand.)
- Milk carton or soup can
- Construction paper (printer paper, non-toxic colored paper, recycled paper, whatever you have on hand)
- Tape
- Straws
- Cardboard tubes: toilet paper or paper towel (optional)
- Corrugated cardboard (optional)
- Scissors
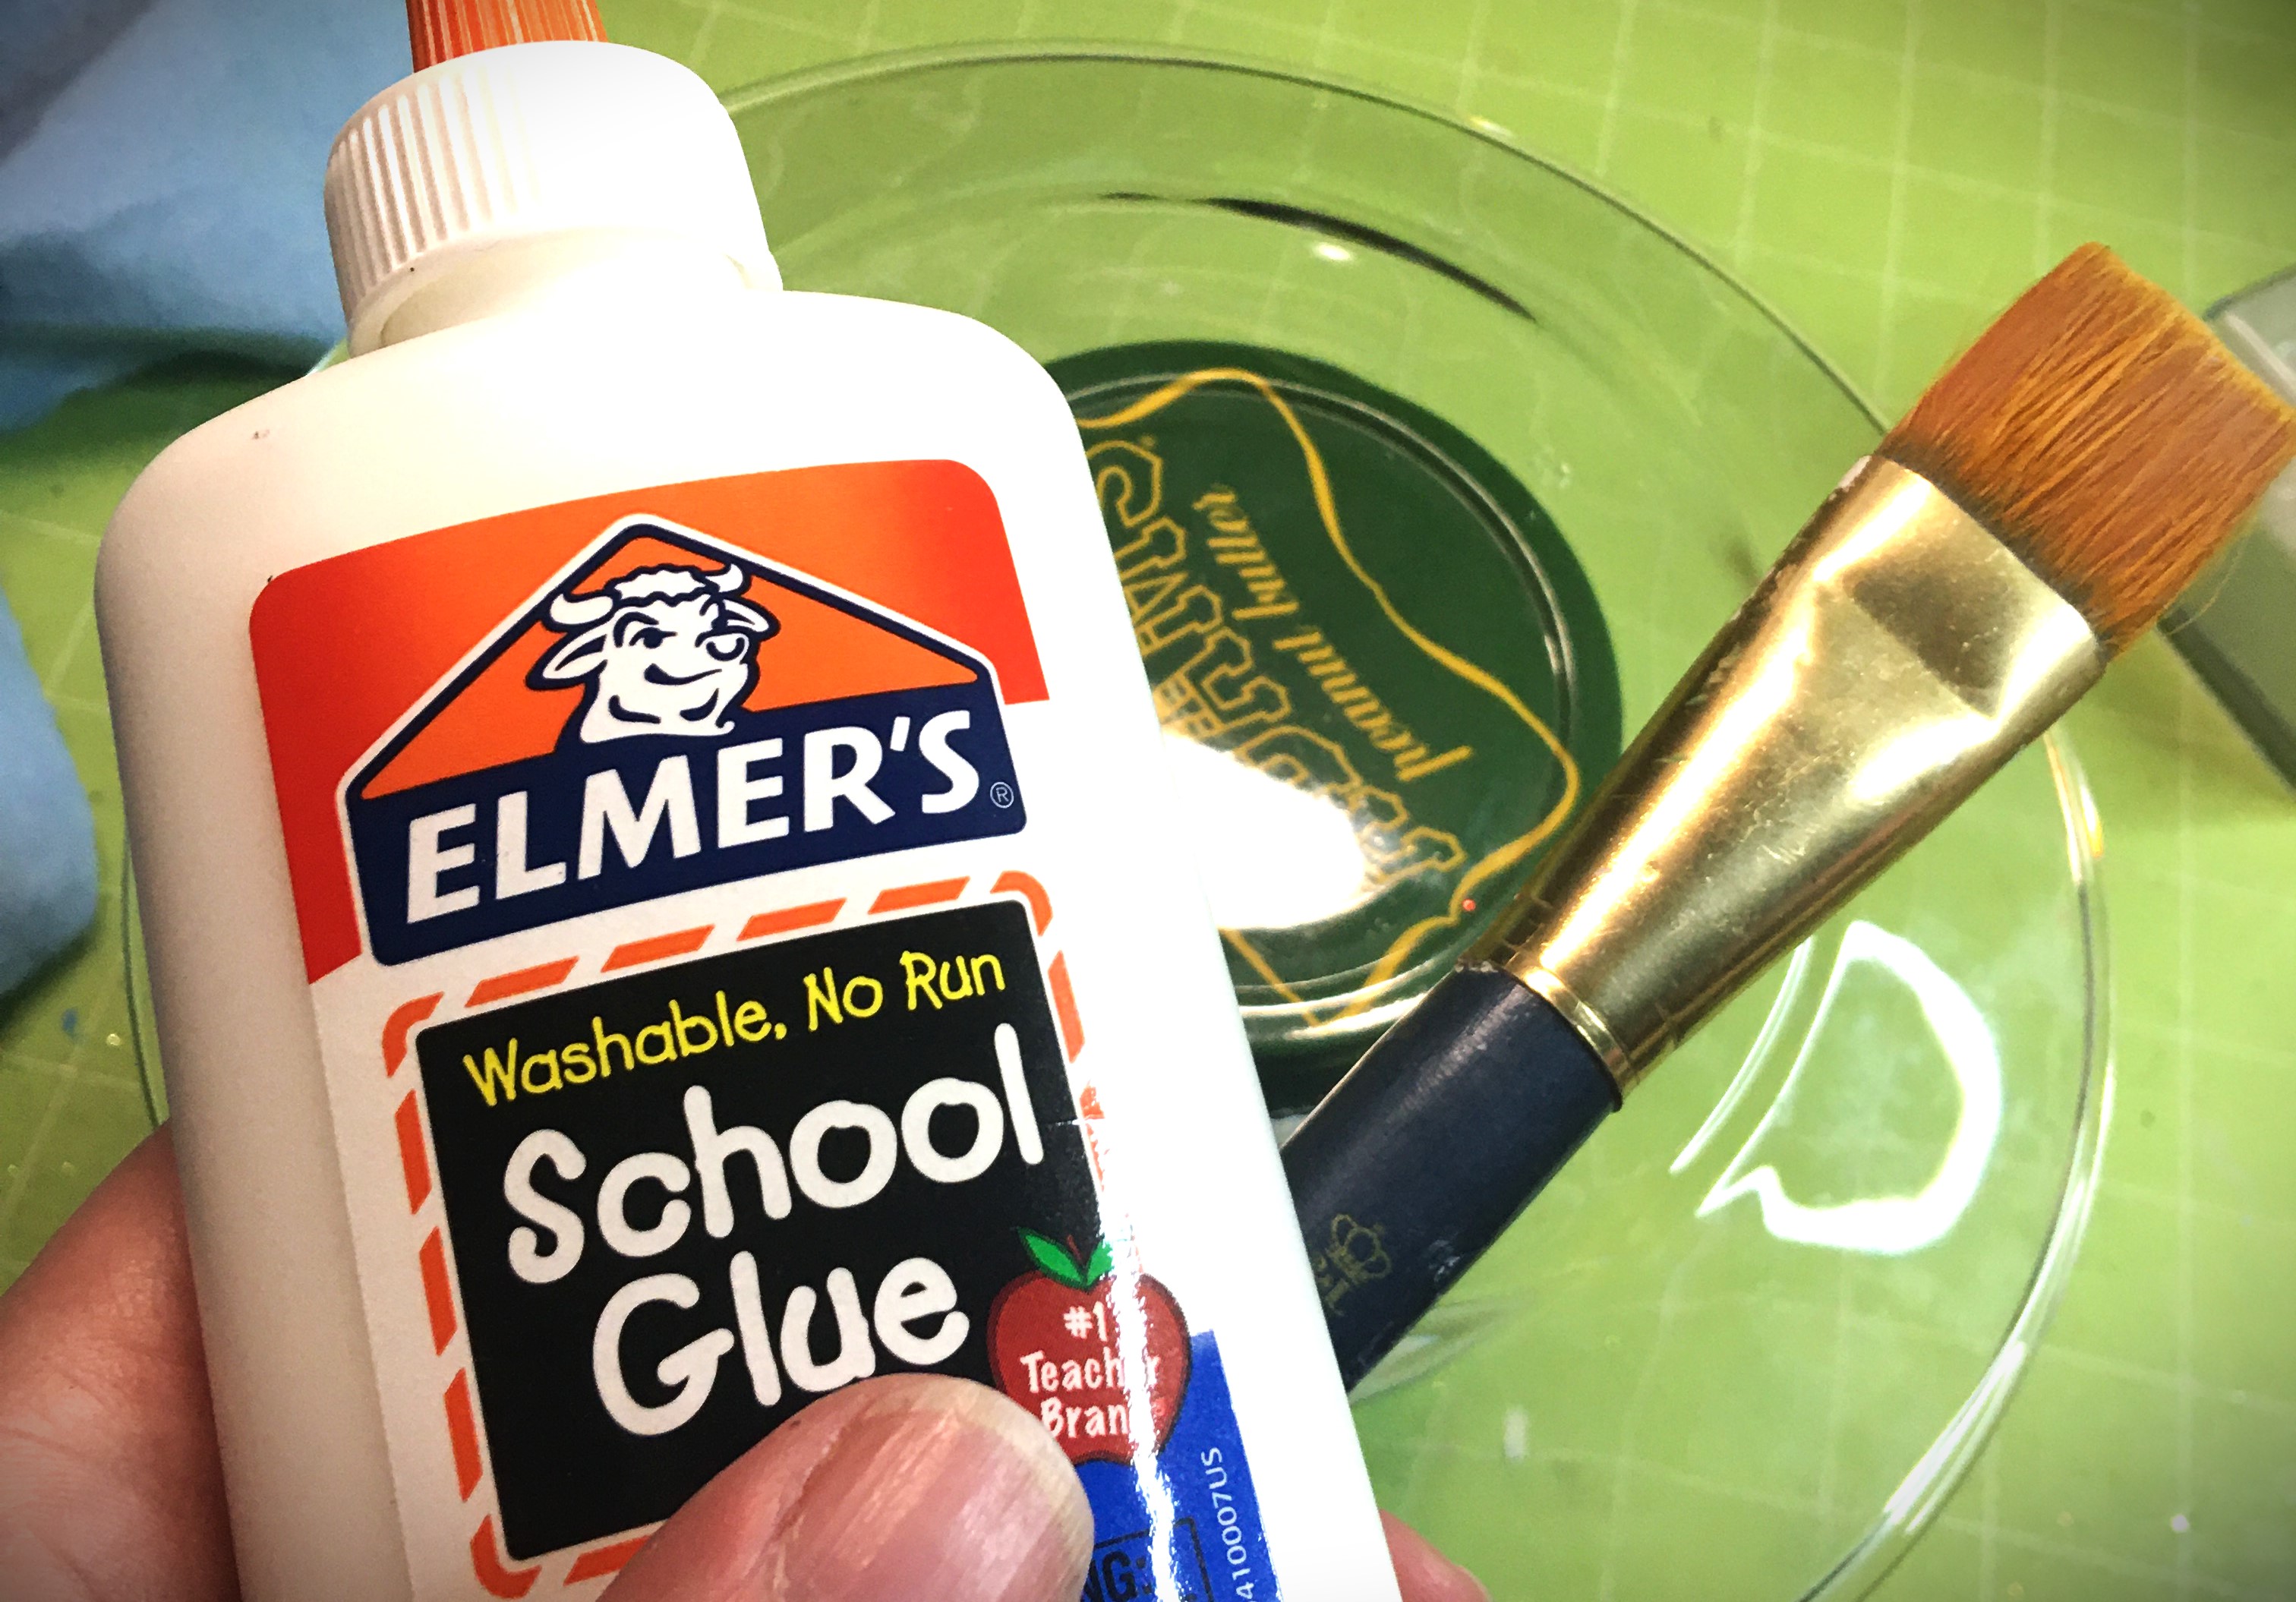
- Glue
- Stickers (optional)
- Twine
- Pens, crayons, or other decorating medium (optional)
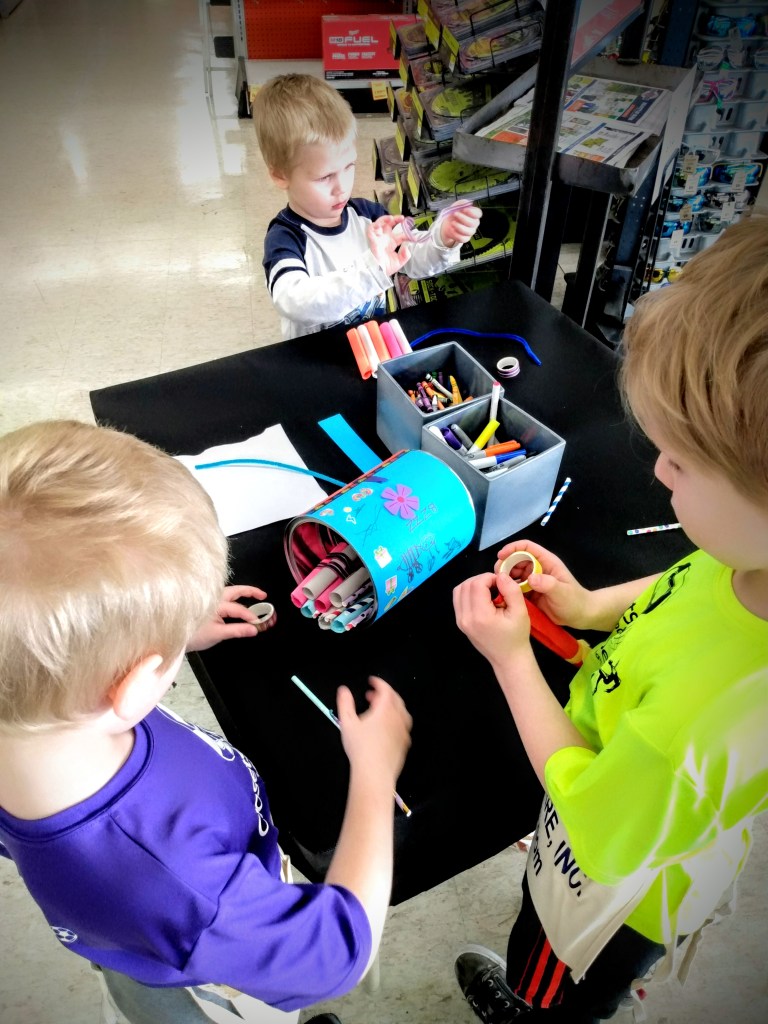
If this is a kid’s project you’re setting up for, cut all rolled paper and straws to the length that fits from the back of the soup can to the front.
You can even prep other materials for your bee house. If you have scrap blocks of wood, you can several holes through the block.
I don’t know what you have in surplus in your craft room. But I have many wine corks that have been waiting for just the right project. When I get a free afternoon, I’ll make an adult version with rolled cardboard, drilled scrap wood blocks, and my collection of wine corks that will also be drilled.
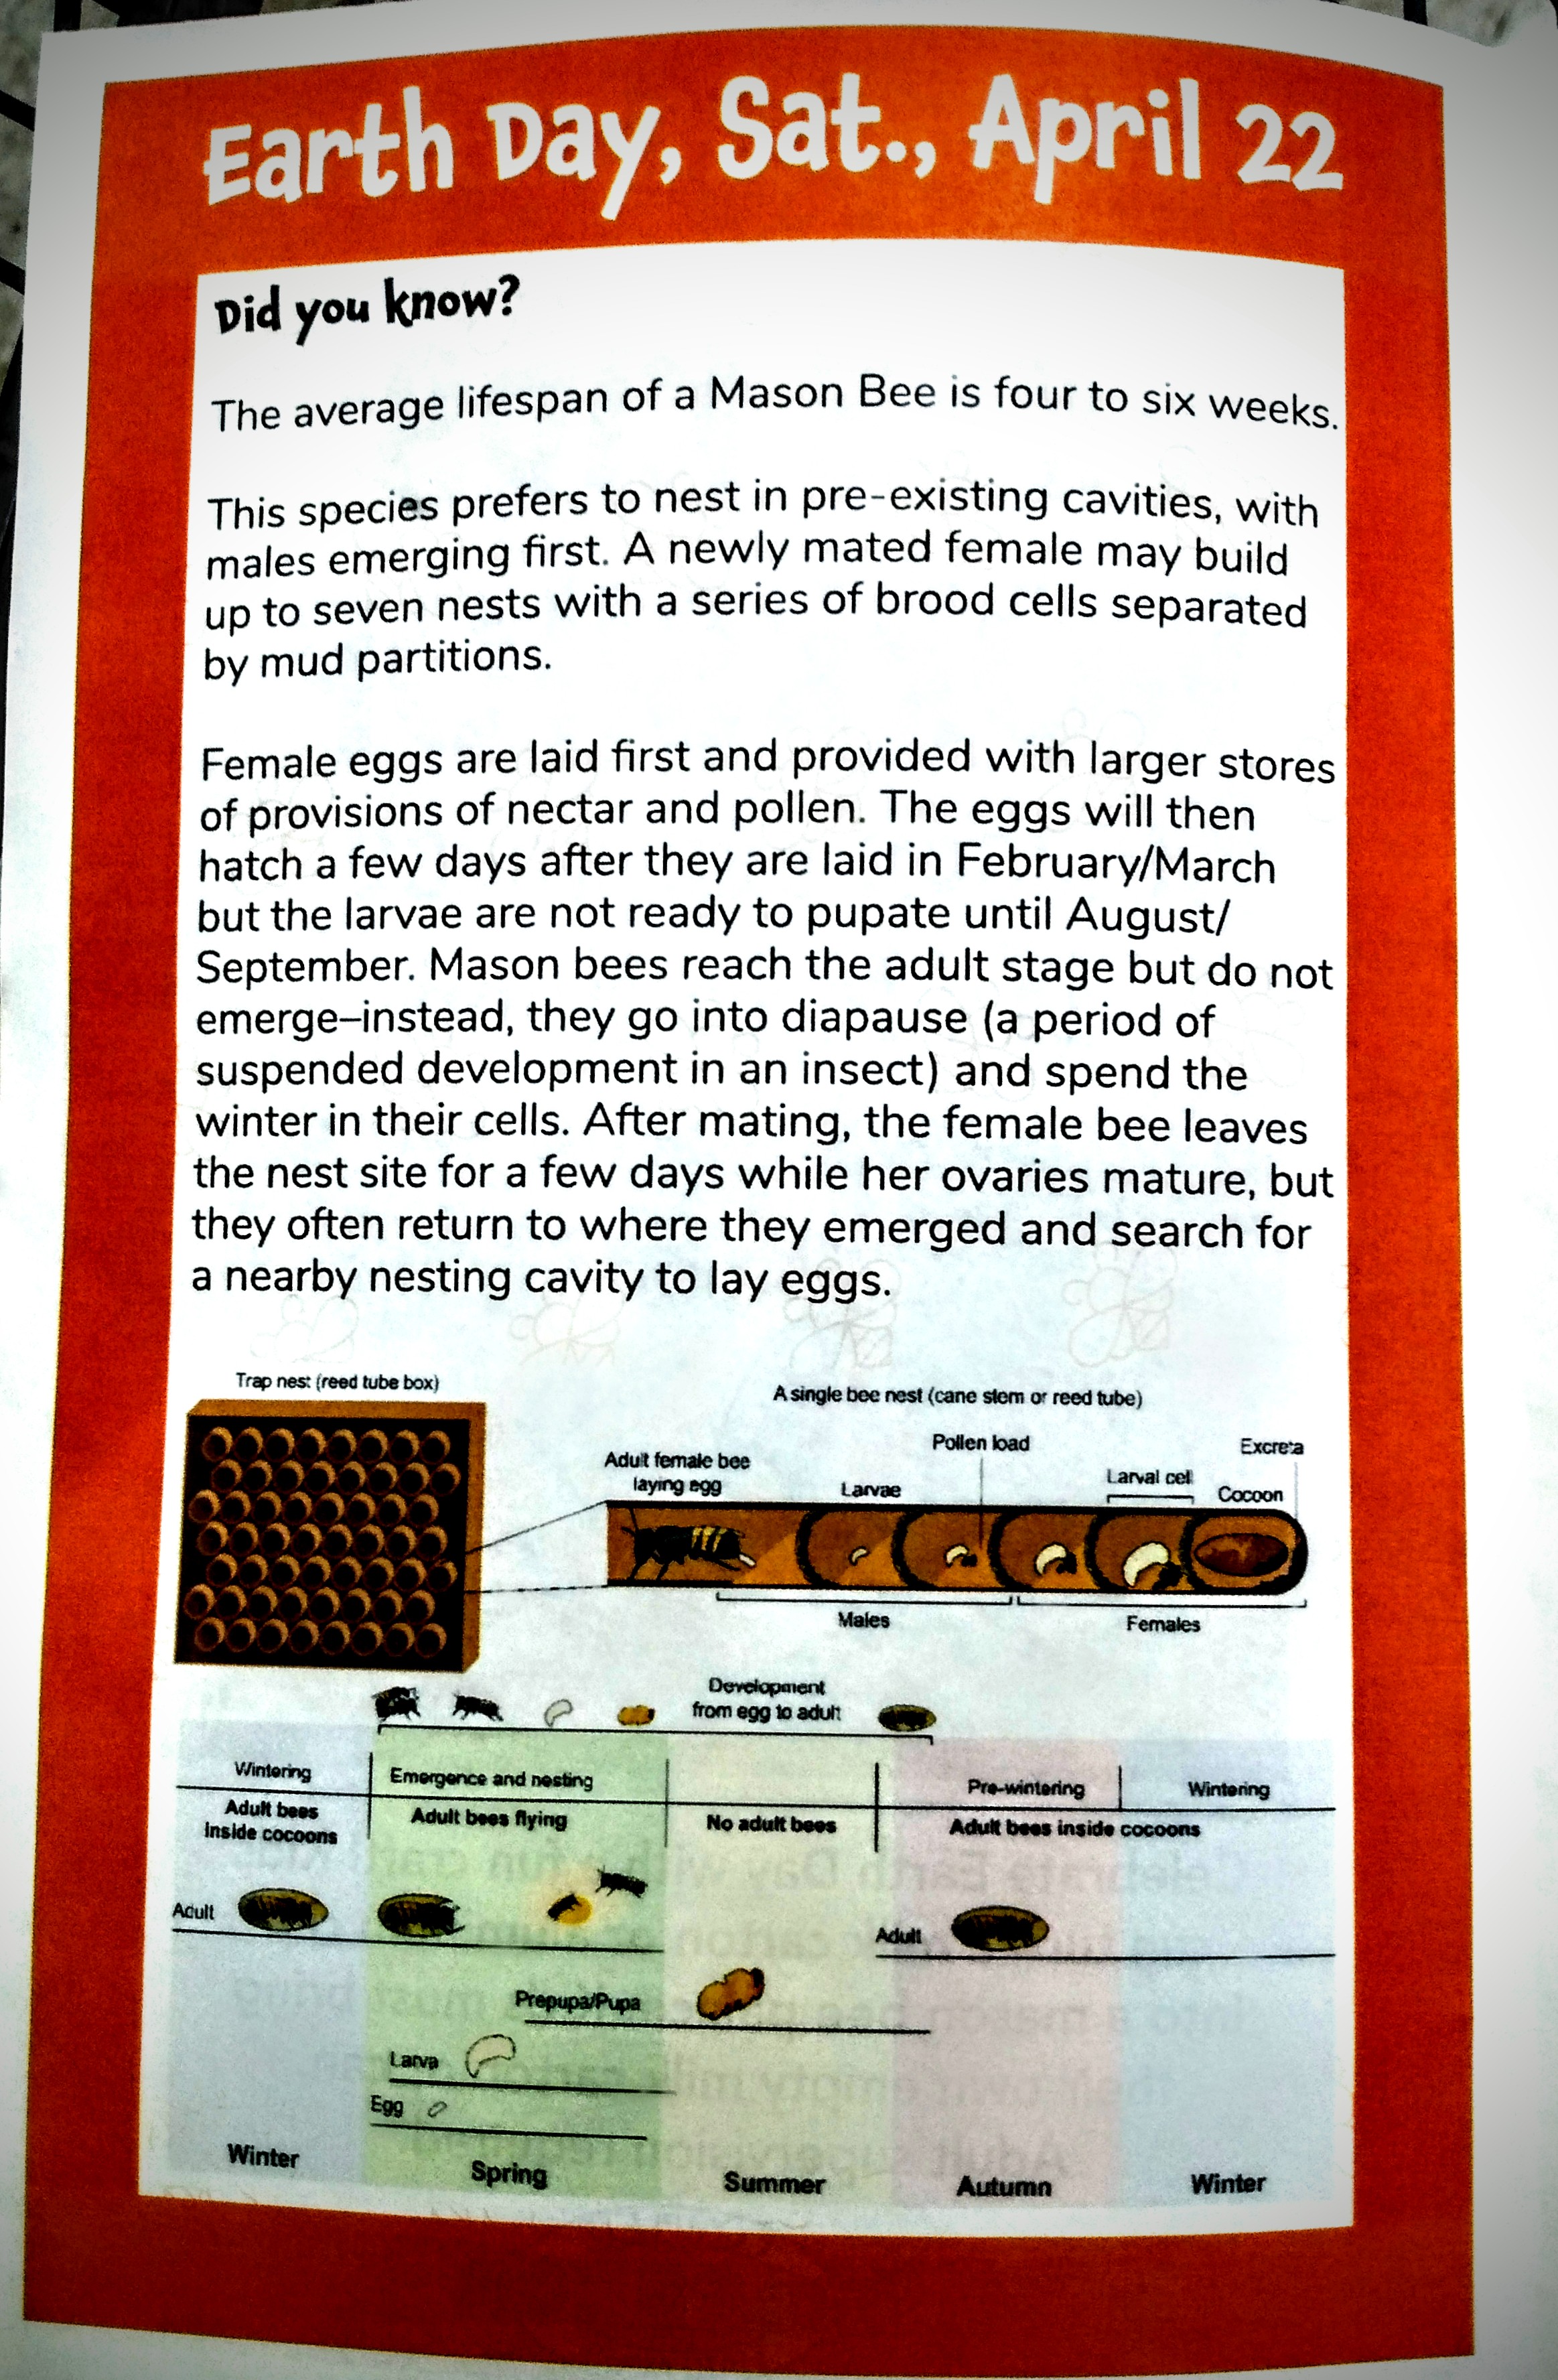
Here are some additional bits of information about mason bees, if you are unfamiliar with them.
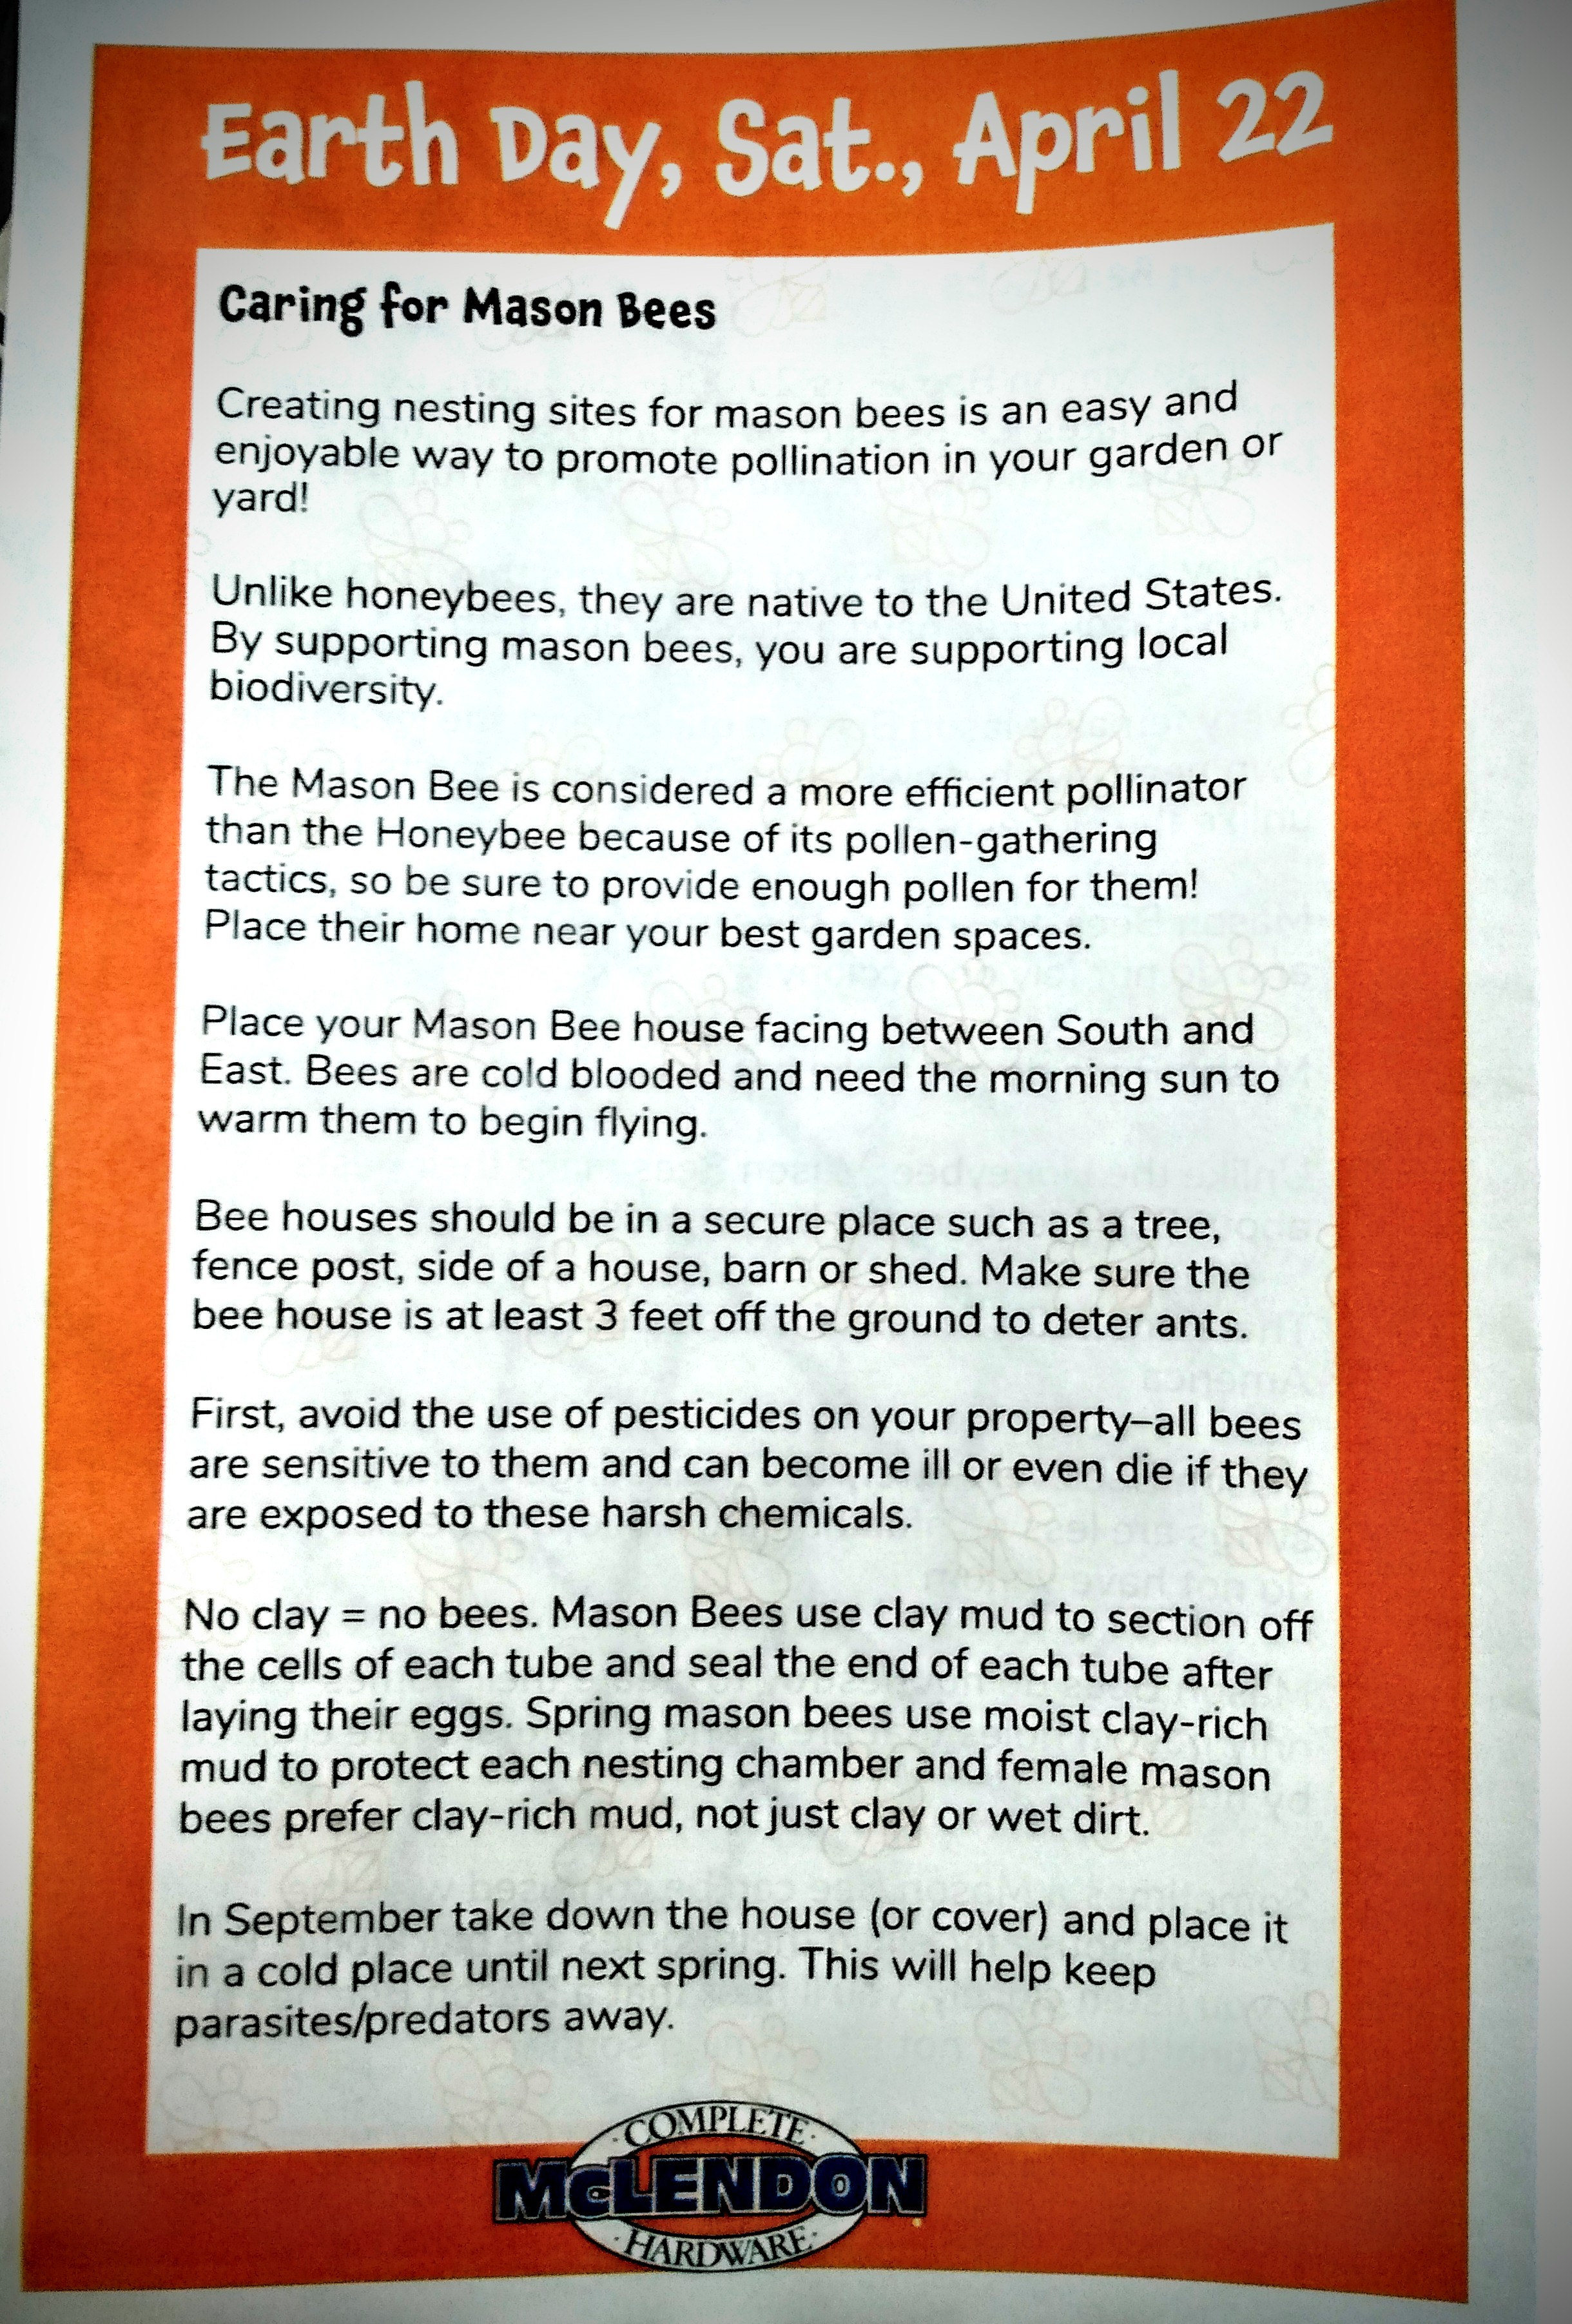

Here is another resource to get you started on your path for creating a home for mason bees. If you want to buy mason bees to start your bee colony, I found this site which is still selling until May 22, 2023. They have a bee info page that can instruct you in how to care for mason bees to make sure that they remain healthy and happy.
If you’ve watched the movie The Pollinators (2020), then you understand the need to help support our local pollinating community. If you haven’t seen this documentary yet, it’s worth the time to understand what it going on with the bee population in the United States. And if it’s happening here, it’s very likely happening in other places.
Last year (2022) was a bad growing season in the Pacific Northwest (PNW). To this day I still believe with my whole heart that the bees were what made my garden successful, when others in my local community found only hardship. So for my gratitude, I already planned on adding more flowers to my garden as well as being a more hospitable home for my pollinators. With that being said, I will leave you with the pictures of my family. And once the weather clears, I’m going to examine closely where our best place of hanging this mason bee home is going to go.


Leave a comment