It doesn’t matter if you’re an Artist, DIY Bride, Crafter, or a Just Because-er, you will create something and there’s just nothing you can do to save that project from the junk heap. Sometimes we get wrapped up in our own emotions of wasted time, wasted materials, dashed dreams of overextended ambitions, and everything else, that we forget even the Master Artists had unsuccessful projects.
If you’ve spent anytime in art history classes, or been around artists long enough, you probably already heard about this. All the Greats recycled their canvas. That’s right! Da Vinci, Rembrandt, Picasso, I could go on and on… they all painted over something they created before. The lesson that we can take from this is that we can create over something that we tried to create before.
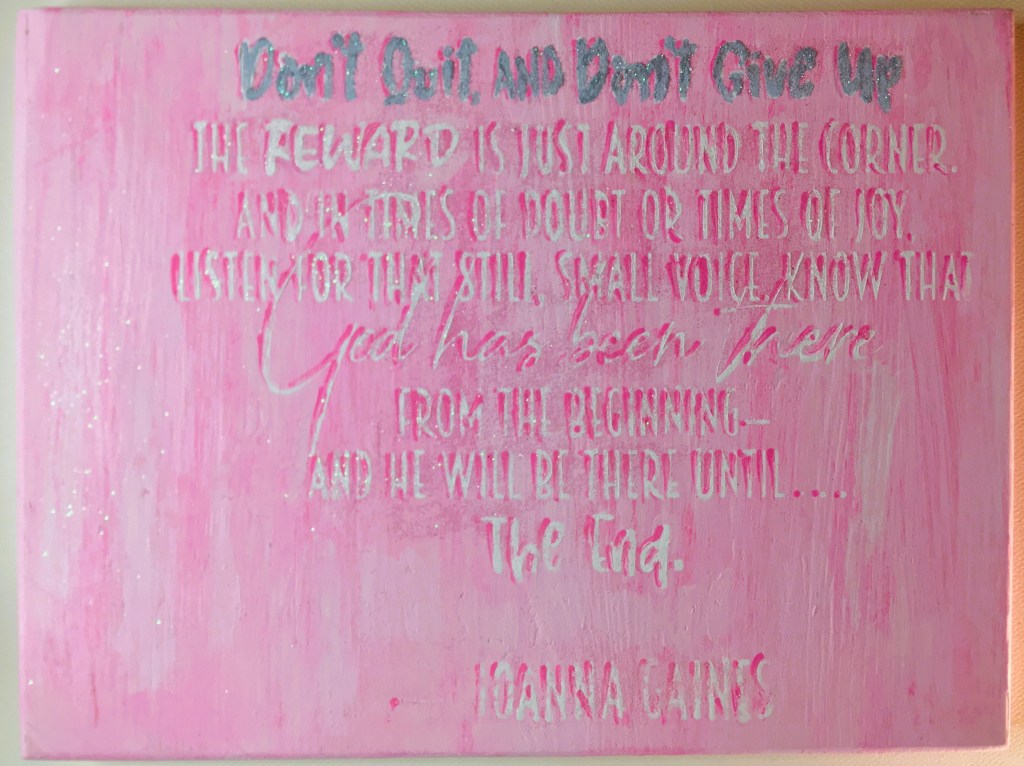

This was a wood block that I had to give up on after running through Plan A to Plan F. That’s right, I tried to correct and original problem five other times! Am I stubborn? Yes. Am I determined? You better believe it. Do I succeed at everything? No. But, I give myself permission to set aside what is clearly not working. For this particular project, I discarded about 16 hours of trying to make it work and grabbed a new blank. In less than an hour, I executed my main vision without having to go through another plan letter. Sometimes scrapping a project to start over on the same vision is completely necessary. And that is when your success comes.
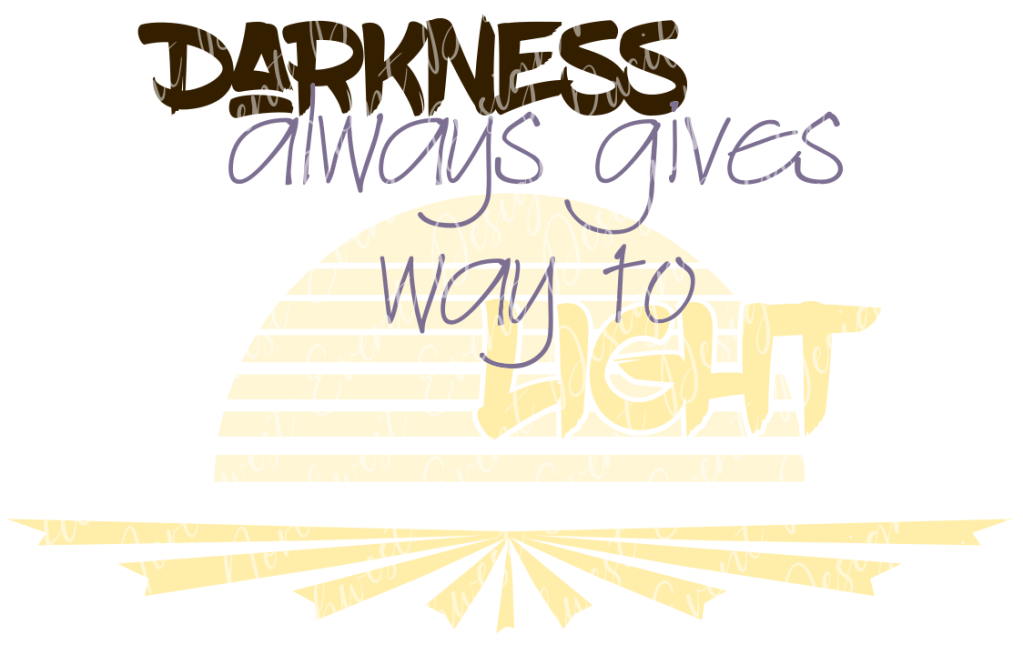
Here is where things get good for this block of wood. Even though I had painted it on all sides (in a color I don’t usually work with) there are ways of recovering materials and reusing it in something completely different. I had fully intended on sanding the glitter and acrylic paint off, but inspiration hit and I really didn’t want to waste the time of stripping the wood for a clean base. Instead I challenged myself with this cotton candy pink by adding black, blues and purple to the pink and creating a base that gave off a vibe of sunrise or sunset. And that in turn inspired the three variations of Darkness To Light. (Click here to see all three!)

What is amazing about blending colors and adding textures into your paint is that you can cover over even the raised text from stencil painting and the glitter. Acrylic paint doesn’t cover glitter at all. It always manages to shine through. So if you decide to not go with glitter ontop of a project you previously used glitter on, I recommend taking the time to sand the glitter off. I’m sorry I could not get a picture of the glitter coming through (I gave up after 30 attempts), but my oldest son kept playing with my lights to get the glitter to sparkle. So if you know kids, when they play with lights you know the glitter is still there. However after much finagling, I was able to get one angle where my camera did finally pick up on the raised lettering. But unless I point out stuff like, most people I know pretty much never pick up on the fact that I reused this wood block.

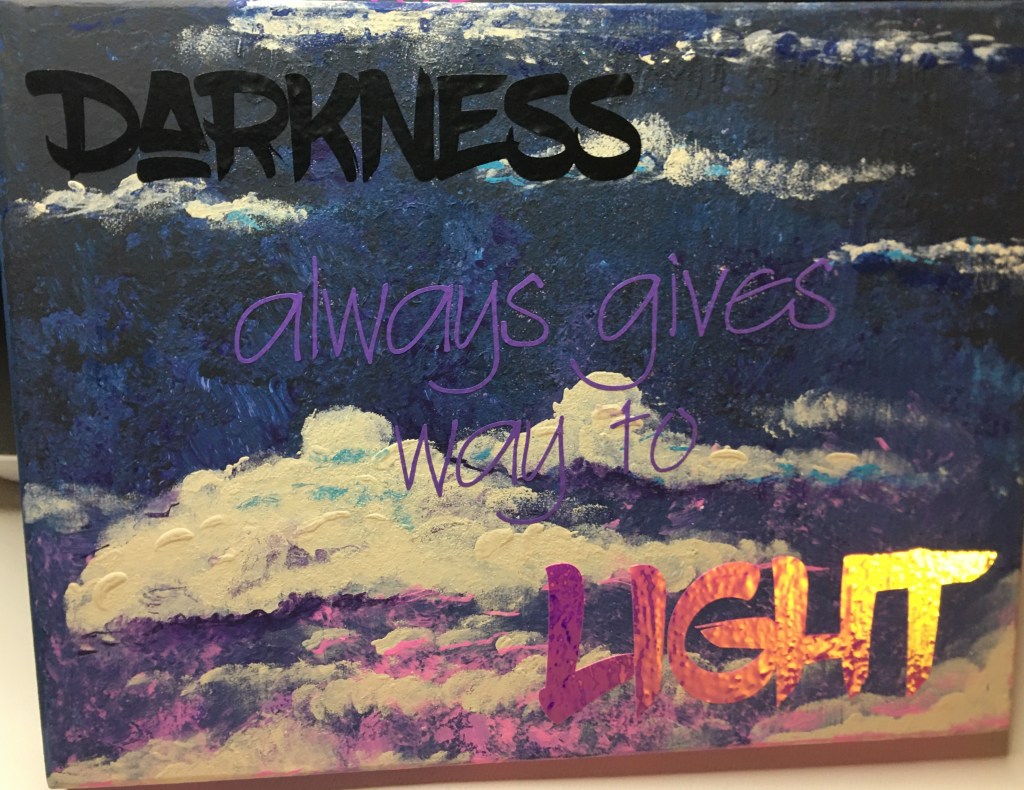
The raised letters are right here on the bottom just above this cloud line.
Normally at this point in a project I spray a couple of coats of clear acrylic spray over the top. It seals in the paint to it doesn’t transfer paint when you knock it against something. And I love using HTV over paint. I get a better end product with it and the vinyl stays on without lifting. (Permanent vinyl tends to lift when you have higher humidity levels.) The clear acrylic spray also smooths out your surface, making it more flat when you adhere your vinyl. Coming up the next few shots, you will see what the raised textured acrylic paint did to the vinyl. But this is something that spray acrylic and HTV really does overcome.
Instead of my usual route, I went with the unsealed acrylic paint and permanent vinyl. Going into this, I knew that there were a few obstacles that I was going to have to overcome; transfer tape stripping the paint off the wood block and the vinyl not adhering to the uneven surface.
Transfer Tape Stripping of the Paint
This is the #1 problem most crafters complain about when they work with paint and vinyl! You will find it everywhere, on every forum where people are asking for help. You will get the standard answers of use a transfer tape with less tack, use transfer paper, use press and seal…. I’m telling you that you don’t need to do any of this! The reason is that the problem isn’t the level of stickiness. The problem is that you’re pressing your transfer material onto your paint with the same force that you’re using to adhere your vinyl. Both have tack. They’re both going to stick. So please don’t spend more money chasing a solution that is still going to be part of the problem. I know because I’ve tried all the different tack and I still pulled up paint before I learned this.
Solution: DO NOT burnish your transfer tape with your vinyl.

Instead: gently lay your transfer tape in position and very lightly press it to your surface. The goal here is keep your vinyl in position while you use another tool to press down ONLY on the vinyl. With Darkness and Light being larger letters, using my fingers was enough to transfer the vinyl. For my thin letters here, I used my cutting machine’s scoring tool. This gives the ability to press down as hard as you like. You will not adhere your transfer tape to your paint. And you’re not going to scratch your unprotected paint either. Absolutely none of my paint peeled or flaked off. You can zoom in on the following pictures and see for yourself. All of my built up layers of acrylic stayed the same as they were before I applied my vinyl.
Vinyl Adhering to an Uneven Surface
There’s generally two problems under this category. One actually getting your vinyl to adhere and not lift (you’re not going to get a complete seal). The other problem is purely cosmetic, you’re not going to have that glossy (or matte) smooth finish.
For the cosmetic, unsealed raised paint is never going to give you a flat smooth vinyl esthetic.
As I stated earlier, there are ways around this. But the way that I painted and left it unsealed…this is what it looks like. If you choose to work with vinyl on an uneven surface and want to try for the perfect finish, I recommend finding an appropriate sealer to help minimize the highs and lows of your surface and then aim for placement to go where there is the least amount of height disparity. Chances are that you’ll probably still won’t get that flawless look, but you’ll get close. Just remember that the more layers of sealer you put on top you will have to allow more than enough time for it to fully dry or cure before applying the vinyl. Vinyl needs to have a dry surface to adhere to because your sealer has to breathe to dry/cure. (This is most definitely not the project you want to use the wet method of applying vinyl. Save that for a glass or plastic surface that don’t need to breathe.)
That being said, there is a solution to maximizing the potential of your vinyl adhering properly.
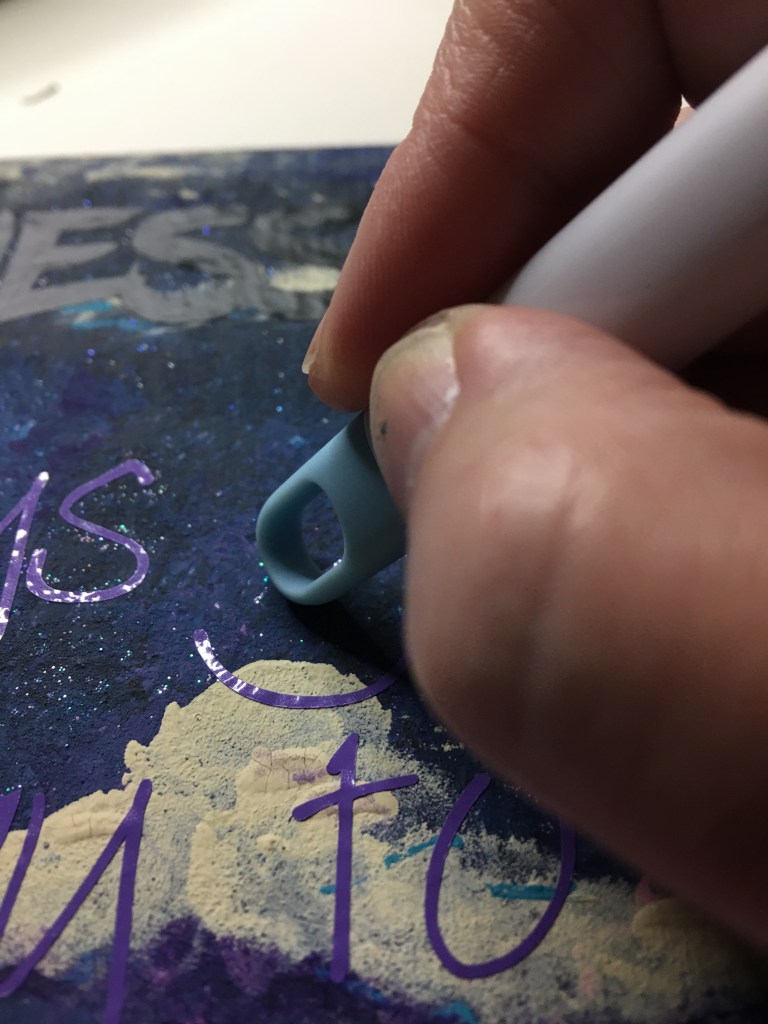
Once you’ve removed your transfer tape, go back through and reburnish your vinyl. Transfer tape hides alot. You never see what is not fully burnished until you remove the transfer tape. As you can see here, there was plenty of places where I didn’t press down on the vinyl enough the first time, or because the text is so thin the transfer tape pulled some of it up. In reality, for this project it was both of those things.
With nothing protecting my vinyl, I didn’t want to scratch or crease it with my scoring tool. So I flipped my tool over and used the other side. It is wider than my thin text, but it also didn’t have a plastic seam running down the middle. So I had a smooth surface to go back over my vinyl and burnish it again without fear of scratching my vinyl or my paint for that matter.
I’m sure that the question will be asked, “Did your vinyl lift?”
At the time of writing this blog, my vinyl has sat untouched for over 48 hours and looks the exact same as the finished project picture above. I have every reason to believe that I’m in the clear and the vinyl will stay as is. You are more than welcome to ask in the comments below for a future check in. I’m more than glad to fill you in on the status.
I am going to add one observation I’ve had with vinyl though. Where you put your project is totally going to effect the longevity of what you made. For example, I have bathroom art which has vinyl on top of acrylic and were sealed. the two pieces that I have in there, the vinyl on the piece nearest the shower lifted after 6 months. So much so that I had to apply some glue underneath to keep the vinyl on. The glue solved the problem and I haven’t had lifting since. The piece that is about two feet further away had one small piece lift, but not enough for me to get glue in there to reattach it. Since the same vinyl was used on both pieces, I know it wasn’t the vinyl itself. It was the humidity from being close to the shower. Vinyl does not like humity. So be aware of where your final placement is going to be. And let that information help you make decisions on which materials you are going to use for your project. Again, there are always solutions on how to fix things. But being aware is so very important for the longevity of your creations.
This was important to point out, because I will never put this Darkness to Light project in my bathroom or near my stove in my kitchen (where it would become exposed to steam). The uneven surface creates little pockets where steam/humidity can come in and loosen the adhesive bond.
Now that all is said and done, I am so happy with the outcome of this recycled project!


The scrapped project brought me so much tears and frustration. I actually hid it in my craftroom because of how many emotions is evoked in me. But it’s transformation brings me so much joy! Sometimes it’s hard for me to wrap my mind around the fact that there is ugliness and frustration under the new design. It makes me wonder if all the Great Artists felt like this when they painted over something previously made.
Thank you for walking through this transformation project with me. I hope it inspires you not to give up on something that you’ve made that just doesn’t hit the mark on any level. These projects can see new life in a new direction.
Please comment below, sharing with my any transformation projects you’ve made. Or if you’re stuck on something and would like some perspective to help get unstuck. I’m here for you.
See you next week!