
Maybe it’s because of my inner child. Maybe it’s because I have a house full of small children. But the one thing I can say with all certainty is that I absolutely love things that glitter and things that move.
So of course, I’m going to love shaker cards.
Have you seen them before? The few that I’ve seen in the market place have chunky glitter or confetti. Well, I’m going to show you how you can make these for yourself.
But first I want to show you how I make my own confetti. After all, why would I buy confetti when I have some absolutely beautiful scraps that I really can’t bring myself to throw out? There’s textured prints that I love and color schemes too. They make me smile. But there’s the glitter card stock. In the paper world, glitter card stock is my crack. When I have sheets in my craft room, I save it for my favorite people and special projects. So of course I want to use every splinter of that beautiful goodness.
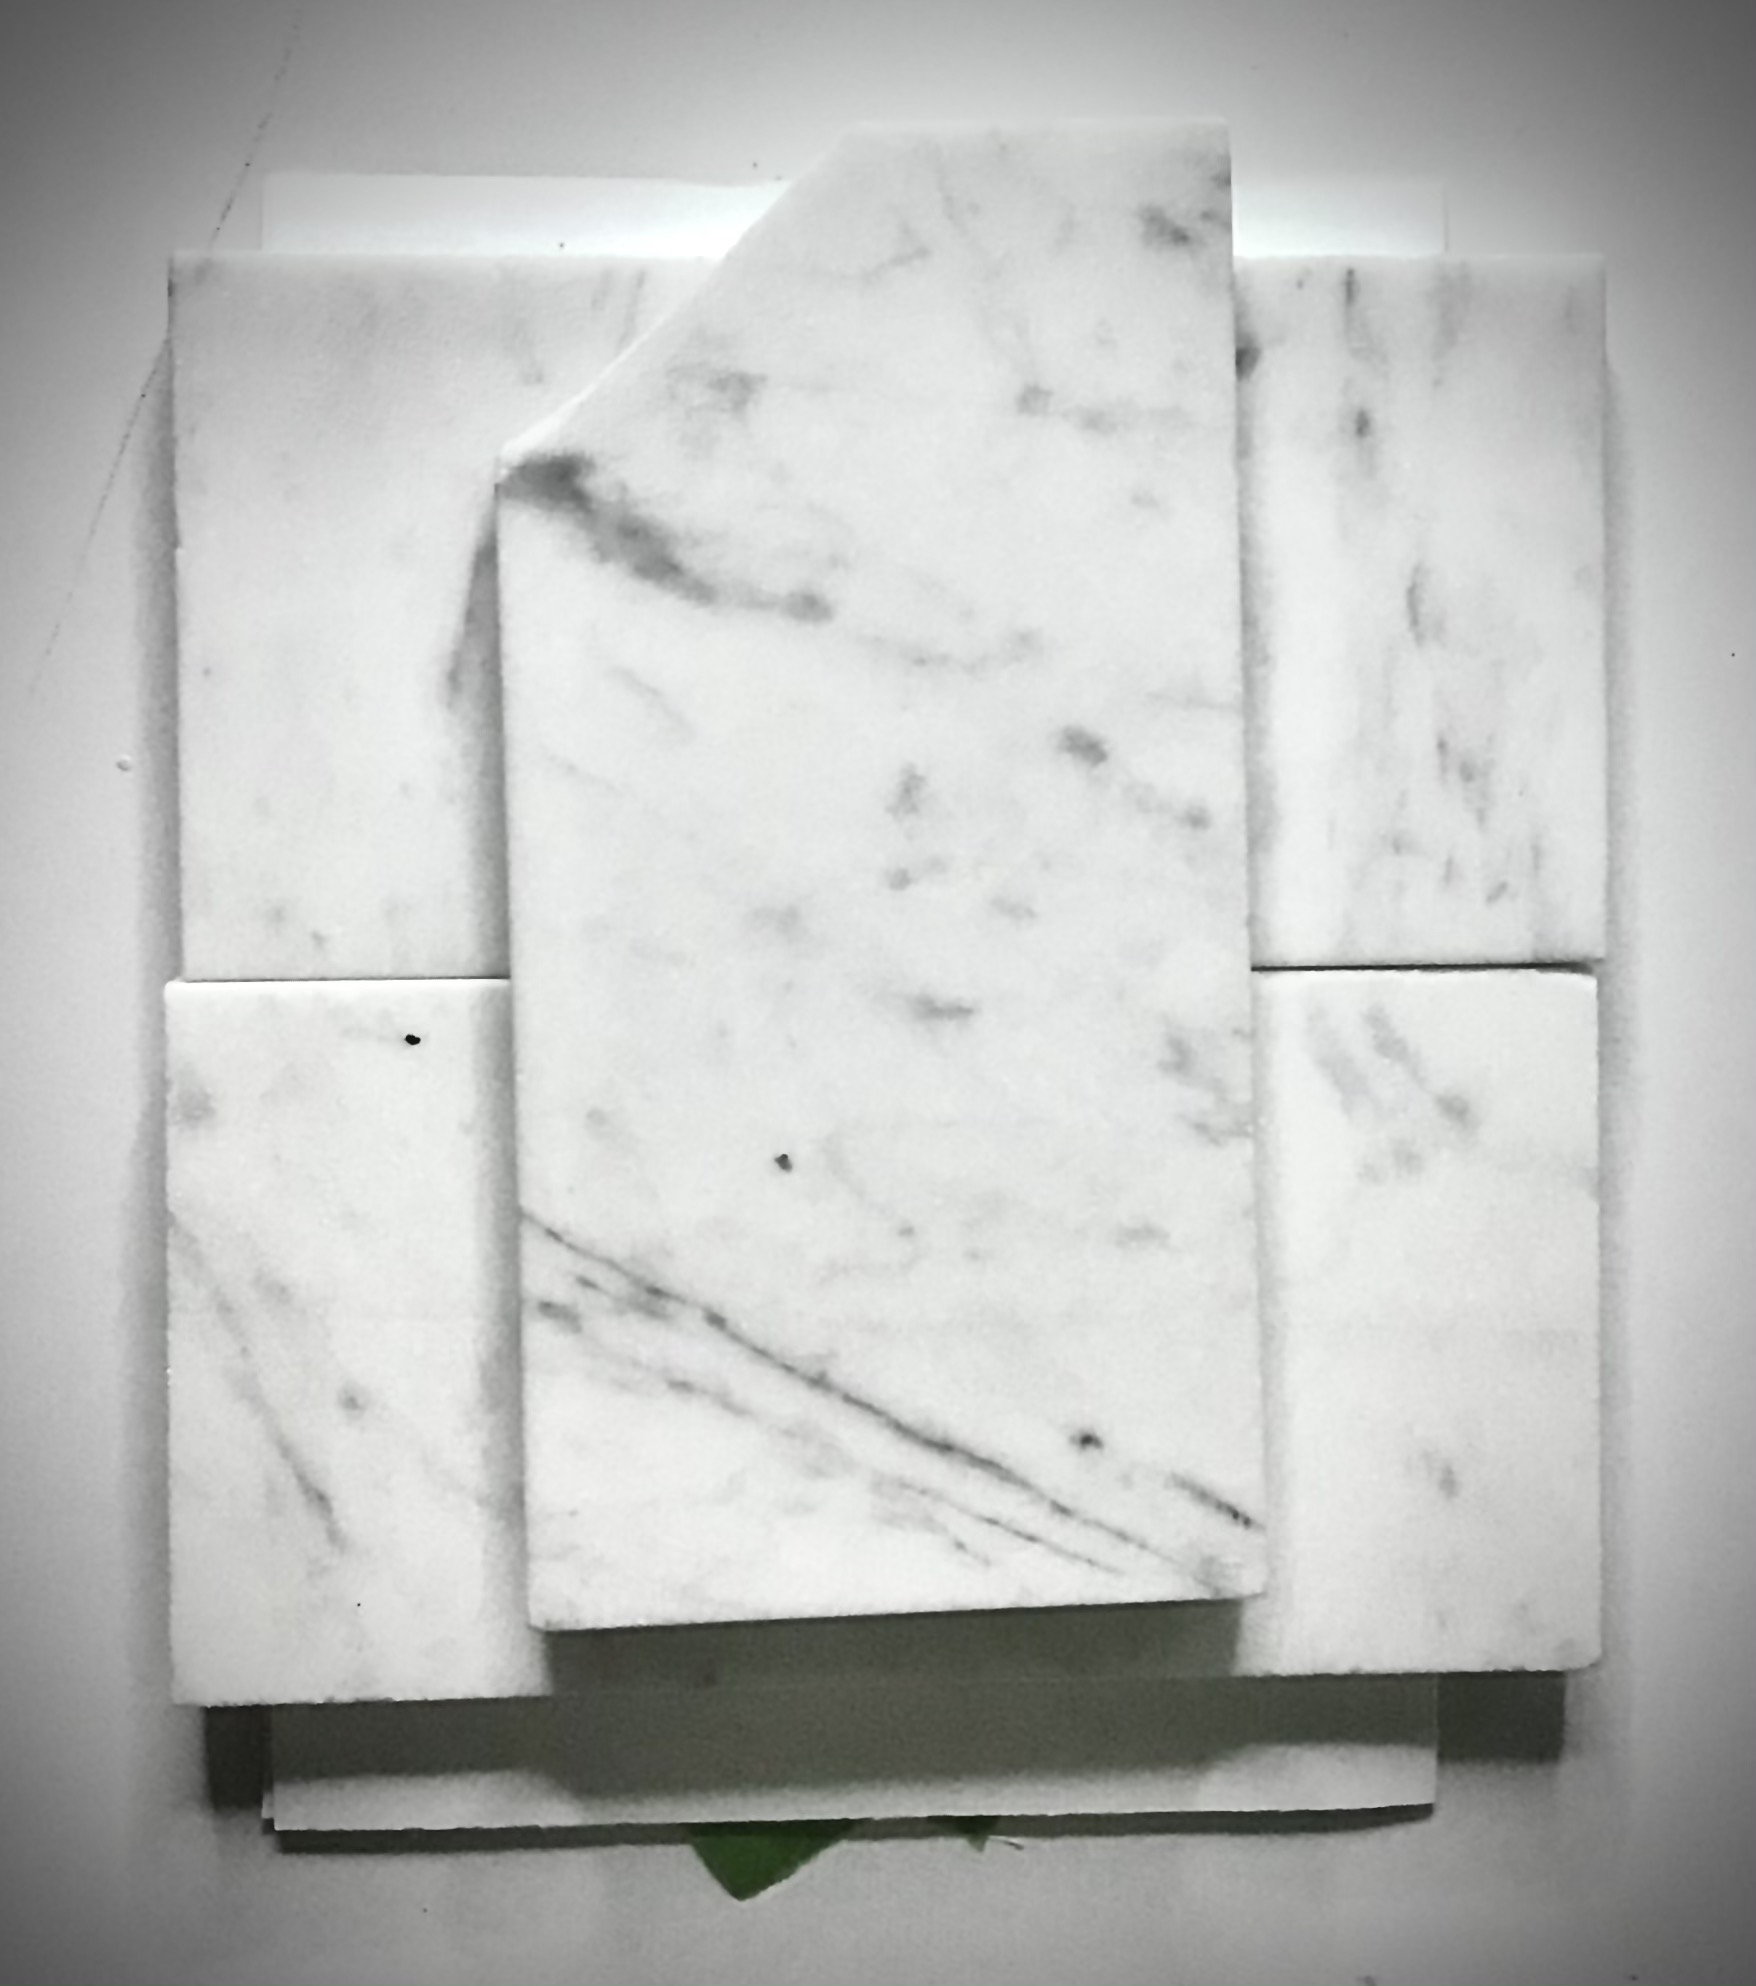
Confetti is super simple! You just your paper scraps and cut them down to this:


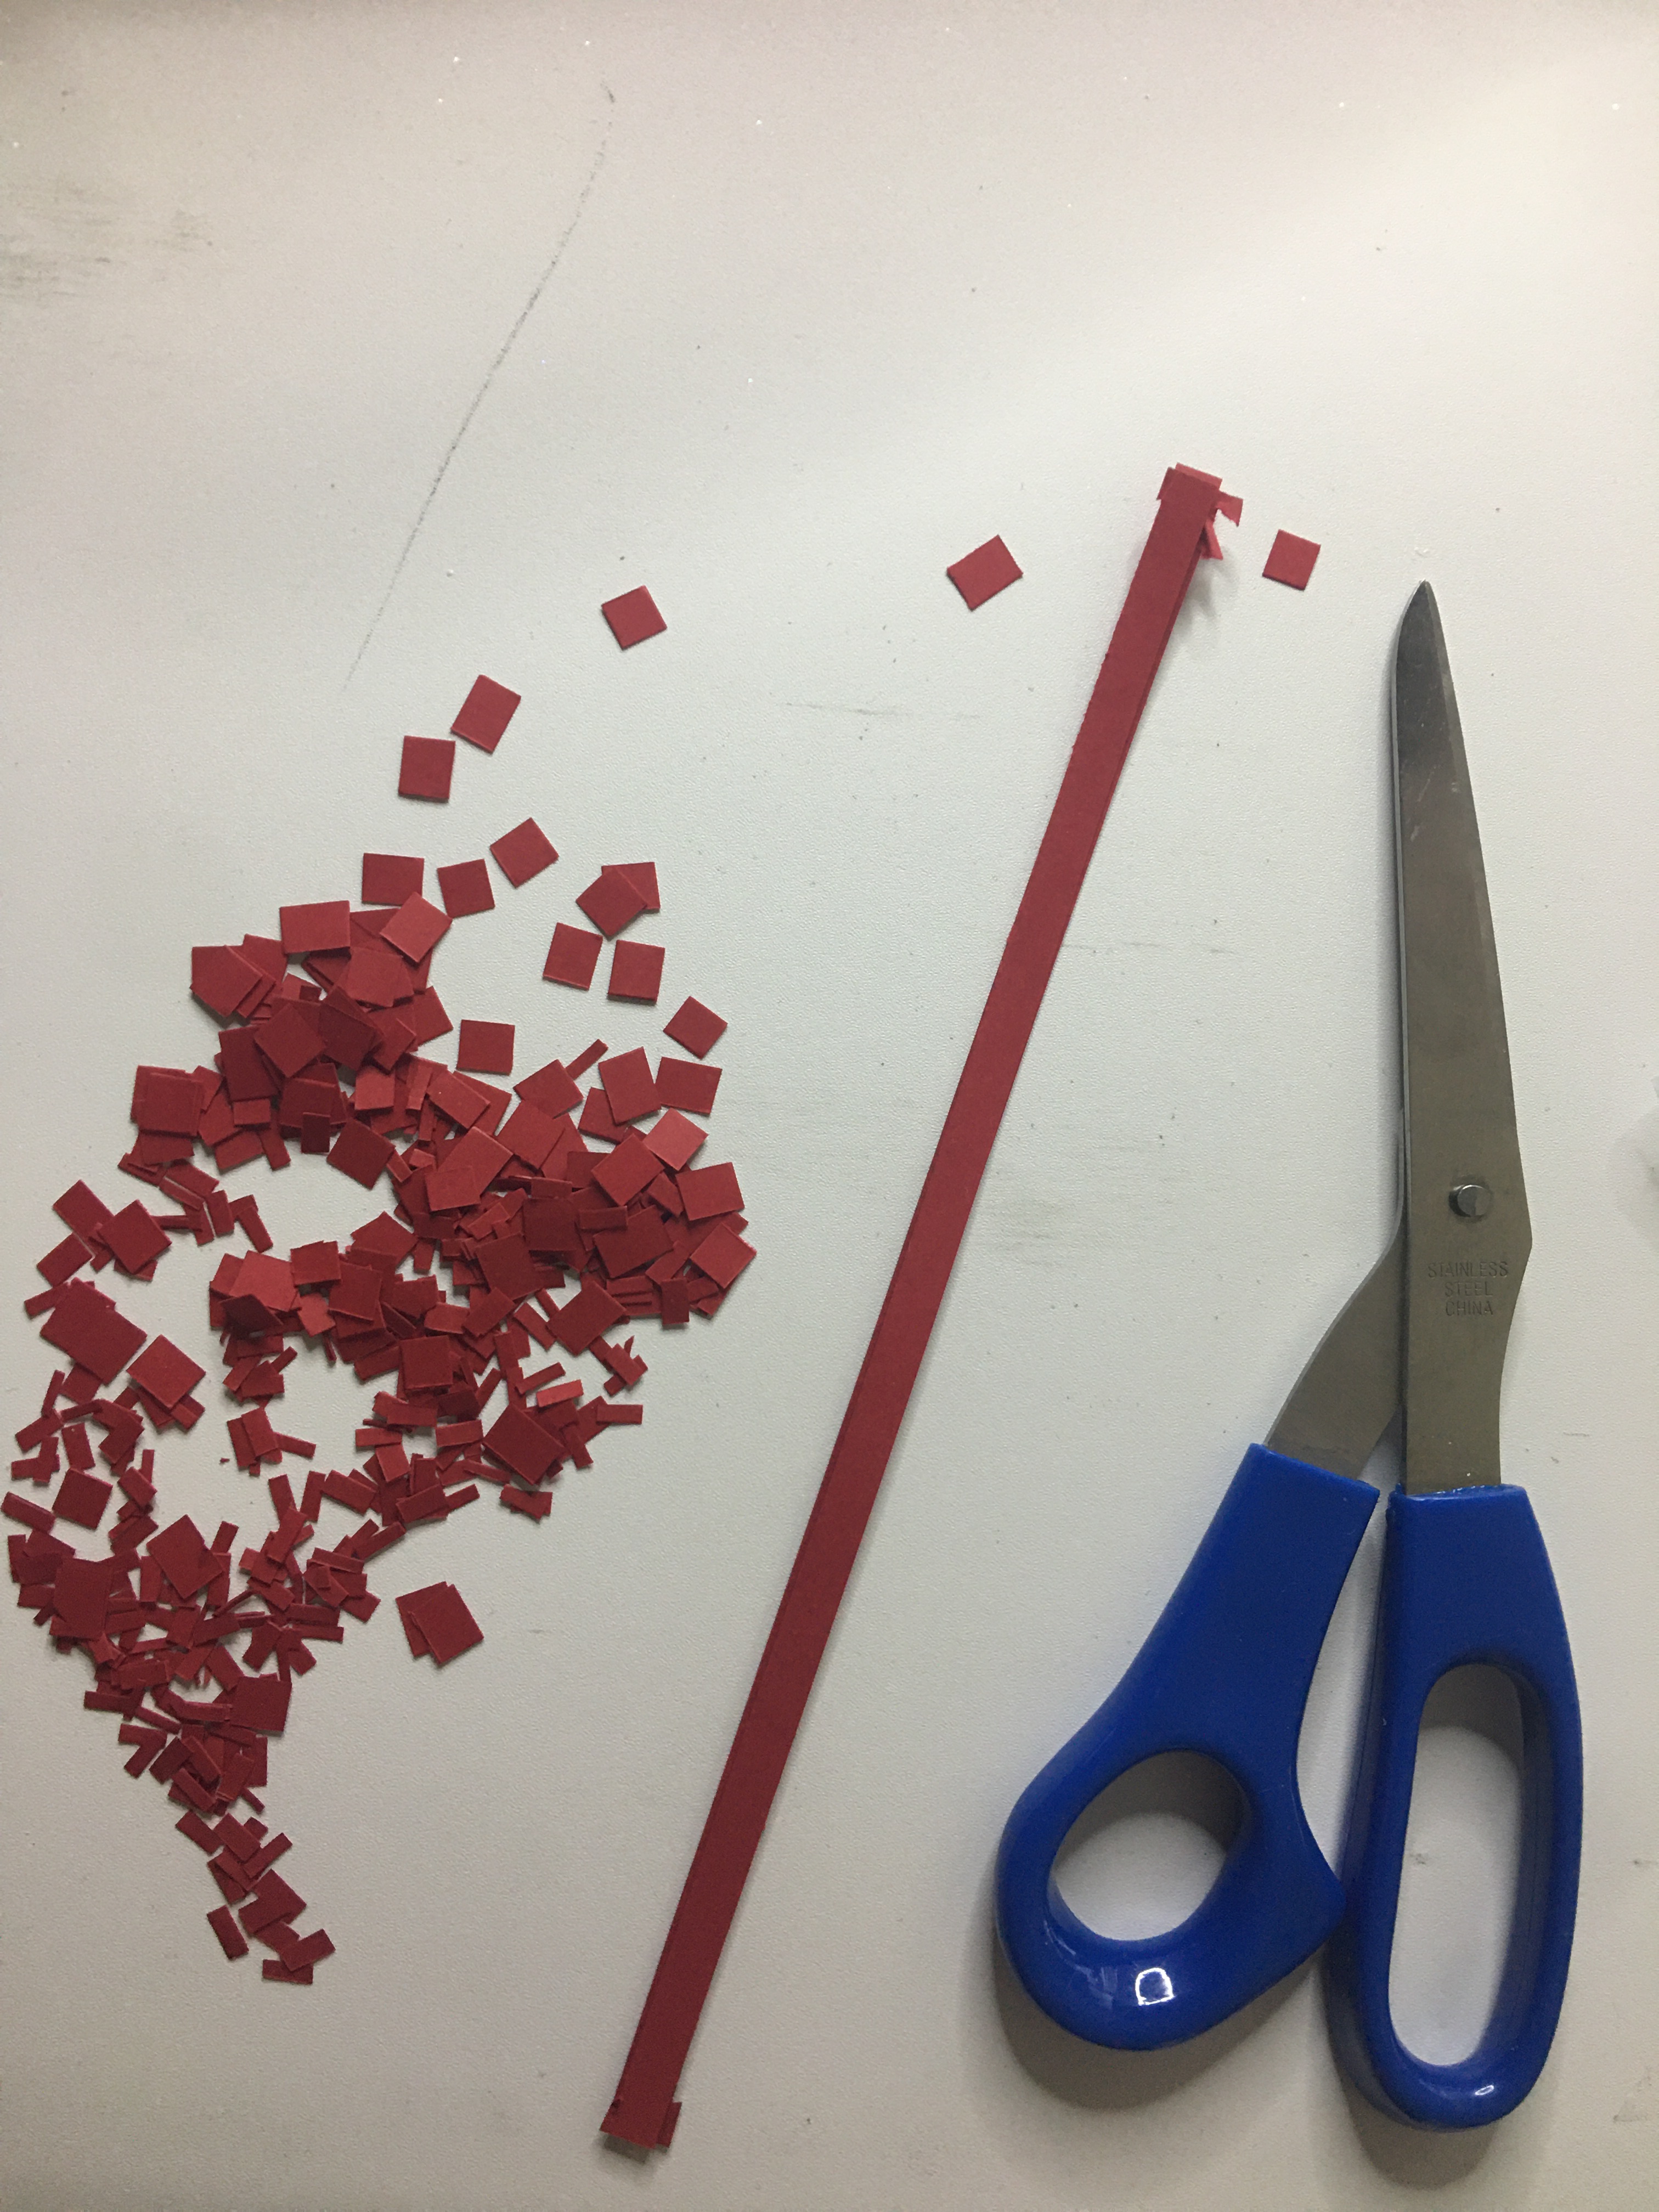
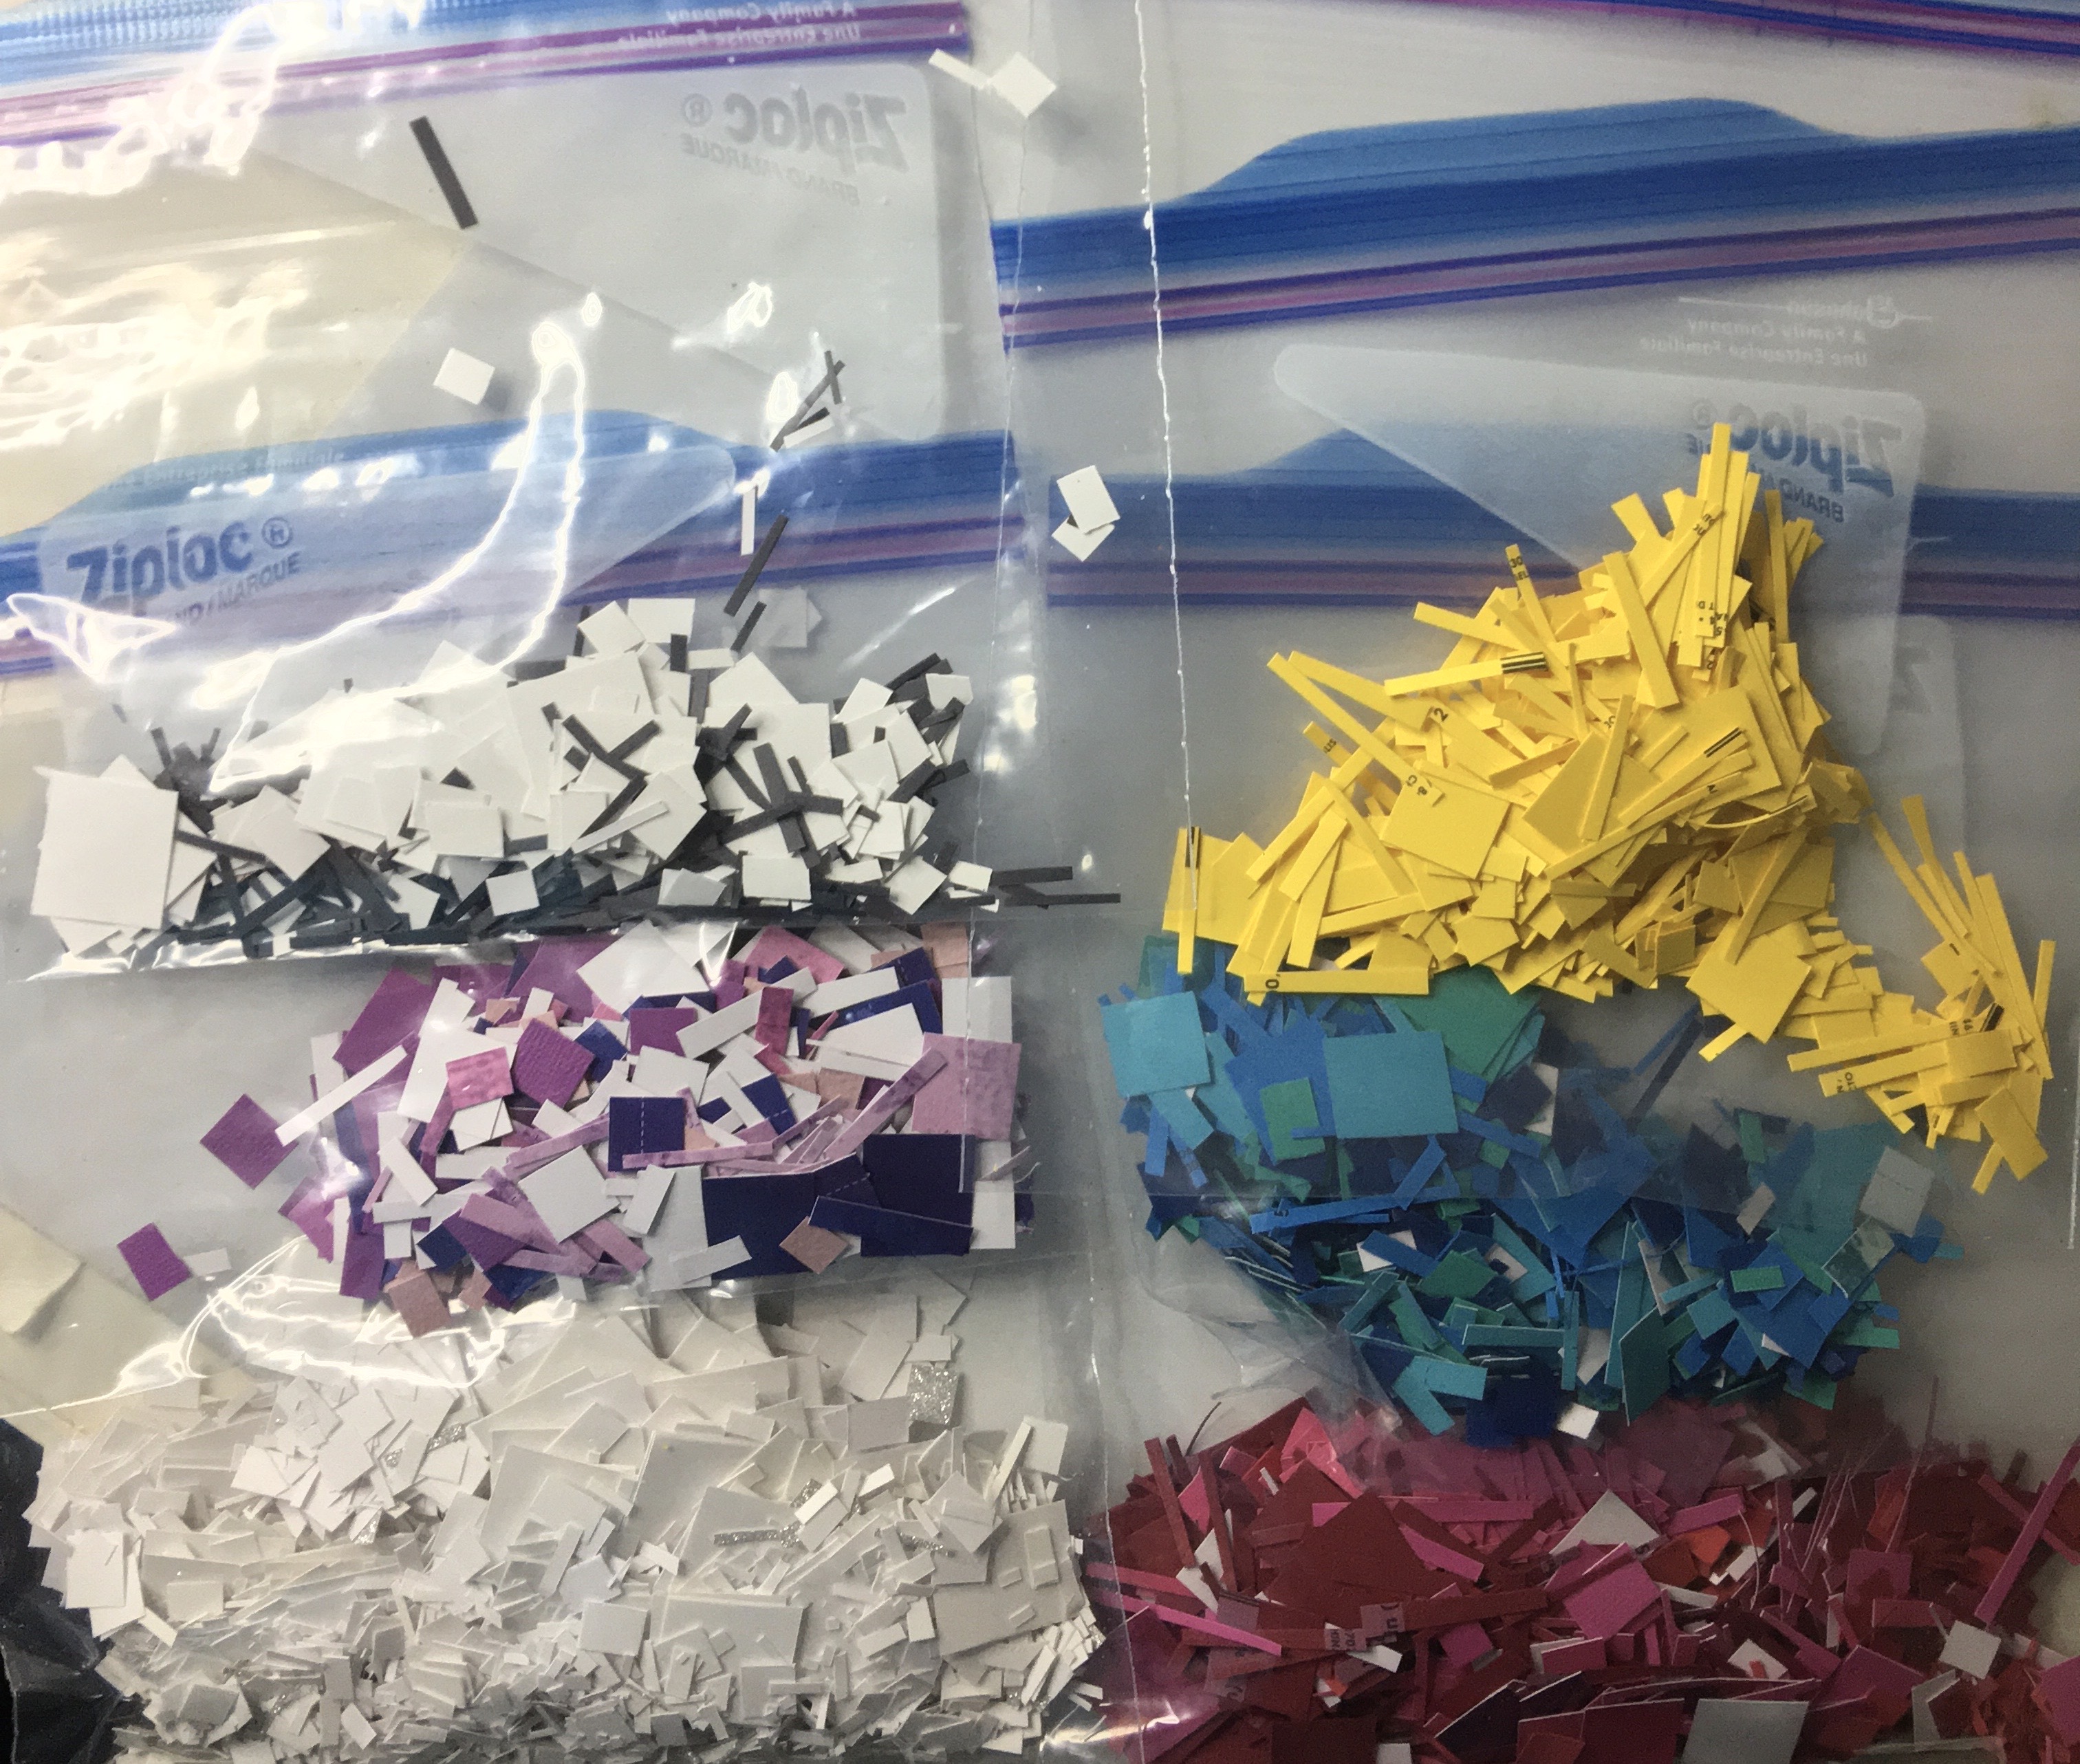
Really I do NOT have that much spare time that I buckets and buckets of homemade confetti. If I have a lot of a color or paper, I do recycle those. But there’s something about mixing all your favorite textures and prints and mixing a mosaic in a bag. And this is a confetti blend that you will never find in the store.
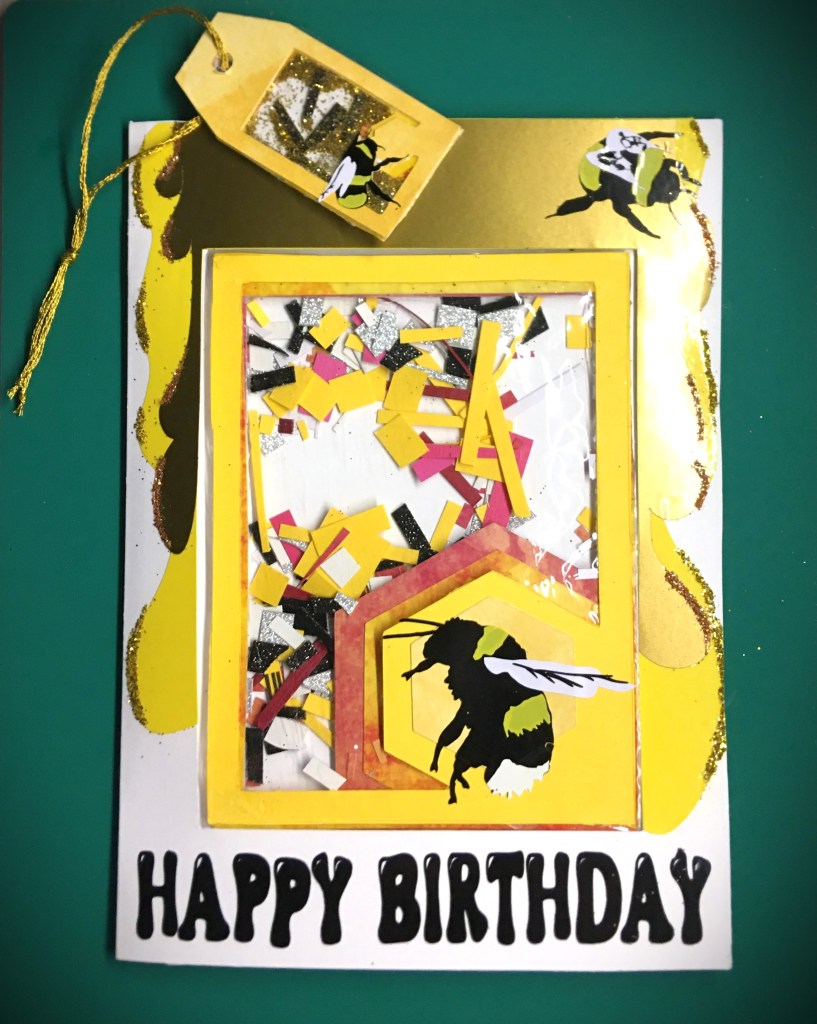
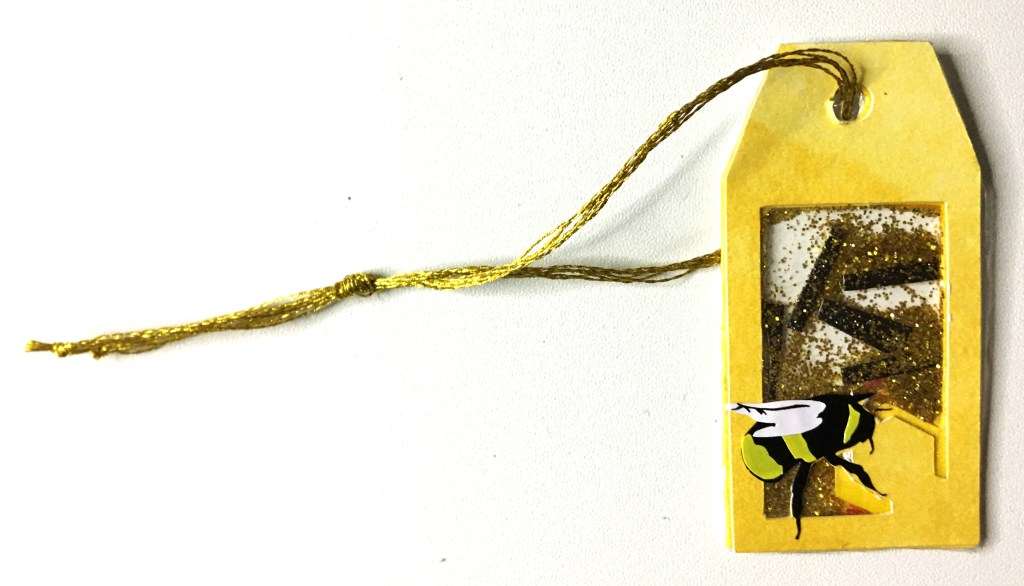
For the shaker card I’m going to use my yellow blend. For the shaker gift tag I’m going to use glitter. Feel free to customize any of your shakers with plastic pellets, wax pellets, beads, baking sprinkles, or anything else that your imagination brings to mind.
Assembling Shakers
The possibilities for this style are endless. All you need is to build up a frame, a solid back layer, a transparent front layer, and a decorative face to sandwich in that transparent layer.
For my transparent layer, I usually lean toward laminator sheets. This is what I used for the gift tag. But this time I’m using a plastic packaging for the card. It doesn’t give the crisp window pane effect. However, I know most people don’t have laminator sheets readily on hand, and I don’t want anyone to think that you absolutely have to use that one product. If you’re a green person, this makes one less bit of unrecyclable plastic going in the garbage. So there’s that. Also, another idea is taking the thick plastic “glass” that’s found in a very cheap picture frame. You’ll need to use a blade to cut that down to shape. And you might need to score and take several passes to get a clean line. But definitely use whatever you have on hand!
Cut everything with your cutting machine.
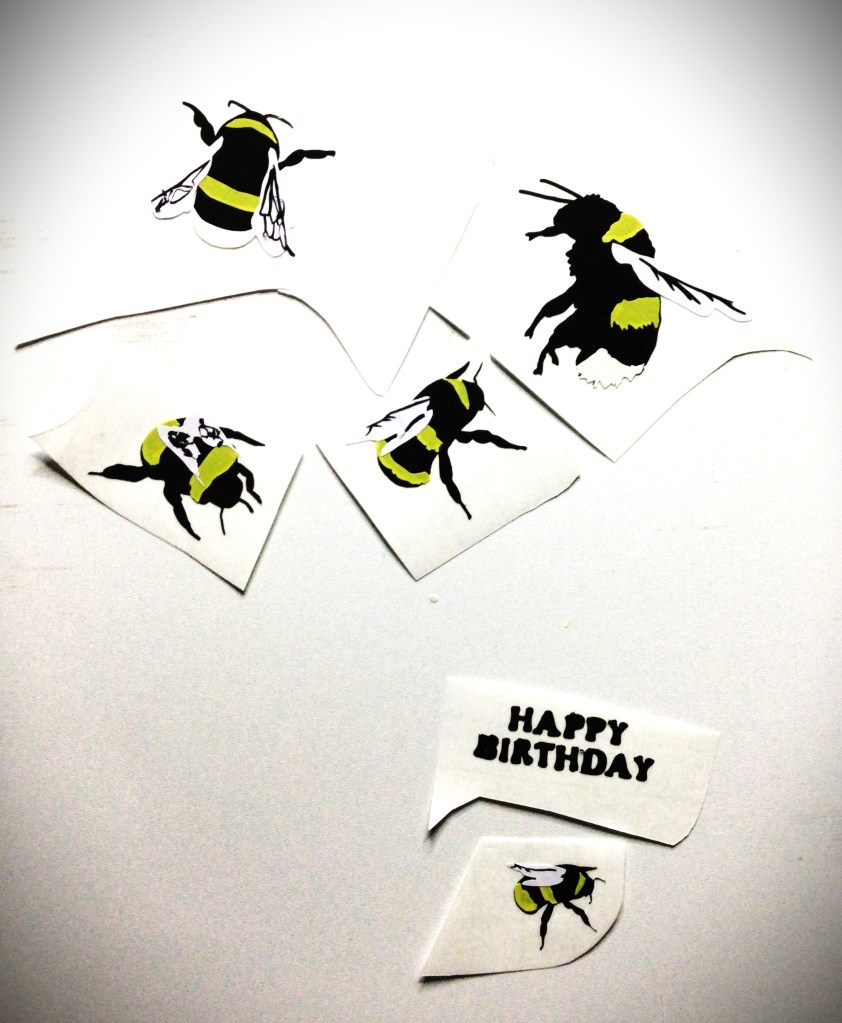
Once everything is cut (and weeded if you’re using vinyl) go ahead and seperate everything out; card, frames, and bees (or other accessories).
The cutting files for this card and gift tag can be found here.
Assemble each group separately and set aside.
This is one time where an organized work station is going to be in your best interest. If you use my Bee Card and Gift Tag, you can understand how things can get a little intimidating. (For projects like this I always include assembly directions. I’ve chosen to work through this project here, because visuals are amazing, especially for people who need to see something instead of being talked through it.) But once you have everything broken down into the three groupings for this project, it has a very easy feel to it.
For the Card, you fold it with the cut out window on the front cover. Apply the honey accent around the window. I used vinyl here, but I probably would have had more fun with card stock. After all I have some fun geometric paper. I stuck with solid colors to keep a cleaner and more streamlined piece.
TIP: If your work surface is white and your cardstock is white, try putting a contrasting color inside the card. I used a mini mat inside the card. This made it so easy to find the white edge of my cardstock and line up the vinyl.

TIP 2: With longer cuts of vinyl, application becomes easier when you use the hinge method and prevent the tails from sticking to other parts of the card. Sometimes it takes a little patience to line up all corner and lines to get a straight application.
The best advice I have for the bees is to leave the black silhouette on its backing and build up the layers one at a time. And if you have a straight tip needle, it is your best friend for when your layers shift on you and you need to adjust them. Just put the needle tip underneath, lift the vinyl and reposition it. If you leave the image of the bees up on your computer screen, it’s a great reference point for making sure everything goes in the right place.
There’s a trick when it comes to building up your frame. The glue that you choose really does matter. Usually I like using a spray adhesive (drawing lines with the straw inside the bottle), but I’ve had more glitter failure with that glue on frames than others. Hot glue gun is great for quick setting. But it tends to be thick and make your overall card weight heavier. So the best glue for this project is wood glue. It give you the light weight benefit while maintaining some flexibility in adjusting your frame so all the layers are square. The disadvantage to this glue is that you have to allow for dry time.
Make sure that when you add your glue, that there is a steady line. If there are any gaps, there will be a way for your confetti or glitter to escape. And when all your layers are in place, adding a weight will make sure that you have the best press and prevent your paper from curling while it dries.

Final Assembly
I waited overnight for the glue to dry (but that’s also because I’m a late night crafter. It’s the one time of day where I can get things done without interruption.)
With the shaker card, I used painter’s tape to hold the frame in place. The back of the card is also the back of the shaker portion. By placing the frame through the cut out of the card, when I open the card to fill the frame with confetti, it will stay in position.
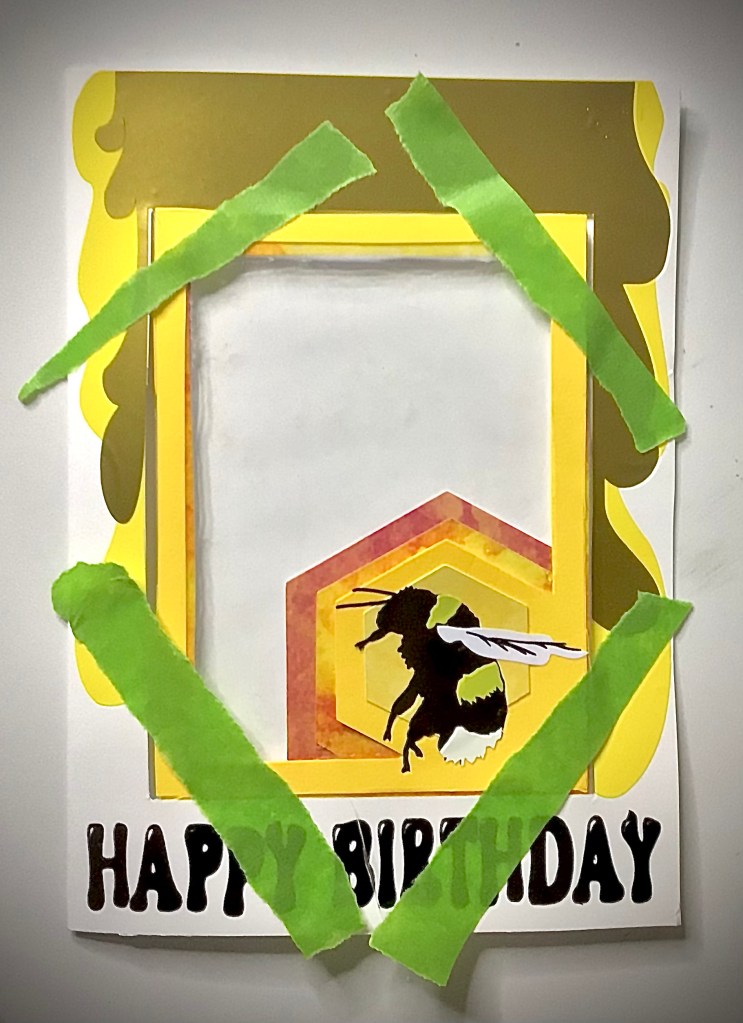
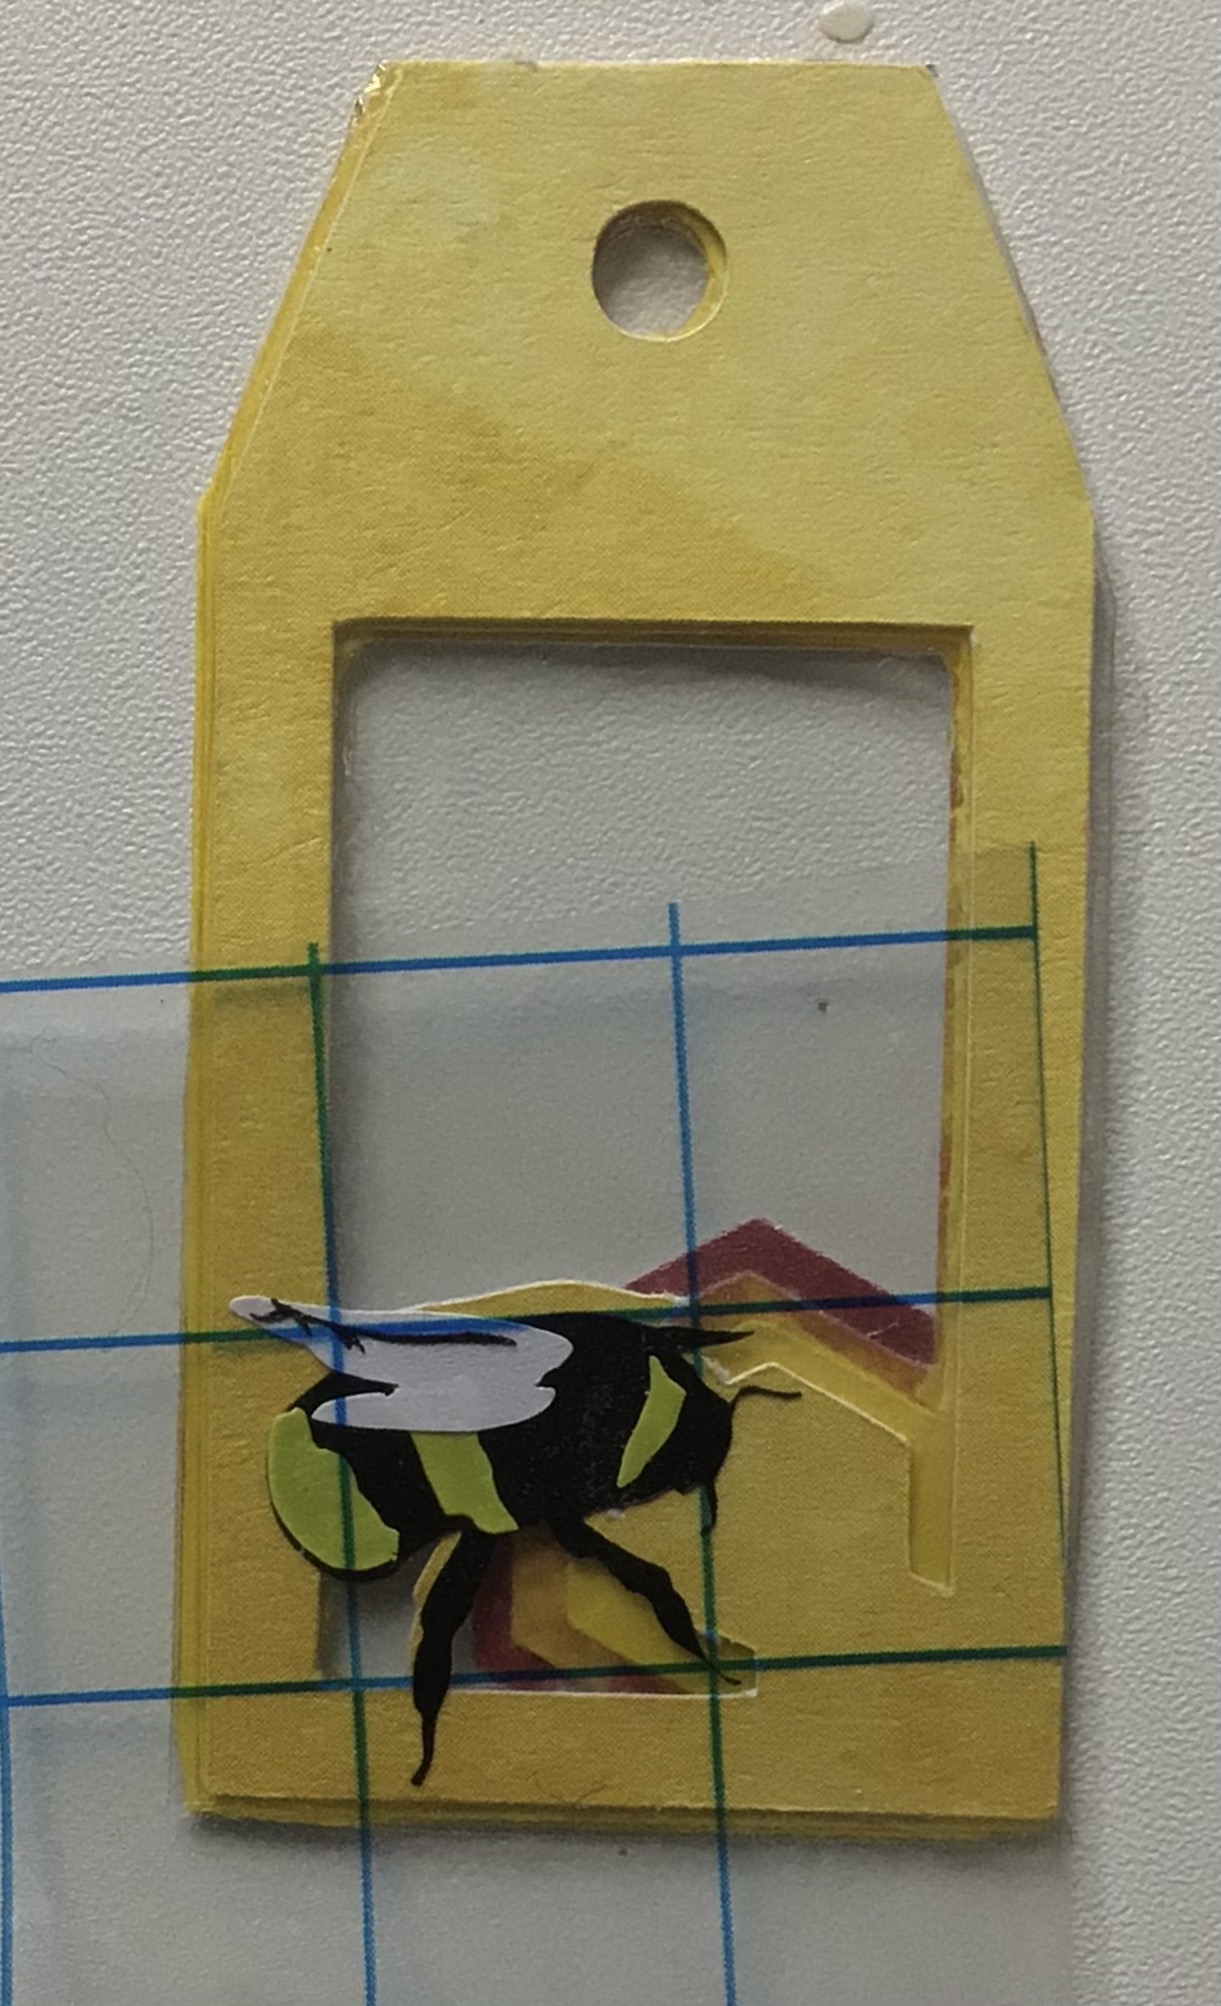
I placed the front decal bumble bees on at this point just because it was convenient. With the shaker gift tag, I wanted to put the bumble bee on the bee outline without having to think of messing up a glue job. As you can see with the first picture, I didn’t quite make it square, so I needed to readjust.
If you find that you need to adjust vinyl decals, the best tool you have is a straight tip weeding tool or a sewing straight pin. The sharp point is convenient for wiggling in under the vinyl and lifting a corner. From there you can lift the vinyl. And if you keep it on the needle tip, you can back you fingers out of the way and have a cleaner sight for lining things up.

Turn your shaker tag upside down and open the card. With the frames open you can place your confetti or glitter with ease.
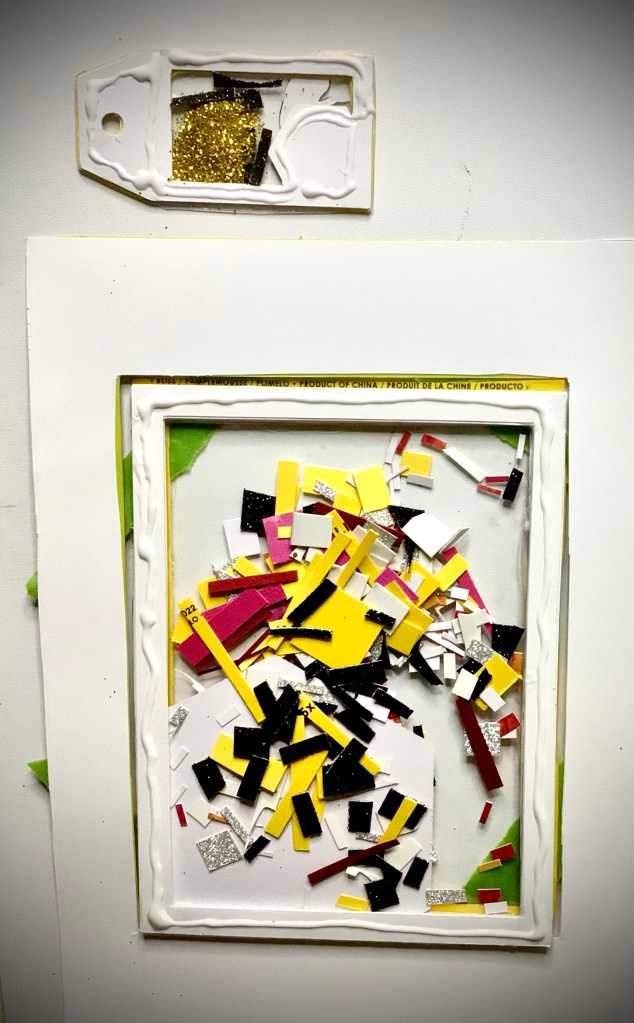
Shaker Gift Tag: I was originally going to use just fine glitter. But when I saw how much yellow I had going on, I needed to have another color in to break up the monotone. The paper choice I made was my black glitter cardstock. I love the color choice. What I would have done differently is add two more layers of frame in there, for a total of five layers. This cardstock is extremely thick and doesn’t move freely around in the shaker. But over all I was pleased with the fill and would not suggest using more fill than what you see here. I would call this tag filled at 50% capacity.
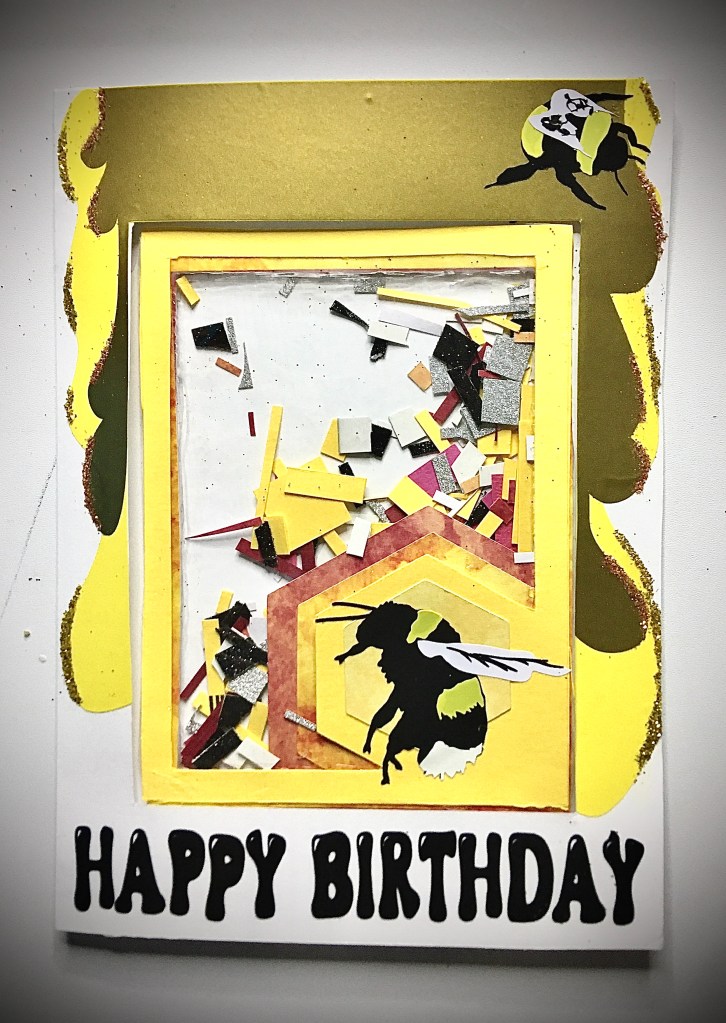
Shaker Card: As you noticed in my bag of confetti, my yellow was not varied at all. And I also wanted to avoid the monotone in this item also. So I grabbed some of my left over card stock from the honeycomb (not yet cut into confetti), added a pinch of my red, and finished it with some texture of the black and silver glitter card stocks. I would have tossed glitter in this one too, but I wanted to show you what it looks like with just confetti. The fill capacity of the card is about 25%. I could have added more, but again I wanted to have a visual reference for you to see what level of fullness you might prefer.


Watching people’s reaction is the true test of how successful something is made. I showed this card to my sister and after initially looking at all the detail, she instantly started shaking the card and smiled as she heard the confetti rattle around!
Want to dress up the card more?
Please do! You paper, vinyl, and other choices are going to make your card and shaker look completely different. You could use crafting foam sheets for the frame. You can use all paper. In fact, I know ladies who have such an amazing stash of paper, that makes my selection look like a kindergarten class project. But I try to be kind to my husband and not keep insane amount of supplies, like I would truly love to hold.
Now for dressing up on this particular card, I’m a bit limited. I went crazy with the confetti and that’s where the focal point went. Since I don’t want to compete with the confetti, I had to keep the honey accent pretty simple. I chose two different shades of fine glitter and used a glitter Elmer’s glue of a contrasting color (which adds a touch of depth to an otherwise flat glitter). To make fine accent lines, I used a tooth pick dipped in the glue to draw my lines. And as you already know, once you add glitter, your lines instantly grow thicker. So don’t be afraid of having a toothpick thin line. The glitter helps you out.
This particular design would also look amazing adding flowers, grass, or any other embellishment. So please don’t be shy to add what your project needs.
I hope you have as much fun making this card and gift tag as much as I do. Please leave a comment below and email me pictures of how yours turn out!


Leave a comment