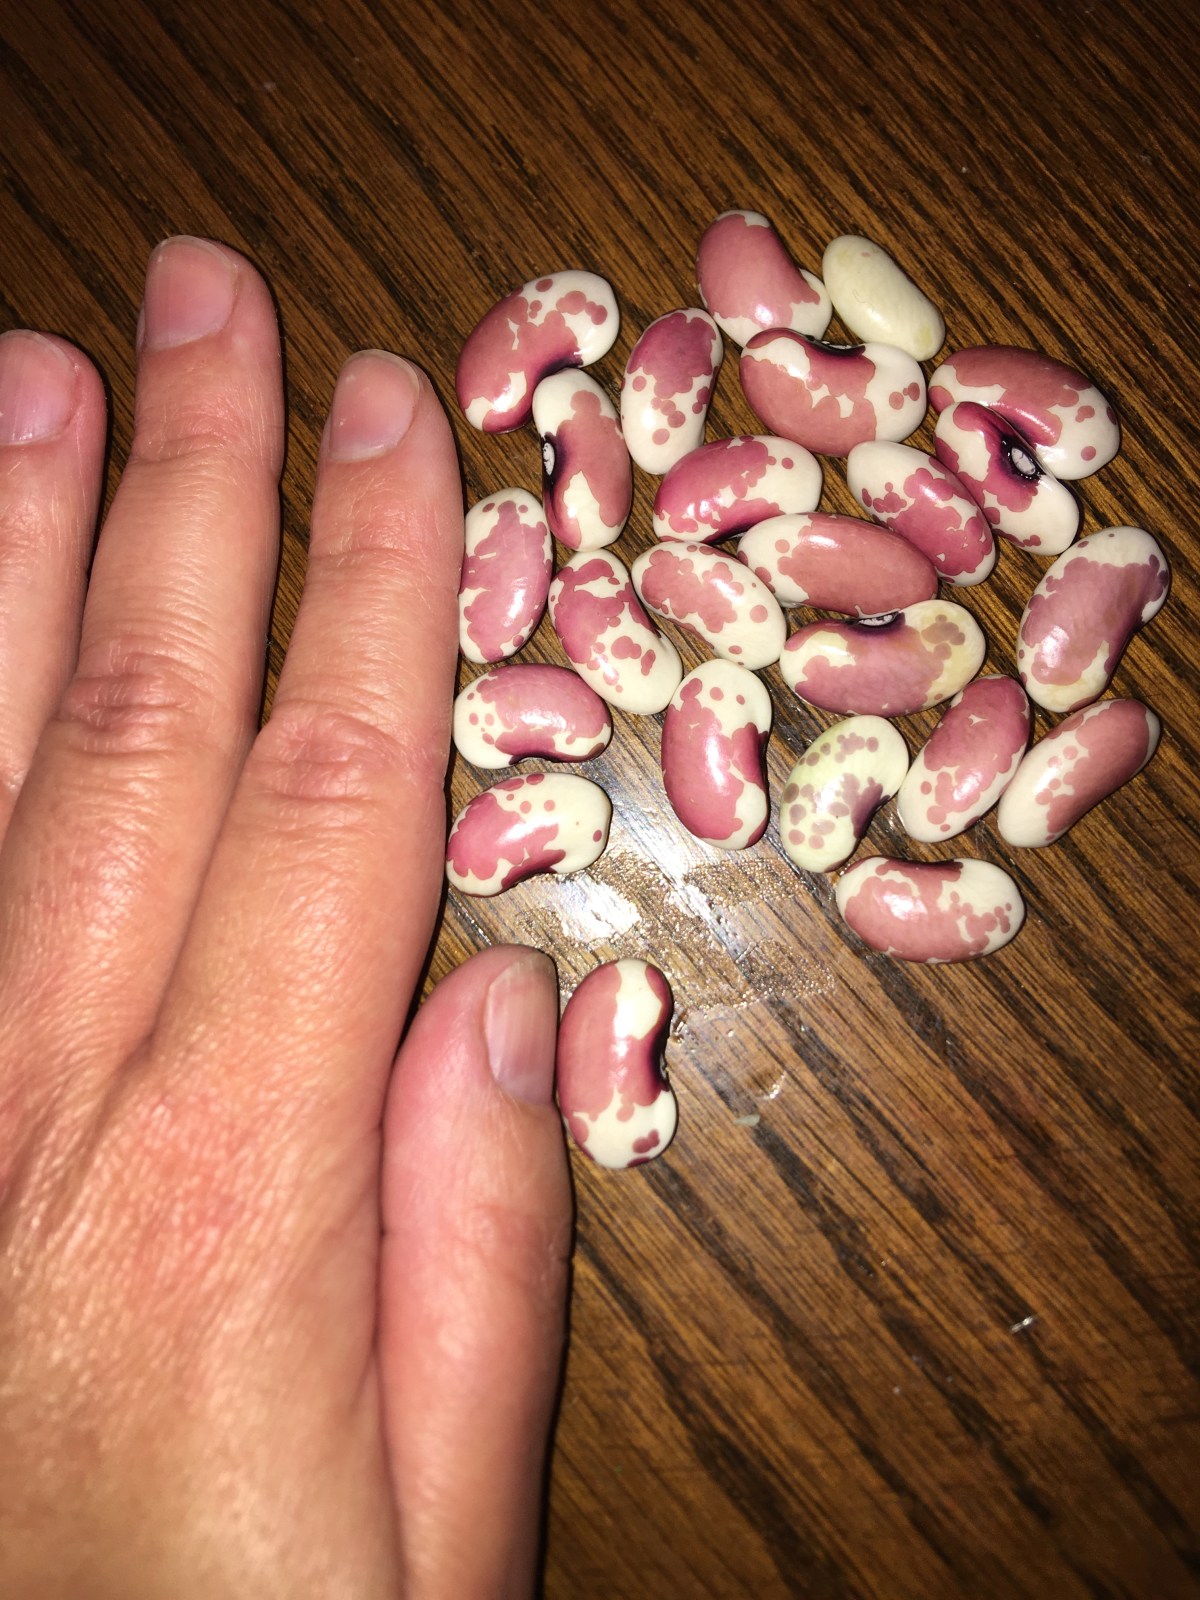
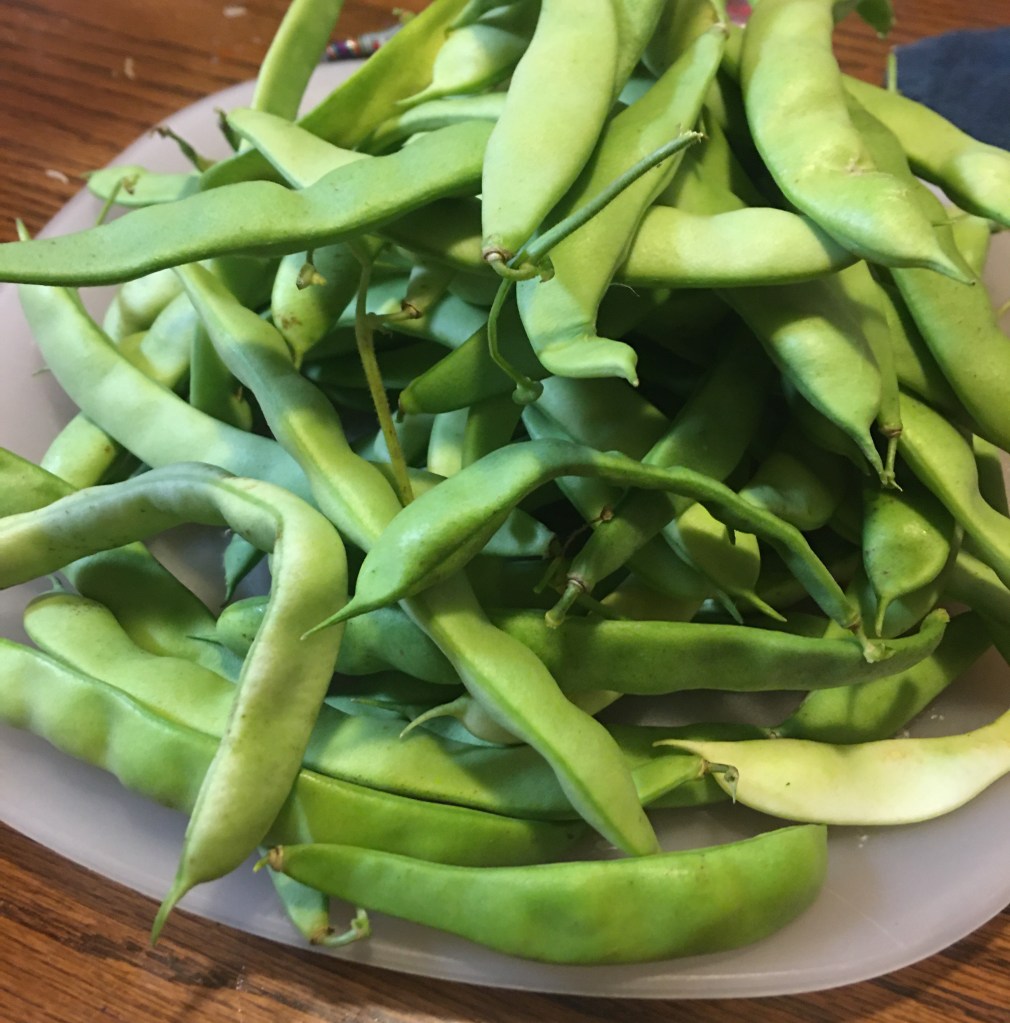
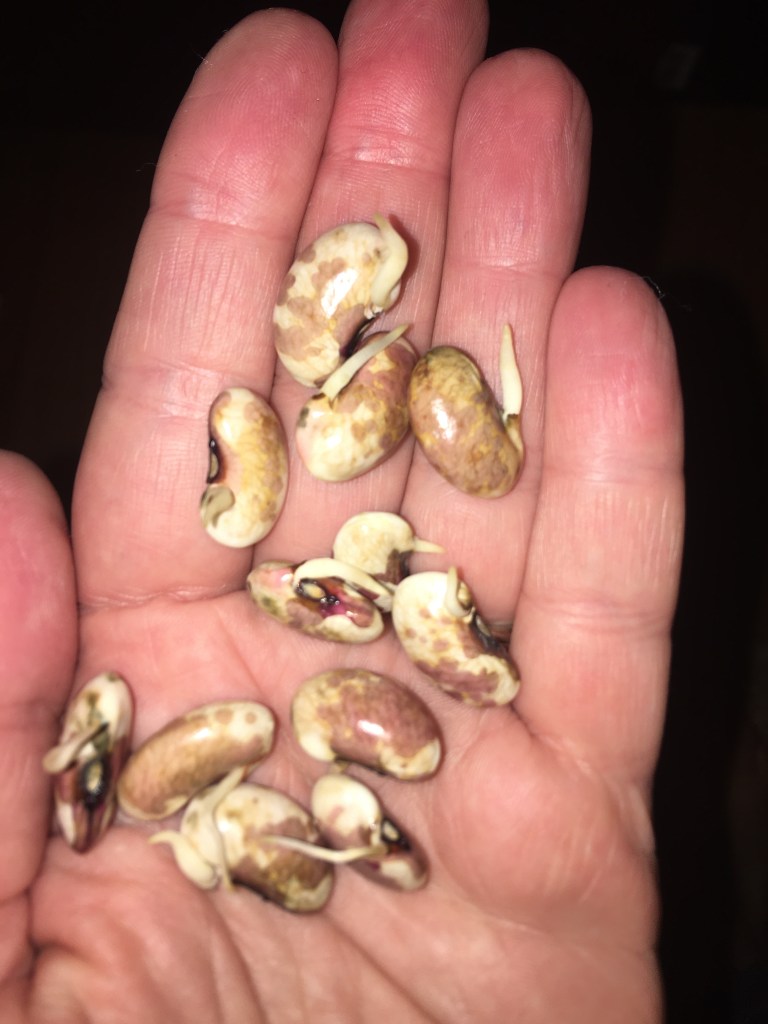
This was the first year that I grew a shell bean. I grew up with my grandparents and mom growing snap beans. In fact, snap beans were pretty much the only vegetable that I ate without issues. So I have a special place in my heart for beans.

The one bit of information that I thought was prevalent was preserving beans of all kind. But with every safe recipe that I looked up every recipe was either for snap beans or dried beans.
When I teach people how to can, I always hand them safe recipes to select from, depending on what they want to can. And so these are the first sources that I turn to when I look to can a new food item that I’ve never canned before. And so I trust that what these experts say are what you are going to get. This is the one time that the extension office failed me. Here is the recipe that I used for my fresh shell beans. In full disclosure, if I were canning dried shell beans (such as the bagged beans from the dried foods aisle from the grocery store) this is absolutely the recipe that I would use.
But for fresh beans… I didn’t have canned beans. Instead I had half beans, half refried beans.
What happens when you can fresh shell beans the same as dried shell beans?

As you can see here, my beans started to break down due to the 75 minute processing time on top of the 30 minute hot pack cook time.
On the positive side, if you want to have canned beans that you can eat straight out of the can without needing to warm it up, the extension office recipe is perfect for it. All I added was the hot beans, hot fresh water, and 1/2 tsp salt for my pint sized jars. The beans were perfectly seasoned, soft, and very tasty. I am absolutely canning these beans again from here on out for the unforeseeable future.
The Extension Office recipe was also very pleasant for adding to my enchiladas recipe. In this instance, I really do appreciate a soft, smashable bean.
Unfortunately I need canned beans that I can toss into a soup, stew or chili where some firmness is needed.
Is there another safe recipe available?
I’m going to connect you to one of my favorite safe canners Melissa Norris, Pioneering Today. Please click the link to go straight to her directions. A video is also available.
If you’re on a time constraint, here’s the quick read of her directions:
- Wash your jars.
- Fill the clean jars with shelled beans until 1 1/2″ head space remains.
- Add salt (1/2 tsp for pint, 1 tsp for quart).
- Boil water and pour over the beans until you have 1″ head space.
- (Remove air)
- Clean the jar rims with a damp cloth, place lids, and screw down bands.
- Place jars in your pressure canner.
- Vent your pressure canner for 10 minutes.
- (Once at pressure) process the beans at 10 lbs. of pressure for 50 minutes.
- Once time is up, remove from heat and let your canner cool on its own.
- When the lid unlocks, remove the lid but leave jars in the canner for about 10 minutes.
- Remove the jars from the canner and set on the counter to cool for at least 12 hours and seal.
- Store in your pantry.
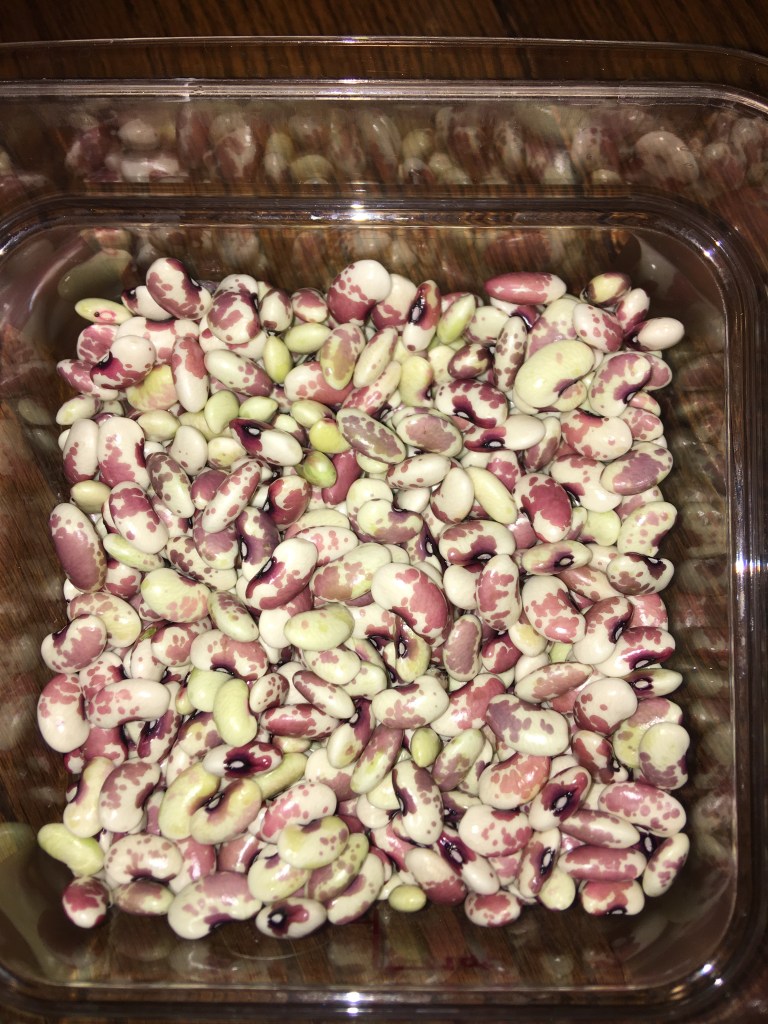
If you are growing beans to supplement some of your grocery purchases, love gardening, or various other reasons… know that you can absolutely can your own beans. You can control what is used on your plants and what ingredients you add with your beans when you can them. The beans that I canned have 3 ingredients: beans, water, and salt. In comparison, the sale beans that I have in my pantry have an additional ingredient Calcium Chloride (an additive to absorb moisture which causes bacteria to thrive, “used pre- and post harvest to maintain firmness, reduce decay and prevent certain diseases… [and] as a drying agent.” (ingredi.com)
Store canned beans do have their benefit. I’m not going to pretend that I avoid them like a plague. For my family, we’re choosing to make a switch to lessen the additives in our diet. And with my young children, I want them to know where food actually comes from. I don’t want them to assume that food just mysteriously shows up on the store shelves. I want them to know where their vegetables come from. And where their meat comes from as well. (We love our local farmers!)
Plus I have the added bonus of not just hearing my oldest say, “Mom, can we can ____? I’m interested in that.” But it also helps establishes what we learn with our homeschooling. Math and science do matter on a daily basis. We can understand our world by working with it.
But most important of all, pressure canning beans (and other vegetables) make growing or store sale purchases a massive benefit to the family budget because we can preserve it and eliminate some of our food waste. And that is a win win for everyone!

Leave a comment