This past week I was following a Facebook Group dedicated to Brides who are DIYing their wedding. And my heart went out to several of these ladies. I remember DIYing my wedding and clearly remember the stress of putting together something beautiful and feeling that dreaded time crunch. It was difficult to cut that stress and maintain some proper brain function to problem solve. Sometimes it was just the lack of sleep that amplified the struggle a little more.
So Brides, if you are struggling with Heat Transfer Vinyl (HTV), this week is for you. And if you’re a crafter, new to HTV, you will enjoy some insight between tools and how they stack up with application.
There are two common problems with HTV that can be daunting if you don’t know the cause. One is movement of HTV while pressing. The other is a halo around your words or image. (You may need to zoom in on the wood sign photos to get a clearer visual on what I’m talking about.)
Your HTV Moves

There are a couple of different reasons why your HTV moves. Depending on the material you’re using, the carrier sheet might not be tacky enough to hold it in place. For example, this picture was from my first attempt to applying HTV to wood. There was just not much for the carrier sheet to grab onto. I sanded that wood down smooth and stained it. So think of it like you standing on a sheet of ice. Yes, you can stand in place on ice. But the moment there is a force that comes against you (wind, another person touching you), you’re going to move. With nothing to grip to, chances are your carrier sheet is going to shift on you once you start to press.
Solution One: position your carrier sheet and secure it in place with painter’s or masking tape. But make sure that you are not ironing or pressing over the tape, the heat will cause the adhesive to stick to your project. If you need to have your heat source on top of your tape, use teflon tape. This tape was designed to be pressed without depositing adhesive. (Tip: I always dog ear the ends of my teflon tape so I don’t have to dig and fight to pull the tape off.)
Another reason why HTV shifts is from the movement you apply before the vinyl has time to adhere to your project surface. This tends to be the most likely cause of shift for DIY Brides. Chances are you are using an iron because that is the heat tool you have on hand and saves you to money to use elsewhere.
I also used an iron for the first 4 months that I began using HTV.
Solution Two: prevent your iron from shifting your HTV by lowering and raising your iron straight down and up. I know this seem contrary to what you read from other writers who talk about how the iron does not have uniform heat. This is true. The iron doesn’t have uniform heat. Your steam chanels won’t adhere your vinyl. And if you forget to turn your steam off, it will also warp the vinyl.
The best results with an iron came when I place my iron straight on, press down with maximum pressure for about 5 seconds. Lift straight up and move to the next section. Place straight down and press with maximum pressure for 5 seconds. Repeat until you’ve given your whole vinyl this initial press. By doing this, your vinyl has a great initial contact and gives you a little more freedom to glide your iron over a single spot. When I say glide, I mean remove all your pressure and slide the iron over to your new spot with the amount of pressure of you using a finger or two to push your iron over. If you iron your vinyl like you iron your shirt, the vinyl is going to shift. But you do have to move your iron to make sure you get a smooth application.
Using an iron takes far longer than the 15-30 seconds promised on packaging and websites. That is the recommended press times for heat presses. However, if you take the extra time to minimize shifting, you will definitely get an excellent quality that no one will ever guess that you used your clothing iron to apply.
(If you find that your vinyl is not secure, so you see the grains of fabric of your material, you will need to go back through and maximize press again. Follow it up with another gentle glide and you’ll keep everything looking smooth.)
I use this same process when I apply HTV onto a wood project; maximized pressure followed with a gentle glide (even with a mini press).
Alternate Heating Sources
There are the three types of heat sources that I have used with HTV.


The iron is not my favorite but I have to admit that this is where I started. I have no regrets. And I value my experience at this stage in my HTV crafting.
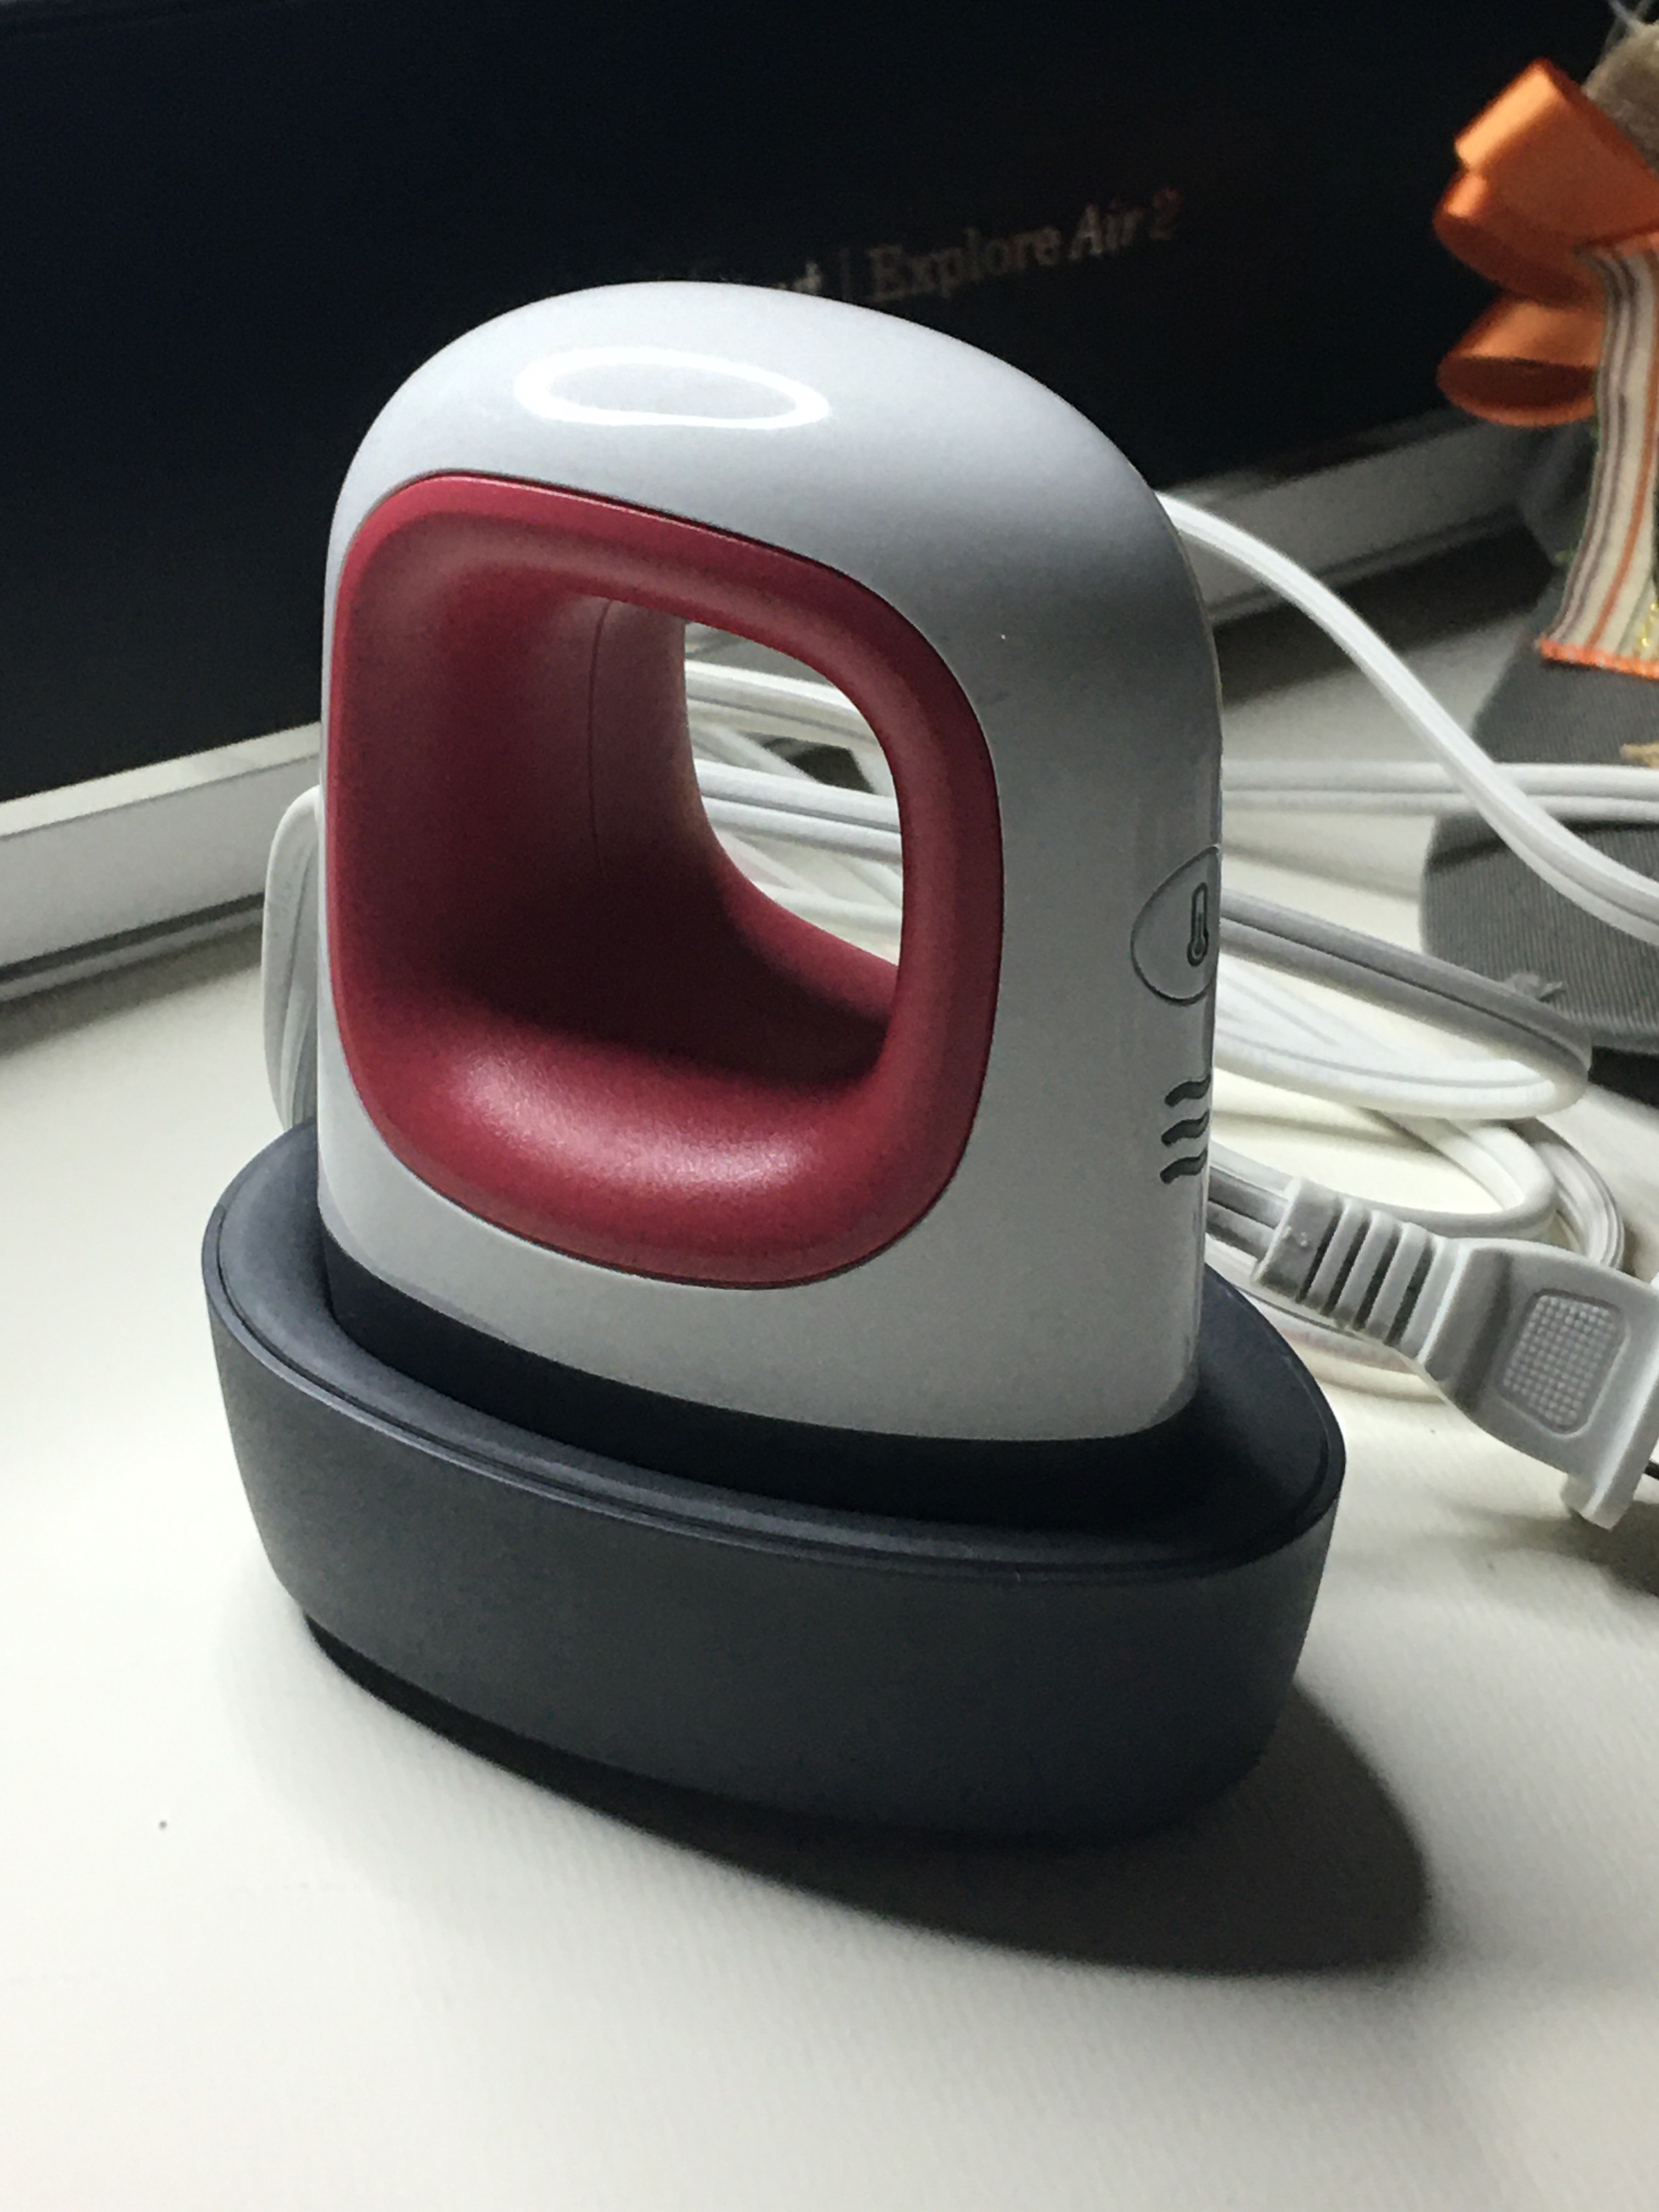
From there, I moved up to the mini press. I cannot tell you how excited and happy I was for this new tool. I didn’t have the fun money to spend for anything more elaborate, but I remembered how this was a game changer for me. One shirt took me 5-7 minutes to press with an iron. The mini press brought that time down to about 3 minutes.
When I had the opportunity, I invest in my 12 x 15 inch heat press. And it quickly became my heating source of choice for everything. I use it for clothes, canvas art, small thin wood… if I know it won’t melt, I use my heat press. The only time it takes me longer than a minute to press is when I’m layering my HTV.
I know many DIY Brides don’t have the budget to get the heat press for making your decor at a quicker pace. But I did want to bring to your attention that if you are stressing over the time it is taking you to press your HTV with an iron, there are other options available. And they do come with the added bonus of eliminating the problem of your HTV shifting on you.
Halo or Ghosting Effect

If you look closely you will see the around all of the letters that there is a halo next to the gold vinyl. This is actually the HTV adhesive that has been exposed because the vinyl shrunk under the heat. Translation, my mini press could have been lowered to medium heat and I should have pressed for less time. I over compensated because this was my first time using HTV on wood. I wanted to make sure that the vinyl was going to stick forever.
Every Bride wants the details to be perfect, right down to not seeing that halo around the HTV that you applied to your decorations. The trick to not overcompensating on the heat is that HTV will tell you if you haven’t pressed long enough. So always err on the side of not long enough and add up to 5 seconds at a time of additional pressing.
HTV is good at telling you is when it’s not “done”. When you go to peel off the carrier sheet, the HTV will stick to the carrier sheet and it just will not let go. At this point you can go a little heavy on the couple extra seconds. However if it releases from the carrier sheet but isn’t fully adhered, lower the sheet and finger press the vinyl flat, then apply just a couple more seconds. When you get the sheet to release, you may find a stray wrinkle. Just smooth it down gently with your finger tips (while the vinyl is still hot), using a feathery touch. If you’re too hard, you’ll smudge your vinyl in the opposite direction. So the the lightest contact is all the pressure you need to smooth it.
HTV is such a wonderful medium to use when personalizing decorations, clothes, and other items. At first, I know it can seem daunting, especially if you start to feel that it’s giving you some attitude and you don’t have vinyl to spare. Take a deep breath. This is going to work out. Your projects are going to be amazing.
If you have any other questions or you seem to have an issue with HTV that doesn’t seem to be caused from shifting or haloing, please reach out to me. Let’s figure this out! Because if you can see in your mind what you want to do, there is a way to get that exact image.