It never fails! There is a picture of a loved one that you want to use (whether for a gift, a wedding, various other reasons), BUT the background just ruins the picture. Do not fear! This post is for you.

My son has seen me make a few shadow boxes for gifts and what he wanted to gift more than anything else was a shadow box of him and his BFF for her upcoming birthday. The best, and most recent, picture that I have of them is of course the one that had a pile of yard waste behind them. Fortunately, I have a trick or two up my sleeve.

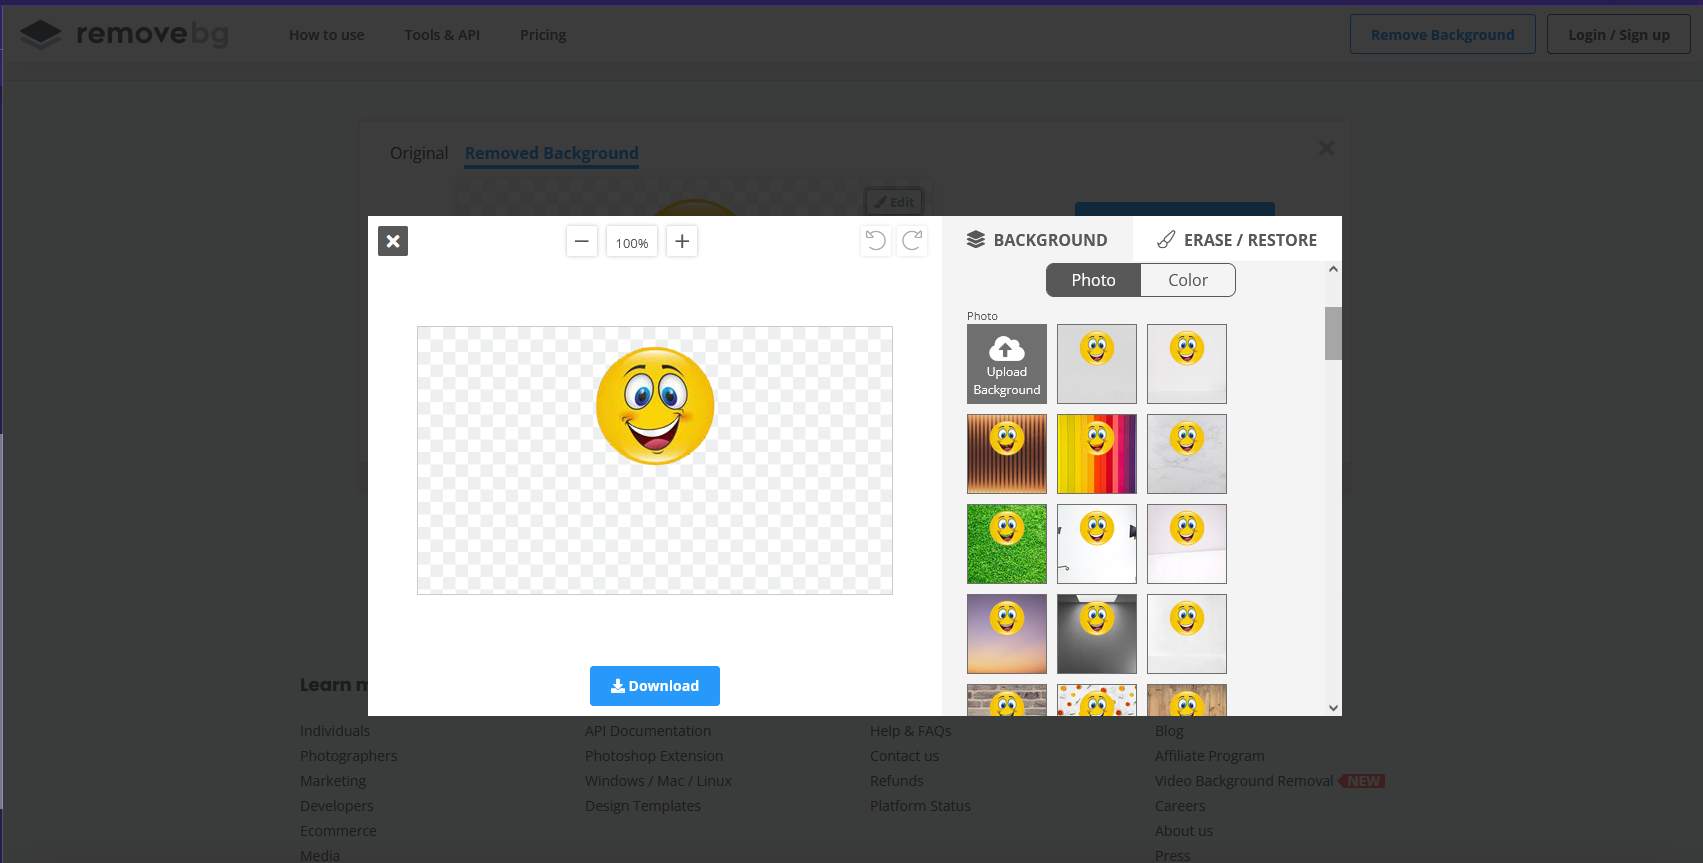
There are a few good free online programs that you can use to remove your background. For this particular project, I used Remove BG, because they’ve always offered a good selection of different backgrounds with three different blur settings. If my count is correct, there are 93 as of the time of writing this post. And the best part is that you do not have to be computer suave to change your back ground. All you have to do is upload the picture and hit “remove background”. You will have the focal point of the photo on a checkered background. You can then superimpose this image on any photo you have or you can hit “Edit” to add a background from this program.

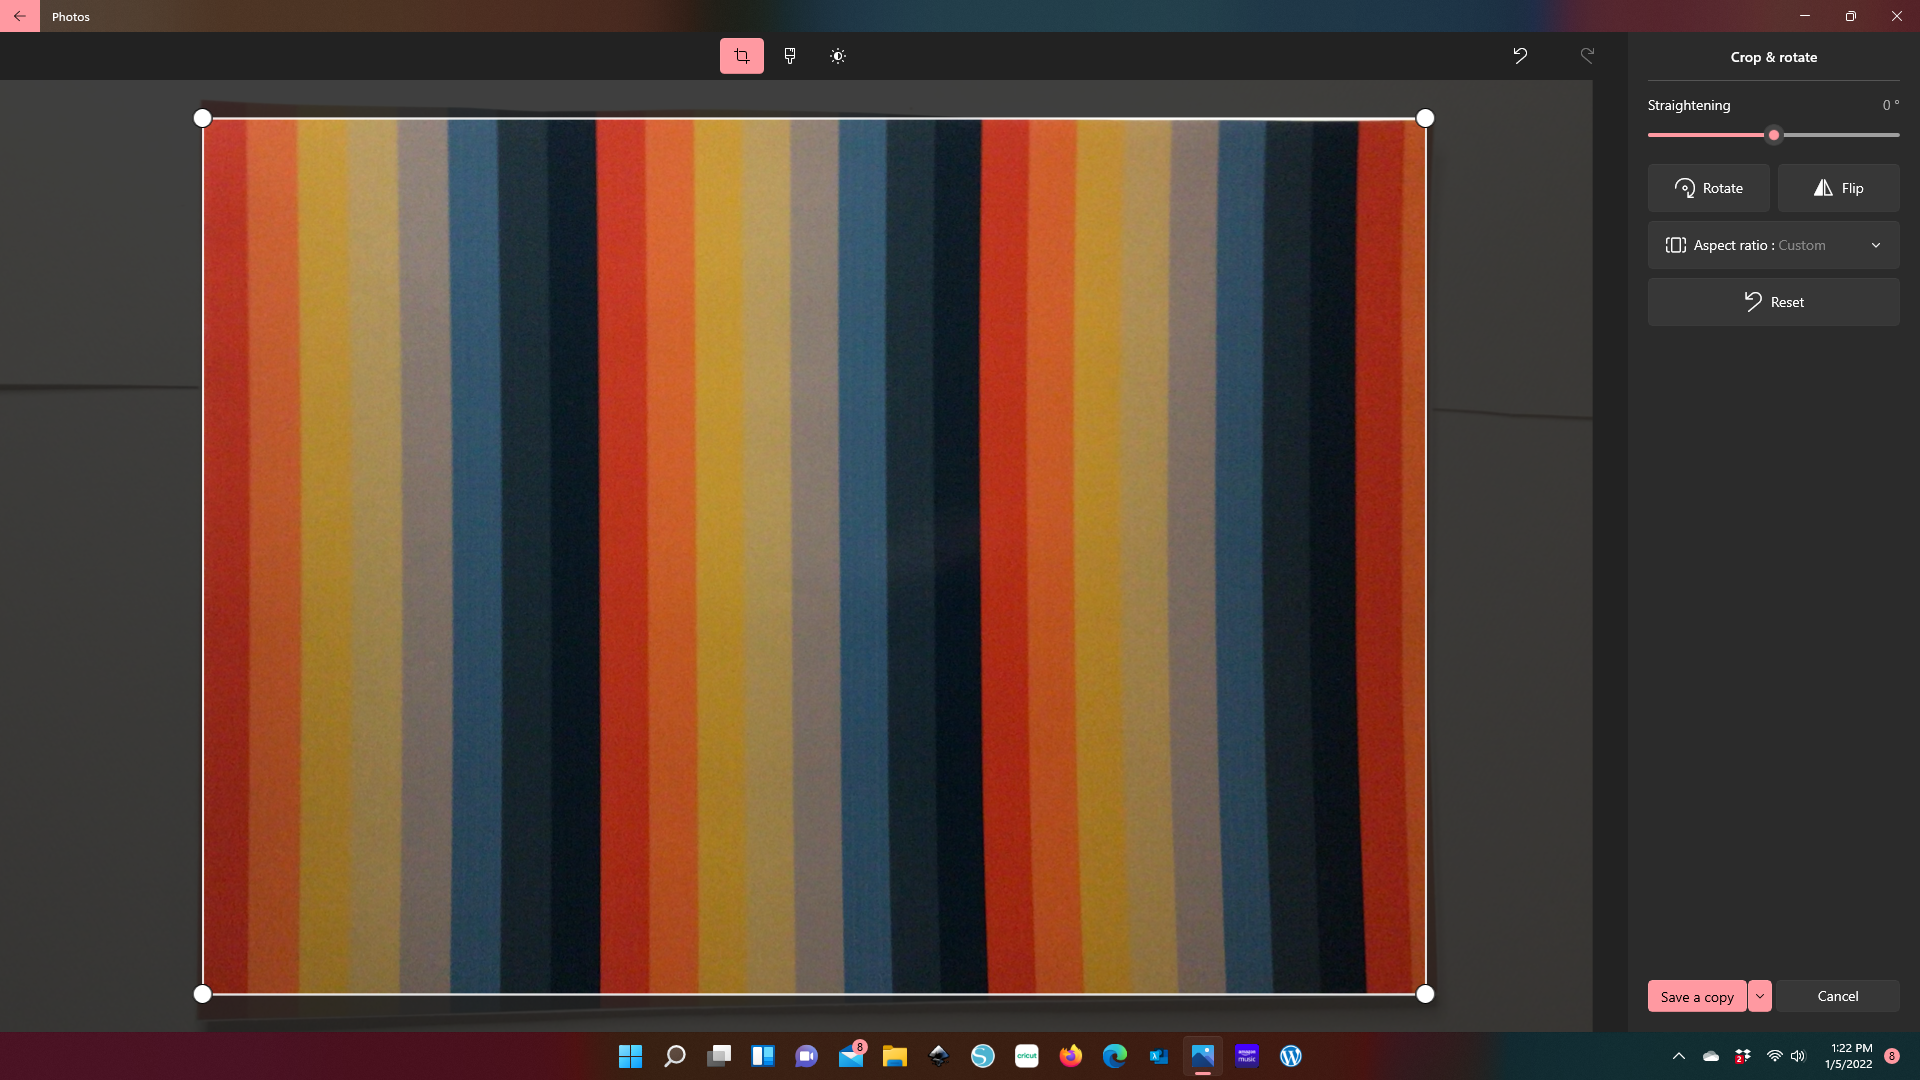
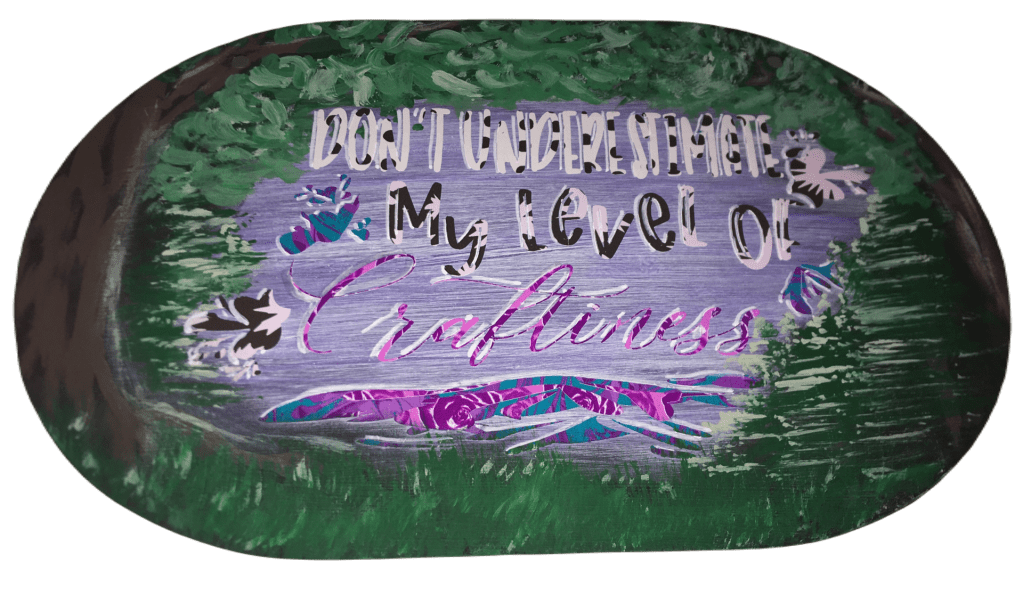
Once I downloaded the picture, with new background, there was one additional step I needed to take before submitting my picture online to print and pick up at my local photo department. From the photo editor that came standard on my computer, I resized my picture to a larger file size. (I had gotten the error message, online, saying that I had low resolution.) With this larger file size, I was able to submit my photo. And it printed exactly as you see above. We’re not talking professional quality, but perfect for this project.
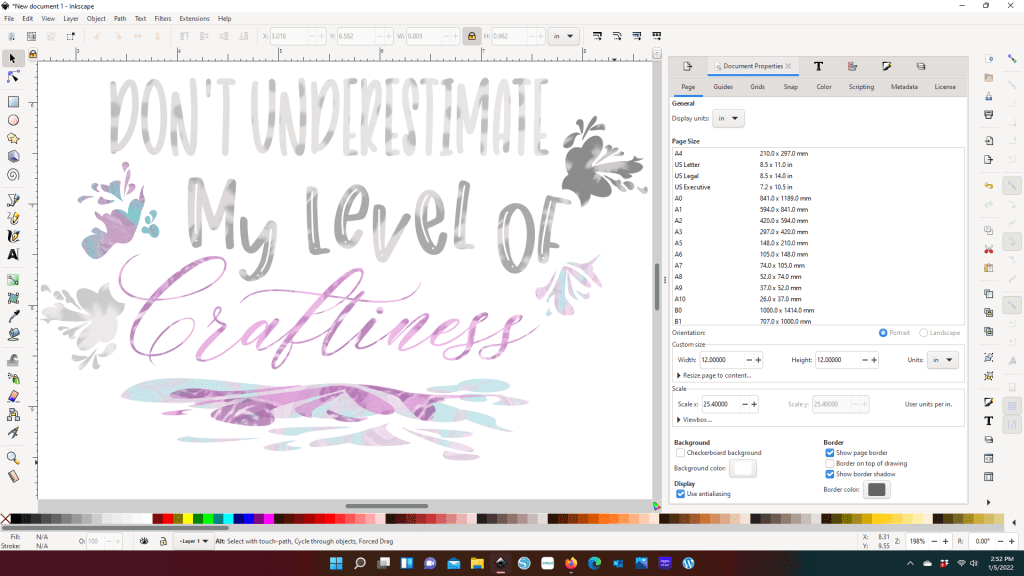
While we waited for the 5 x 7 print for my 6 x 6 shadow box, I designed a layered cloud shadow box mat to make the print fit seamlessly in the shadow box. BFF Shadow Box can be found here. My son added glitter to the second layer and chose the font, text, and vinyl choice. My about to be six year old was so disappointed that he couldn’t do the shadow box from start to finish, but he has no idea just how much he did create in the design. So in honor of the work he did, all proceeds from the sale of this cut file will go to my partner orphanage in Rwanda for the education of the students there.
For assembling the shadow box, I started by attaching the 36″ fairy lights, with hot glue, to the back panel of the shadow box.

Many shadow boxes have a finish where you can attach the lights to the inside side and top/bottom panels so you can have the lights shine through the layers. This particular shadow box has a wax like finish and the glue would not adhere. The back panel was brown and I had painted with black matte chalk paint. The hot glue loves this paint that I had no problem attaching for a back light.
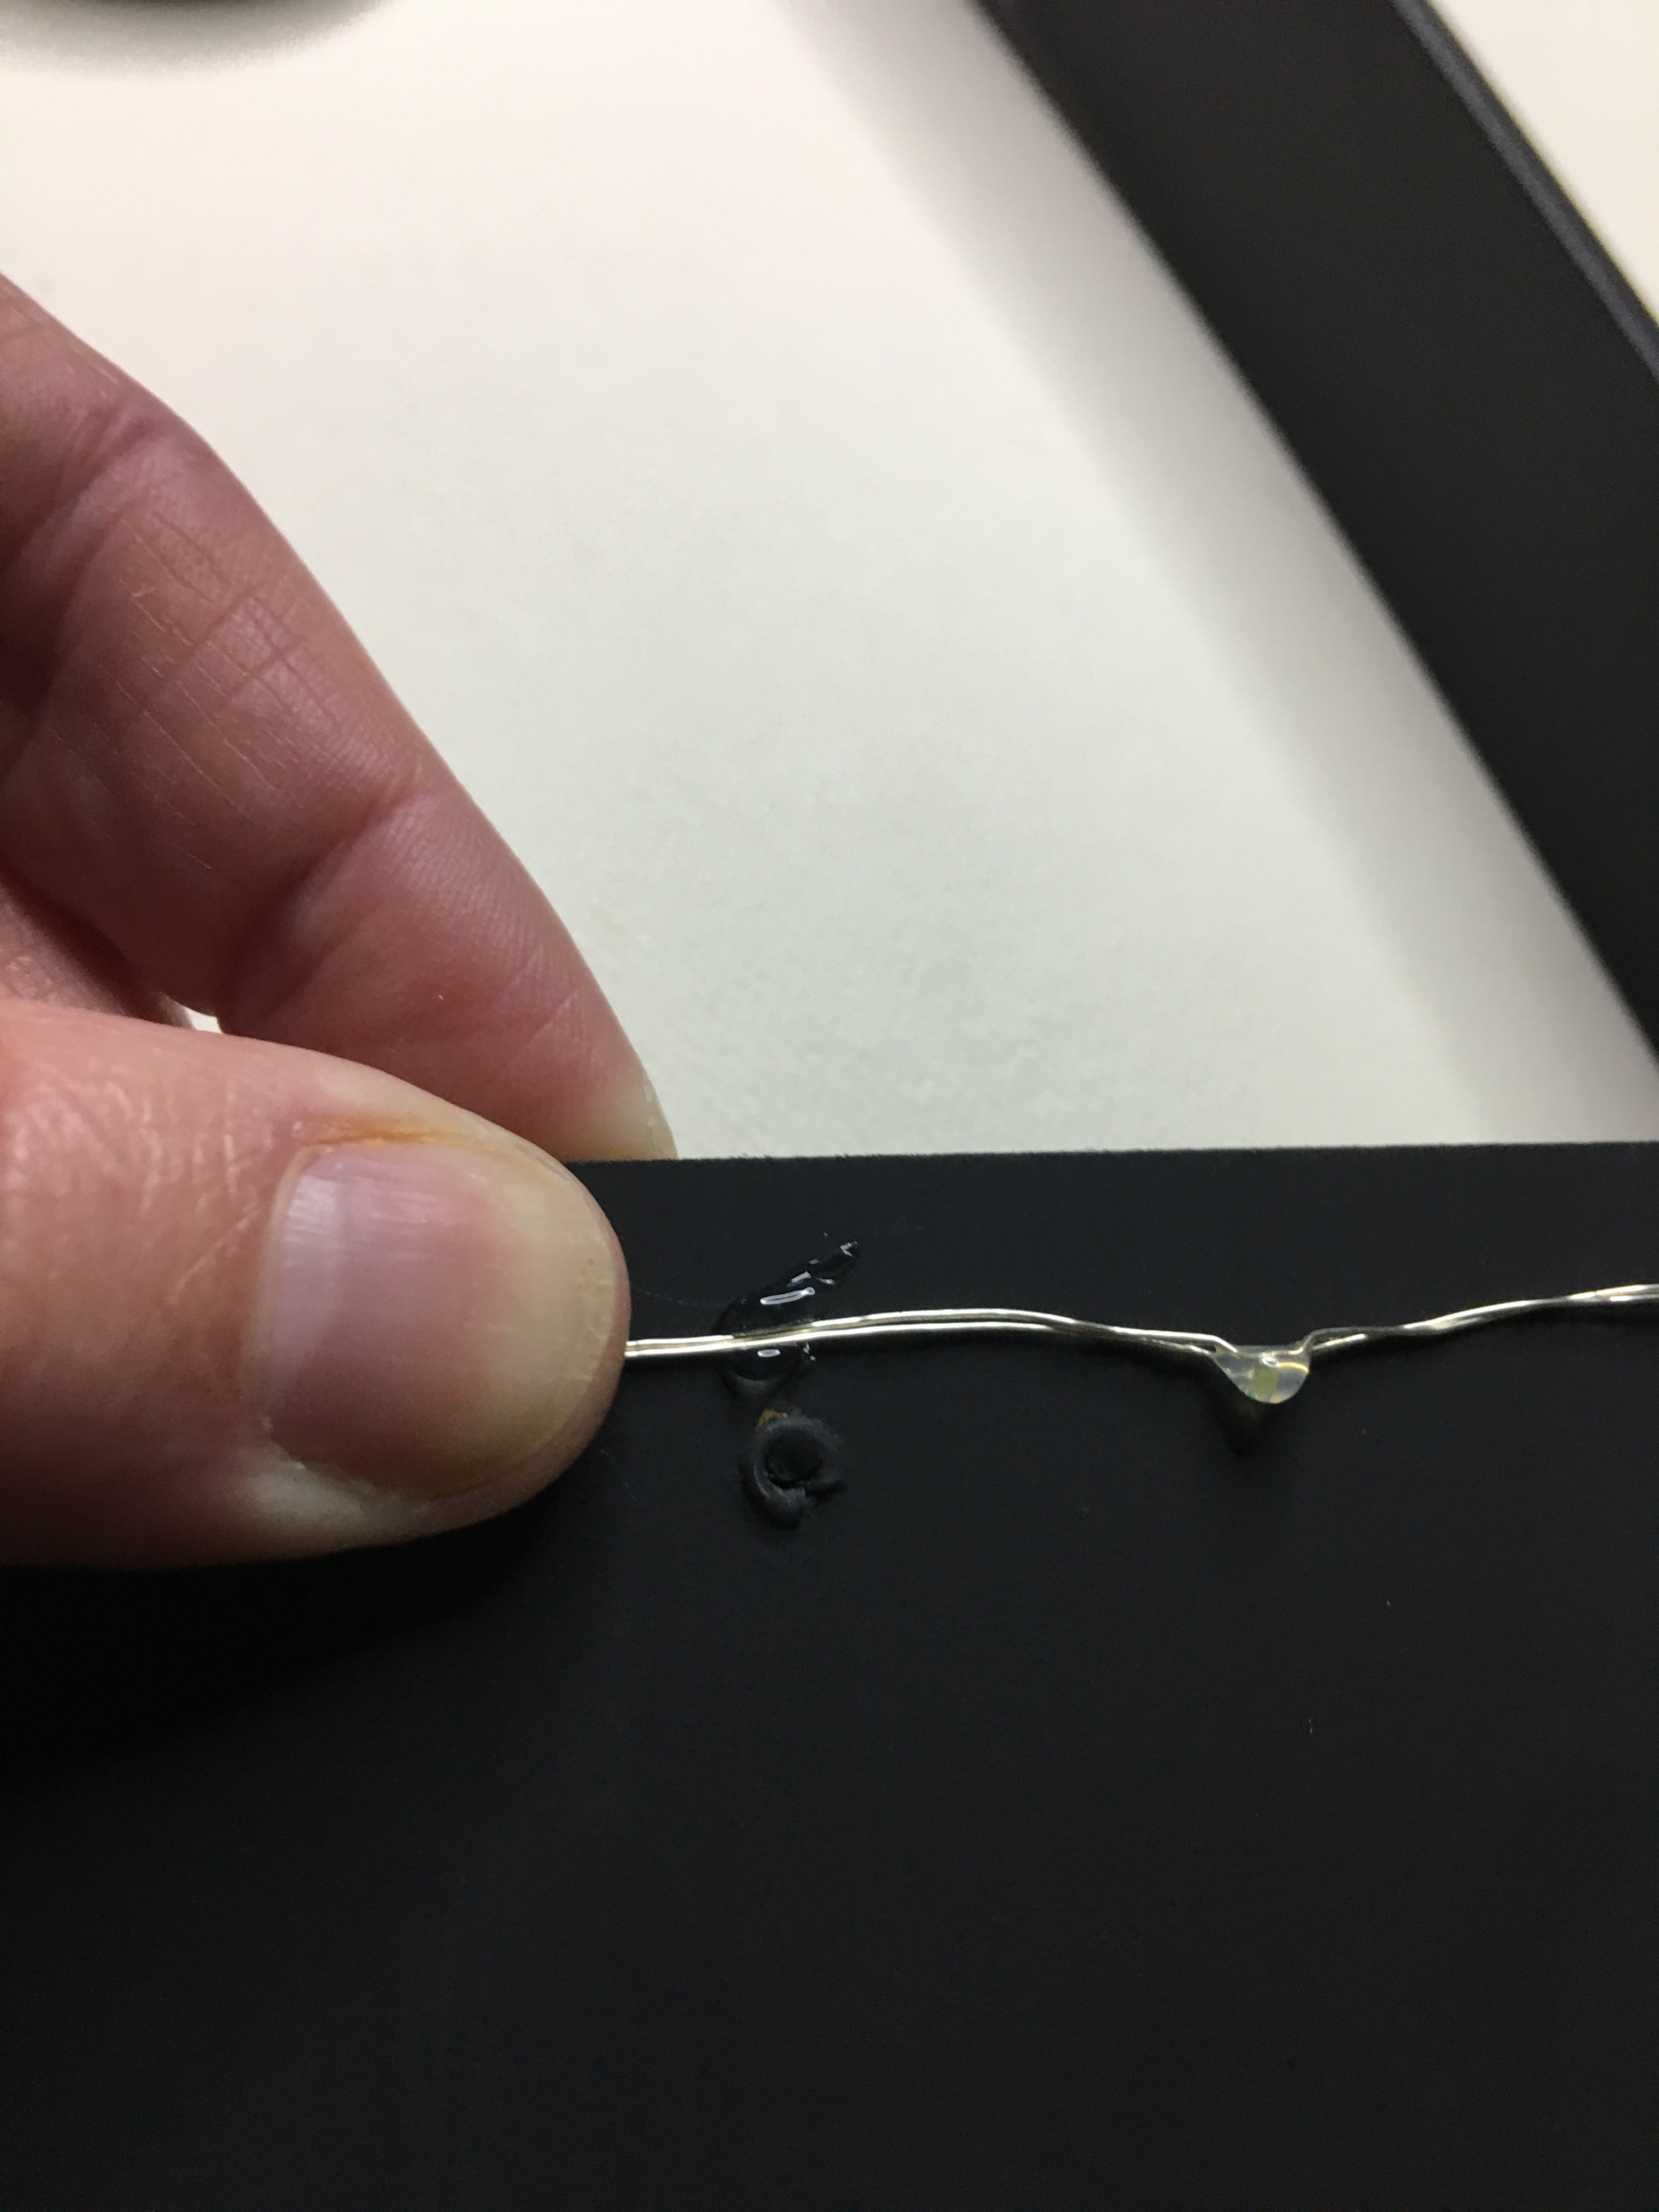
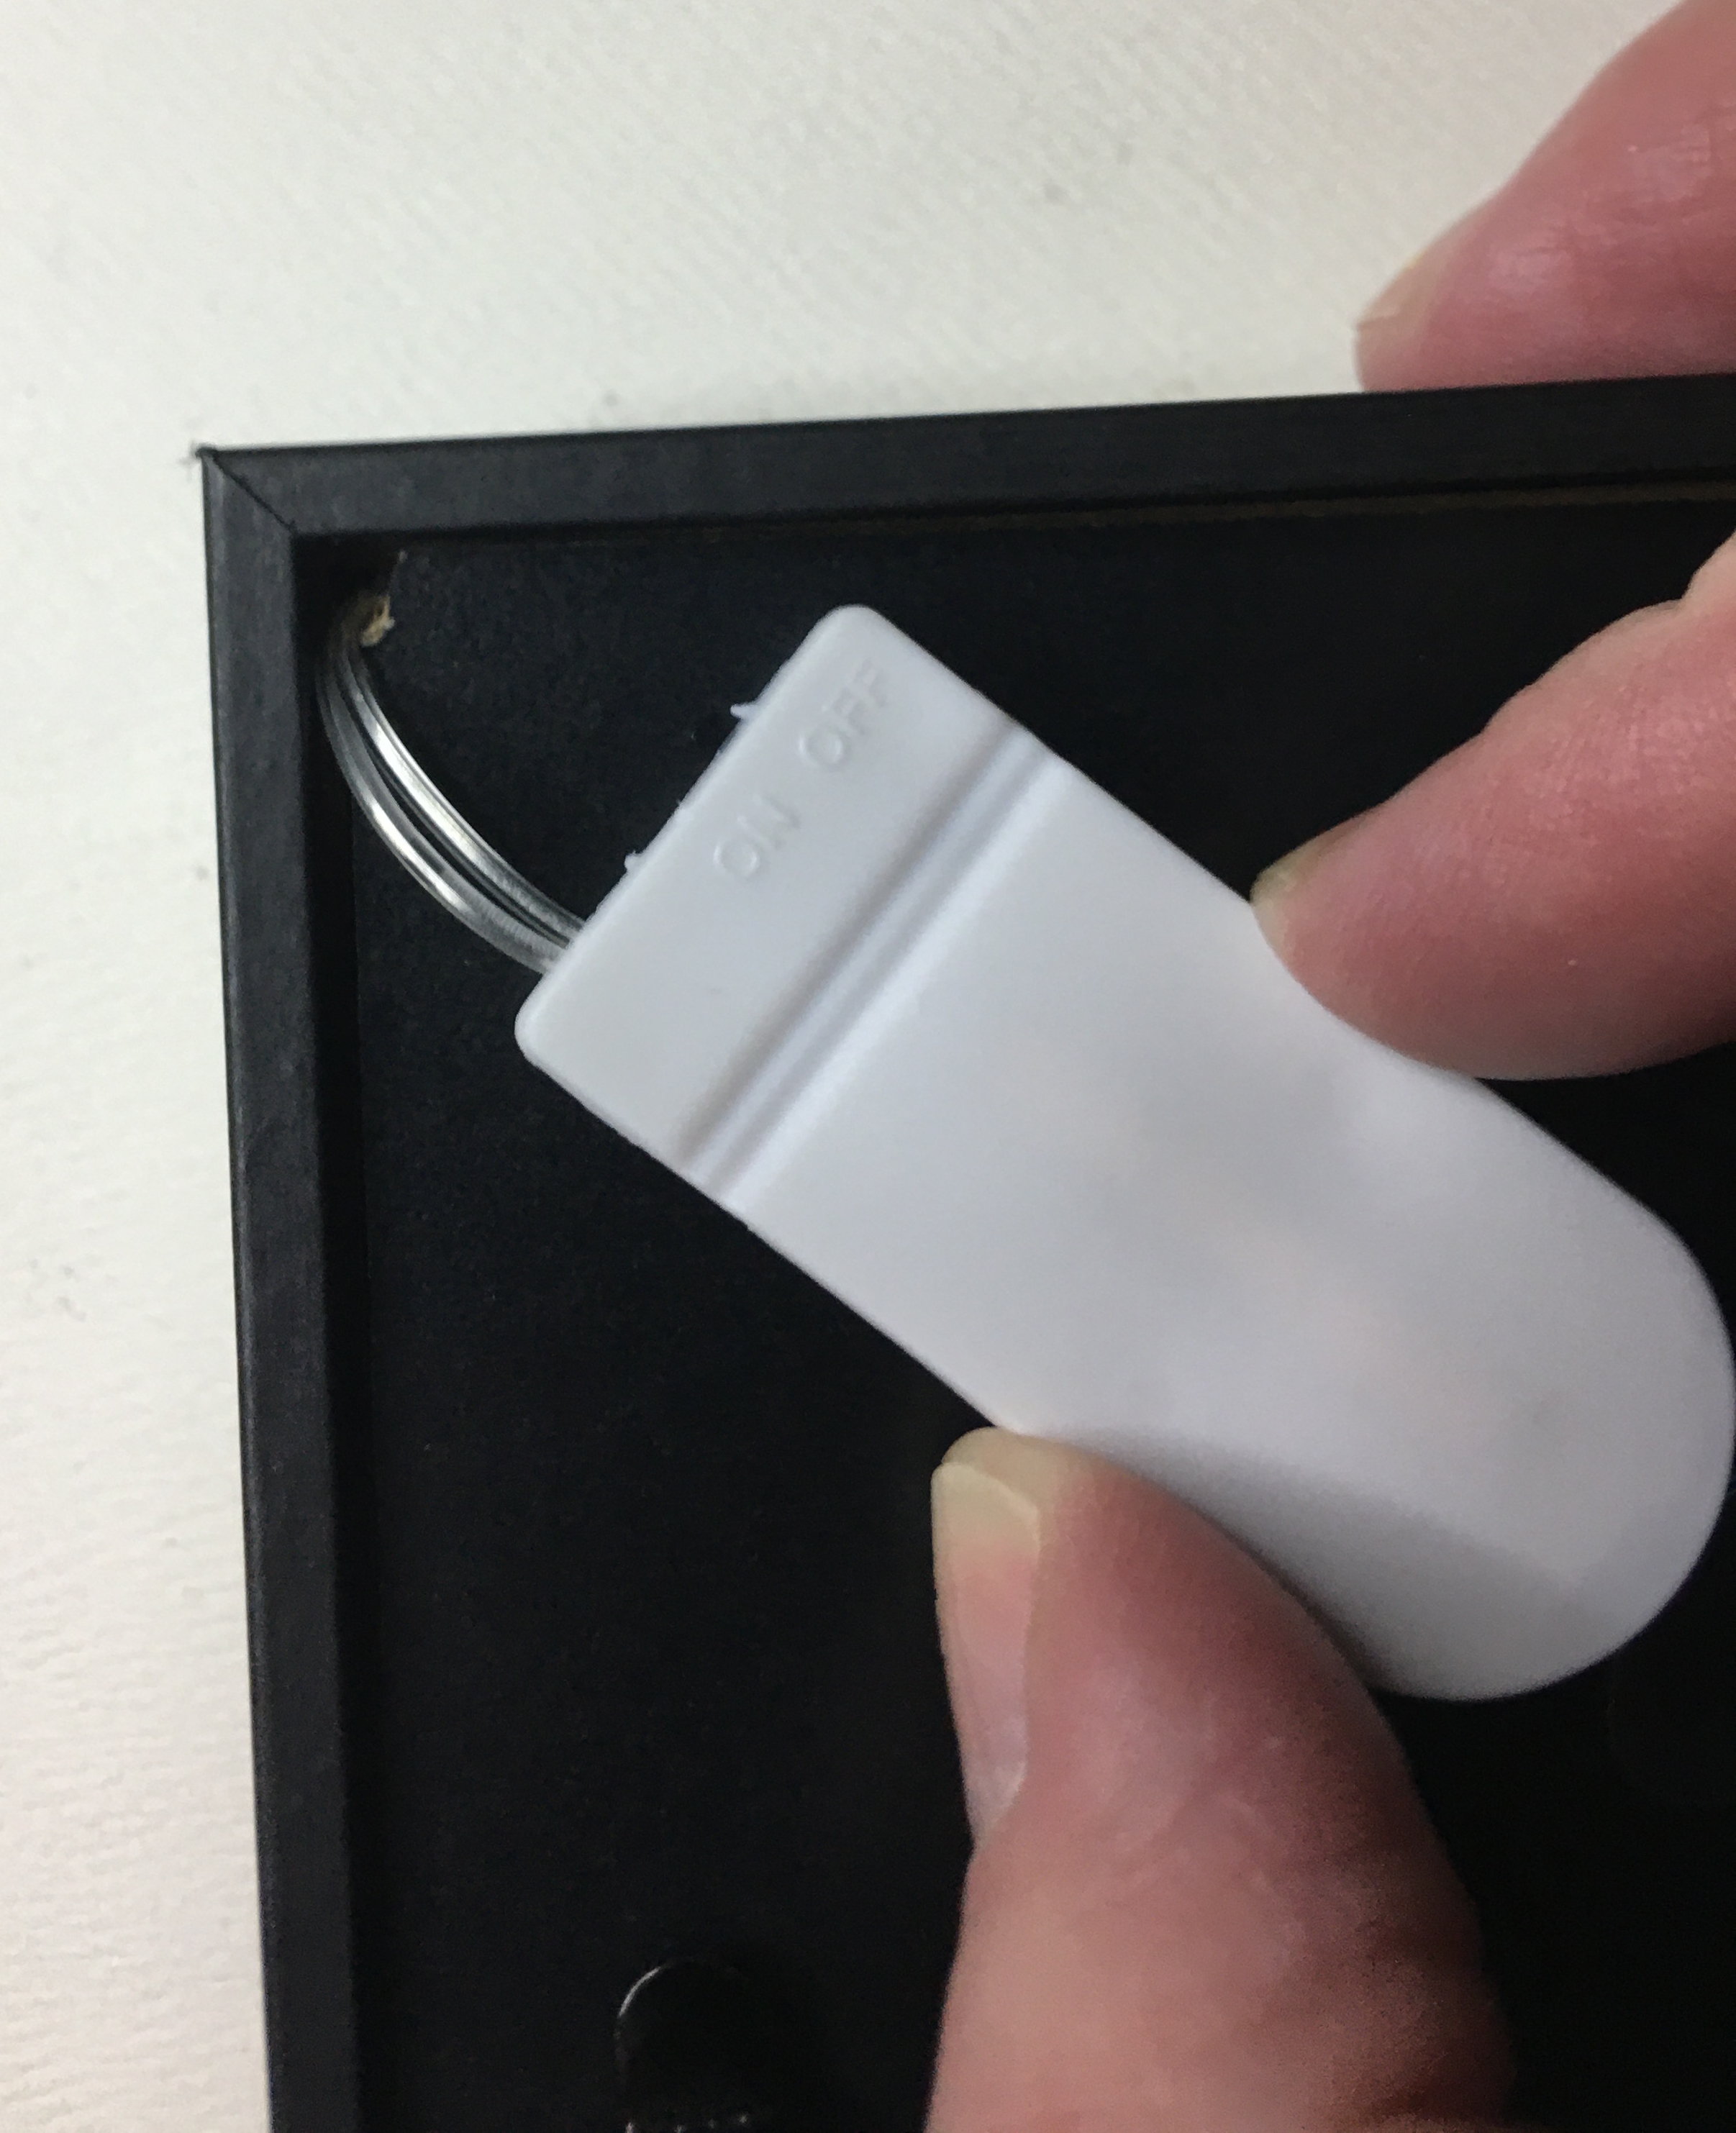
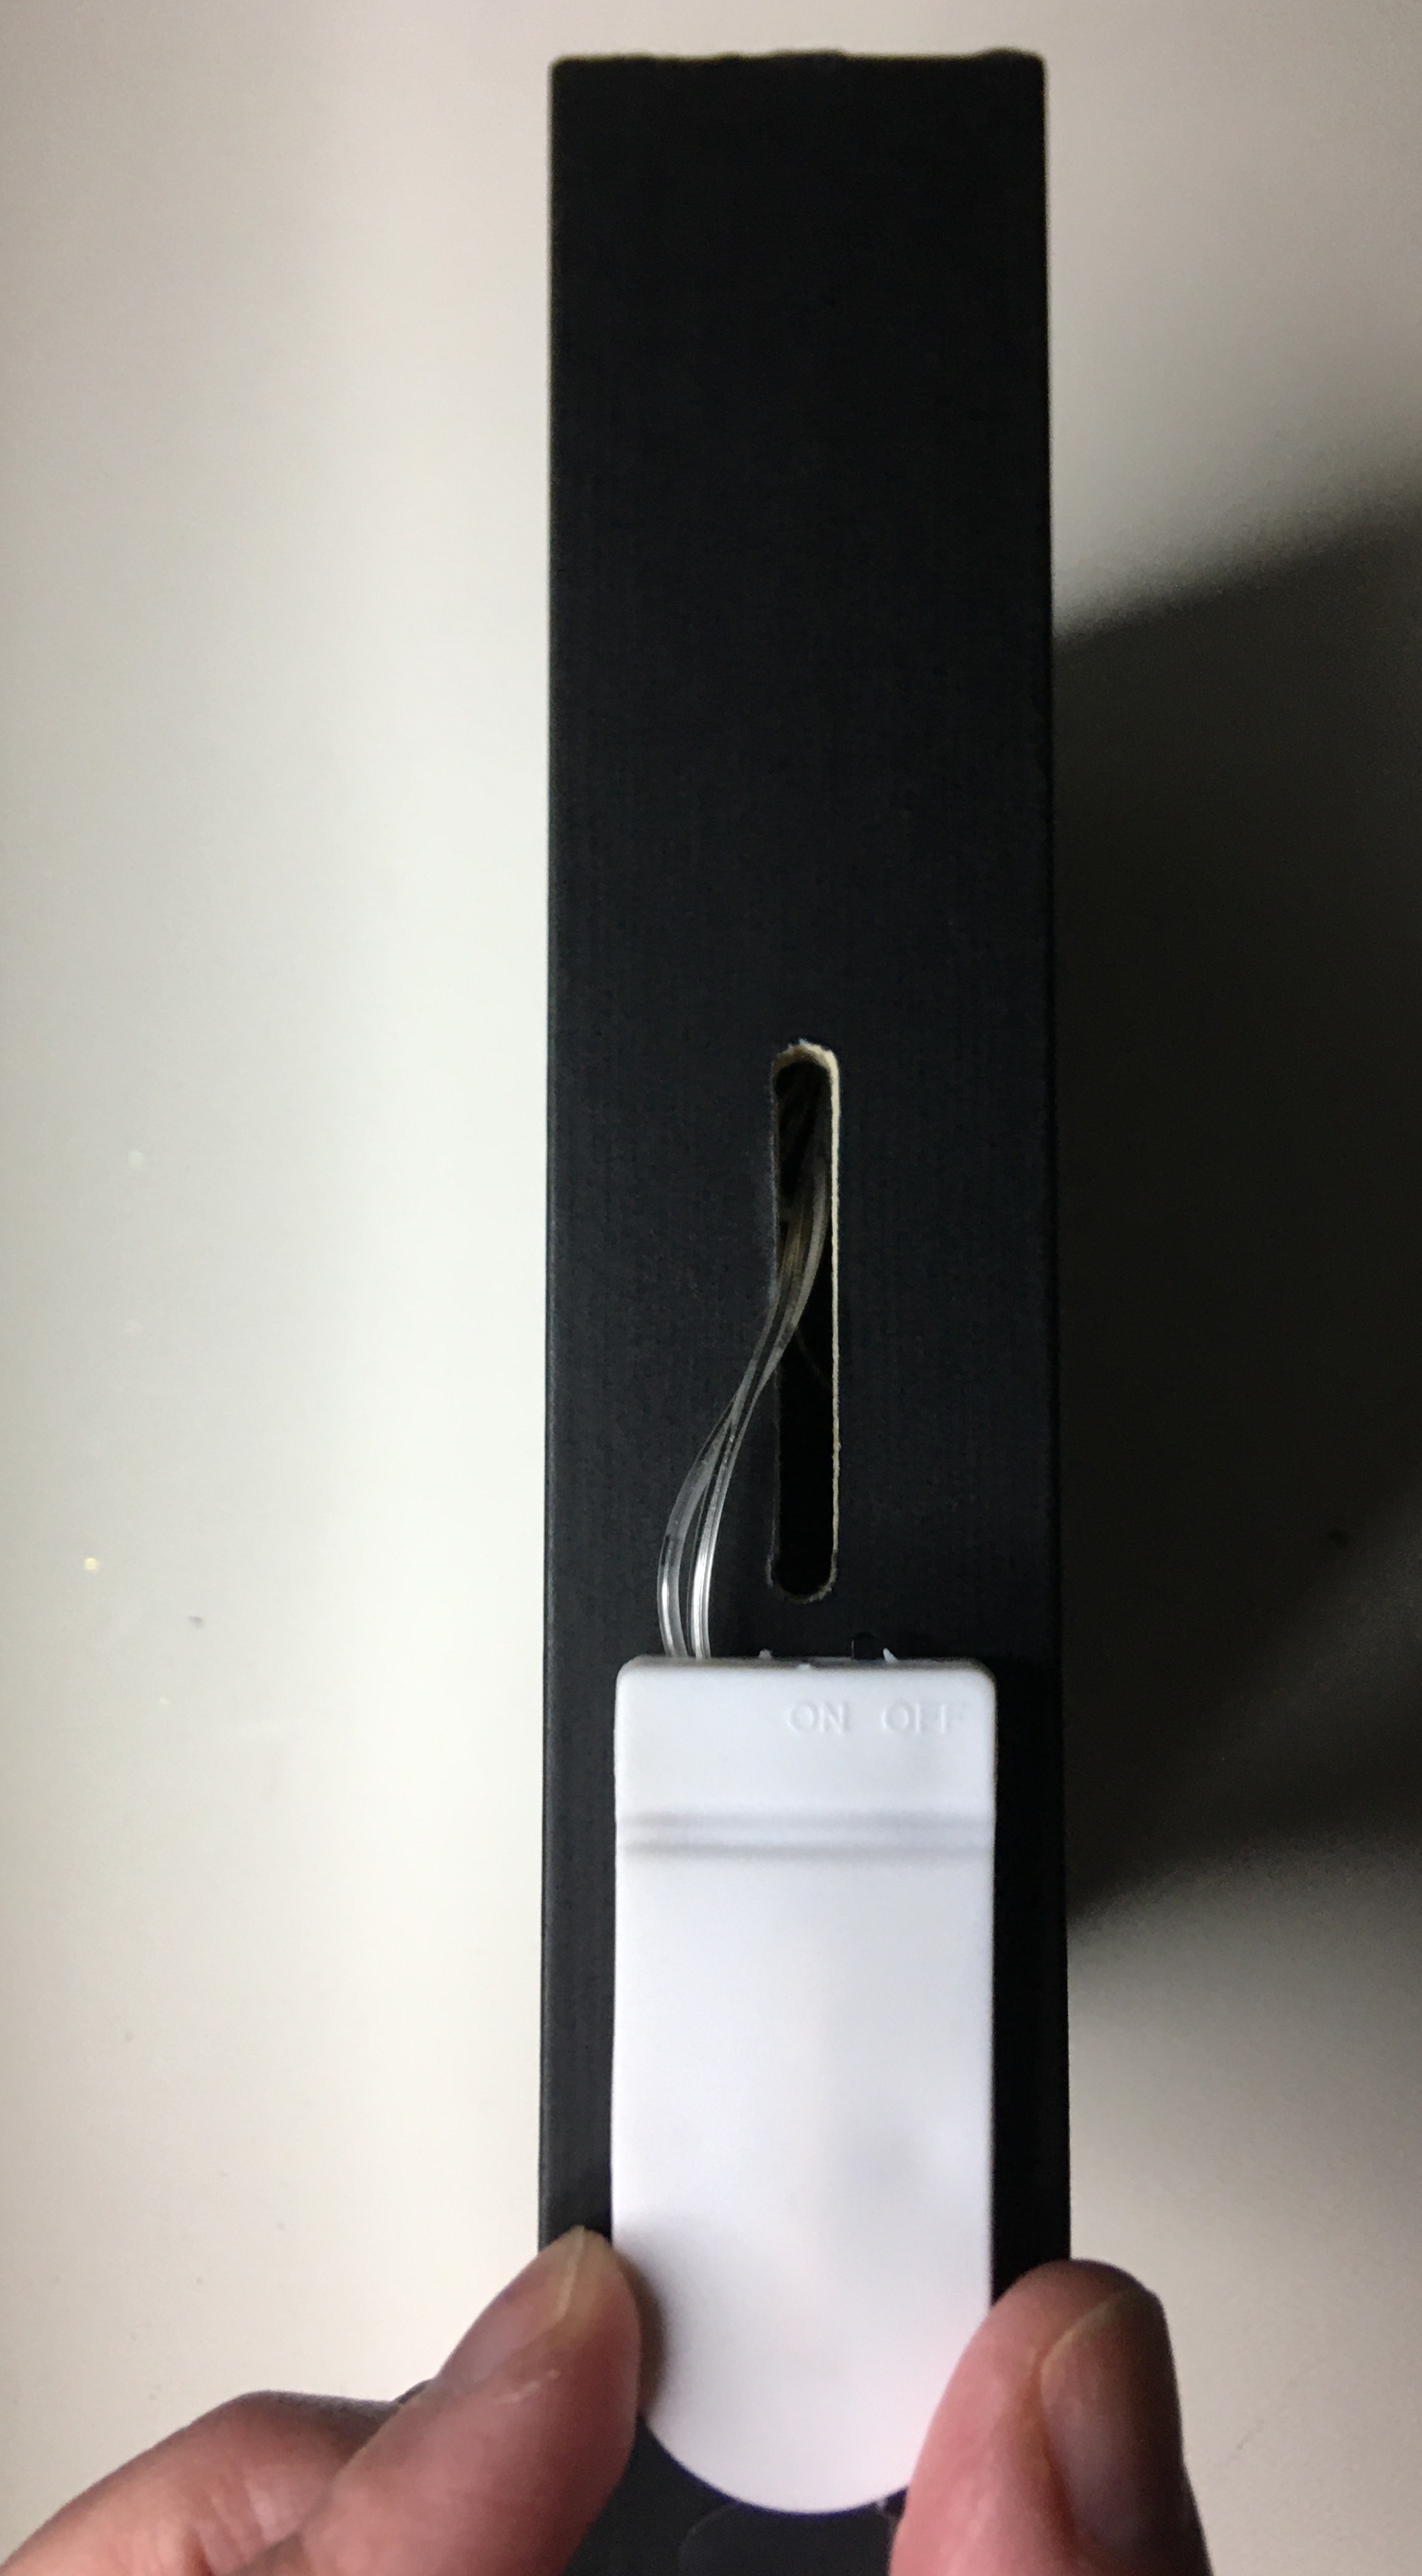
With battery pack lights there are two options for how you mount the switch. This particular shadow box had a slot in the top for coin deposits. For wall mounting, or if you plan to decorate the top of the frame, this is a great option. However the kids I’ve gifted shadow boxes to have enjoyed having the ability to sit the frame on a table top so they can turn it on and off as they please. For this reason, I prefer the second option for a hidden switch. All that I had to do was take an X-Acto knife to the bottom corner of the back panel (where the battery pack was nearest glued to) and cut out a small notch. Then I hot glue the battery pack to the back panel. Make sure the screw side is out so that battery changes can be made without taking the pack off.
Once the lights are secured, I turned my attention to the shadow box layers. 1/4″ raised adhesive tape is perfect to attack the two cloud layers and photo. The depth that you see in the final product is actually from two layers of the raised tape stacked on each other.


All the prep work is finished. The vinyl text is applied to the outside of the glass. Place the cloud layers inside the shadow box. Then close the box up by placing the back panel.
This project is perfect for birthdays, weddings, showers, and celebration of life. And now that you know how to remove backgrounds, you can now use your favorite photos that you thought was unusable because of what was in the background.
If you have any questions on how to do this project, or want to know how to do some other project, please leave a comment below or email me at info@pacificnorthwesteventdesigns.com
See you next week!