After spending almost a decade in the event decorating industry I have repetatively heard "I can do that". Instead of being dismissed by creative minded people, I want to show you how I do "that" so you can be sucessful in recreating that inspiration image. I just might have a few tricks that you haven't seen yet!
There’s one skill that I’ve wanted to learn from a friend of mine, incorporating mason bees into my garden.
Here in North America, mason bees are the indigenous bee. They pollinate 45 times more than honey bees. And if you have young children, you don’t have to worry about there being an altercation and your child (or pet) from being stung. (We’ve been teaching our kiddos about bees because one day I want to have honey bees for honey production. So they already know what’s expected of them when it comes to our pollinating friends.)
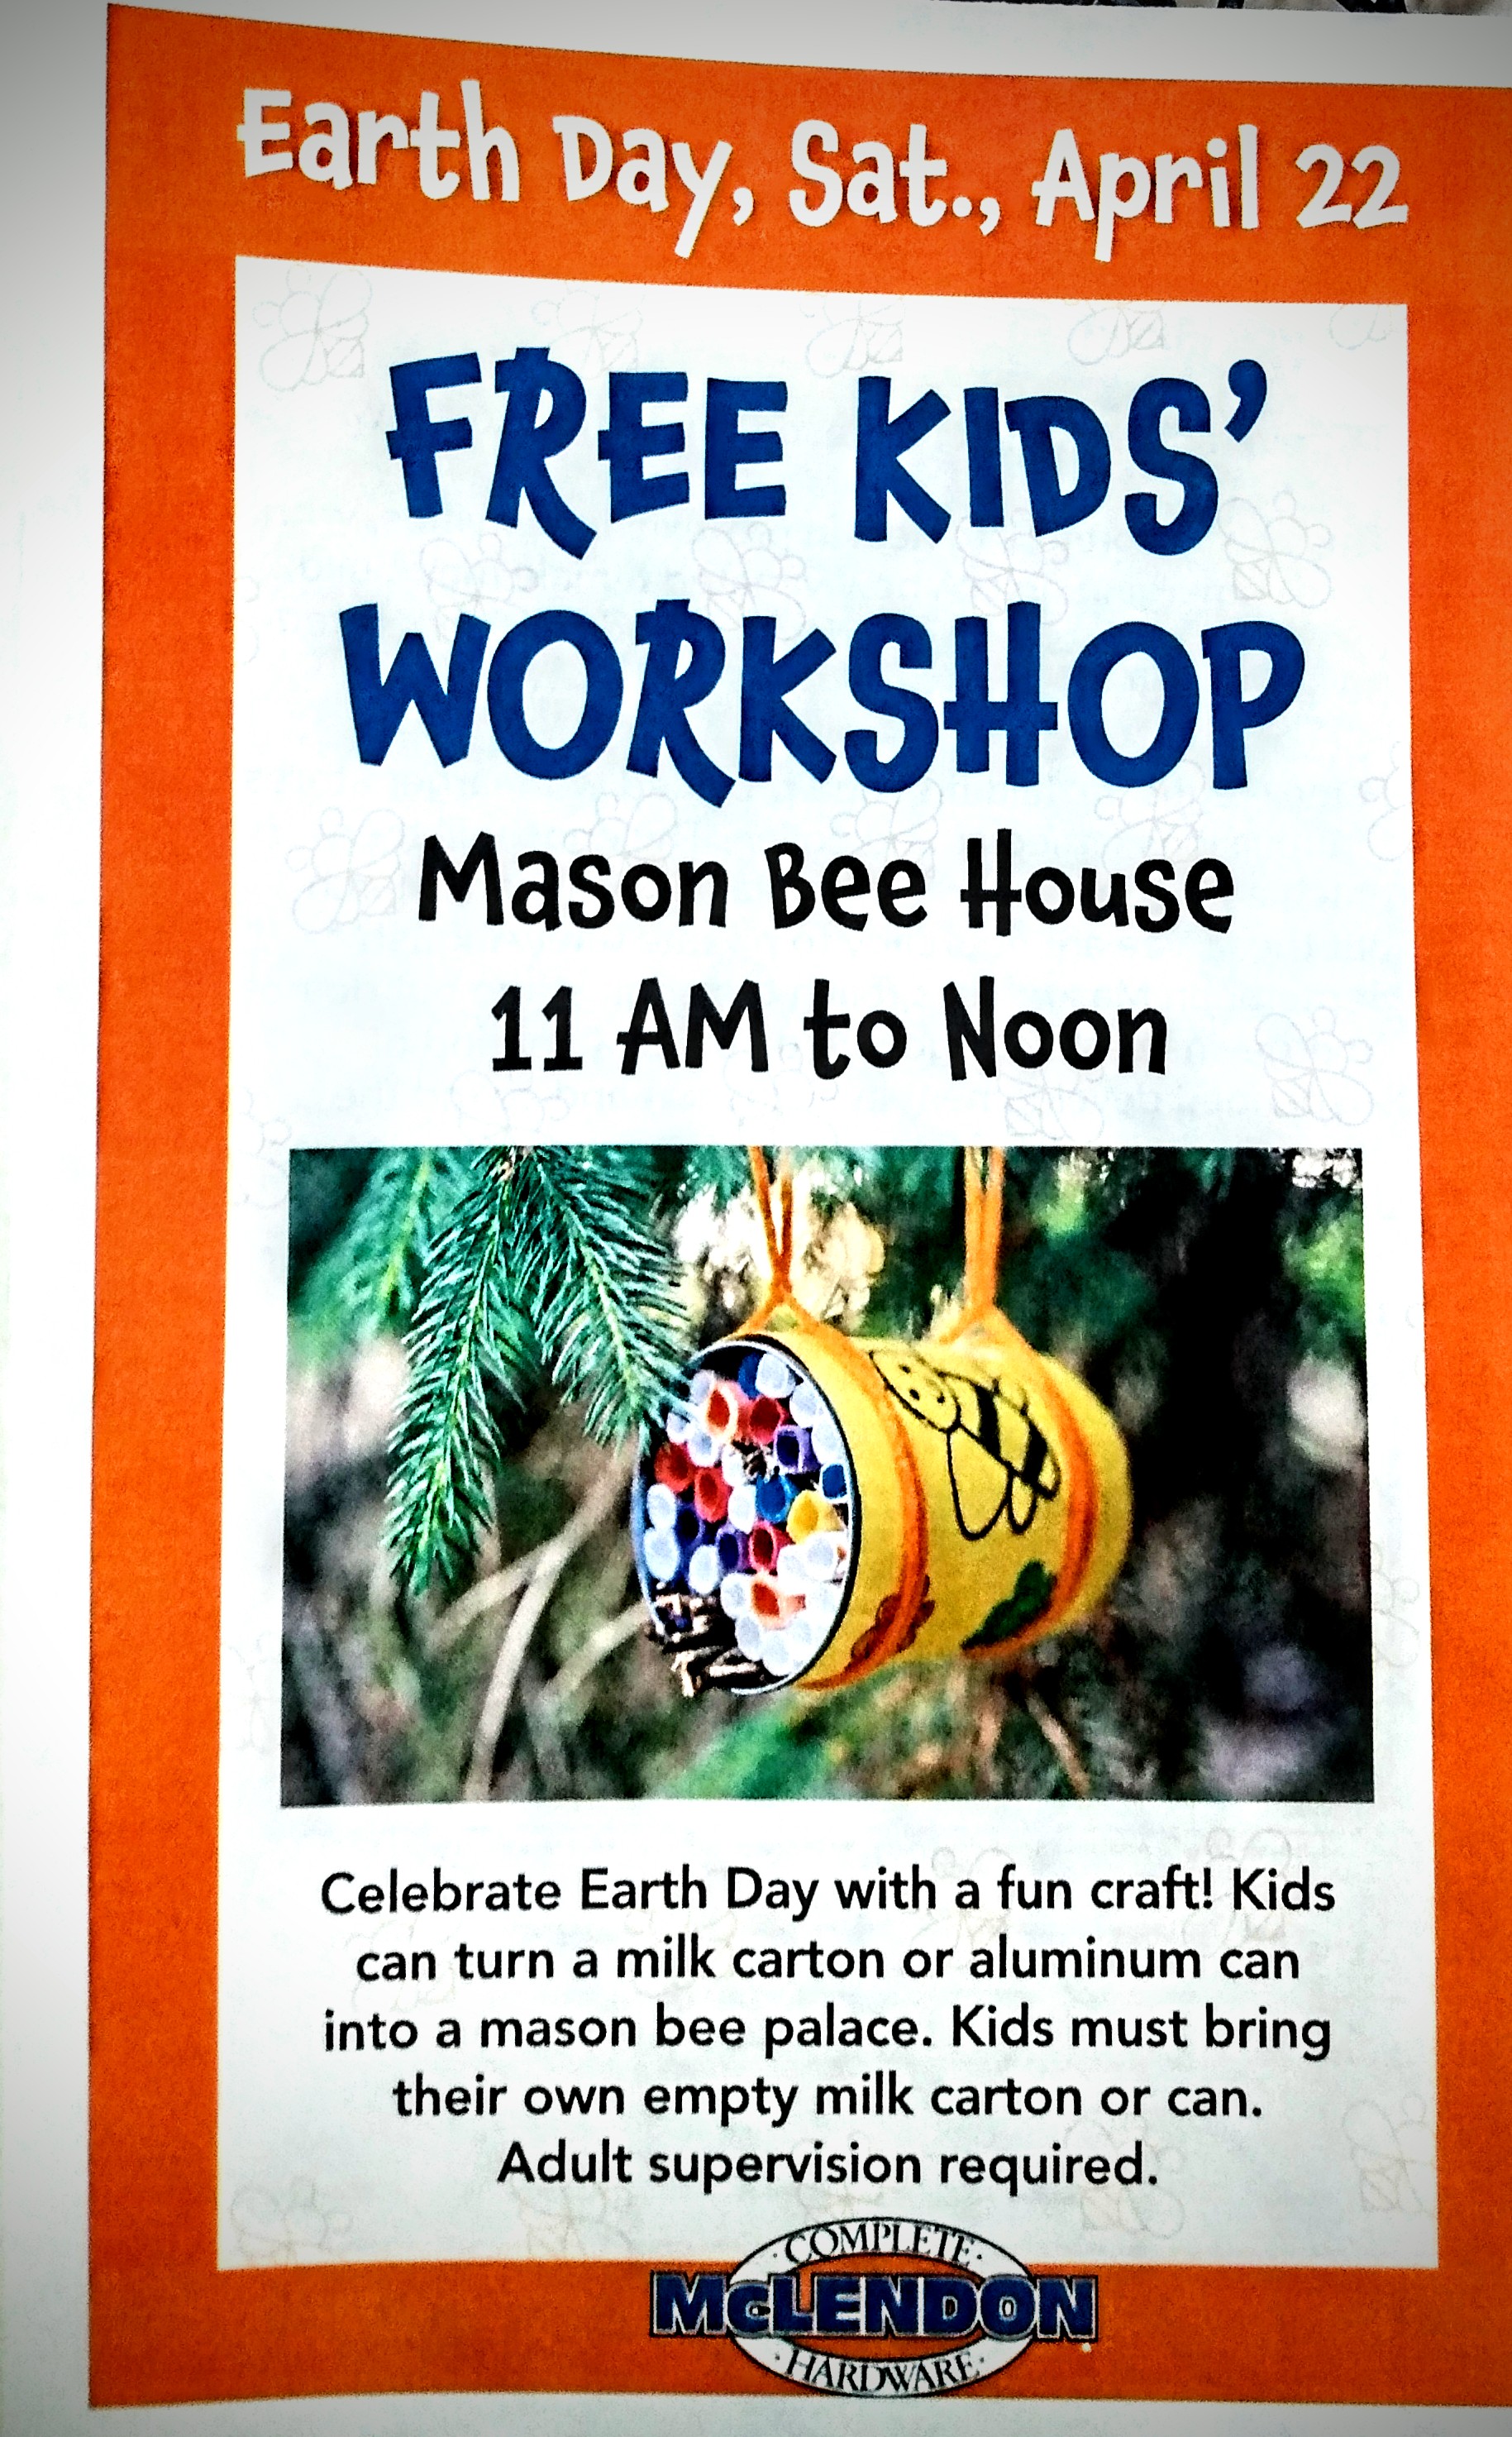
I can’t even begin how excited I was when I received an email from a family locally owned hardware store that they were doing a craft for Earth Day, which involved making a home for mason bees.
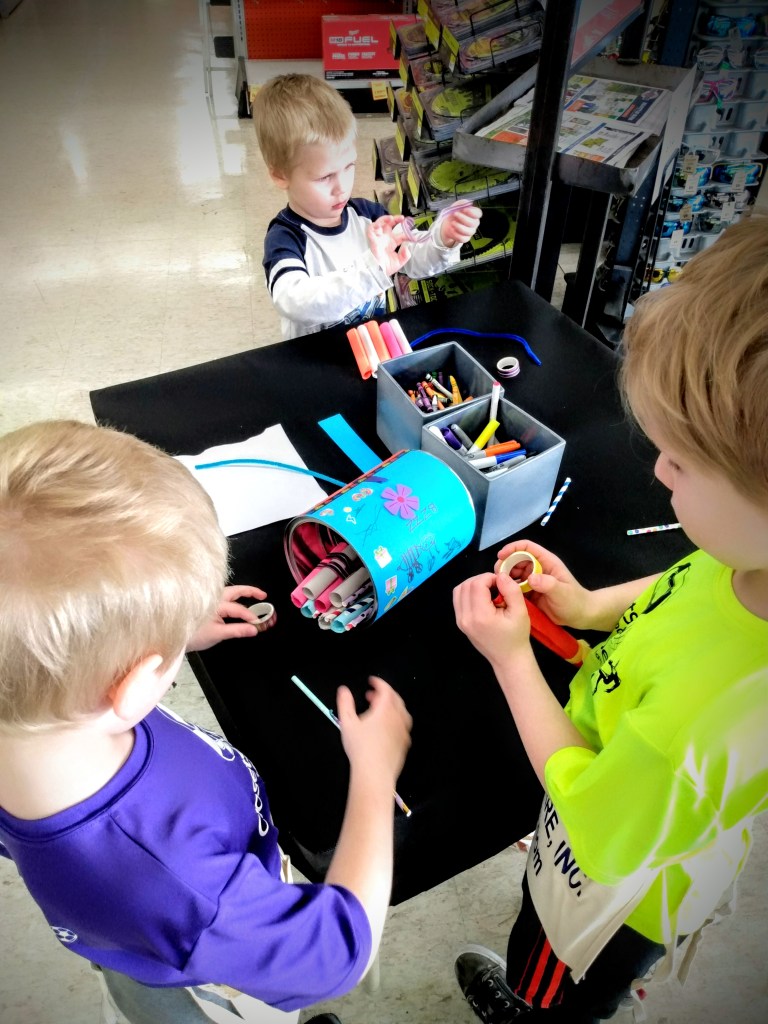
Today I’m sharing with you the process that my kiddos went through to make a home for mason bees.
We were instructed to bring a soup can or cardboard milk container. The hardware store supplied the craft materials to decorate and make the bee home.
All my milk cartons still had milk in them and I haven’t bout soup in a can for well over a year now. What I did have available was an empty ten pound can. So if you don’t have a small can, know that it’s possible to make a home with a larger can.
Things you will need:
(Feel free to modify with the materials that you have on hand.)
Milk carton or soup can
Construction paper (printer paper, non-toxic colored paper, recycled paper, whatever you have on hand)
Tape
Straws
Cardboard tubes: toilet paper or paper towel (optional)
Corrugated cardboard (optional)
Scissors
Glue
Stickers (optional)
Twine
Pens, crayons, or other decorating medium (optional)
Advertisements
If this is a kid’s project you’re setting up for, cut all rolled paper and straws to the length that fits from the back of the soup can to the front.
You can even prep other materials for your bee house. If you have scrap blocks of wood, you can several holes through the block.
I don’t know what you have in surplus in your craft room. But I have many wine corks that have been waiting for just the right project. When I get a free afternoon, I’ll make an adult version with rolled cardboard, drilled scrap wood blocks, and my collection of wine corks that will also be drilled.
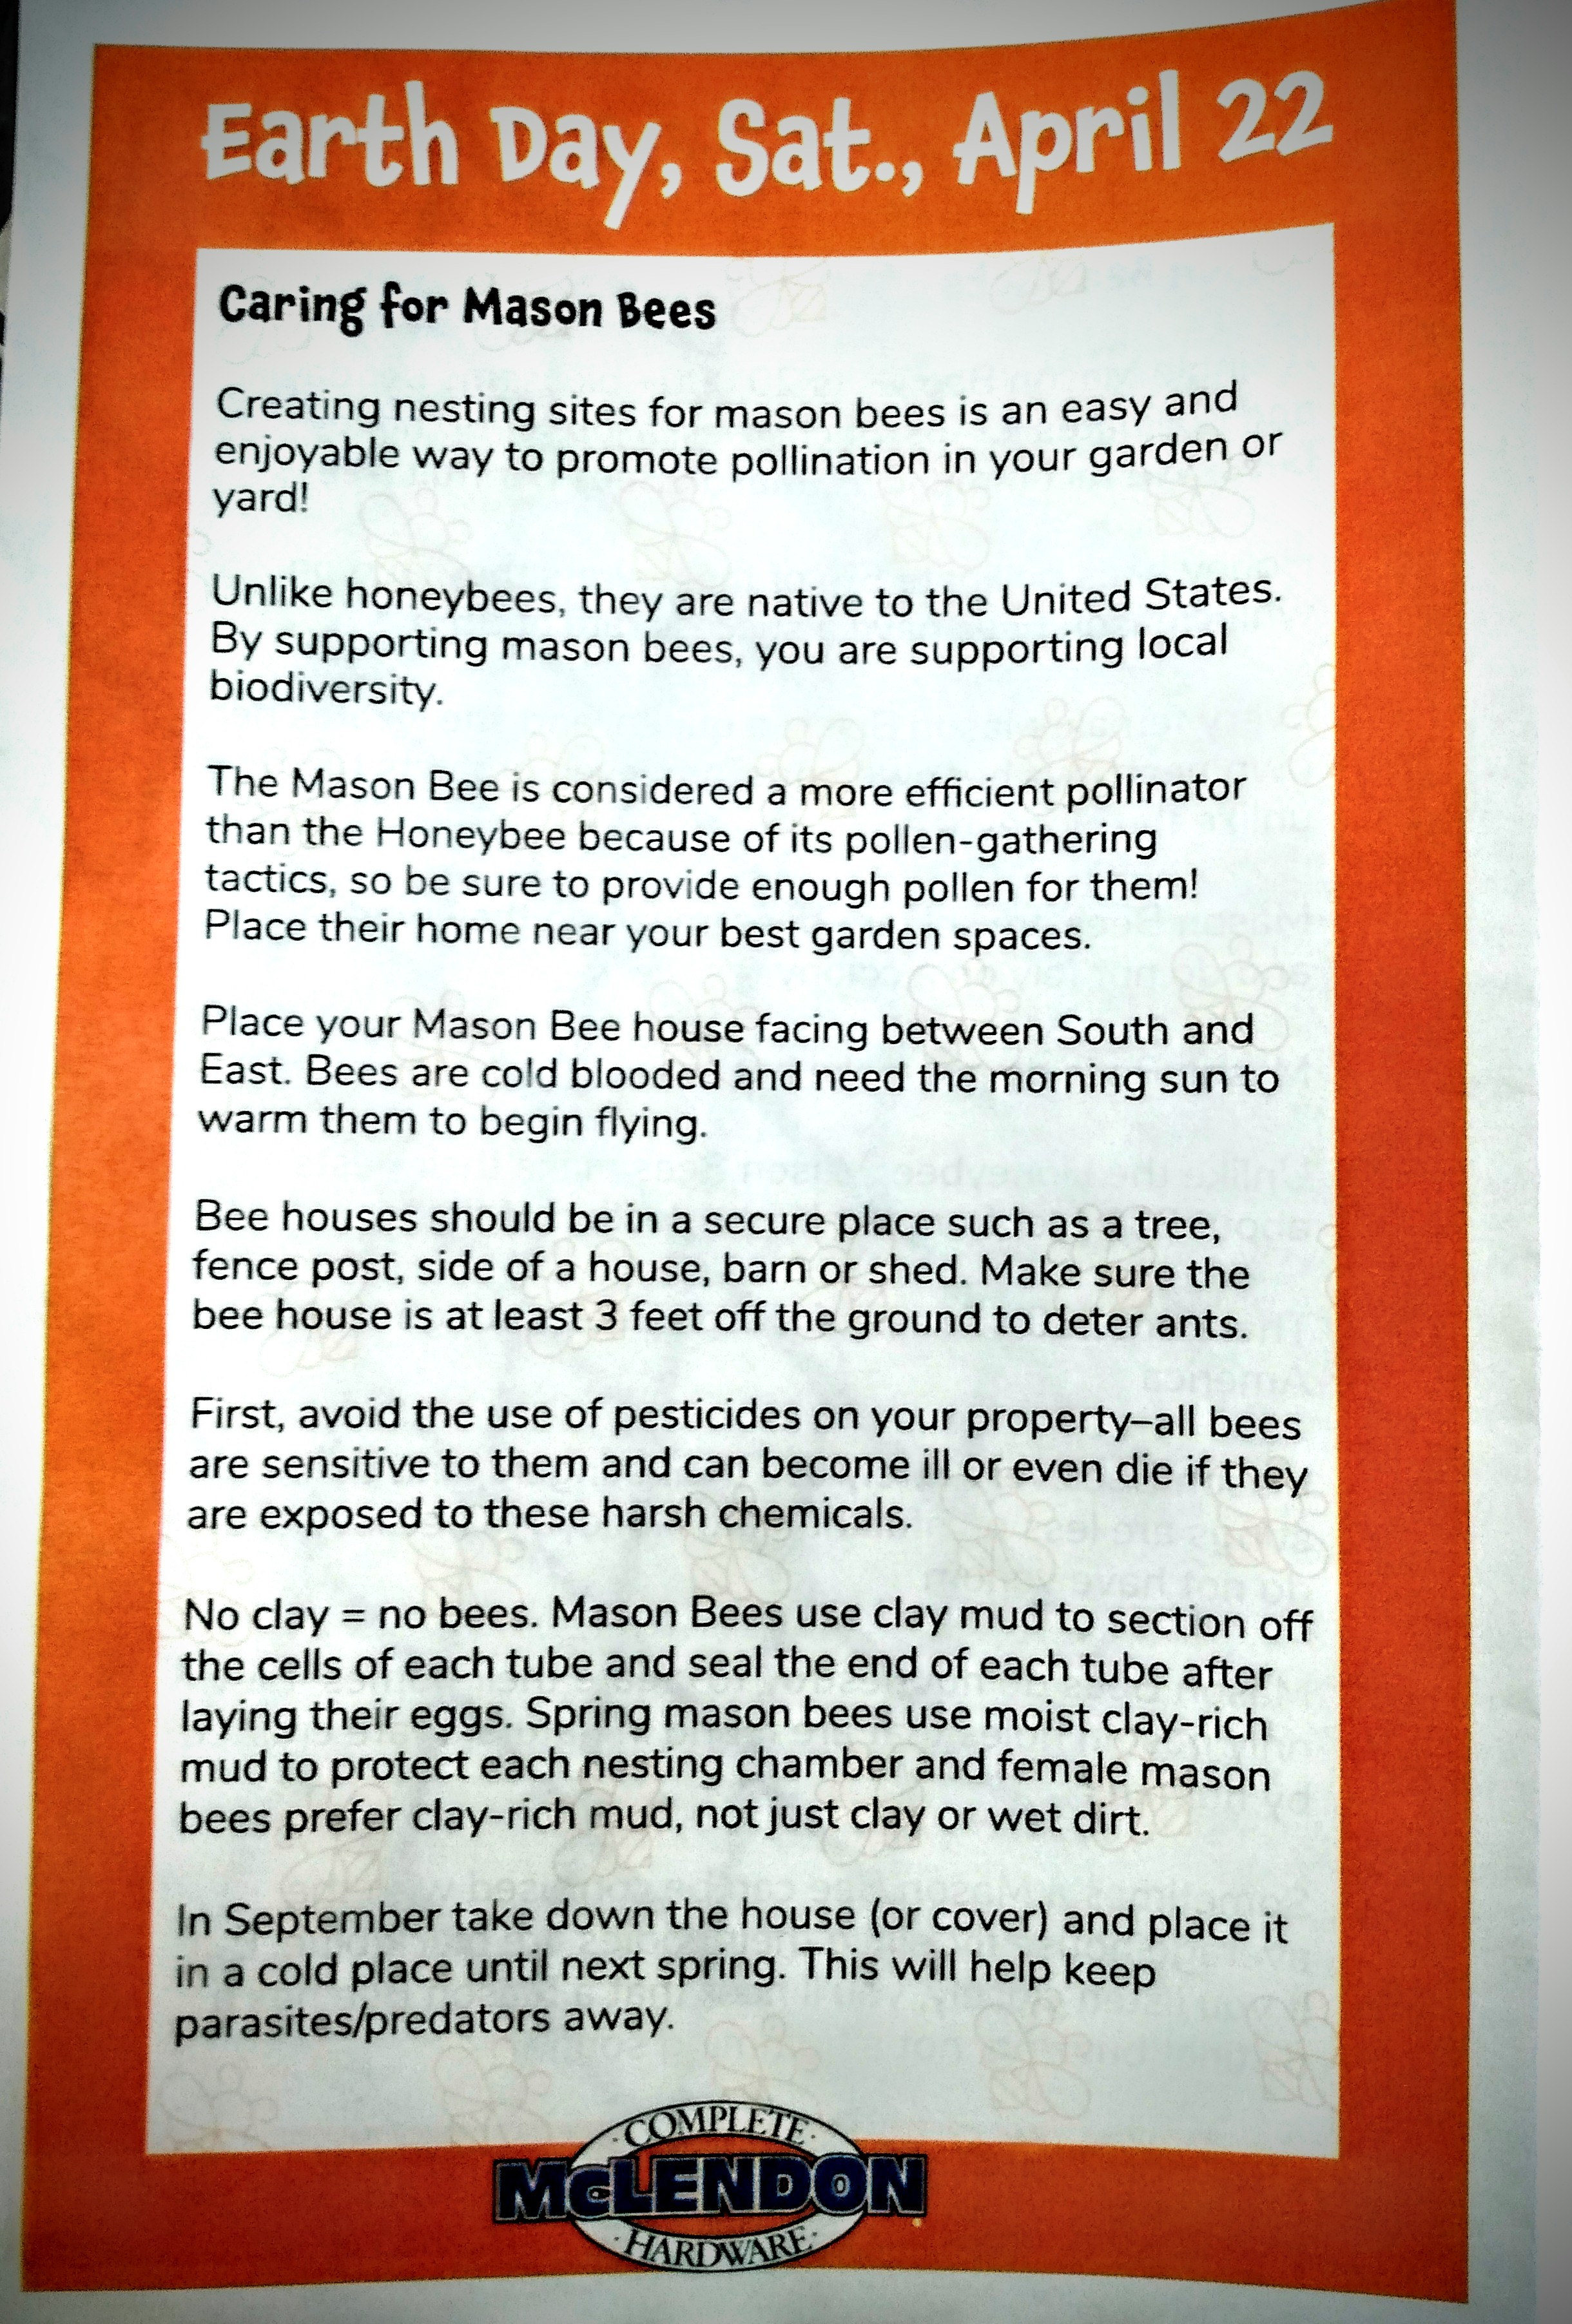
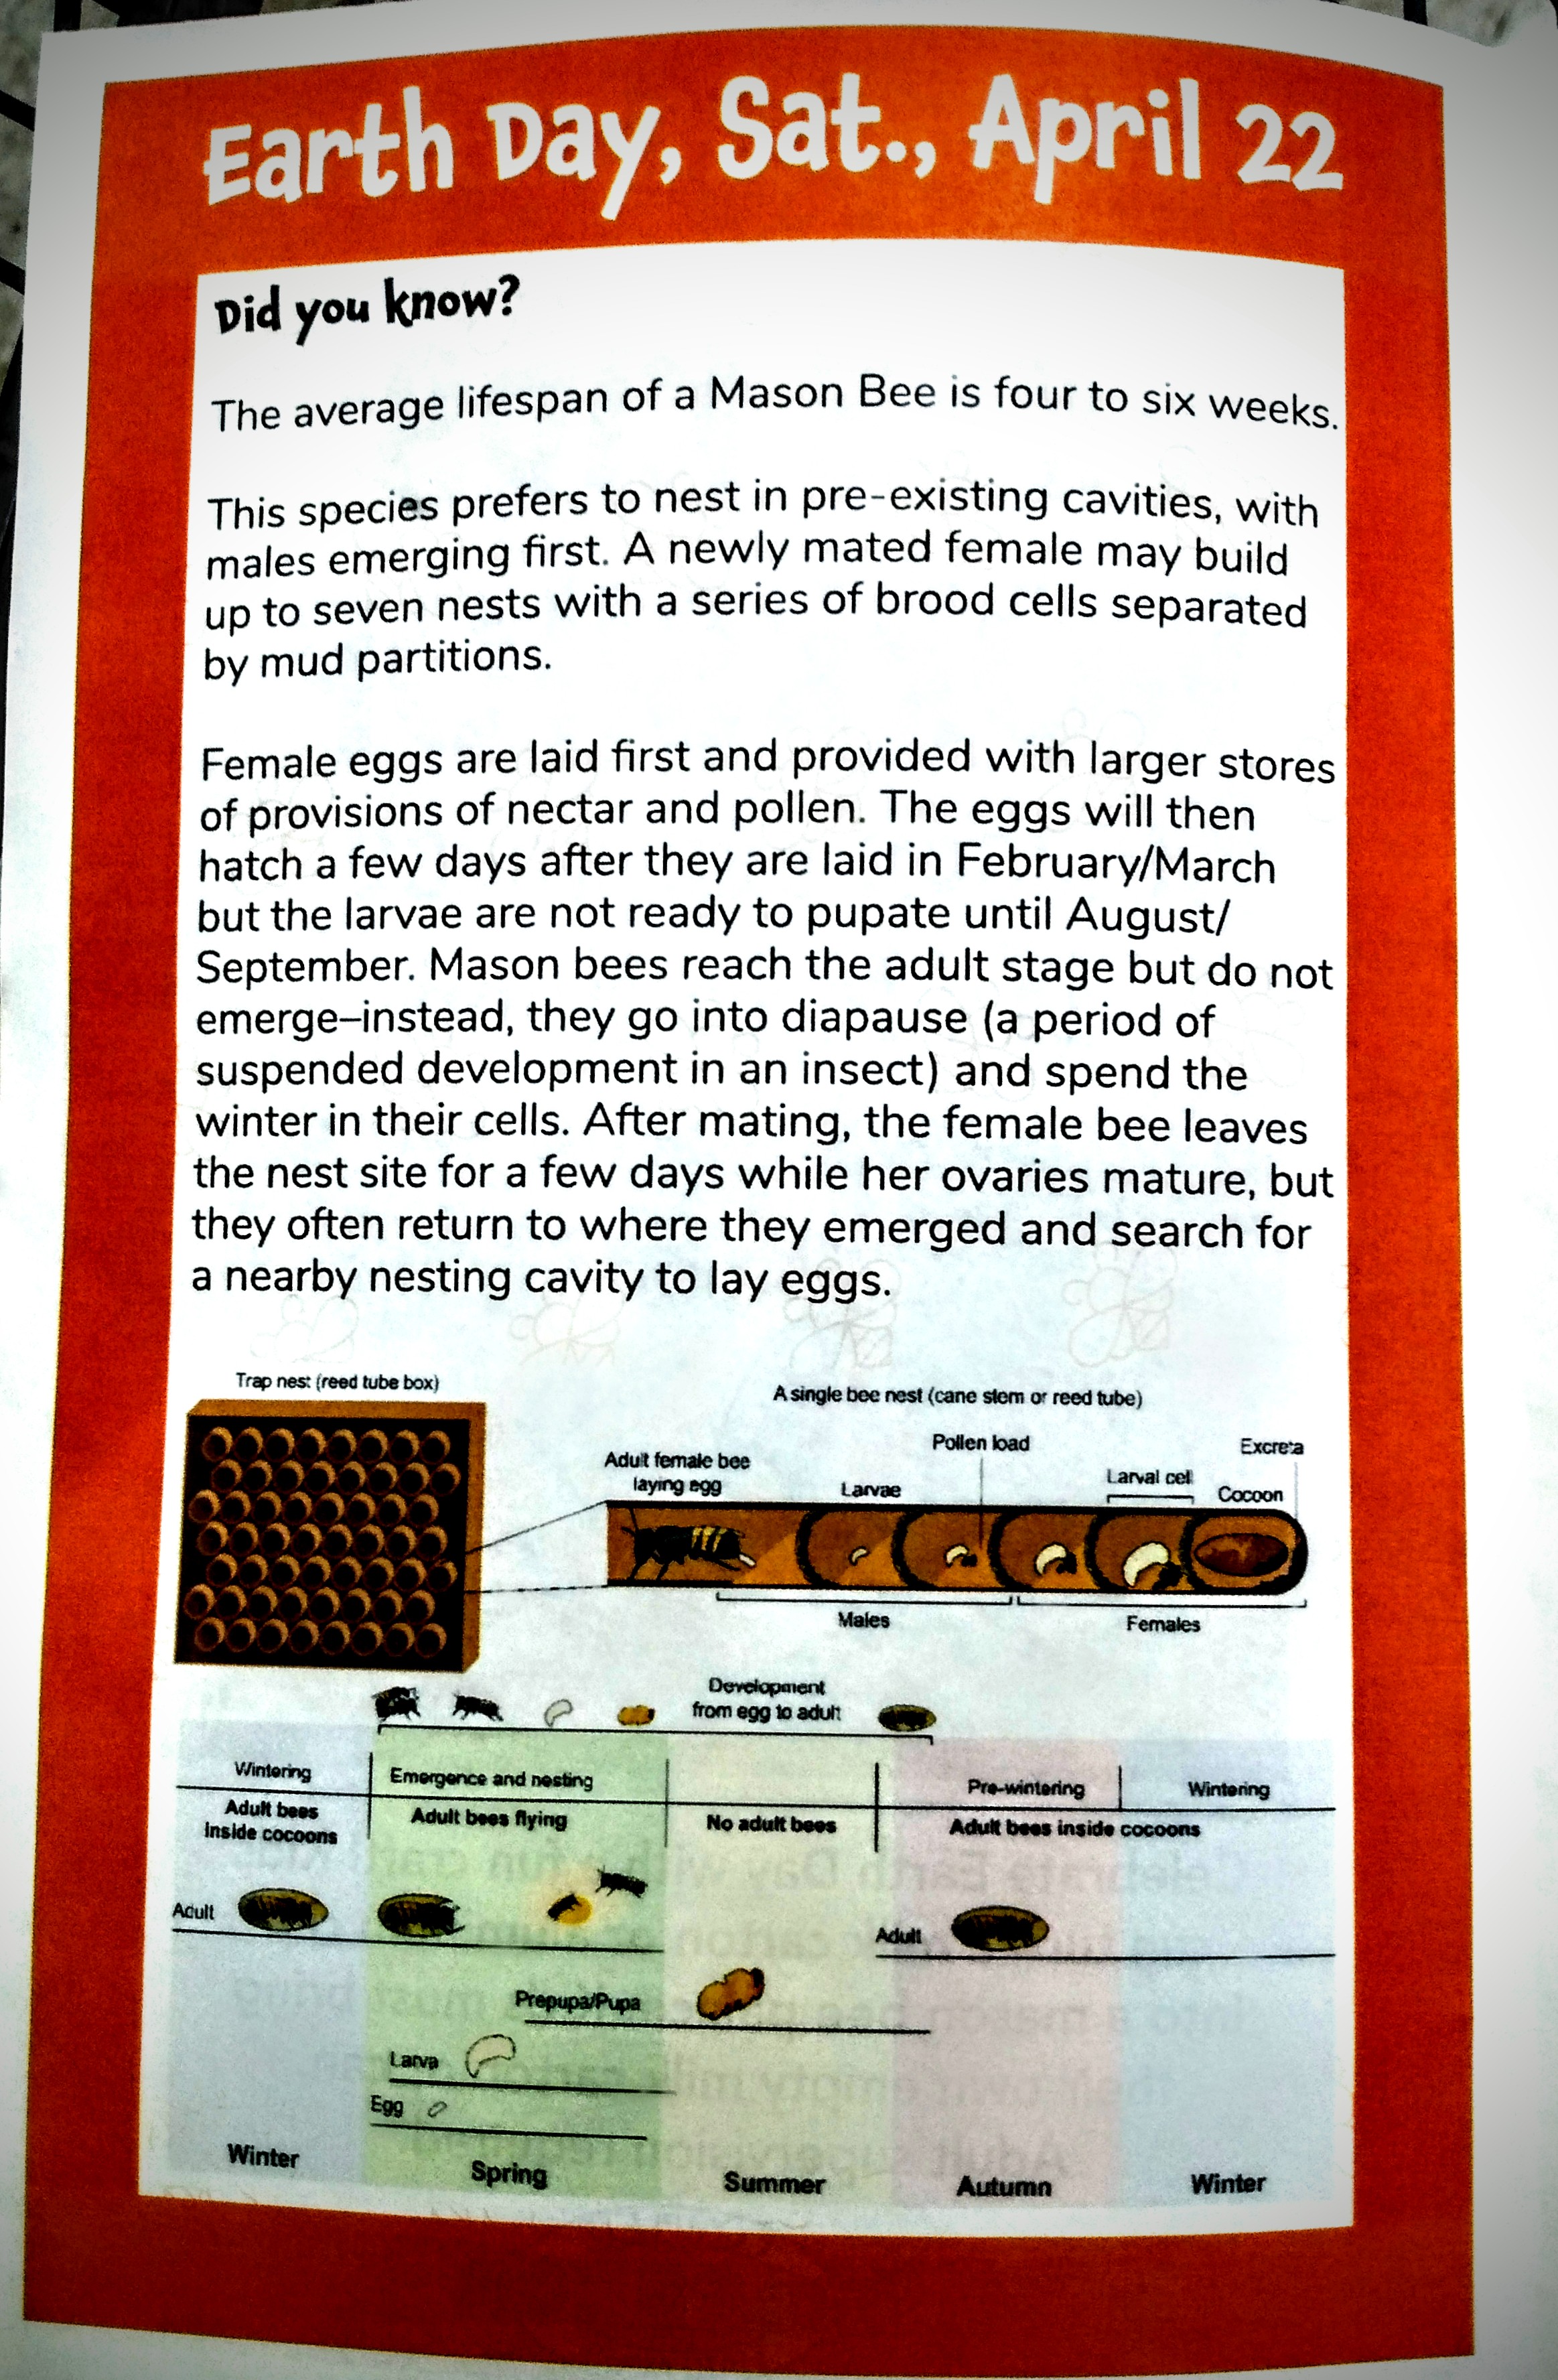
Here are some additional bits of information about mason bees, if you are unfamiliar with them.
Here is another resource to get you started on your path for creating a home for mason bees. If you want to buy mason bees to start your bee colony, I found this site which is still selling until May 22, 2023. They have a bee info page that can instruct you in how to care for mason bees to make sure that they remain healthy and happy.
If you’ve watched the movie The Pollinators (2020), then you understand the need to help support our local pollinating community. If you haven’t seen this documentary yet, it’s worth the time to understand what it going on with the bee population in the United States. And if it’s happening here, it’s very likely happening in other places.
Last year (2022) was a bad growing season in the Pacific Northwest (PNW). To this day I still believe with my whole heart that the bees were what made my garden successful, when others in my local community found only hardship. So for my gratitude, I already planned on adding more flowers to my garden as well as being a more hospitable home for my pollinators. With that being said, I will leave you with the pictures of my family. And once the weather clears, I’m going to examine closely where our best place of hanging this mason bee home is going to go.
Happy Earth Day!
Processing…
Success! You're on the list.
Whoops! There was an error and we couldn't process your subscription. Please reload the page and try again.
The one thing about approaching holidays is that you really get smacked in the face with everything that needs to be done.
Whether you’re decorating sideboards for an Easter get together or just looking for something quick that fits in a space as small as a window sill to add a little color before spring finally unfurls. This quick craft is for you.
What you need:
1 Stemless Wine Glass
1 Bag of stones 18 oz/794 g
1 Faux Succulent
Any other accent piece that you would like to add (I chose a glittery bird)
Glue Gun
Accent Glitter
5 Minute Version
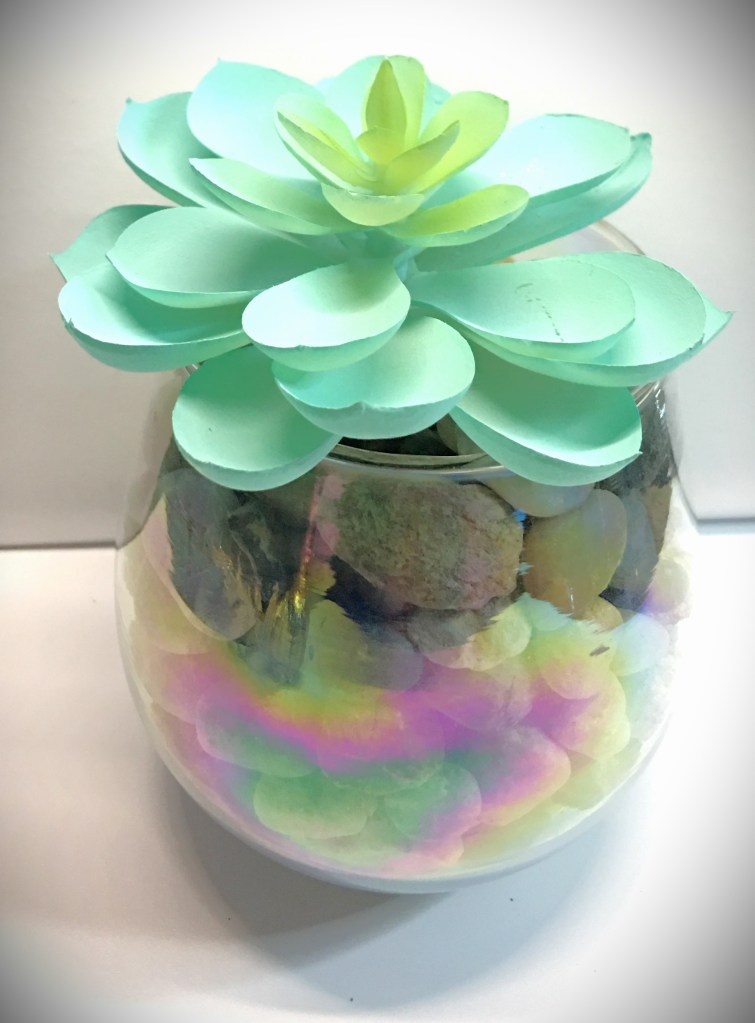
If you just want to toss something together, all you need is the glass, rocks, and succulent.
The succulent that I chose had a very thick stem. Because it was sturdy, I could pour the rocks in the glass and push the succulent stem into the rocks and moved on. (If the rocks have resistance, give the succulent stem a little swirl and it will sink right in.)
For whatever reason if the succulent just does not want to go into the rocks, never fear. Pour out the rocks with the exception of some in the bottom (or the level that you can easily push in the succulent). Then lift up the leaves on one side (and then the other) to add the stones in, around the stem.
Want to use real succulents?
You can do this using a real succulent of your choice. Make sure you verify if the succulent you want to use can life in rocks or if it needs cactus potting soil.
If your succulent needs soil, but you prefer the look of the rocks showing through the glass, you will need to take a little extra time layering the rocks outside and putting the soil in the center
Advertisements
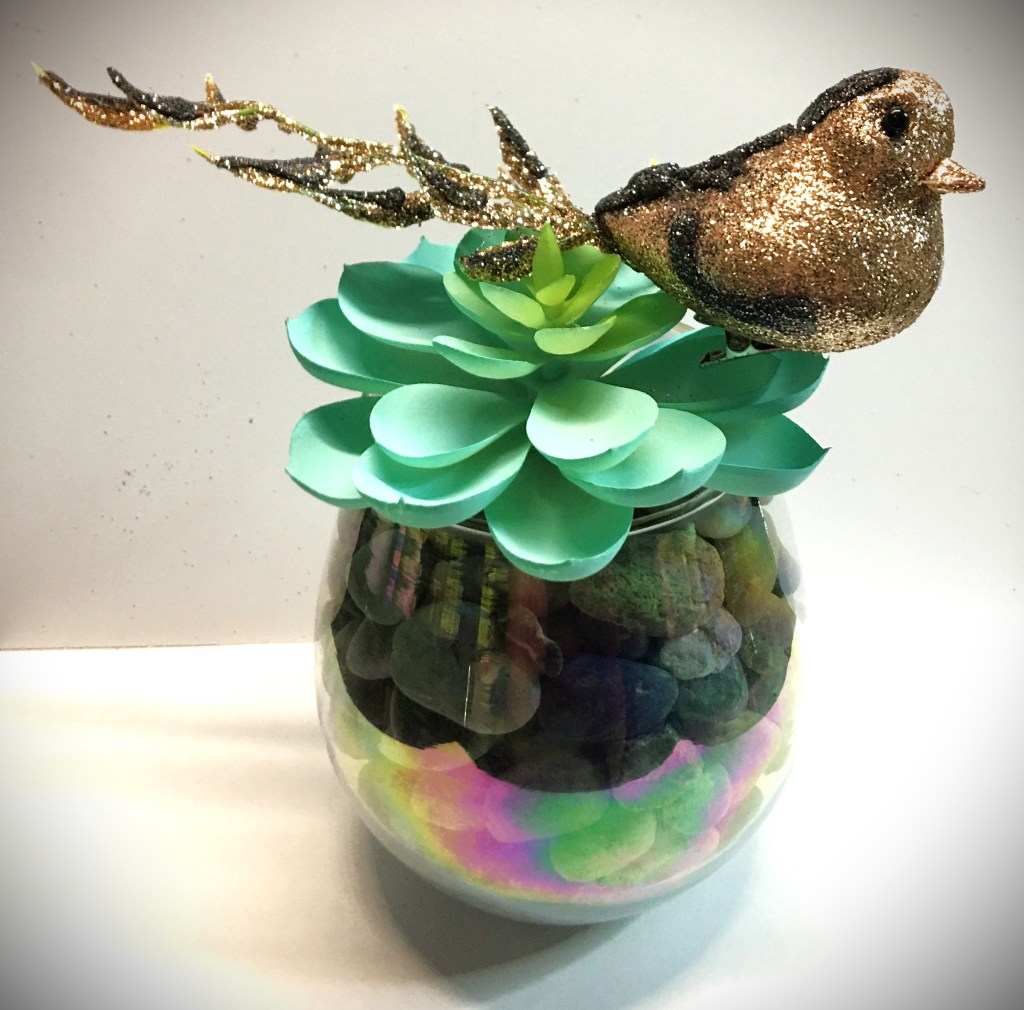
Ten Minute Version
Follow the directions for the 5 minute version to get the glass filled and succulent set. The remaining time is dressing up accent piece that you are adding.
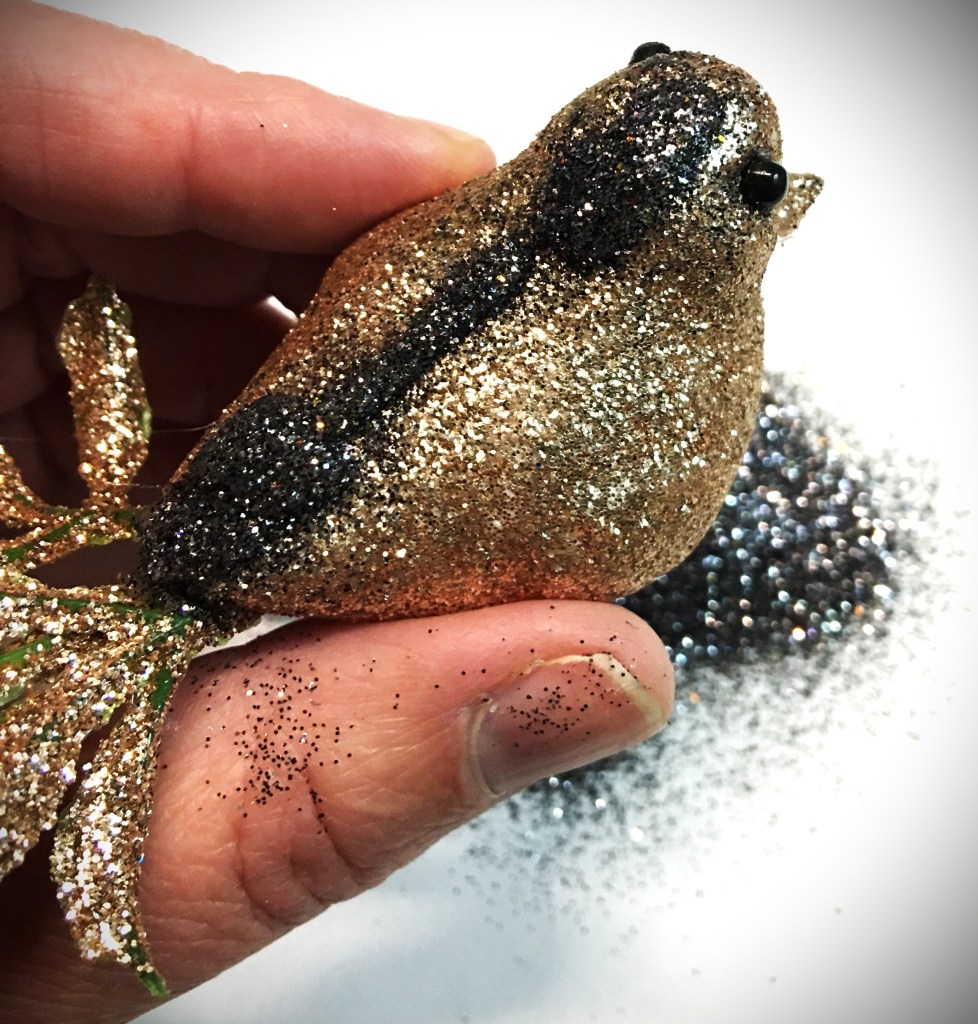
For example, the glitter bird that I’m using came from the dollar store and I wasn’t 100% satisfied with it. If I had feathers in my crafting room, I would have added feathers for the wings as well as the way it was set up with feathers on the tail. Unfortunately, I don’t keep feathers. So I needed to pull off the pink ones that came with the bird. The black eyes also seemed to stick out awkwardly. To remedy this, I grabbed my glue gun and black glitter and added glitter detail work to add dimension and character to the bird.
Thanks for spending a few minutes with me today. If you’re anything like me, you have a list as long as your arm to get done in less than 48 hours. My kiddos always look forward to a newly designed shirt. I haven’t got a fully developed idea for that yet. But I do have a spring edition ready to go dressing up some sock bottoms. They enjoyed the ones that I made for them for christmas. So I thought I would make a few more for them. You can check out sock designs here:
Depending on the space you’re looking to decorate for spring and Easter, you might find that you want a little sparkle in a small place. Maybe it’s a window ledge, a office desk corner, a mantel piece, or just a side table. This is something quick that you can put together and adds as much or little color as you like. The best part is that with the exception of glue drying time, you can have this project done in under an hour!
Materials Needed:
Clear Glass Salad Plate
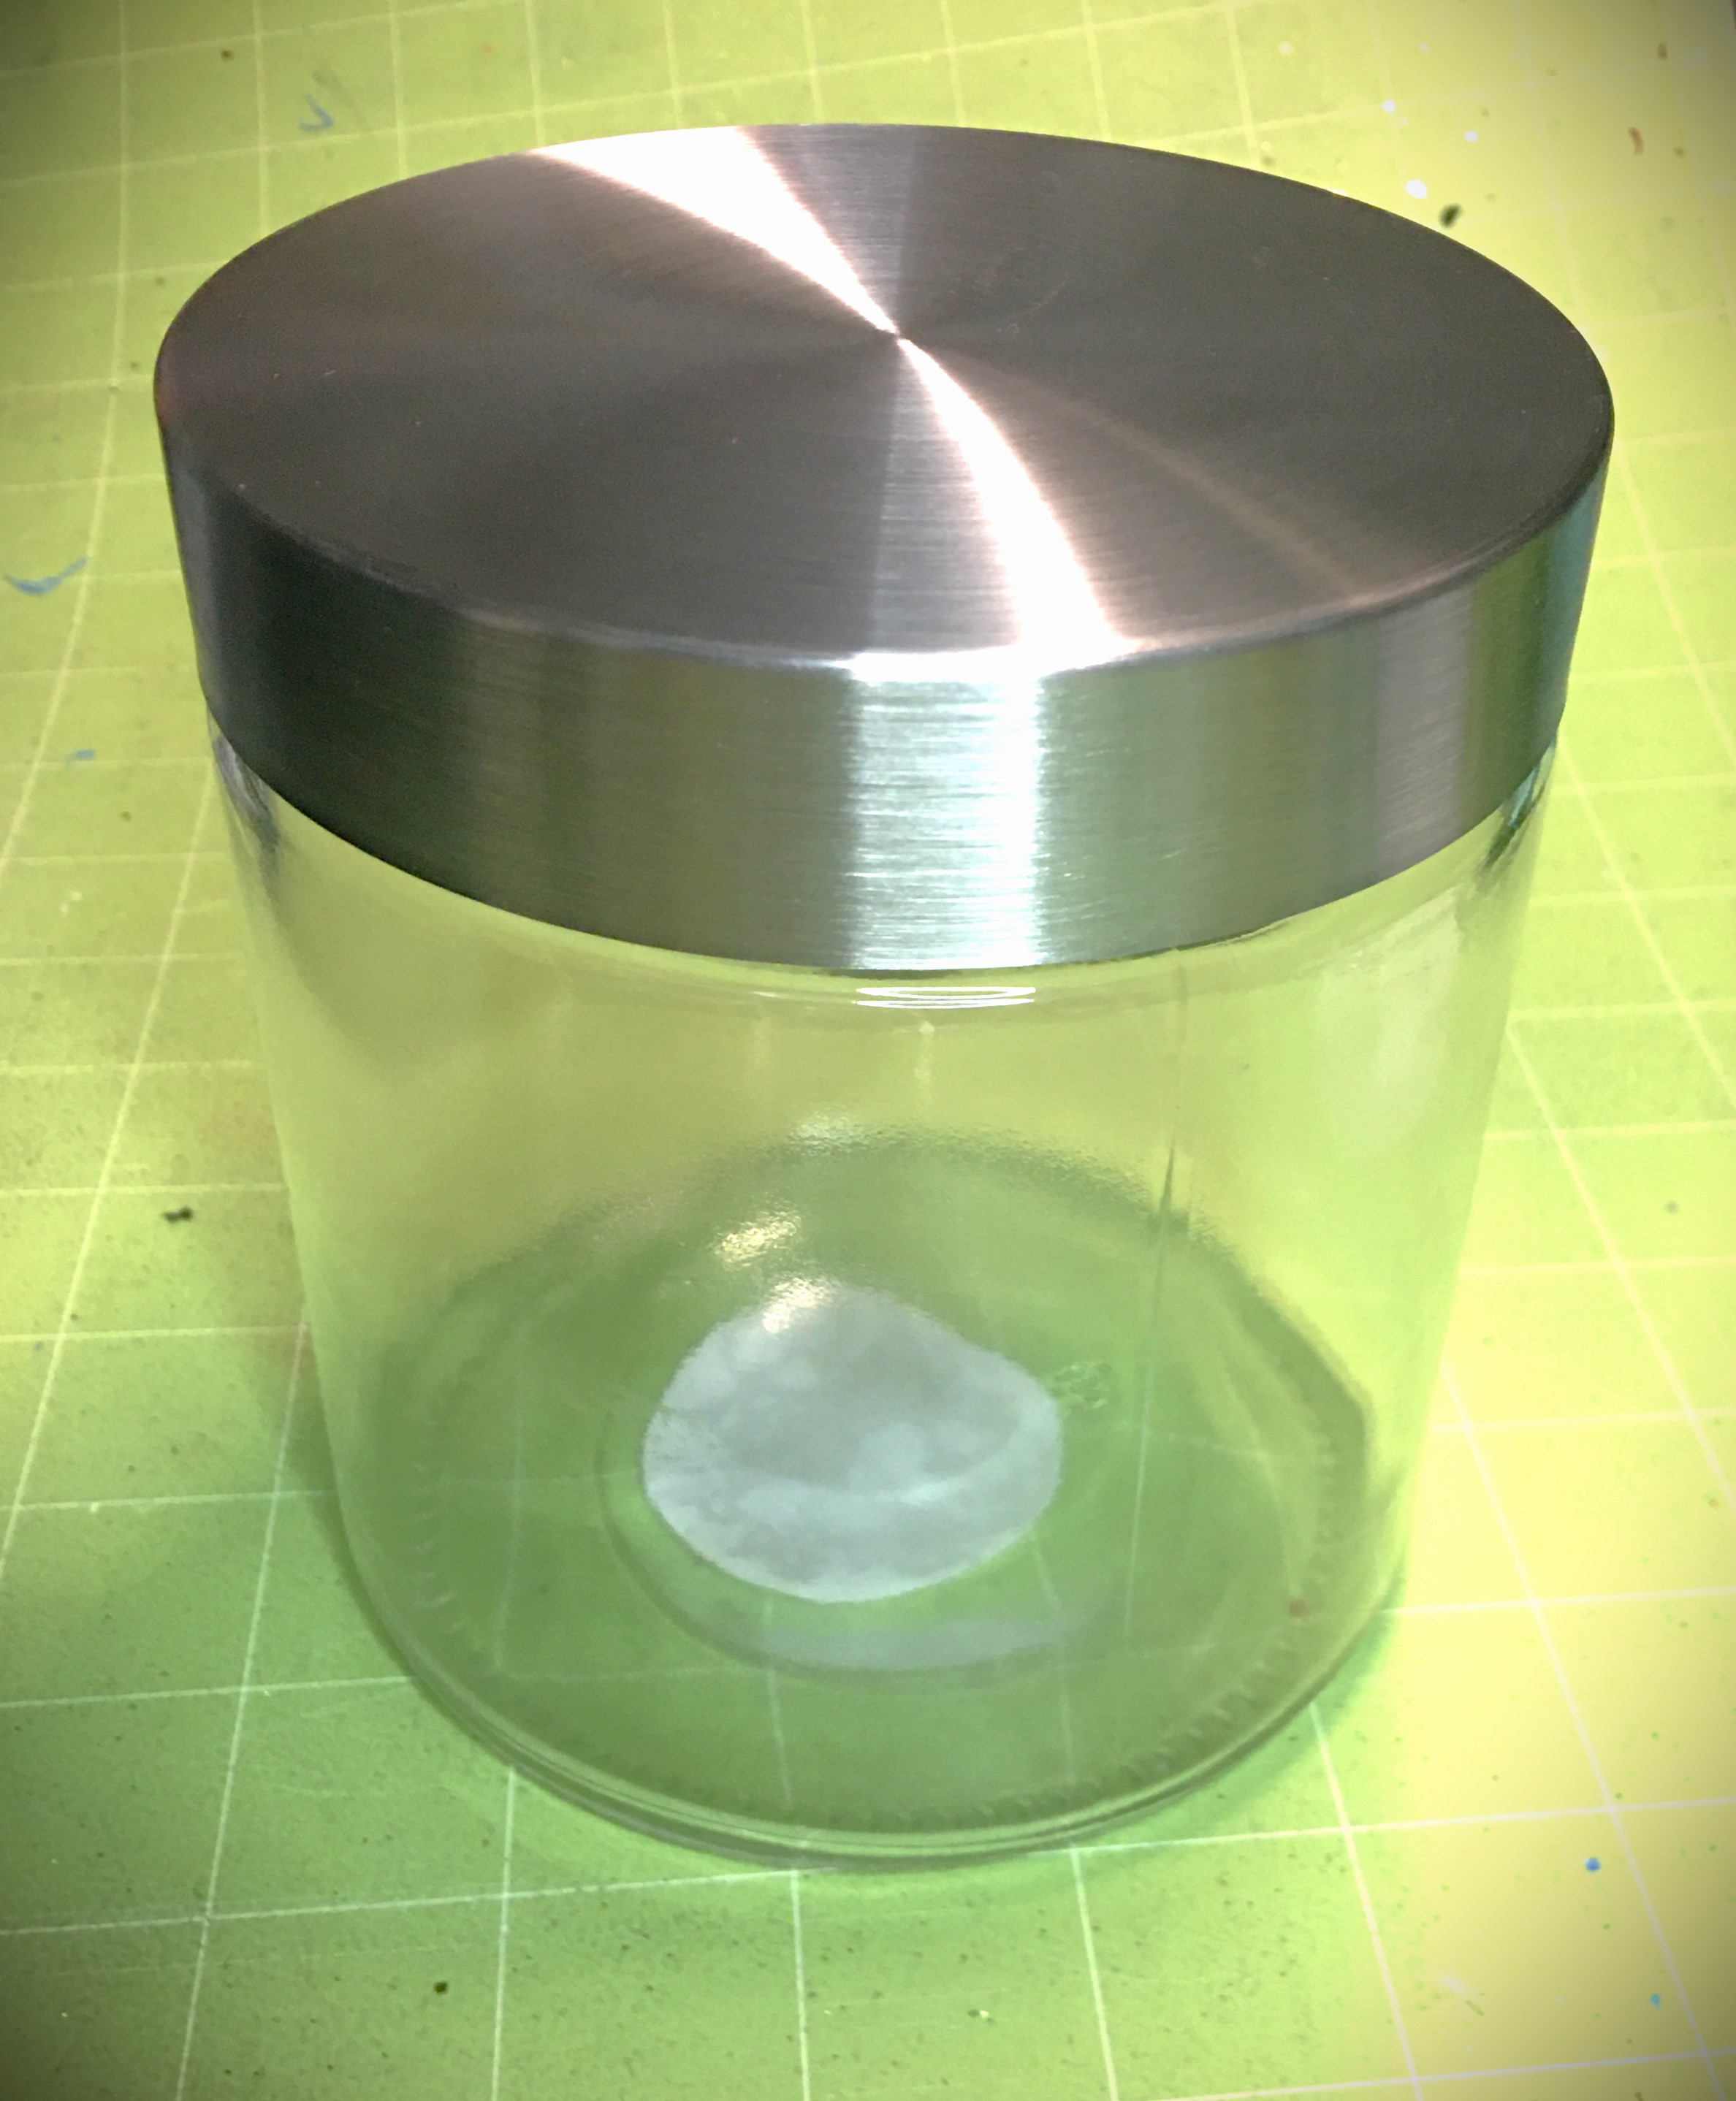
Clear Glass Cylinder Container (with lid)
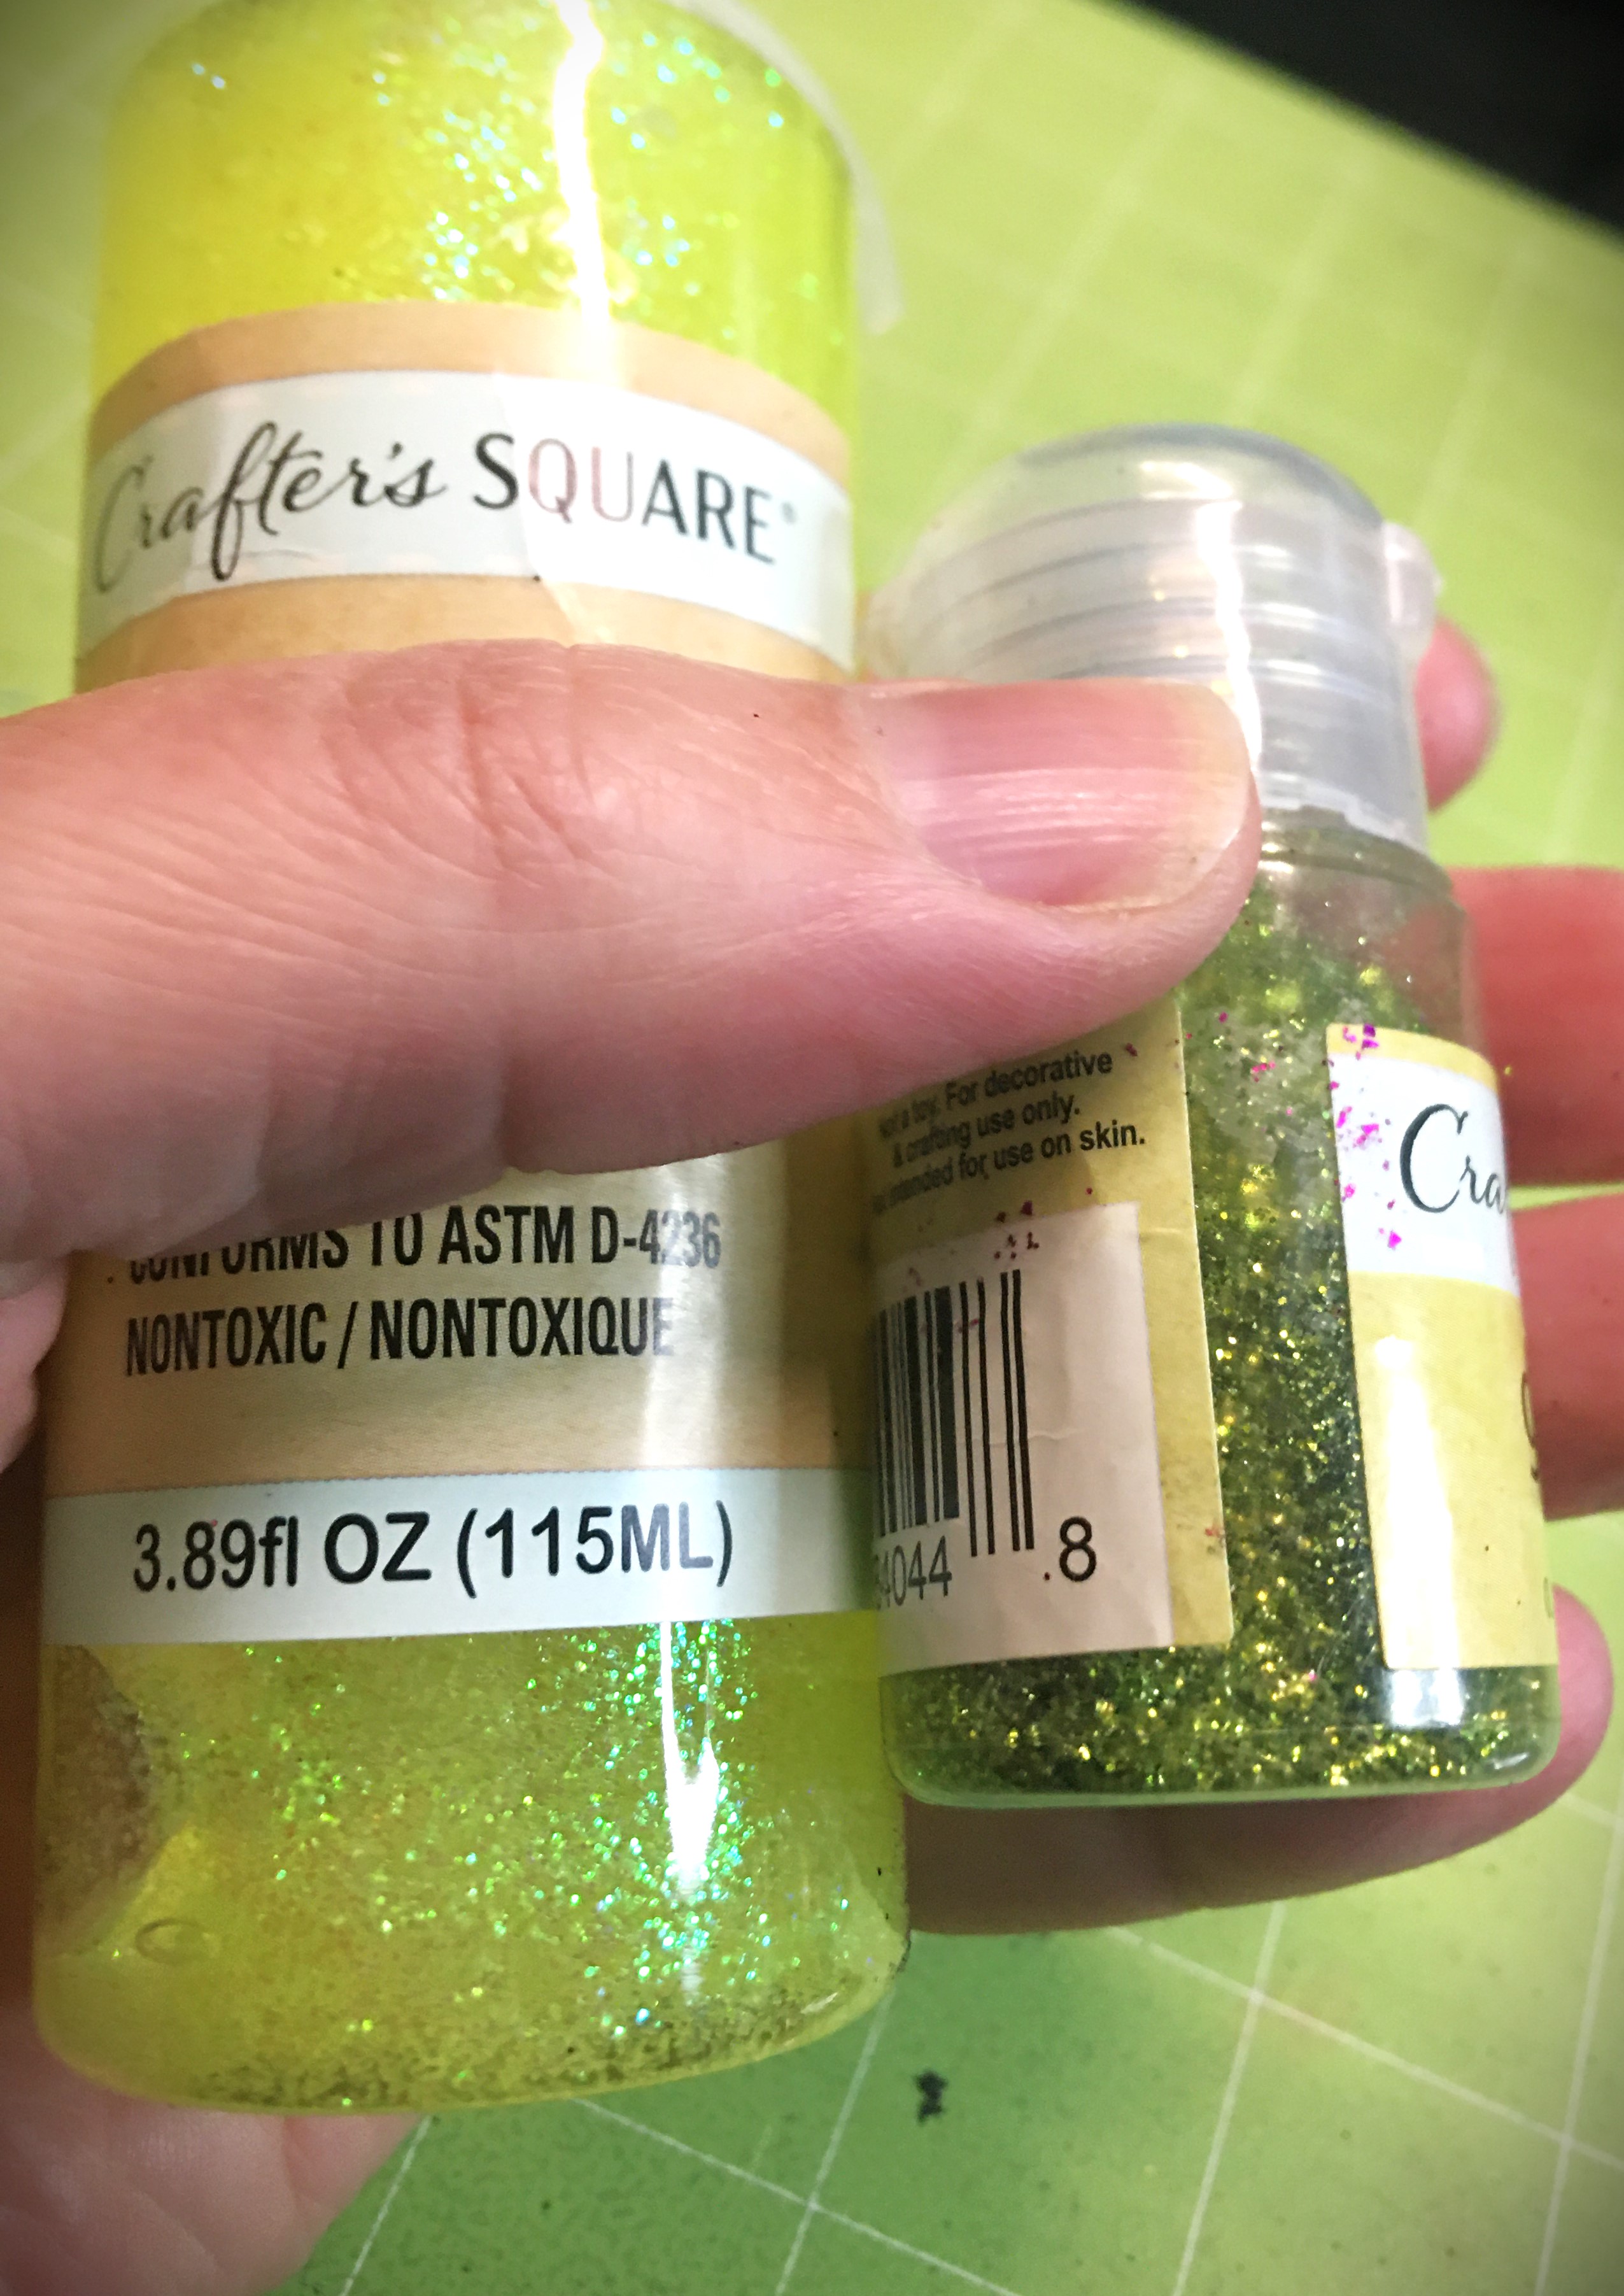
Glitter (color of choice)
Glitter Glue (complementary color)
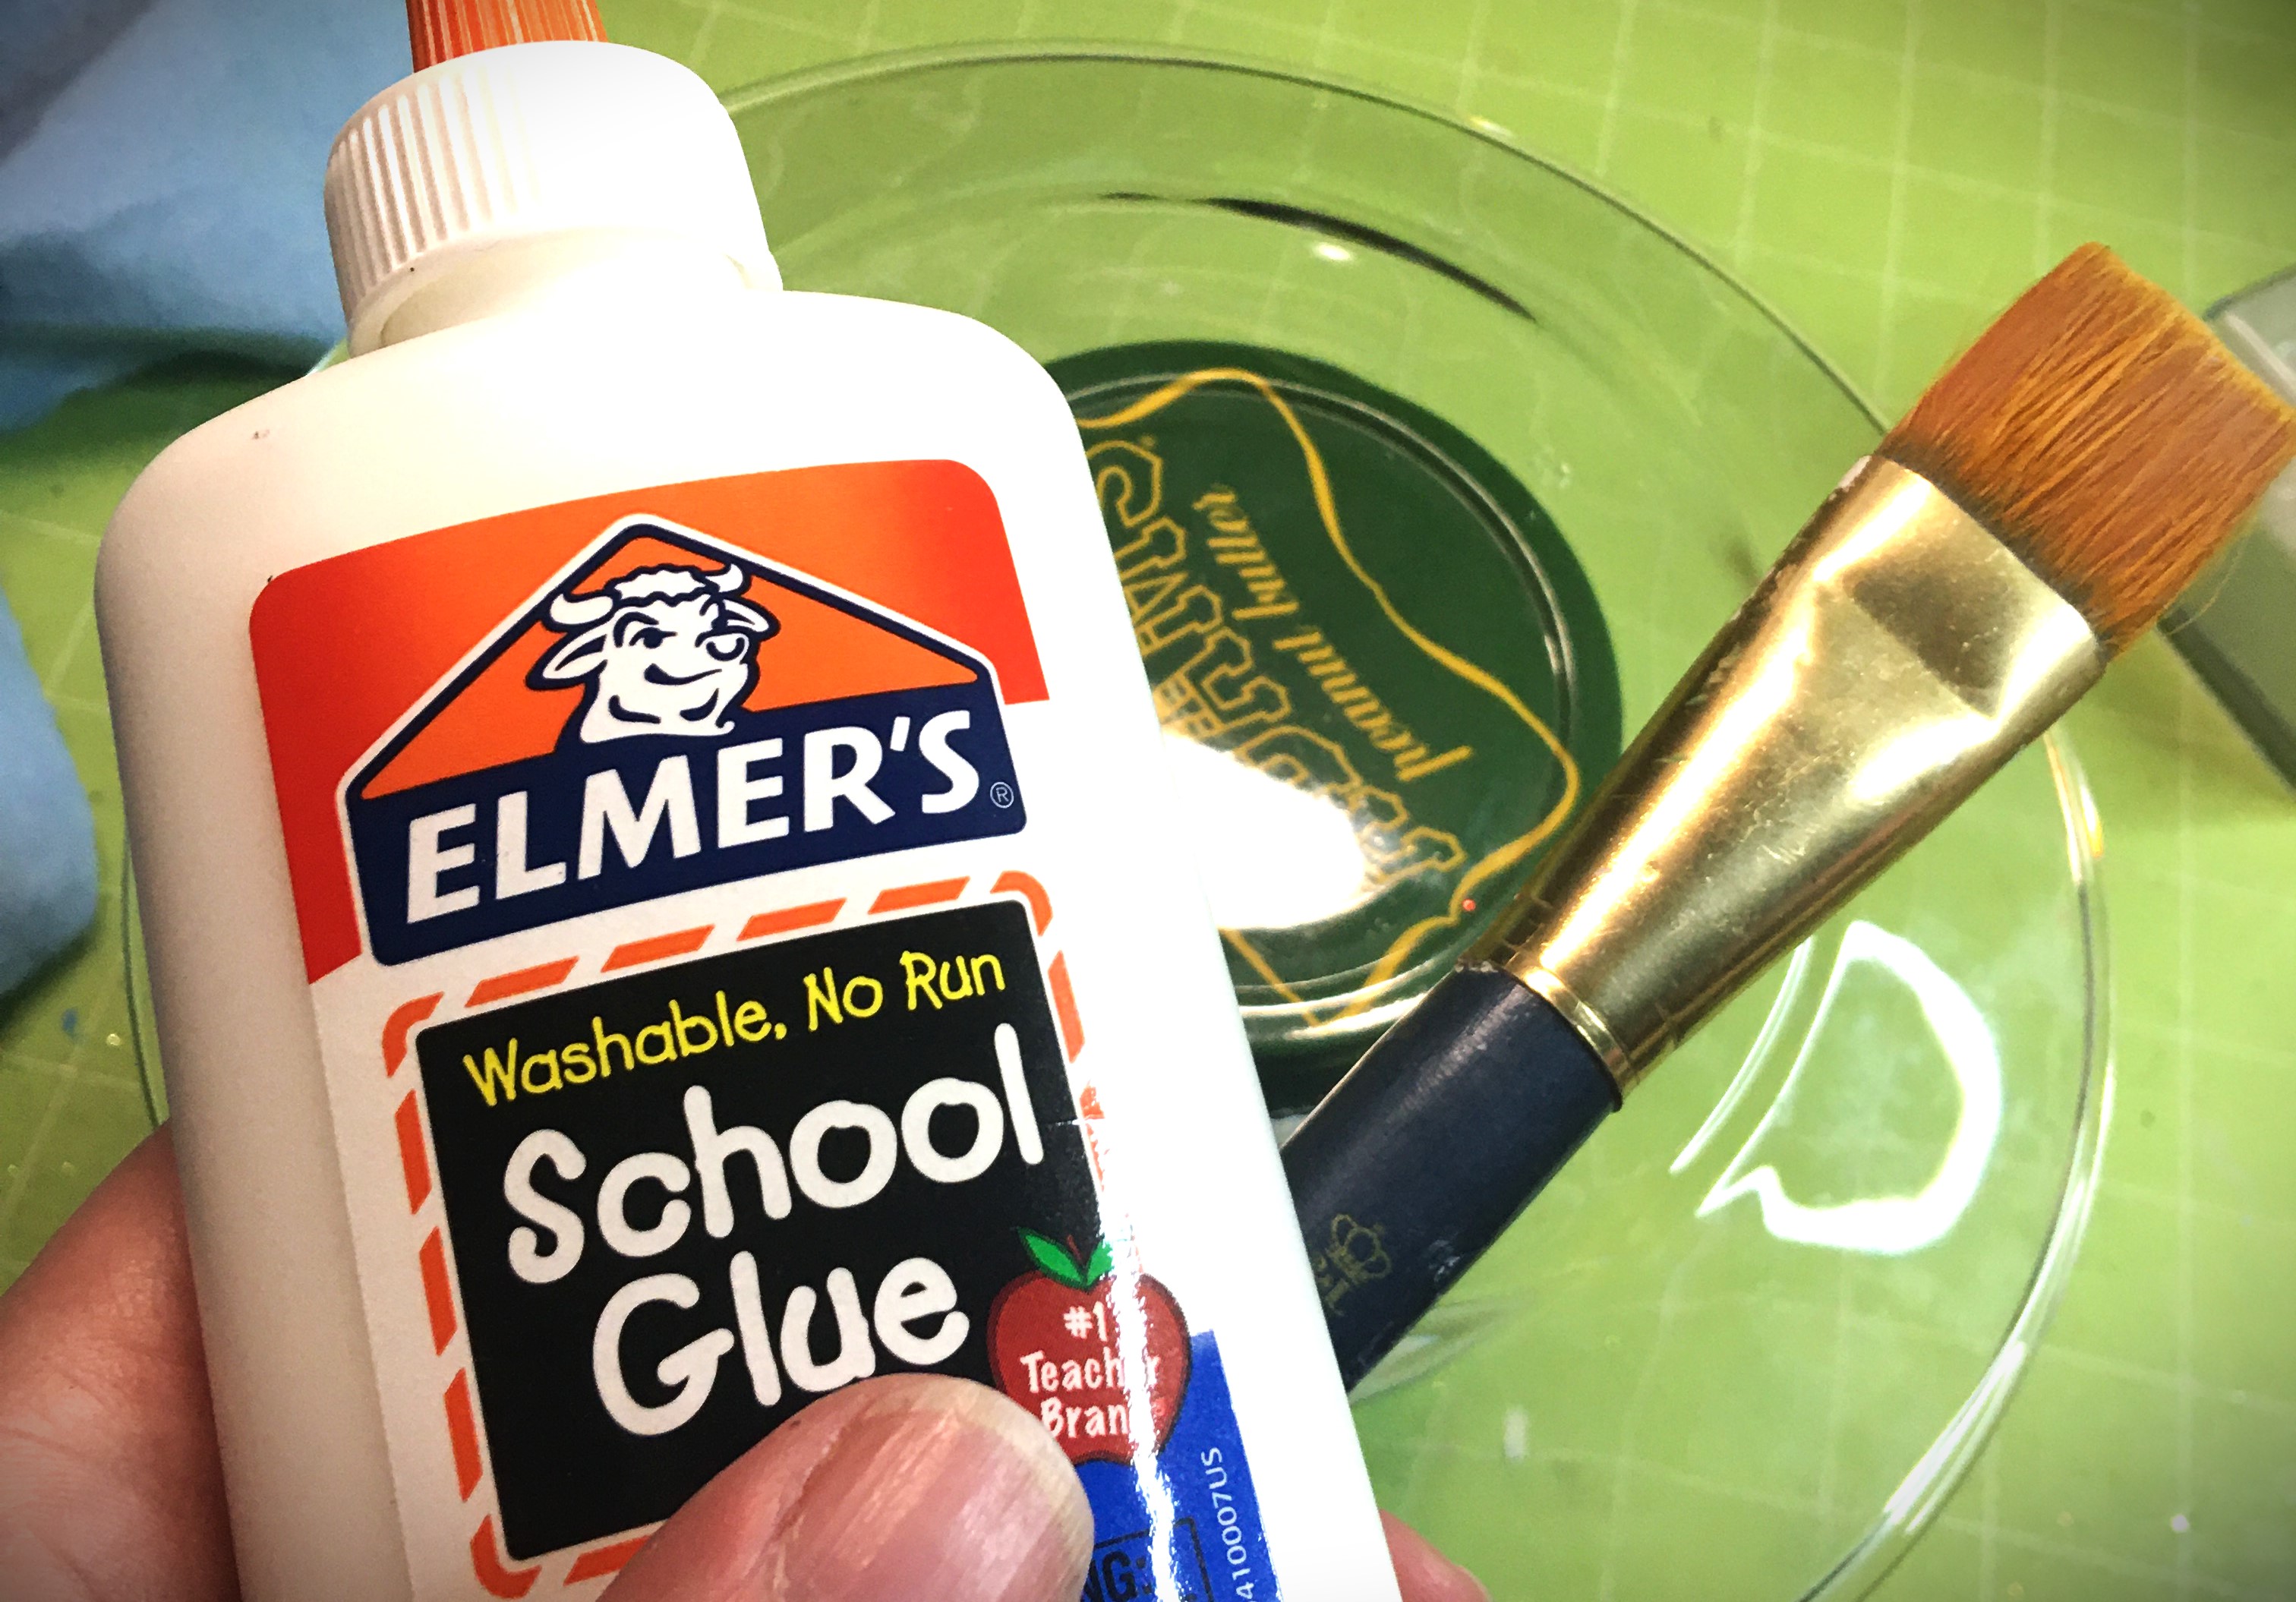
Elmer’s Glue
Paint Brush
Paper and Wire Decor Eggs
Tall Candles (colors of choice)
Fairy Lights (optional)
Polycyclic or Clear Acrylic Spray Paint (optional)
Vinyl Decals/Stickers (optional)
Silk Flowers (optional)
Everything you see here I sourced at my local dollar store, with the exception of my Elmer’s glue and polycyclic. Hello mom of young children here! I found that I’m least likely to cry with accidents when I buy things from the dollar store. And accidents happen.
Advertisements
Let’s Make It
Jar Stand
This one is a multifunctional component. I’m showing you how this holds a decor item, the paper and wire eggs. Instead of the eggs, you can use the plate for treats. Or you can set the plate aside and use the jar as a plate holder for part of your Easter Brunch.
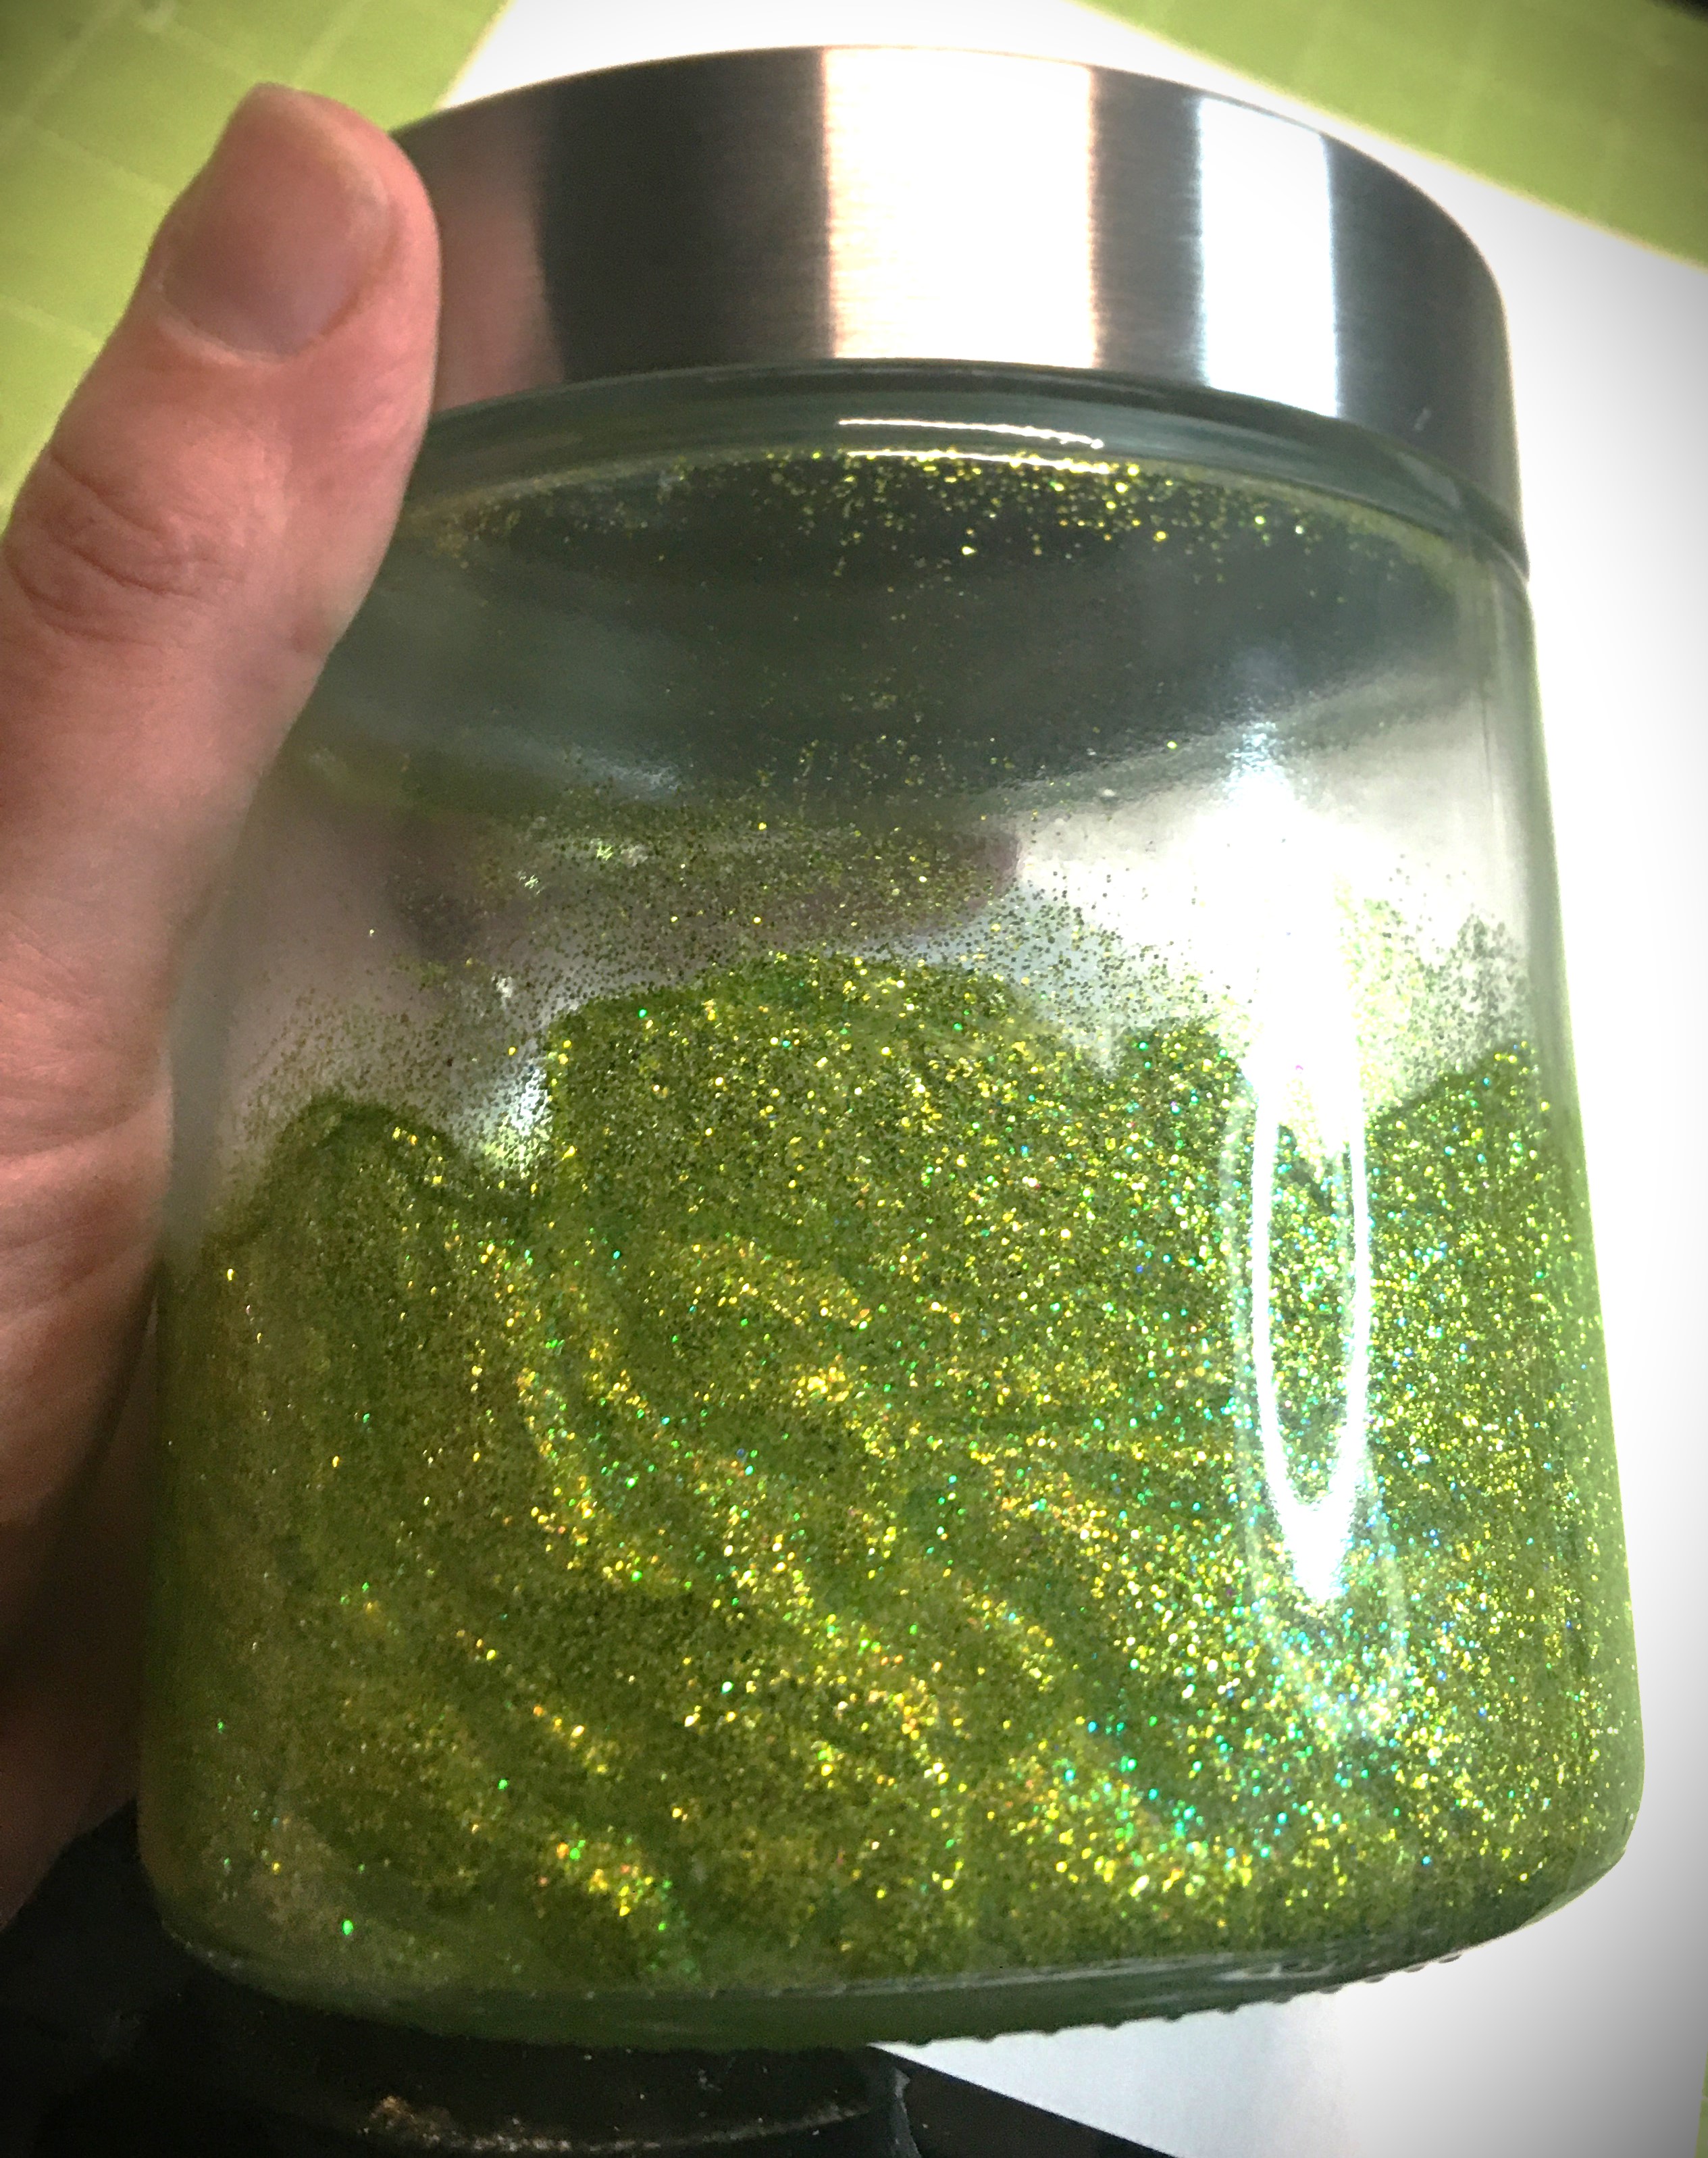
Inside the glass jar paint in your glue in the bottom portion of the jar. I used a yellow glitter glue to complement the green glitter. When using glitter glue, it’s important to pat the glue on your project and not paint it on. This type of glue does not have the holding power that Elmer’s glue has. I chose to stop the glue a little over halfway up the jar and stroke upwards to create a grass like effect. If you want to use Elmer’s glue you’ll have a little better control over the glue and a quicker dry time. Just make sure to add a little secondary color of glitter into your original glitter choice. This will give dimension to your color and keep it from becoming flat looking.
Dump a good portion of glitter into the bottom of your jar and swirl it around on top of the glue. For the sides of the jar, I turned and tilted the glitter from the bottom of the jar down toward the mouth. I also hit the sides as I turned the jar, so that with it came to knock out all the excess glitter, there was very little that came out.
Allow to thoroughly dry.
You may find that you need a dry loose bristle brush to brush out some stray glitterthat likes to stick to the clear glass.
Advertisements
Egg/Treat Plate
In order to keep this plate safe for treats, make sure to apply the glitter to the underside of the plate. This makes the face hand washable.
Apply a thin layer of Elmer’s glue to the area of the plate that you want to add the glitter. For me, I love the silver coloring of my jar’s lid and want that to shine up through the bottom of the plate. So I only applied glue to the lip of the plate.
Sprinkle glitter over the wet glue. The more thorough you are on the shaking off of excess glitter makes the final step easier to apply without lifting the glitter.
Once the Elmer’s glue is dry, seal in the glitter with polyclinicsealant or clear acrylic spray. This is an important step if you want to make sure that you won’t leave glitter trails when handling the plate. If you choose to use polycyclic, you want to tap the sealant on instead of brushing. Brushing actually ends up stripping glitter off of the glass. If you tap it on, the only glitter that comes off is whatever is loose to start with. If you’re like me and want to minimize the amount of glitter loss, clear acrylic spray is perfect. There is no loss. Plus the acrylic spray has the additional bonus of retaining the sparkle of the glitter more.
Allow to thoroughly dry.
Advertisements
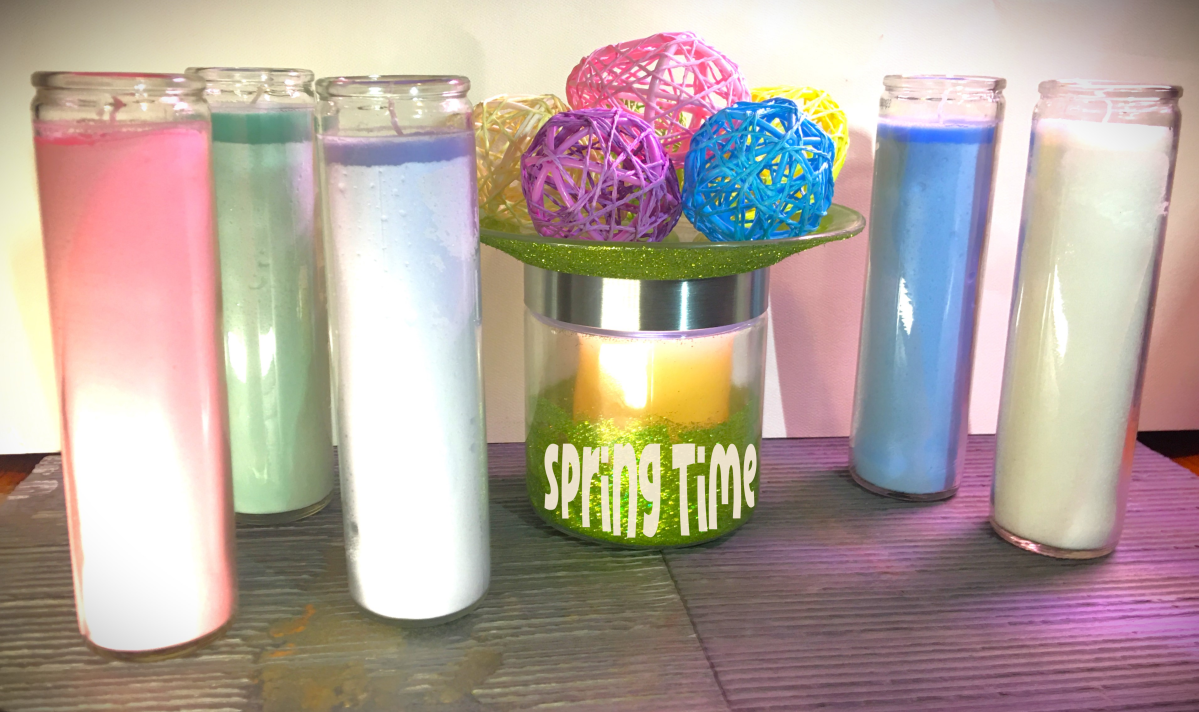
Assemble the Accessories
For my display I chose to go with the multi colored paper and wire eggs and different pastel colors of tall candles. This is where even more personalization can happen. If you have rattan balls, you can use those here and keep with white candles to keep a clean minimalistic look. (In this instance a white frosted paint or white glitter might be your choice of decorating the jar and plate.)
For the candles, if you choose to go the color route, you can mute the colors by frosting the outside of the glass.
Or perhaps you have ribbon from other decor you already have up. You can hot glue a band of that ribbon around the candle.
For this set, I’m going to apply vinyl decals onto the glass. Also I’ll apply a decal on the jar.
Coming back to the jar, you might choose to further decorate the inside. Perhaps you want to add battery powered tea or short pillar lights. Maybe you love fairy lights. (For this one I would recommend hot gluing the switch the bottom side of the lid. This allows you to turn on the light just by lifting the lid and not having to fish for the switch on the bottom of the jar.) You could be a flower person. You could arrange your favorite silk flowers inside. Combined with fairy lights could be very dreamy looking. I think I’m going to have to find where I stashed my silk butterflies. The wing span is about 6″ and I could arrange 1 or 2 butterflies on the inside and have a little whimsy on the inside of my jar.
Advertisements
Put It All Together
Even with all the different ways of personalizing this project, it’s all going to take on a different life depending on how you will set this up. Will you use a colorful table runner? Or maybe you’ll display this set with absolutely no further modification. I can totally see the white frost, rattan balls, white candles set on a reclaimed wood side table.
This year I’m working in concert with others in a garden. (I am so excited for this!) If you’re as busy as I am, you can imagine how quickly things slip through the cracks.
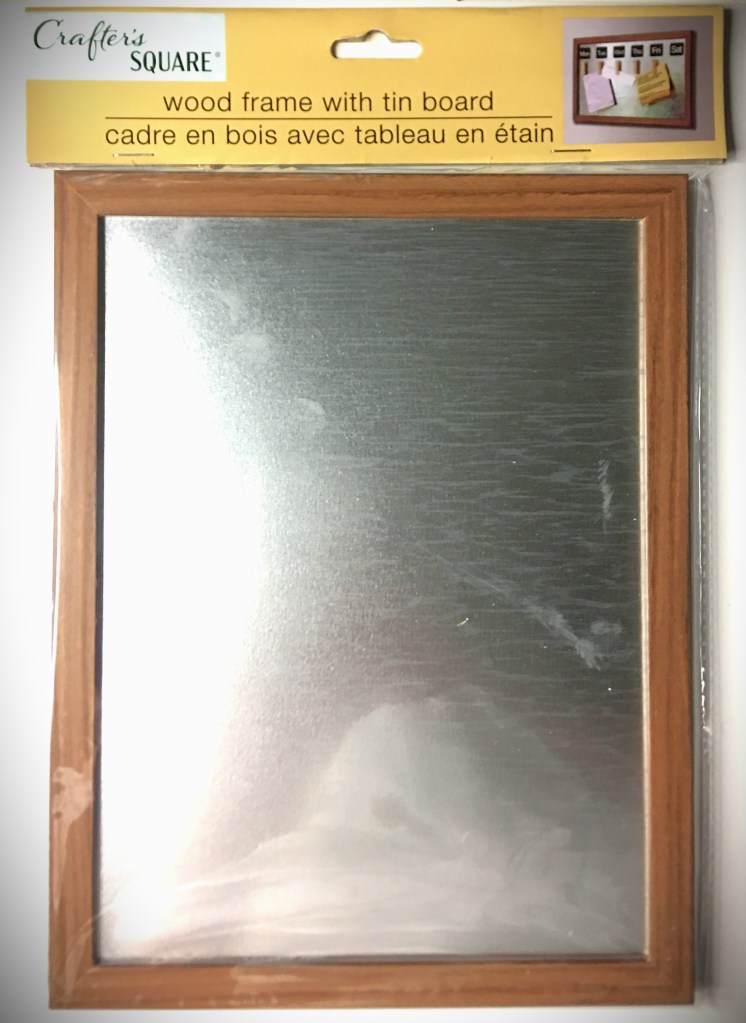
After hitting my local dollar store, I found some pieces that are going to make an inexpensive tool that doubles as home decor, all the while keeping tabs on what’s been done.
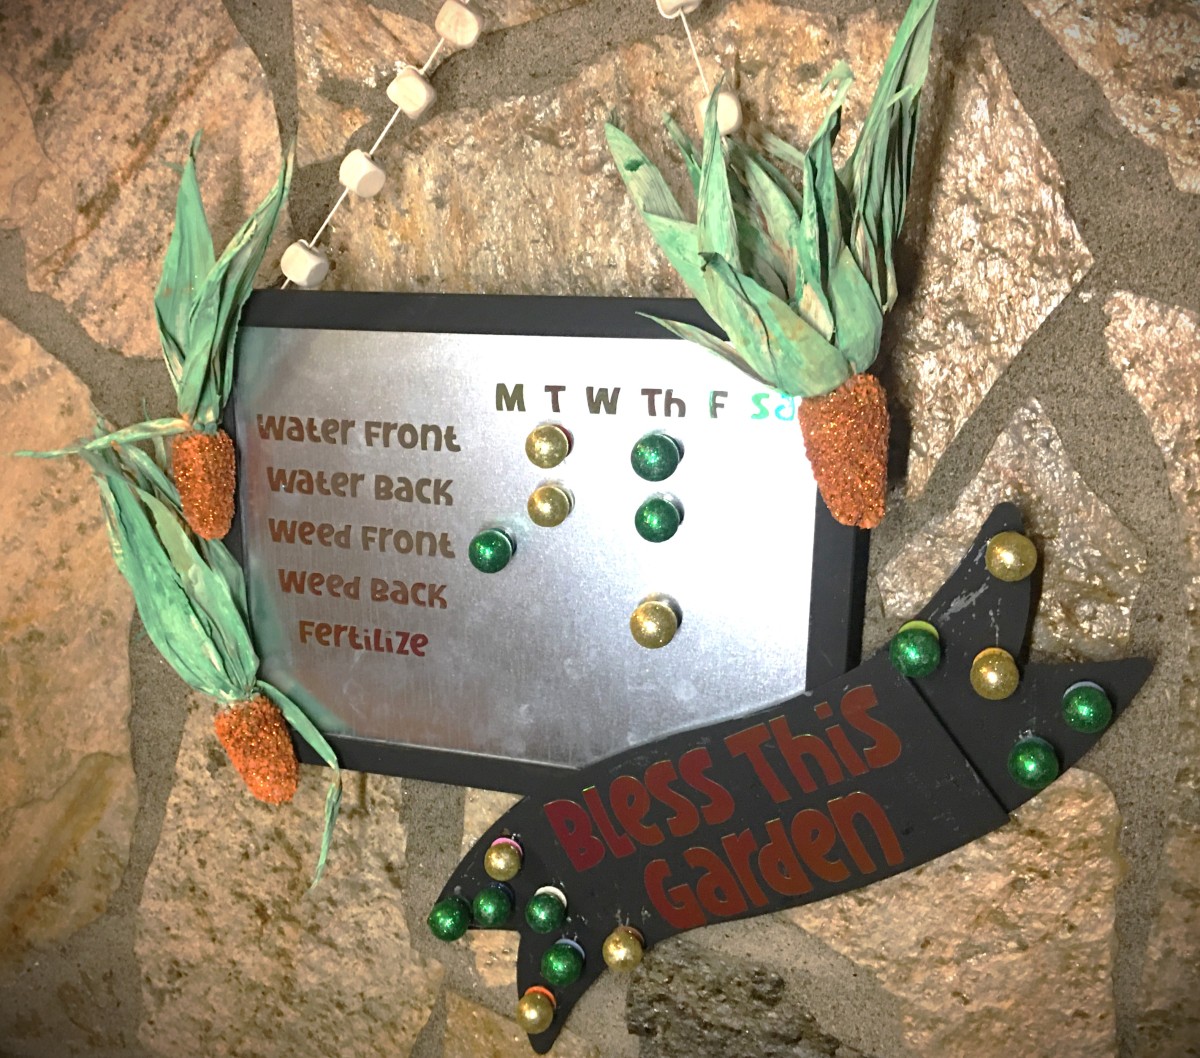
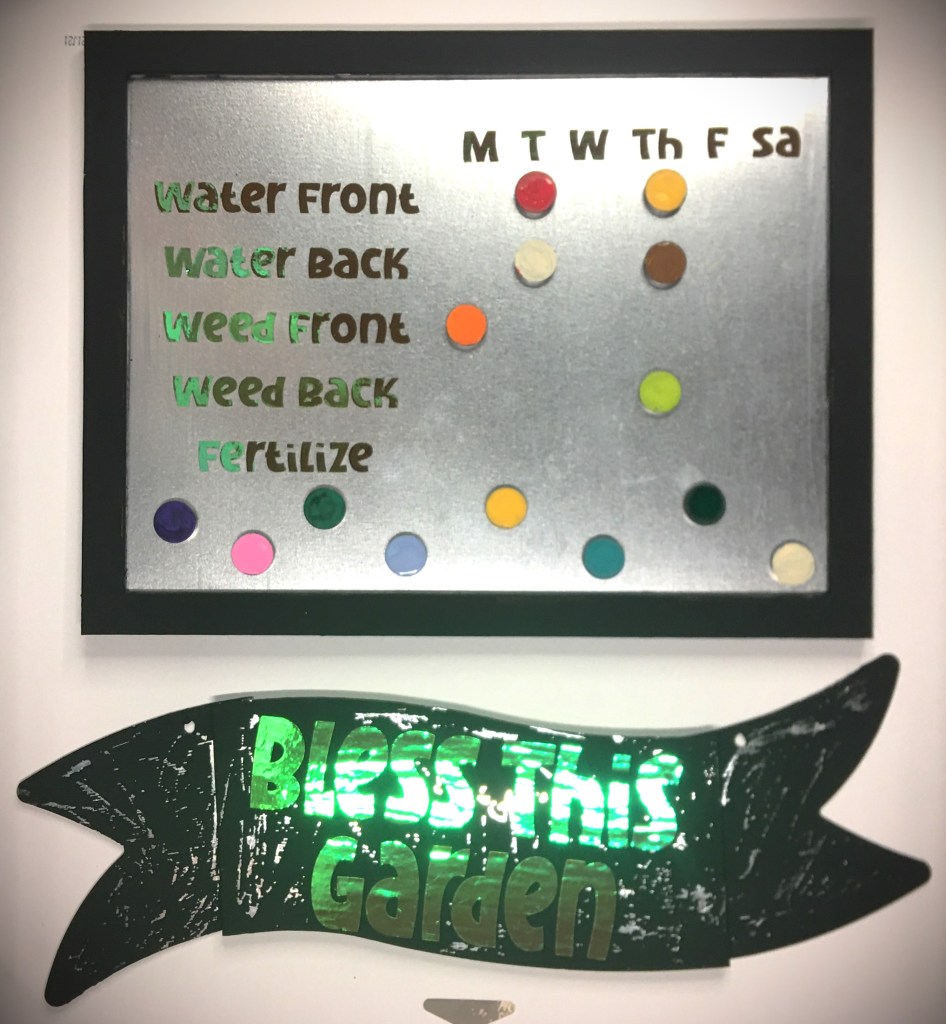
With these I decided to make a magnetic board where anyone tending the garden can quickly mark what they did.
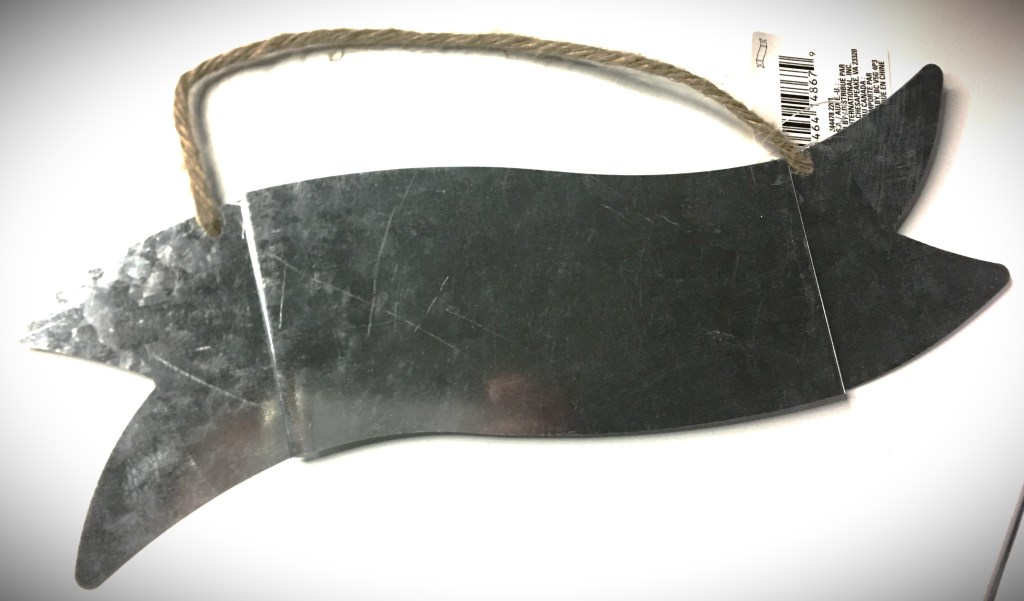
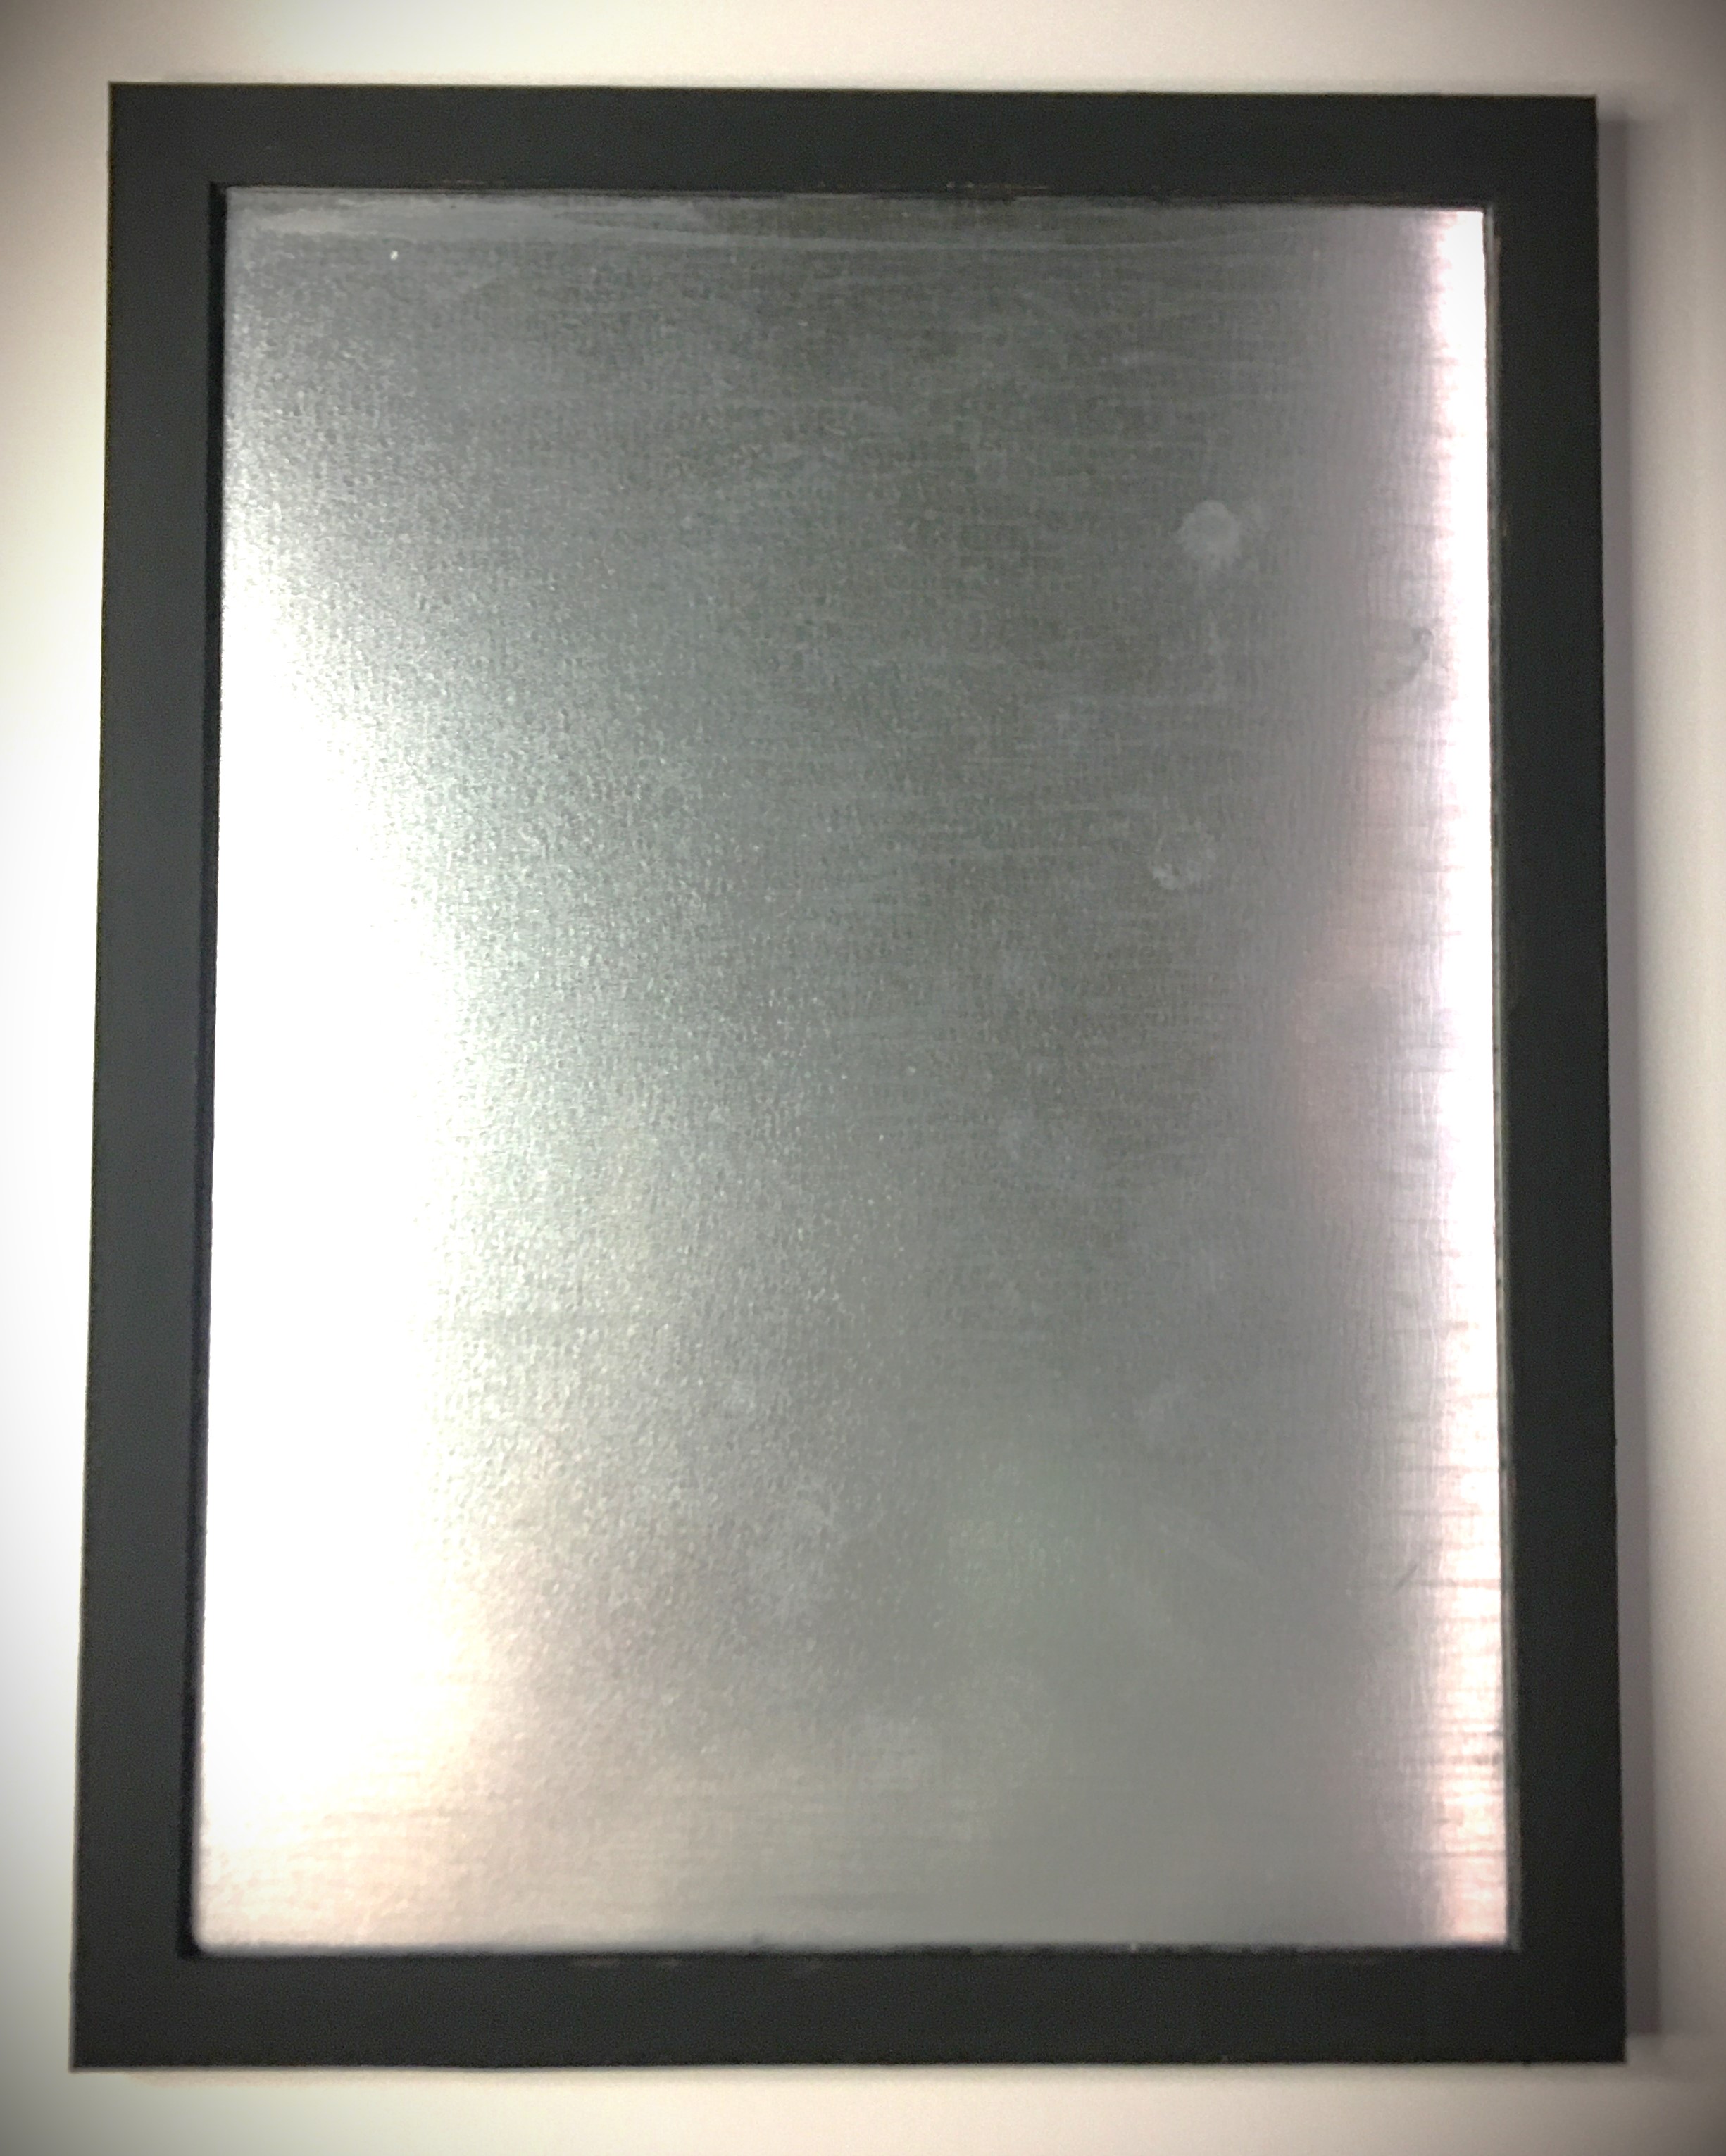
I know the galvanized finish tends to overtake everything. So with the galvanized frame and banner, everything gets lost real quick. Not to mention that the frame was a really bad fake wood. To dress all this up a bit and minimize the galvanized look, I painted the frame and banner black.
I forgot to take a picture of the banner painted in flat black chalk paint (the same paint as the frame). It looked too minimalistic for my taste, so I took the transfer tape (which I used to apply the vinyl text) and put it straight onto the paint. Some places lifted the paint quite easily. But to get the distressed look, I scratched the tape
The magnets needed a little something extra. There are so many things that could be done. I have children and they’re helping with this garden and they’ll also be marking what we do when we work, so I went into kid zone and painted the magnets with acrylic paint and did all the colors.
If you want to keep minimalistic, pick your favorite color.
Love things that sparkle, glue on gem stones or use glitter.
What about texture? Glue on fuzzy pom poms, baby pine cones, large seeds or nuts… literally whatever catches your imagination. Maybe you have a farm and want to use small farm yard figures and animals. (I wish I had these in my craft room!!!)
Something that is great about using the galvanized banner is that the extra magnets can be kept on the banner so you can add stickers, personalization, more tasks, or a note section in the blank space on the bottom.
And then while typing I decided to go a different direction.
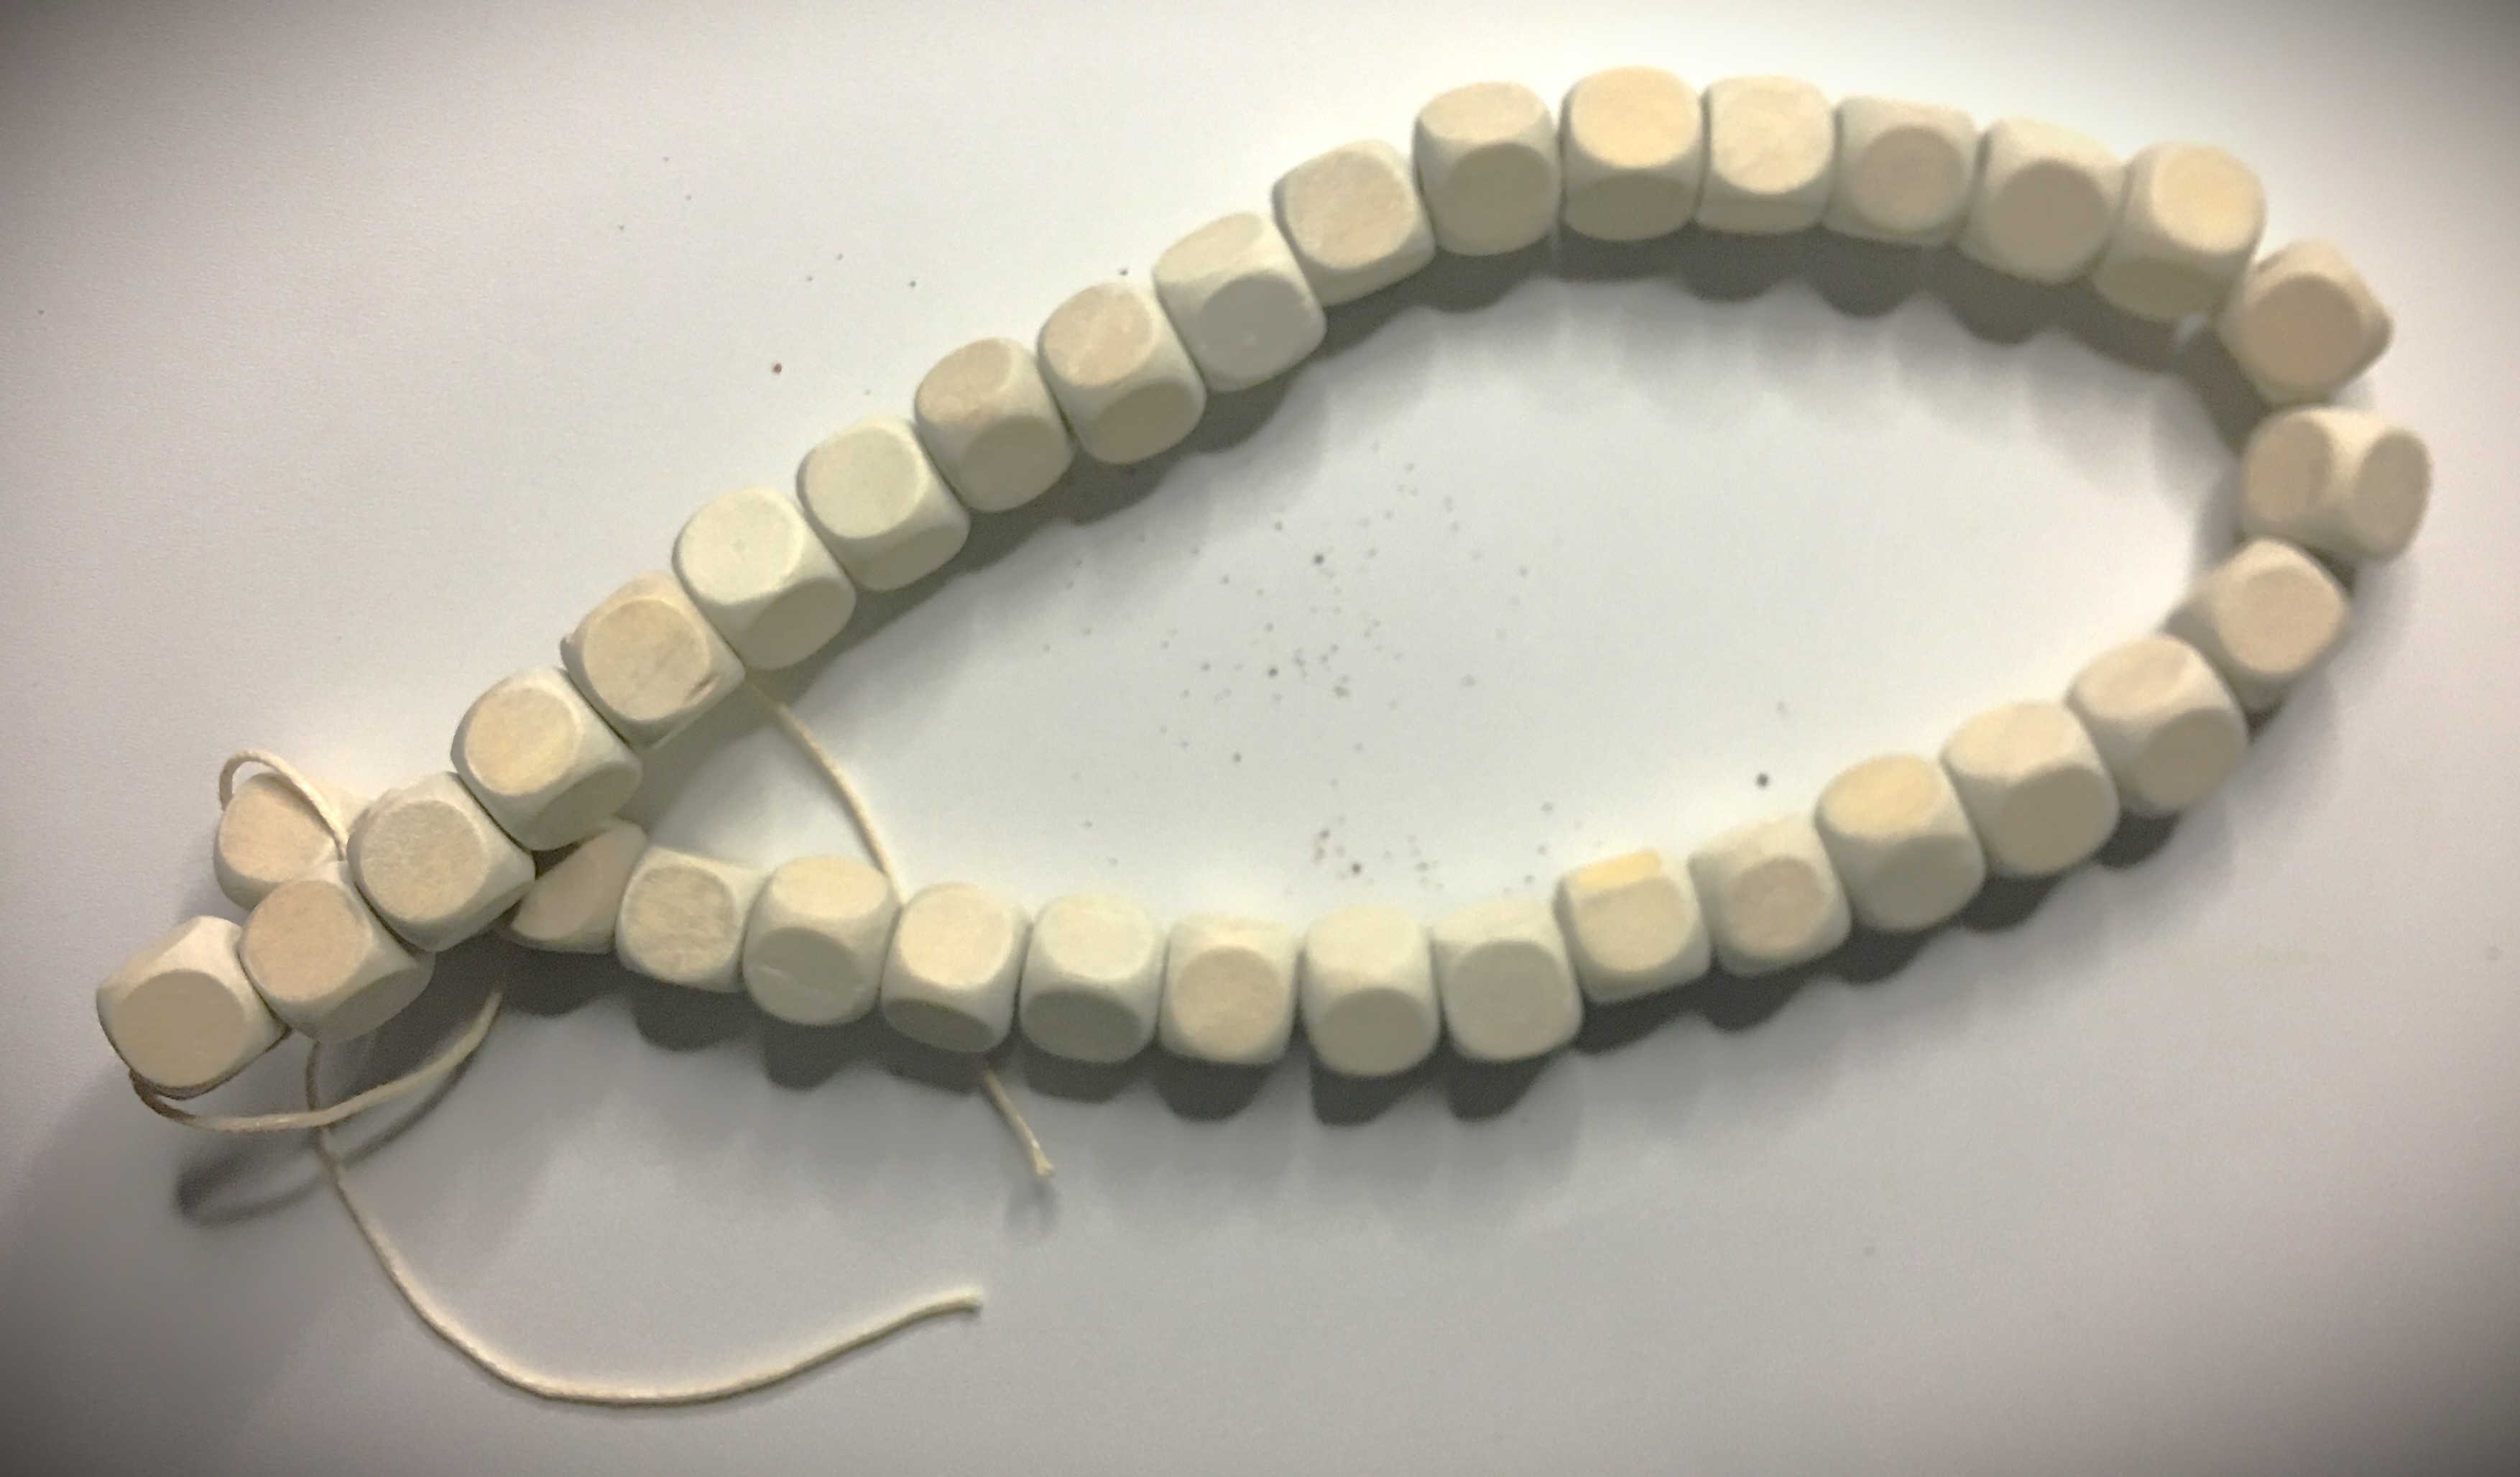
I pulled these out! Last year I made carrots out of my corn cobs. And I brought out the wooden beads from my drawer (which I also got from my local dollar store).
With the beads I removed them all from the string they came on and noted how they tied off the end bead to keep them all on the string. This “knot” that they used was how I spaced the beads further apart on the string.
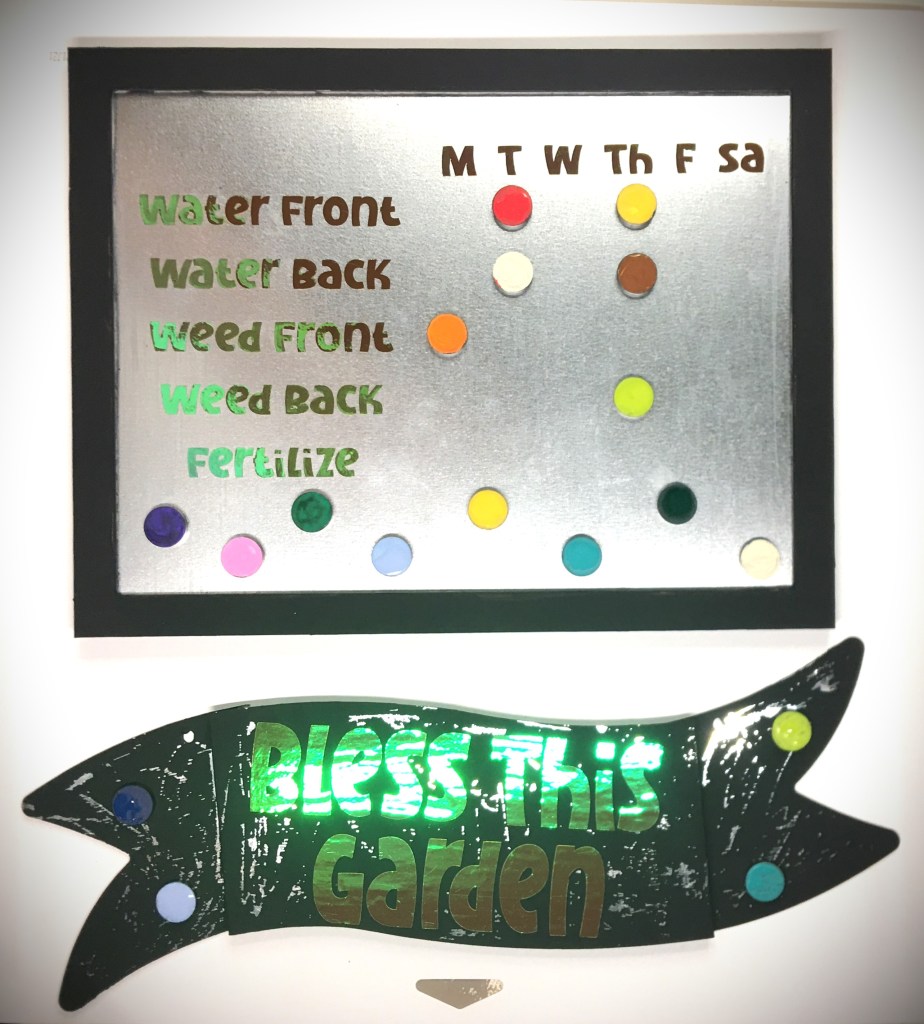
Once I made those changes, the colorful “polka dots” needed to change. The gold and green glitter styrofoam balls simplified the overwhelming colors.
Even with the new modifications hanging, I’m not satisfied with the final color scheme. And sometimes that happens when you’re creating. You start building from the image you see in your head and make a change here or there and an earlier idea you loved just doesn’t work anymore.
The black isn’t working anymore. I loved the idea to begin with because it was a nice basic color that goes with where I was going to hang this. But it’s just not working anymore.
Advertisements
First thing first, I need to lighten up the banner. So I’ll be distressing it heavily so that the majority of the galvanized metal will show through. With the addition of the carrots, which obviously take the spotlight, I can bring out a lot more of that metal and the metal is not going to overtake and make everything else hide.
But before I do that, I need to decide what I’m going to do with the frame and that’s going to take a few days of looking at it to see where I want to go. At the moment, I’m leaning toward the idea of painting on white striped and creating a plaid hand painted design on it. If I go that route, I might keep the banner predominately black still and incorporate that same design element into parts of the banner.
Stay tuned to see what I finally decide!
Advertisements
And I’m going to leave you here in this moment just because sometimes the right thing is to take a step away from a project and let it tumble around in your brain. You don’t always have to have the answer right away. And you don’t always have to have things done in an hour.
Perhaps it’s convenient to have an idea presented to you in a finished state.
But I’m going to leave you here with your own thoughts. Because I know someone has that inner voice screaming, “You need to ____!”
Go ahead and leave that comment below.
Or better yet, use that idea to make your own magnetic board for your daily tasks, your children’s chore board, a classroom helper sign, your regular “Honey Do” list, or that board that I didn’t mention but you just got the idea for.
And when you’re finished, send me a picture so that I can see what you came up with.
This year is an interesting year to go into for Christmas. For some families, they are facing a tight budget and want to still have some wow while still meeting other necessities. Other families have taken the last few years to simplify their homes with a minimalistic look. And yet there are other people you will gift this year who are limited by space, be it home or office.
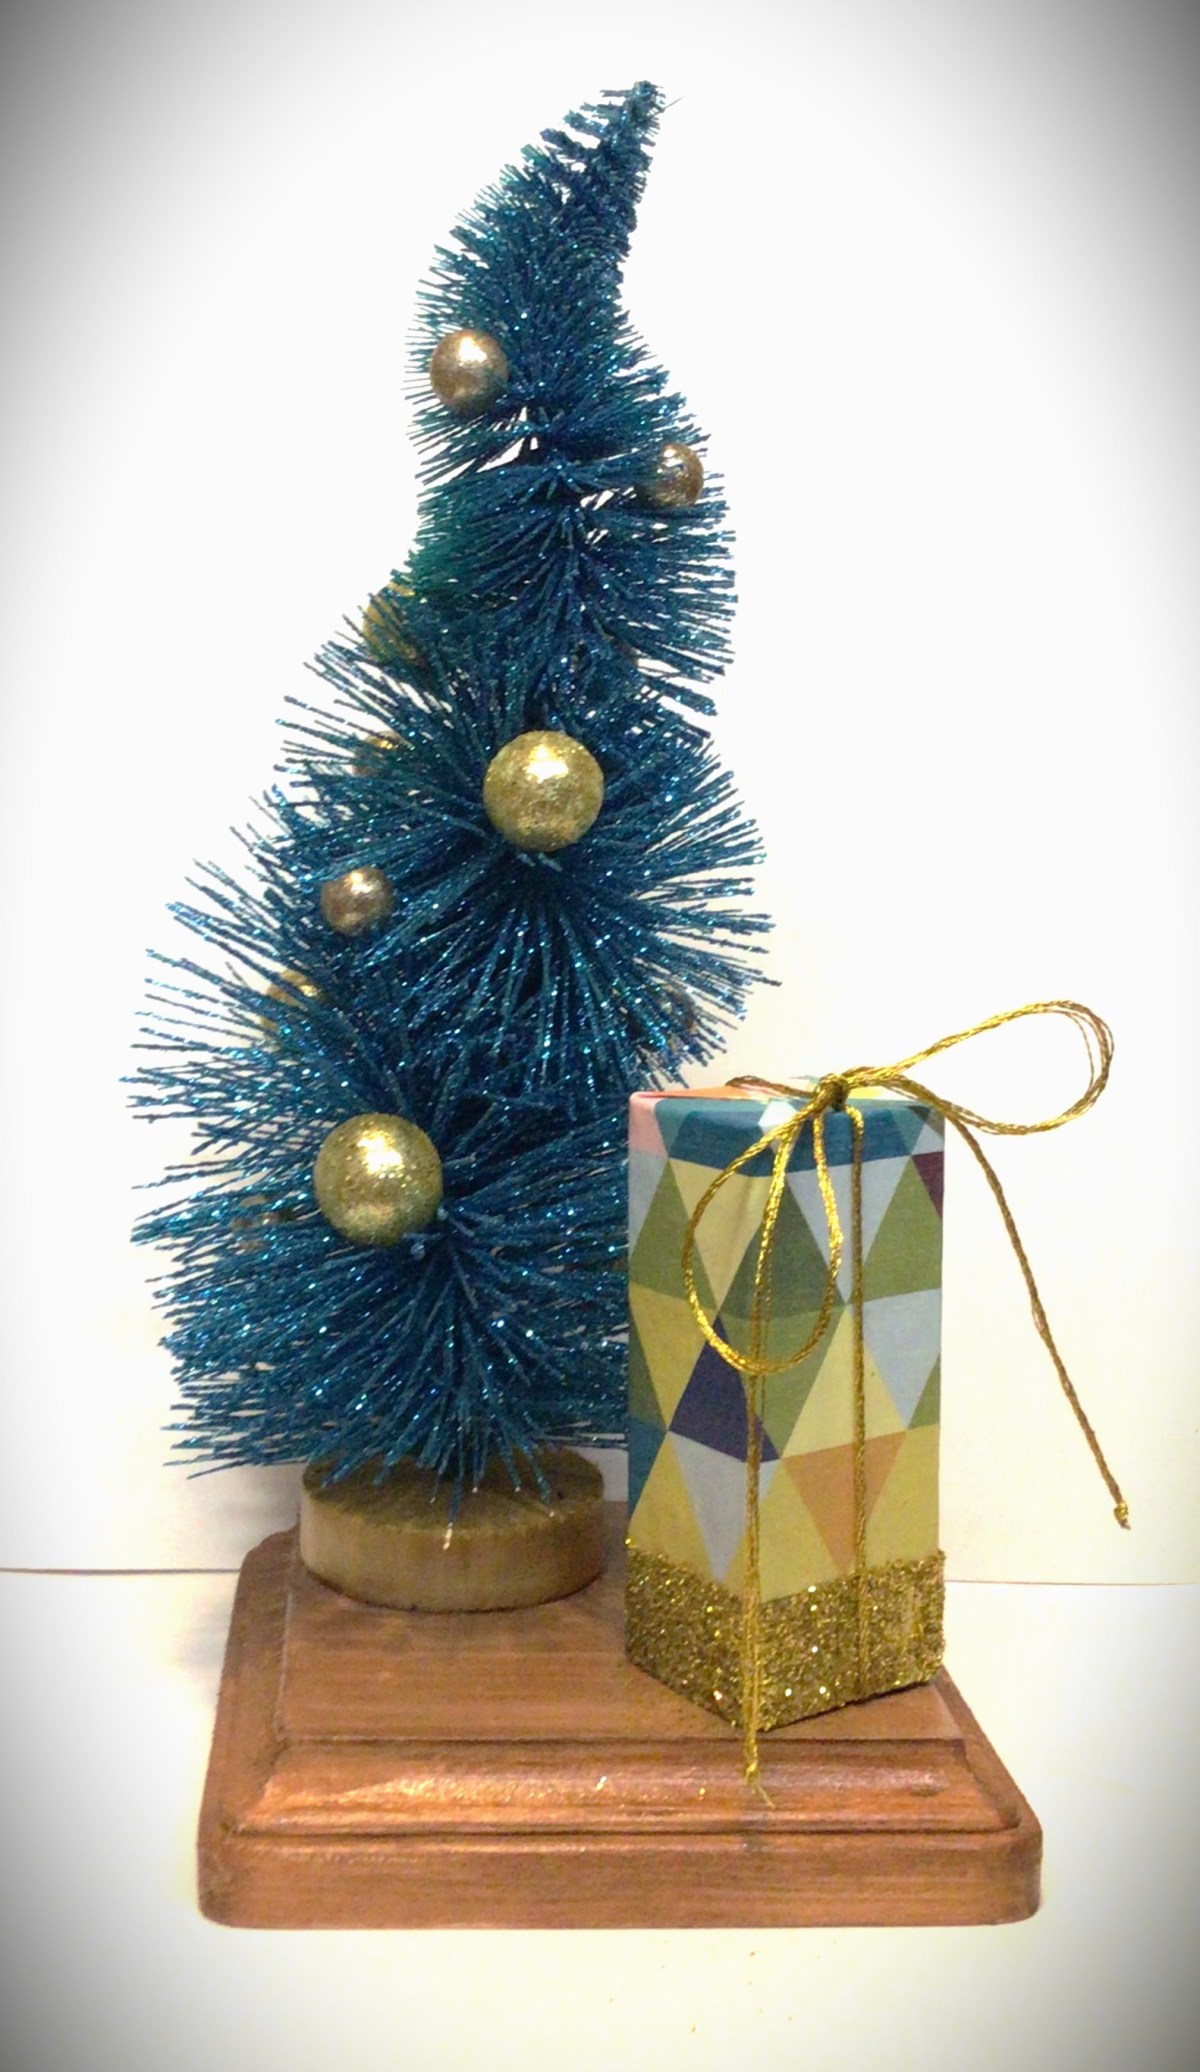
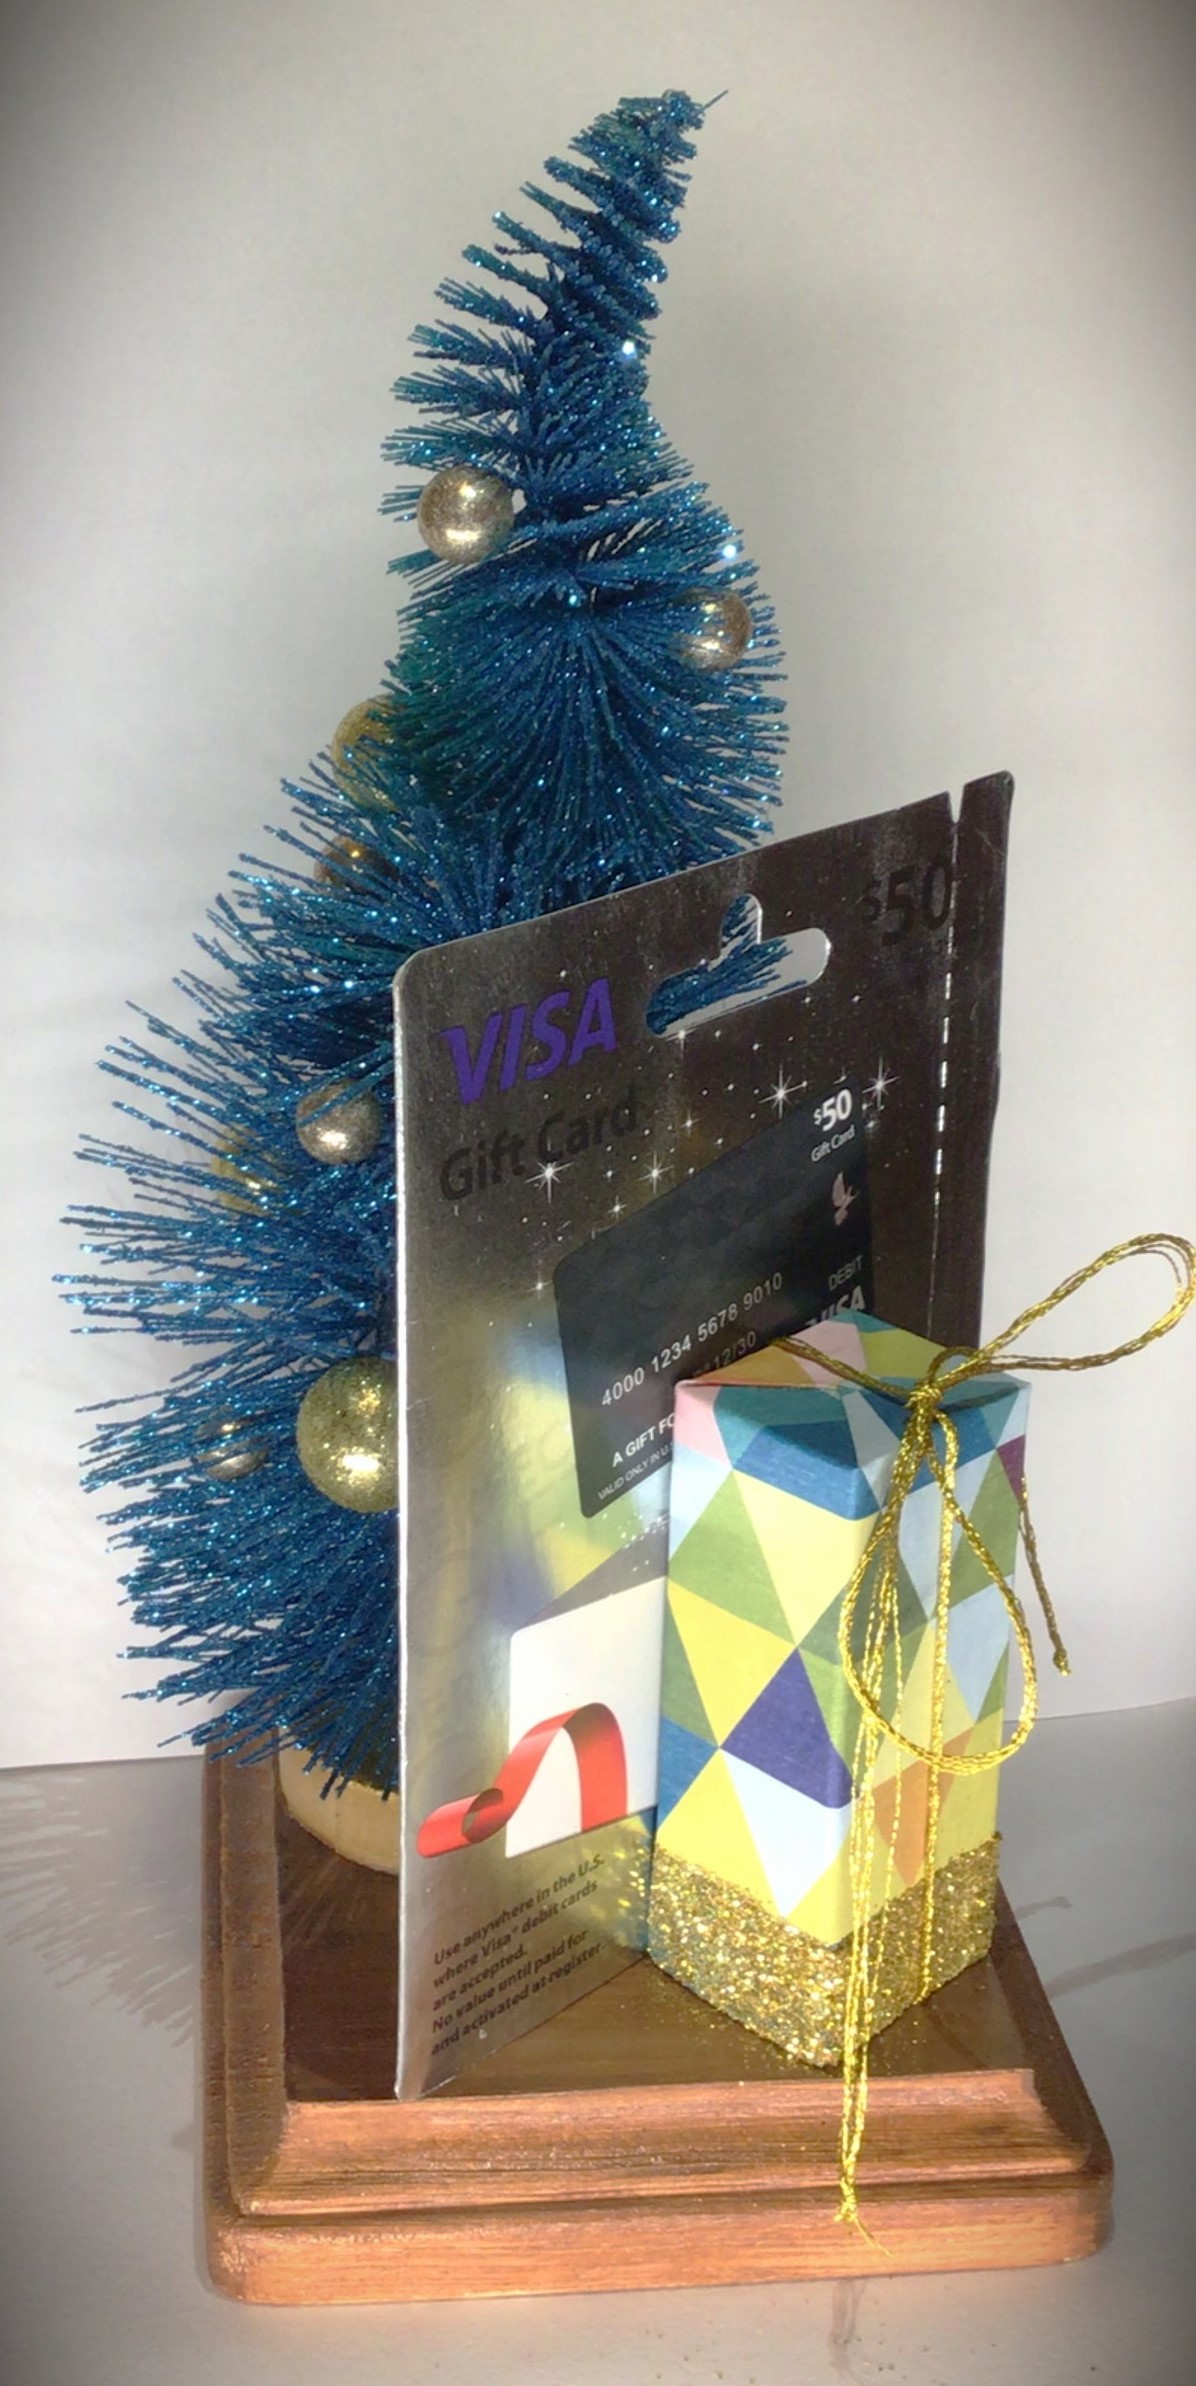
The first gift I want to present to you this year is the Desk Tree.
The beauty of the Desk Tree is that it is minimalistic in design and fits into small spaces at the same time. Not only that, but it is a blank canvas for other ideas that you already have in place for someone on your list. But I’ll come back to all these possibilities in a few moments. As well as the announcement of a special treat!
Let’s Make a Desk Tree
The fundamental components are the base, tree, and present. Everything else is completely customizable and based off of what you can find in your local shops or what you already have in your craft room. This time the only thing I purchased recently was the tree.
Other supplies I had on hand:
acrylic paint
paintbrushes
wood glue
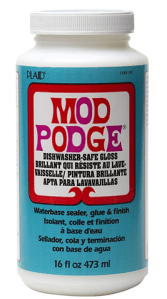
Mod Podge
hot glue gun
clamps
craft paper
glitter
gold embroidery floss
styrofoam balls (different sizes)
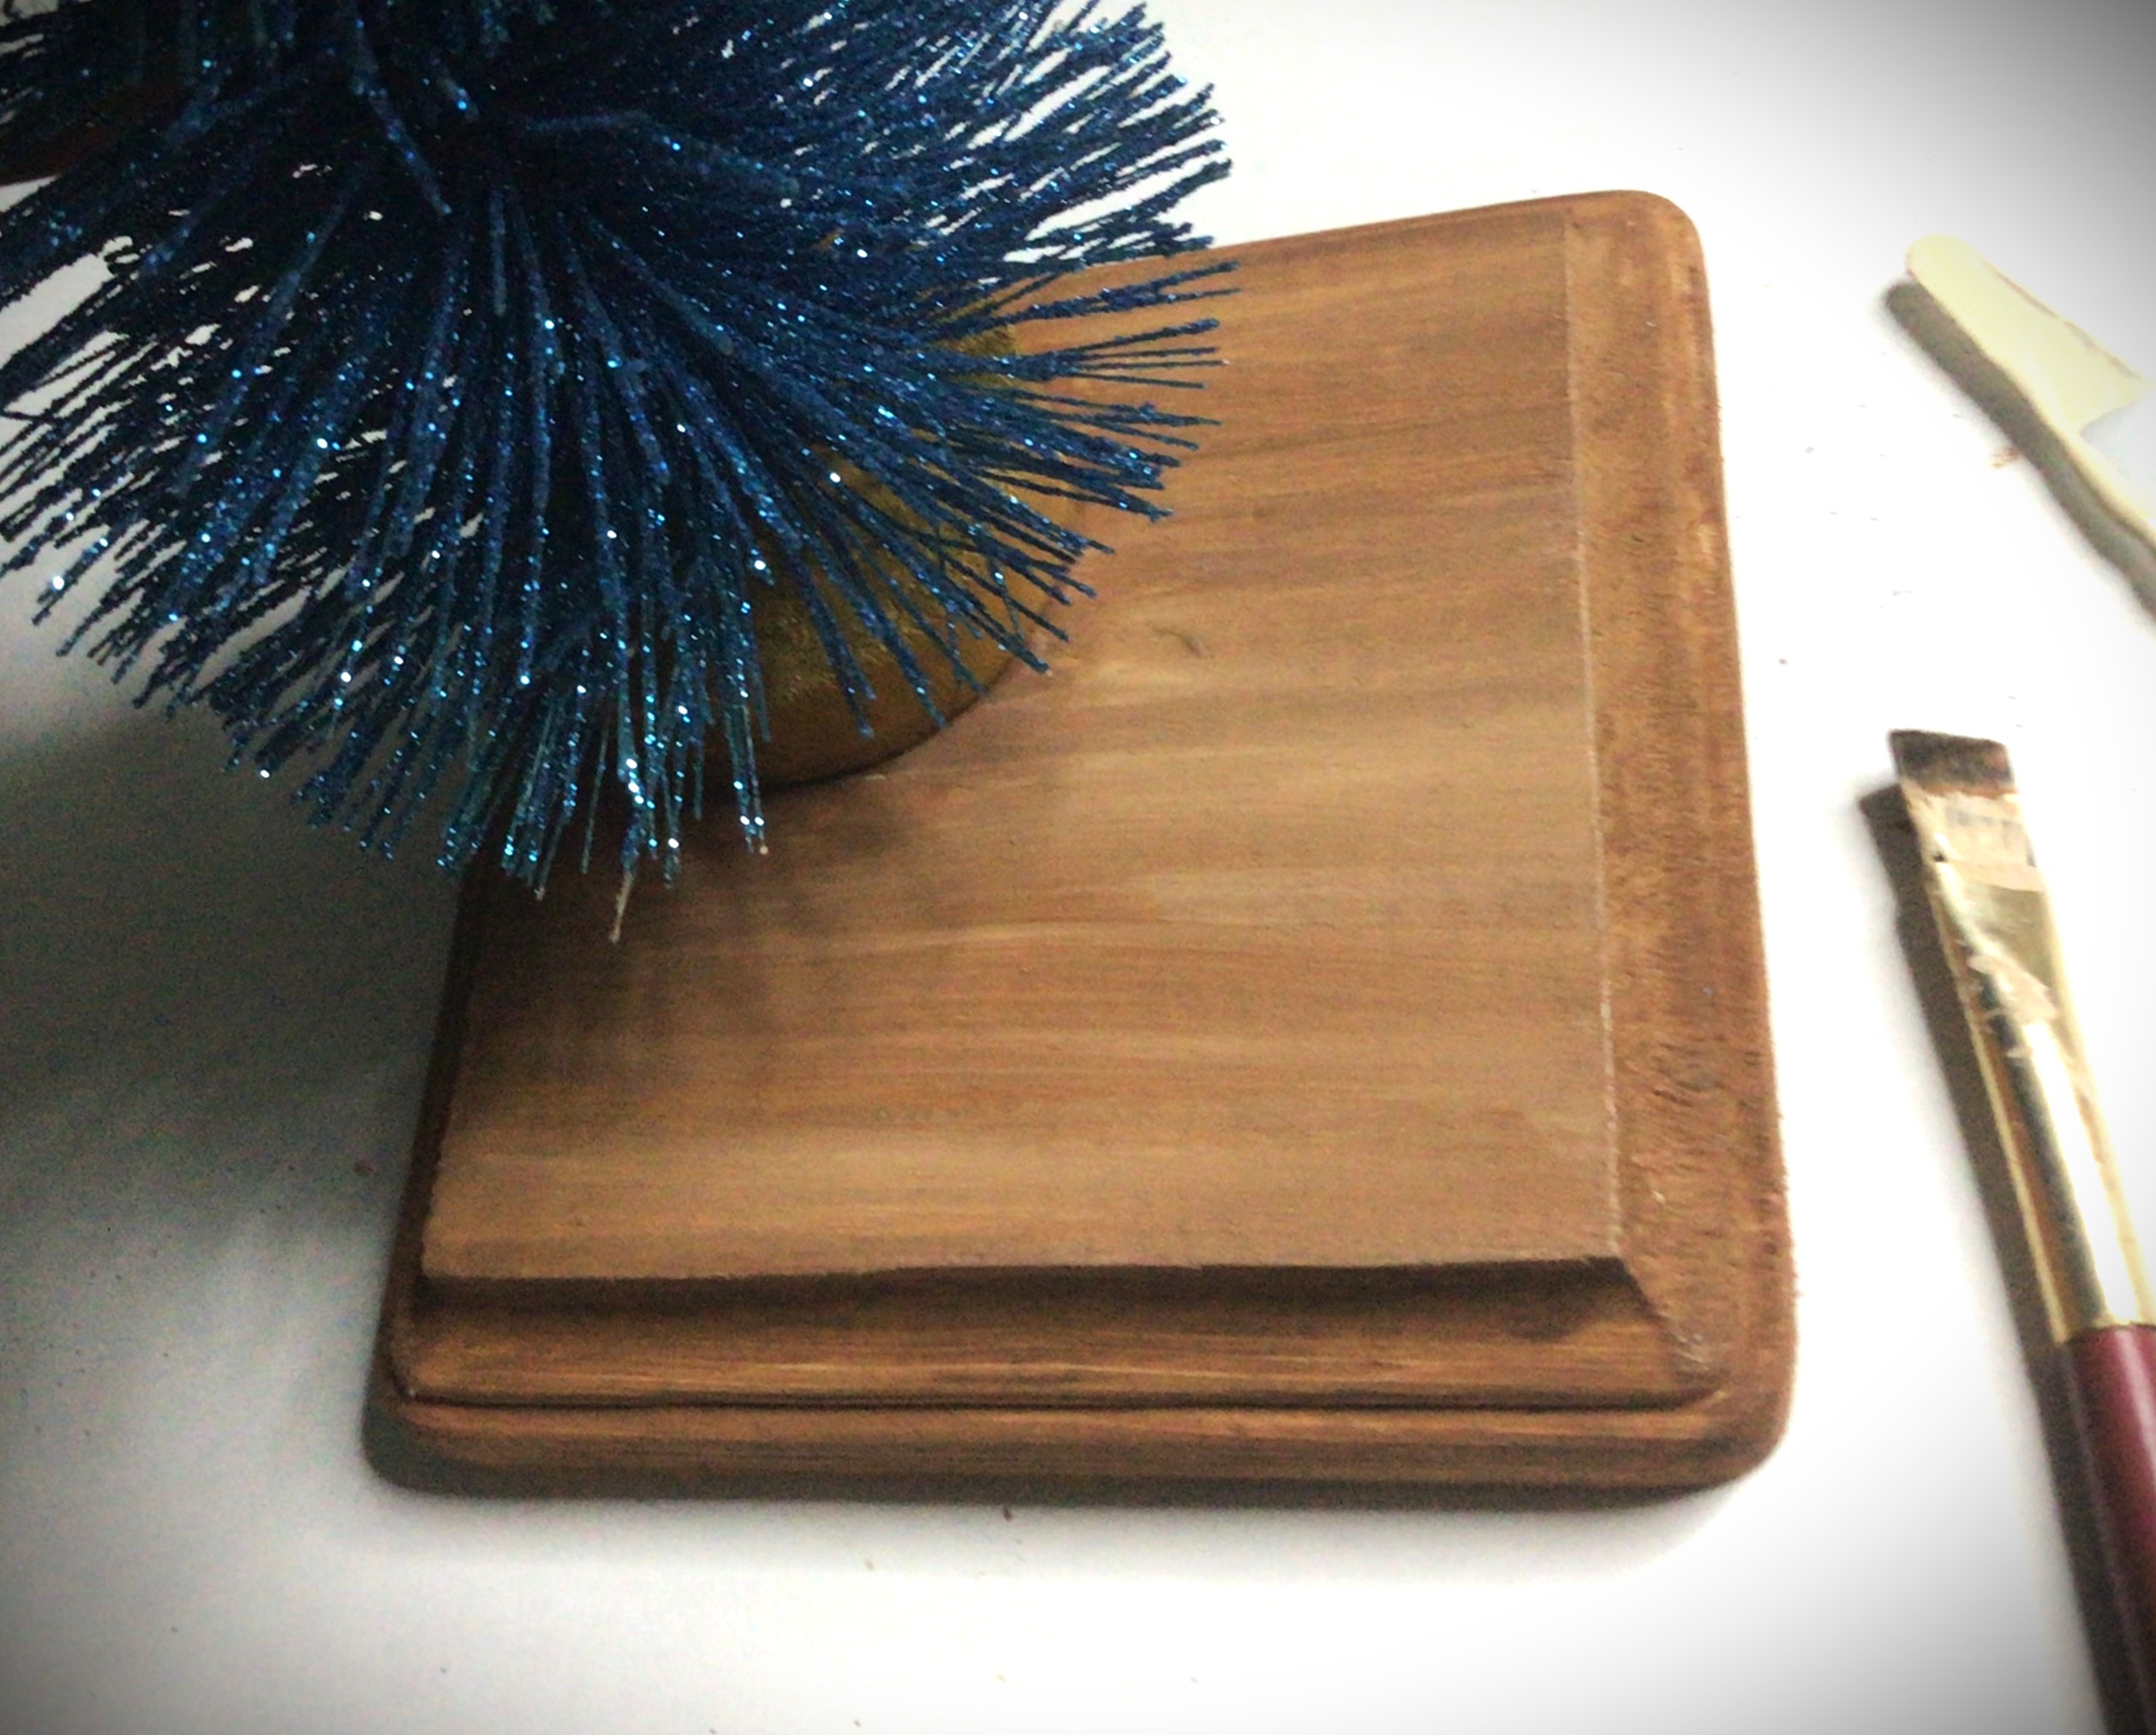
Prep All Wood Pieces
I didn’t choose to sand the wood, because I wanted to keep rough surfaces for the wood glue to adhere to well. In fact, where I glued two pieces of wood together I roughed it up by scratching into the wood with a wood carving blade.
Option: you can paint the base before or after you glue on your tree. For the example in this set of photos, I glued the tree on first and worked around it. For the other copies I made, I painted the base first and glued on the tree afterward. The disadvantage of adding the tree first is that you have to have a steady hand as you paint around the tree. The disadvantage of adding the tree after the base is completely finished is that you run the risk of scratching the “floor finish” if you rough up the spot where you will add the tree.
Paint the Base
I could have painted the tree base before gluing it on. But let’s be honest, I didn’t think about it until later. So just know that it is easier to paint the tree base before you glue it, but entirely possible to paint it while on the base. Just remember to paint the tree base before you paint the floor. Because I chose to go with gold accent to my teal tree, the gold tree base paint doesn’t ruin or effect the floor at all since it blends in with brown. This is another good reason to paint the tree base first. If your paint brush slips, it’s not going to throw off your paint job. And as you can see here, in the first picture, I cleaned the gold off my brush by just painting it on the “floor” going with the grain of the wood.
When you paint the “floor”, paint in the direction of the wood. This allows you to use thin coats of paint (making it a faster dry time) and if the wood grains show through, it adds to your paint job instead of competing with it.
Picture 2 I took to show you that you have the option of leaving any decorative edges of your wood different if your creativity is taking you in a different direction.
Picture 3 shows you the direction that I went, changing the color of the pine to more of a mahogany wood color.
Option: Perhaps you don’t want to paint the base to another wood color finish, but have a wood stain in your garage. Go ahead and use the stain!
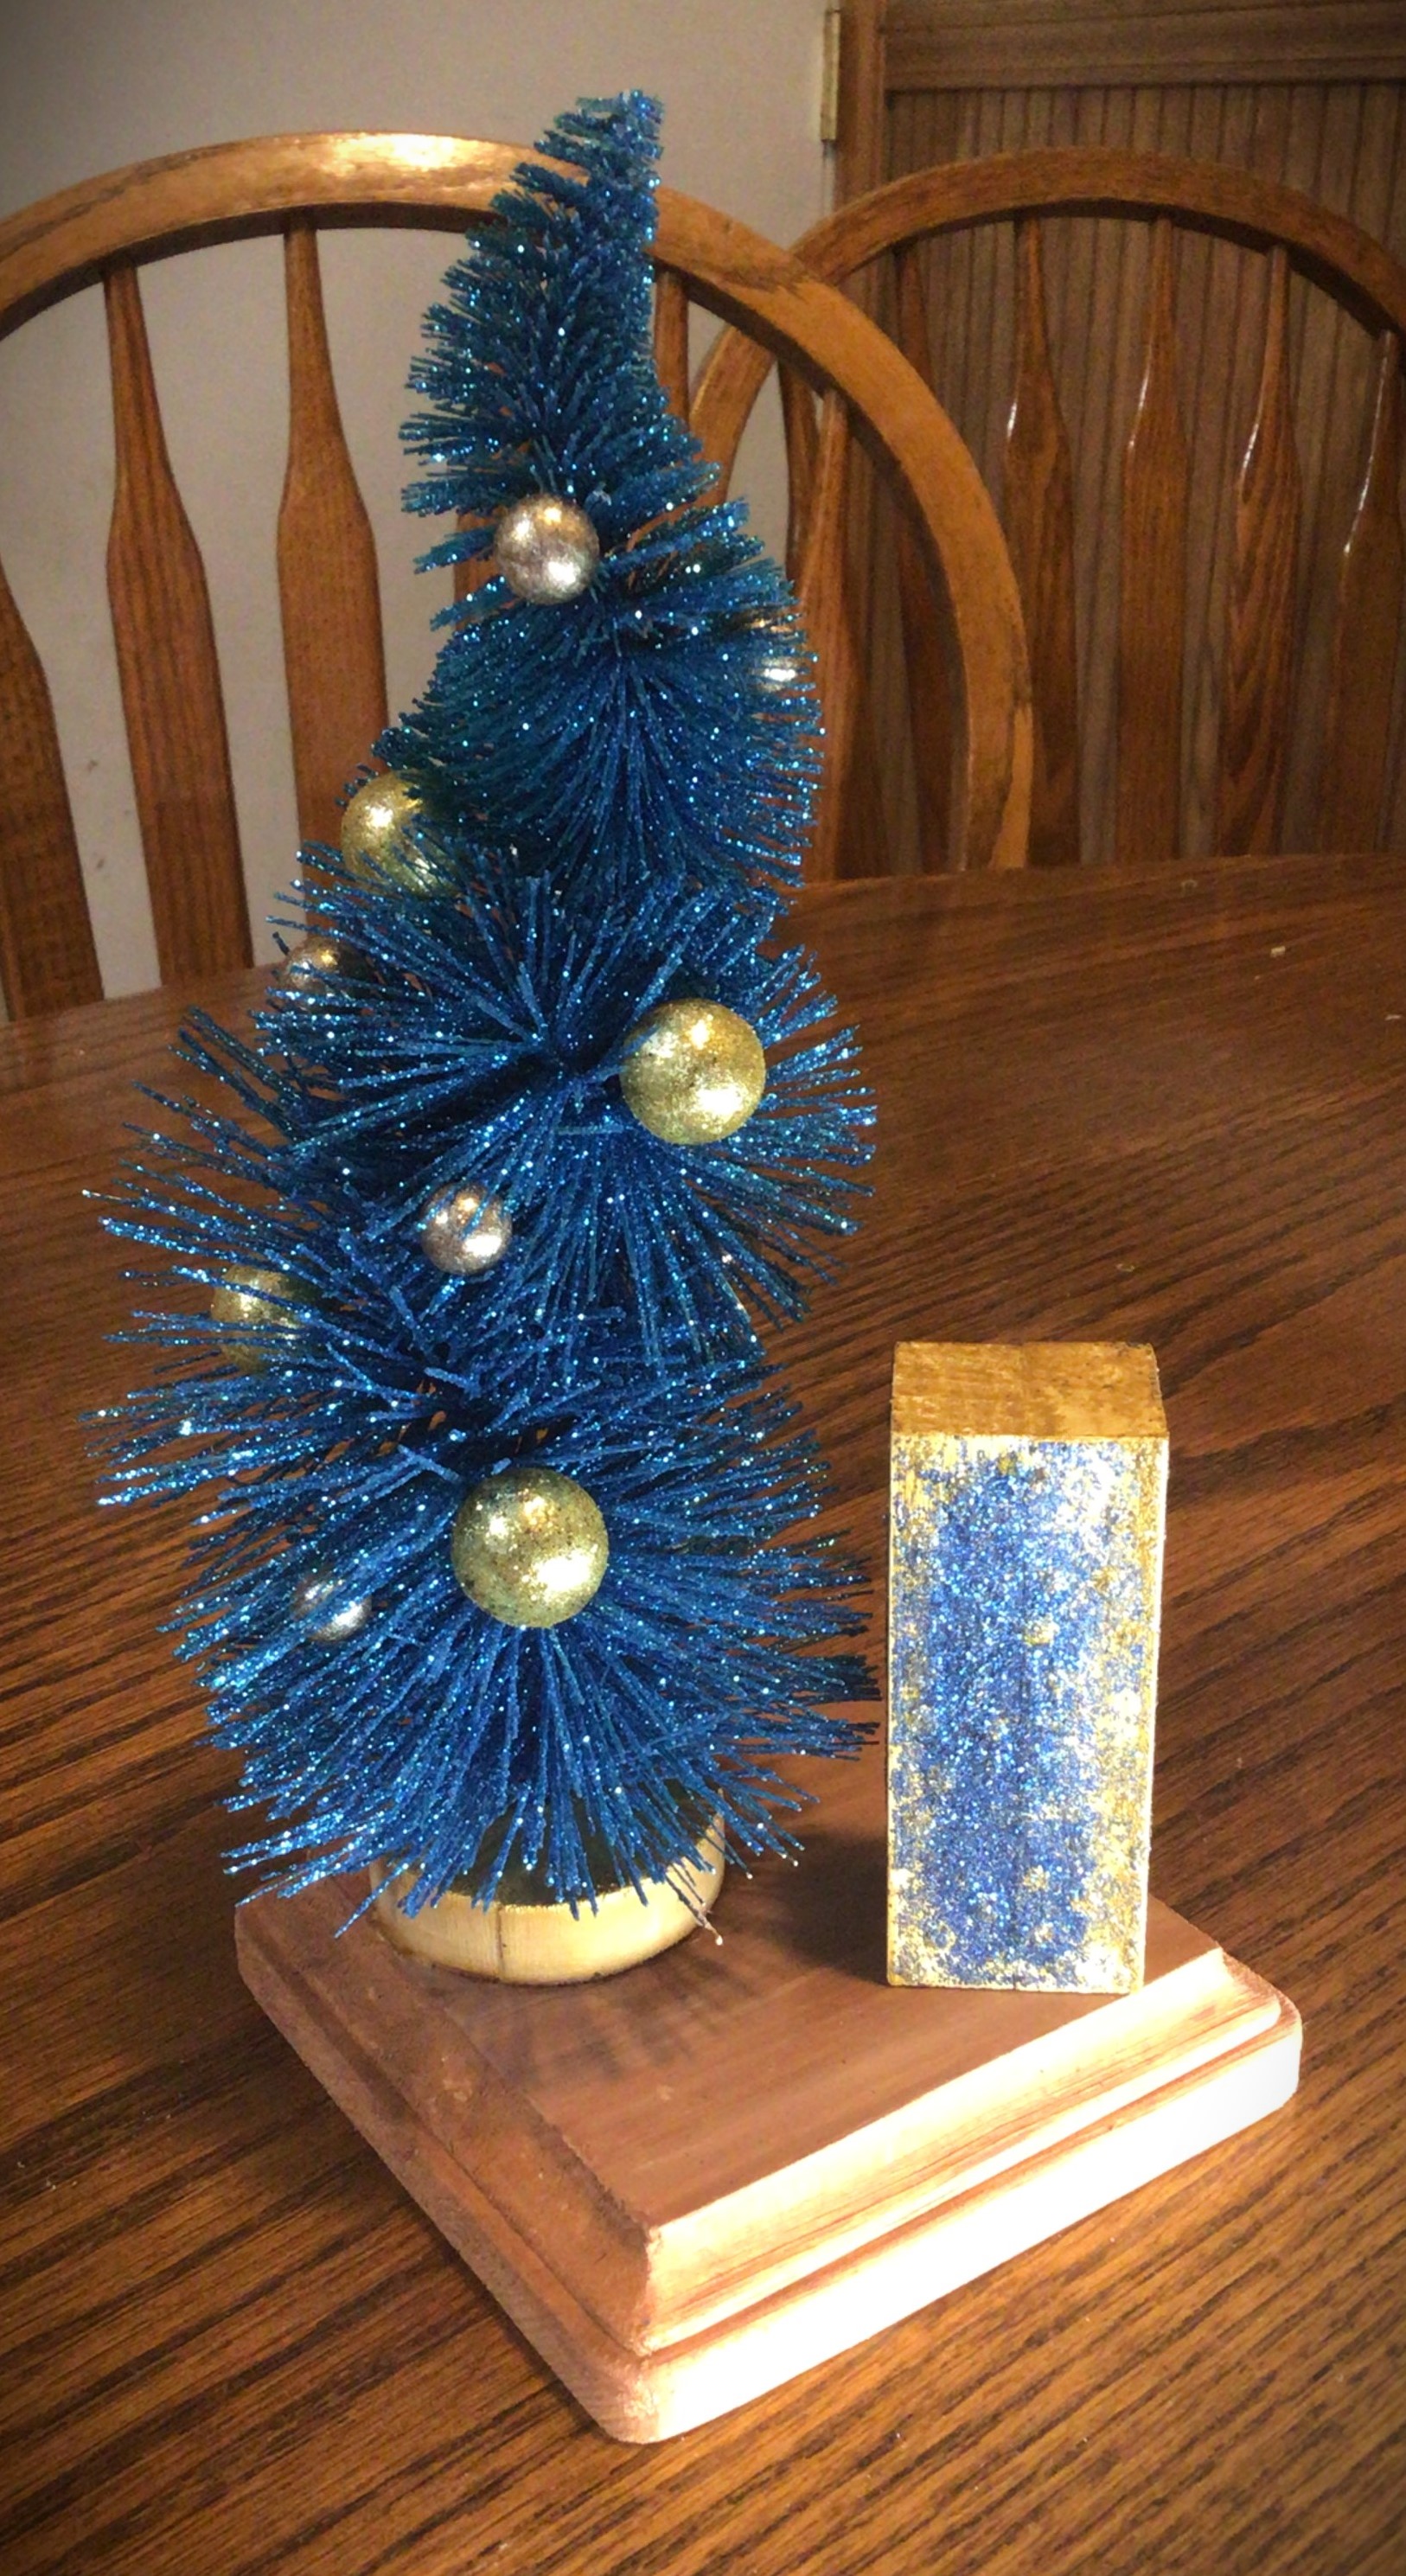
Stylize Your Tree Set
Sometimes you have to pause and put things together to see what direction you want to go with. Originally I had planned on painting my “present” and then add dots of glitter to make my own “wrapping paper”. Let’s just say that my polka dots looked like my preschooler made them. It wasn’t the vibe I was going for so I present to you my second option, glitter “wrapping paper”. For a different project, I might choose this option, but it wasn’t working for me either.
While I was staring at the teal tree with the “ornaments” that I put on it I asked myself what it was that attracted me to this tree. And the answer was the playful was that geometry was used. And then it hit me! I had geometric crafting paper.
As you can see here, the geometric triangles brought symmetry to a very asymmetric and quirky tree. And the crafting paper just made my job of wrapping this “present” so much easier.
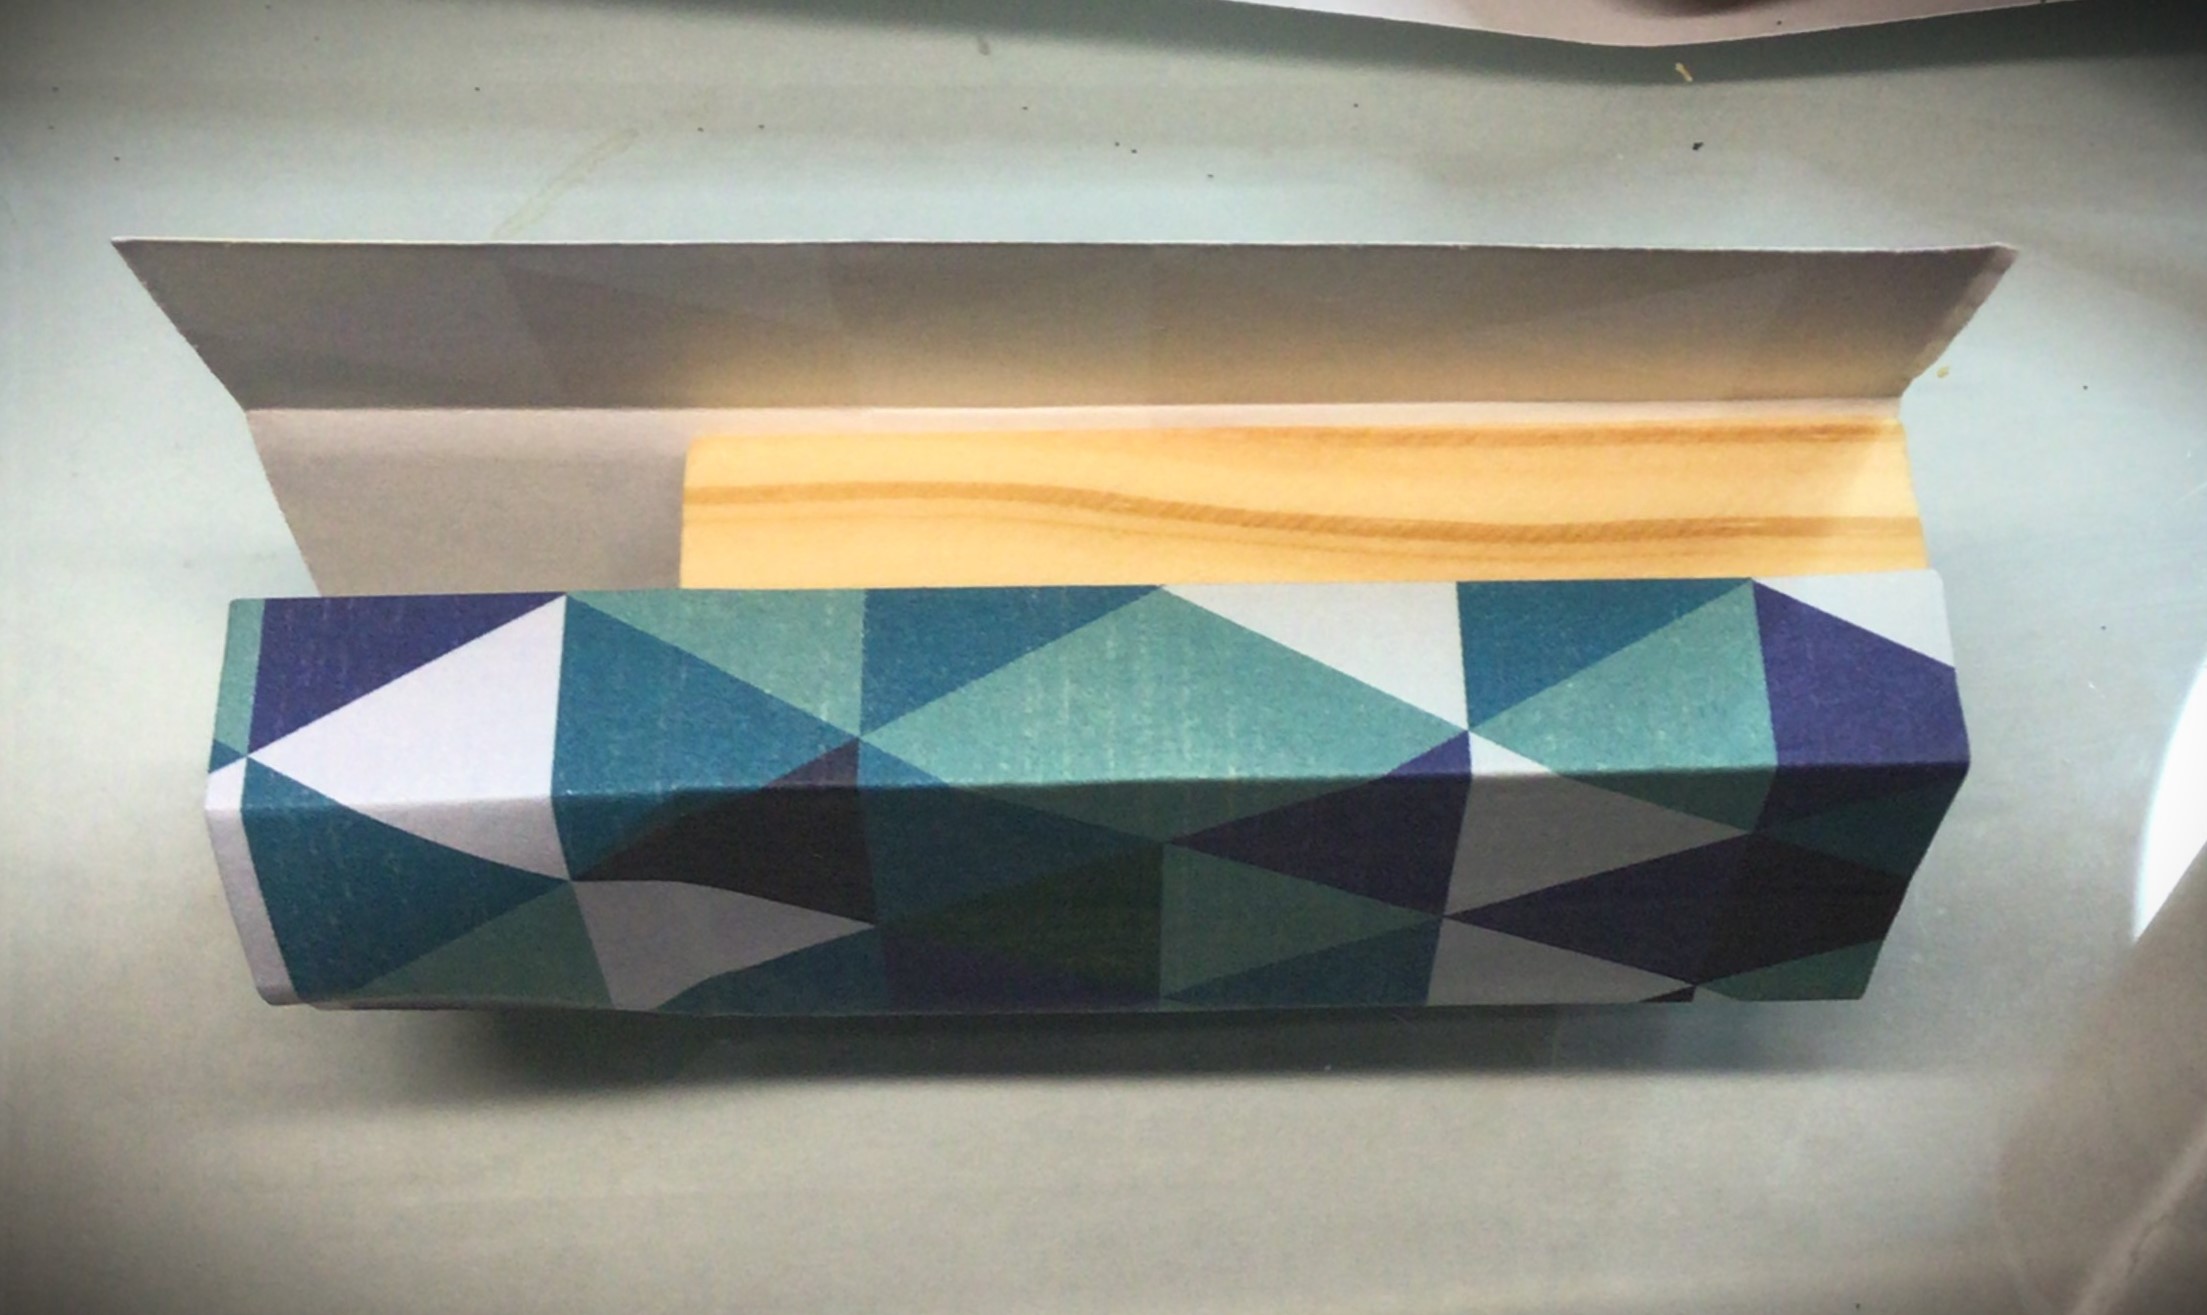
Wrap the Present
This is simpler than actually wrapping your Christmas presents because you get to use glue!
Once I trimmed my paper (leaving the bottom exposed, with enough left over to wrap the top), I created the folds in my paper before gluing it down. The one thing I hate about gluing down craft paper is that if you have to lift it to reposition it, the paper doesn’t look as nice. So to avoid this pit fall, I made sure to make all my creases first. This allowed me to put the edge of the wood block in the crease and line up before laying down the Mod Podge.
Plus there is the added bonus of knowing where your finishing end will land. In this case, I started my first crease by thinking of this blind end finish and placing the paper edge on the corner of a short end. By the end of my creasing job, the tail end had the paper over lapping around halfway on that same small end.
Start by gluing the paper down with this small end tail.
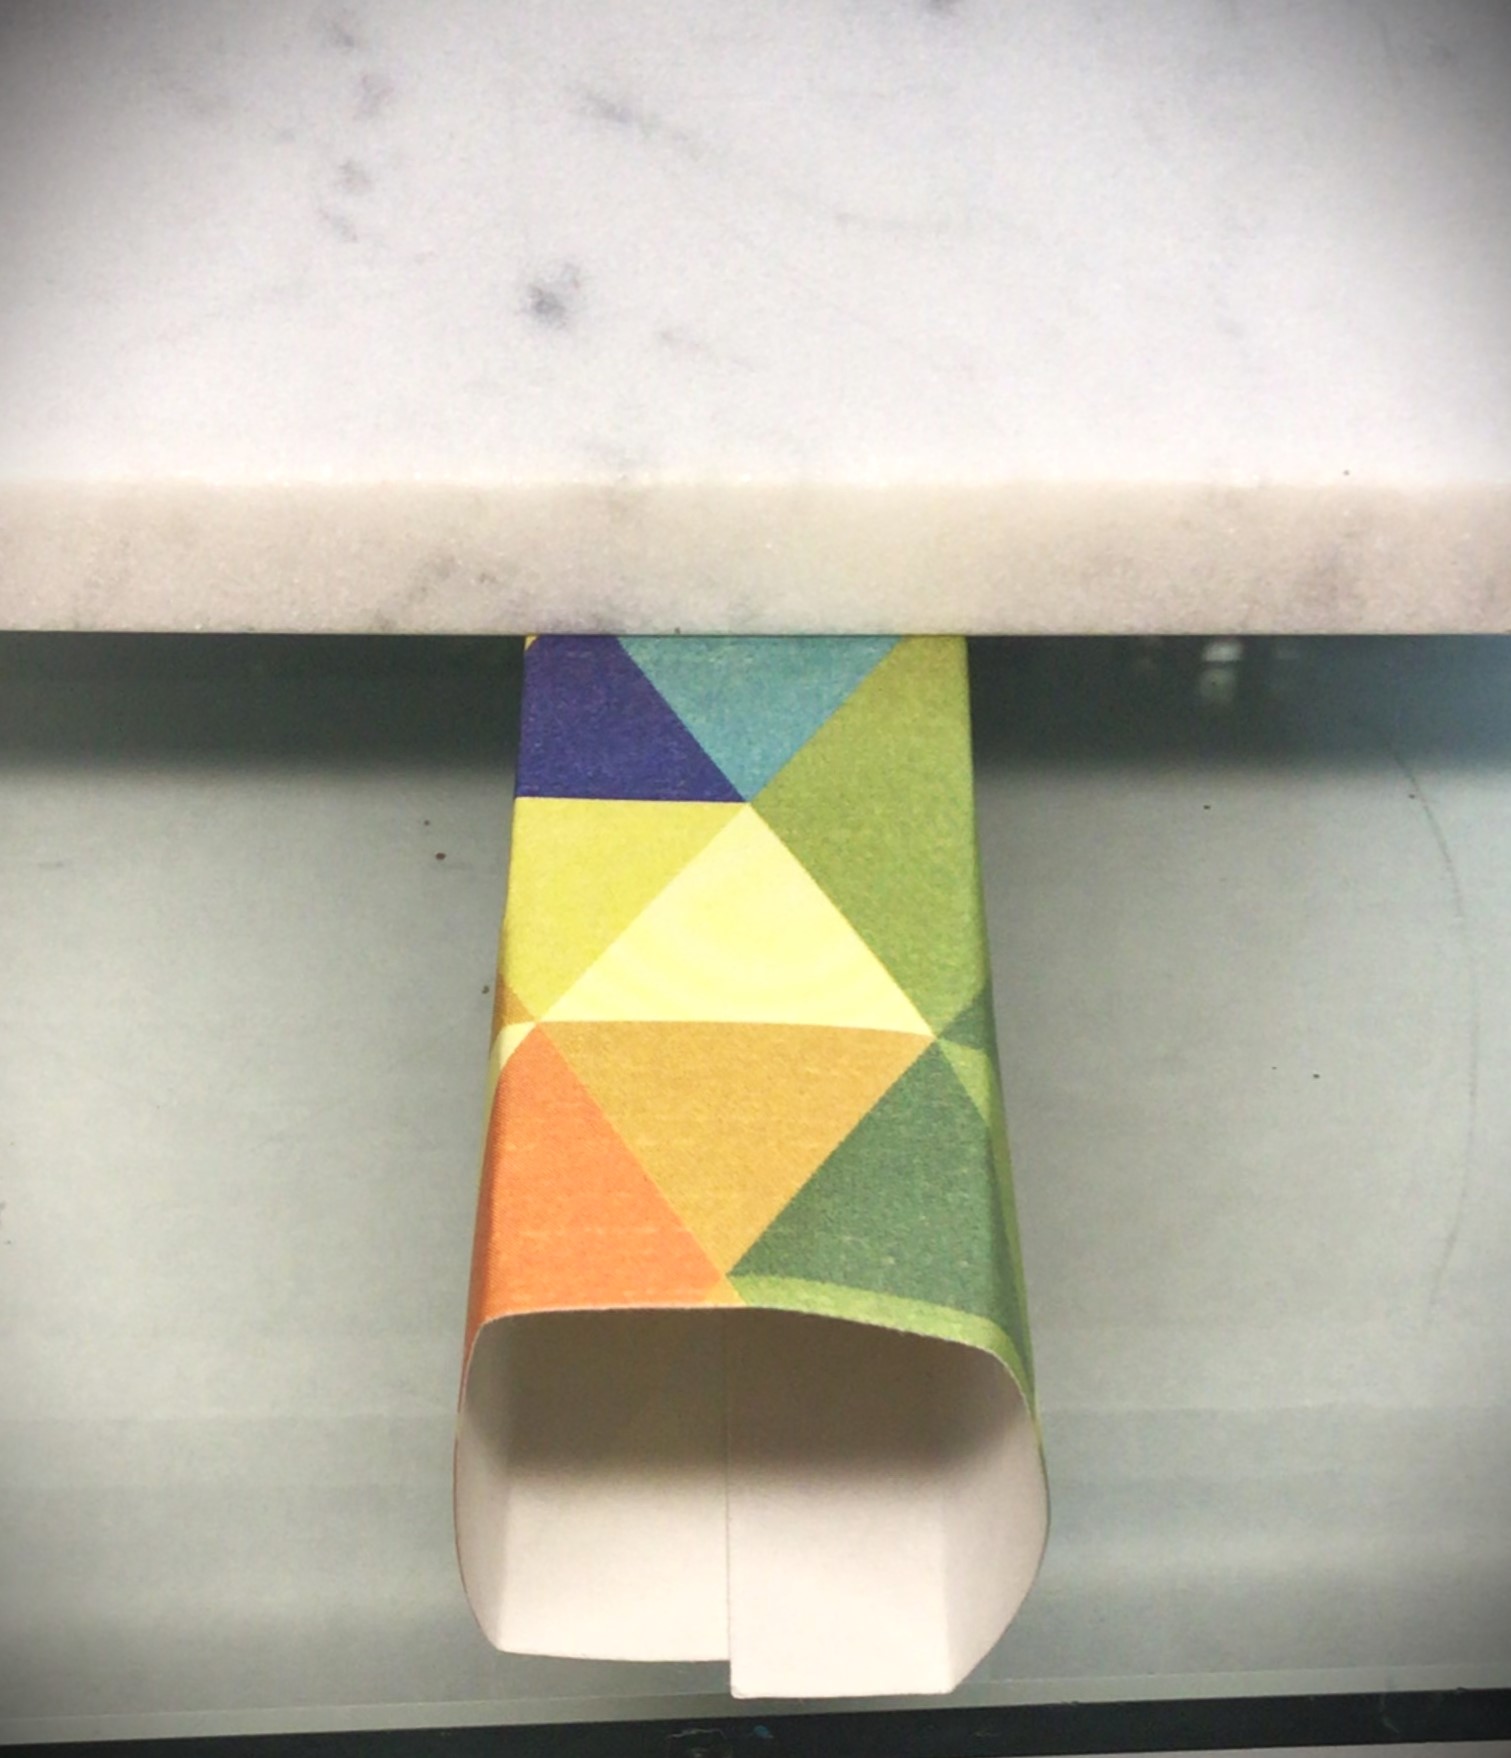
Work one end at a time and smooth out the paper as you lay it down. This will prevent the paper from slipping, having bubbles, or making creases as you go around your wood block.
When you come to the end, your last flap will be the section that lines up with the short end of the wood block. Apply glue to both the wood block and on top of the paper that you already glued down. The “present” how has a hidden seam where you don’t have to worry about hiding a back side of the present.
Put this seam side of the “present” table side down and place a weight on top of the block. This frees your hands up to do another step of the project while the glue dries, keeps the paper from lifting or wrinkling.
Once this seam side is dry, you are able to know wrap the top of the wood block. For this step, pre-creasing will also make this step easier.
Fold the seam side of the paper down first. Then fold the other short side of the block down next. Finally fold the long sides down.
Reopen the paper and apply Mod Podge down on the full top of the wood block. Fold down the seam side. Apply Mod Podge to the paper of the other short side and fold it down. Then put Mod Podge on the paper of the long side flaps and press them down in the order that you folded them.
When you “present” top is wrapped, you will want to add a weight to the top until the glue dries. (This once again frees your hands up to work on something else of the project.)
You will probably find that you need to put the “present” in between two items to keep it from falling over. You will see that I put it between a craft bin and one of my bottles of paint
Finishing Touches
In order to tie in the glitter from the teal tree and the pain finish of the craft paper, I decided to add some gold glitter trim to the bottom of the “present”.
TIP: To keep the glitter from shedding, consider applying a top coat of something. It’s whatever you have on hand. If you have some glitter glue, that seals in the glitter you just applied without adding a dull layer over the sparkle.
Once the glitter dried, I opted to add an embroidery floss ribbon. All my ribbons were disproportionate to the present. And I didn’t have any tiny premade bows to stick on top. So if your craft room also is limited in tiny items, consider things like embroider floss, thin hemp twine, baker’s twine, or even sewing thread wrapped around a few times.
Depending on what you use to finish off your present will determine how you attach your present to the wood base. Ideally, you would want to add the present with wood glue. In this instance, wood glue would have created more of a mess to clean up than hot glue. I placed hot glue on either side of the floss so that the glue would balance out the thickness of the floss and make the present secure.
Gifting Options
Desk Tree is perfect as is for gift exchanges and teacher’s gifts. But it’s even better when paired up with the little something extra that just wasn’t enough on its own.
Here are two examples of adding a little something extra to a gift that can still be brought out year after year for holiday decor. Match this up with that perfect scented candle that you found. Or maybe that person you gifting only wanted a gift card. This is a festive way of dressing up a gift card!
No matter how you decide to gift this Desk Tree, you will not go wrong with this project!
SPECIAL ANNOUNCEMENT!!!
Starting with Desk Tree, I’m going to make Limited Editions available of crafts that you see in my blog.
There are many people who would rather “I can make that!” But there are others who are not so crafty inclined. I don’t want you to feel left out on ideas that you love.
For right now, shipping is only going to be made available for the United States. And all purchases are only through my website, Order Here. I will keep you updated on any changes as they become available.
If you have any questions about Limited Editions, please do not hesitate to reach out to me at info@pacificnorthwesteventdesign.com or here:
These links are affiliate links to products used in this project. We may receive a commission for purchases made through these links, but at no extra cost to you.
These are generic Jenga blocks that are great for crafting on a budget when your local dollar store is out of stock.
Last Christmas, my husband put these Dewalt clamps in my stocking for crafting. And they are definitely one of my favorite project tools.
At the time of this posting, this Mod Podge is on sale. There are many varieties and finishes, but I wanted to send you to the sale link.
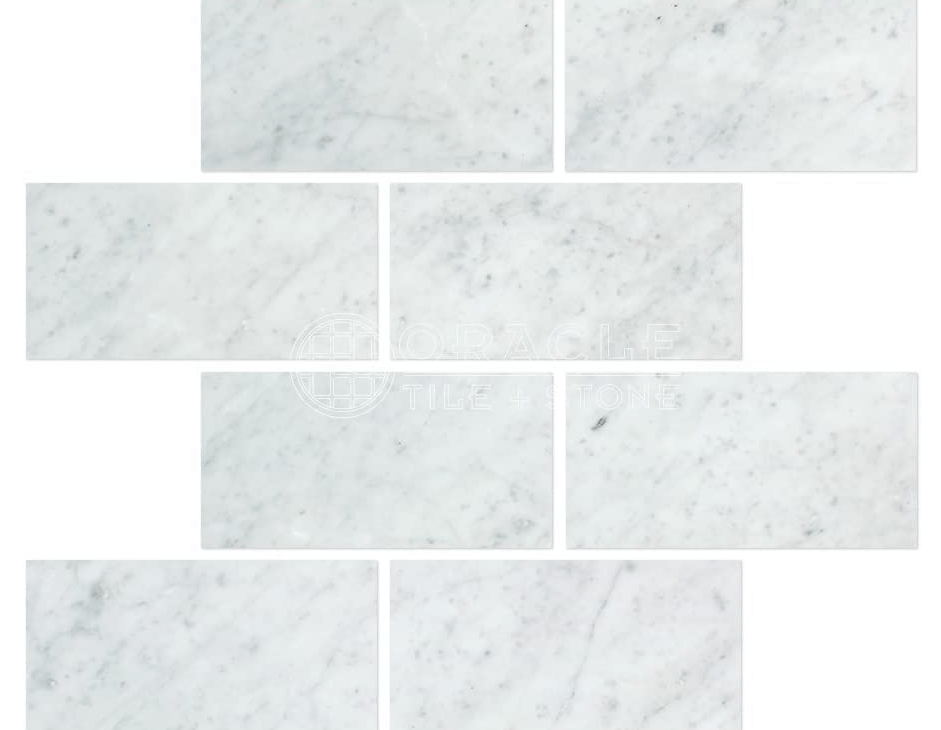
I originally bought these Marble Tiles for working with HTV. But I’ve found that they have had other uses in my craft room, such as a weight for holding certain projects down.
Processing…
Success! You're on the list.
Whoops! There was an error and we couldn't process your subscription. Please reload the page and try again.


Leave a comment