One of the memories that we are so quick to build are children’s birthday parties. So how do we make memories that last?
Make a cake!
I can’t begin to tell you all the cakes that I remember through the years. There’s the Holly Hobby cake my mom made from me (a popular baby doll from the 70’s). There was the cake that got locked in the trunk on my sister’s birthday. The cakes my sister’s and I made for our parents because finances were tight but the box cake was a big way we could show they mattered. The cake my husband made for me with marshmallow frosting. The cakes I made for my kids.
The list goes on and on….
I could tell a life story just off of the cakes I’ve made through the years.
And I want you to know that you can make cakes that make memories without going to culinary school and gaining the education of a baker!
You can make cakes!
You can make memories!
Even though I have cake recipe books which put a world of recipes from scratch, I’m going to show you how you can make a memorable cake using a box cake–which is in everyone’s price range. And in this age of inflation, when you can still find boxes of cake mix for a dollar, I want that to be available to you.
Box cake mixes are great. The directions are easy enough for my kids to follow and make on their own. (In fact I just made a cake for a local mom and my boys wanted to help because they love baking cakes with me. They had to skip out on this one, but I had to promise that they could make their dad’s cake all on their own without me!)
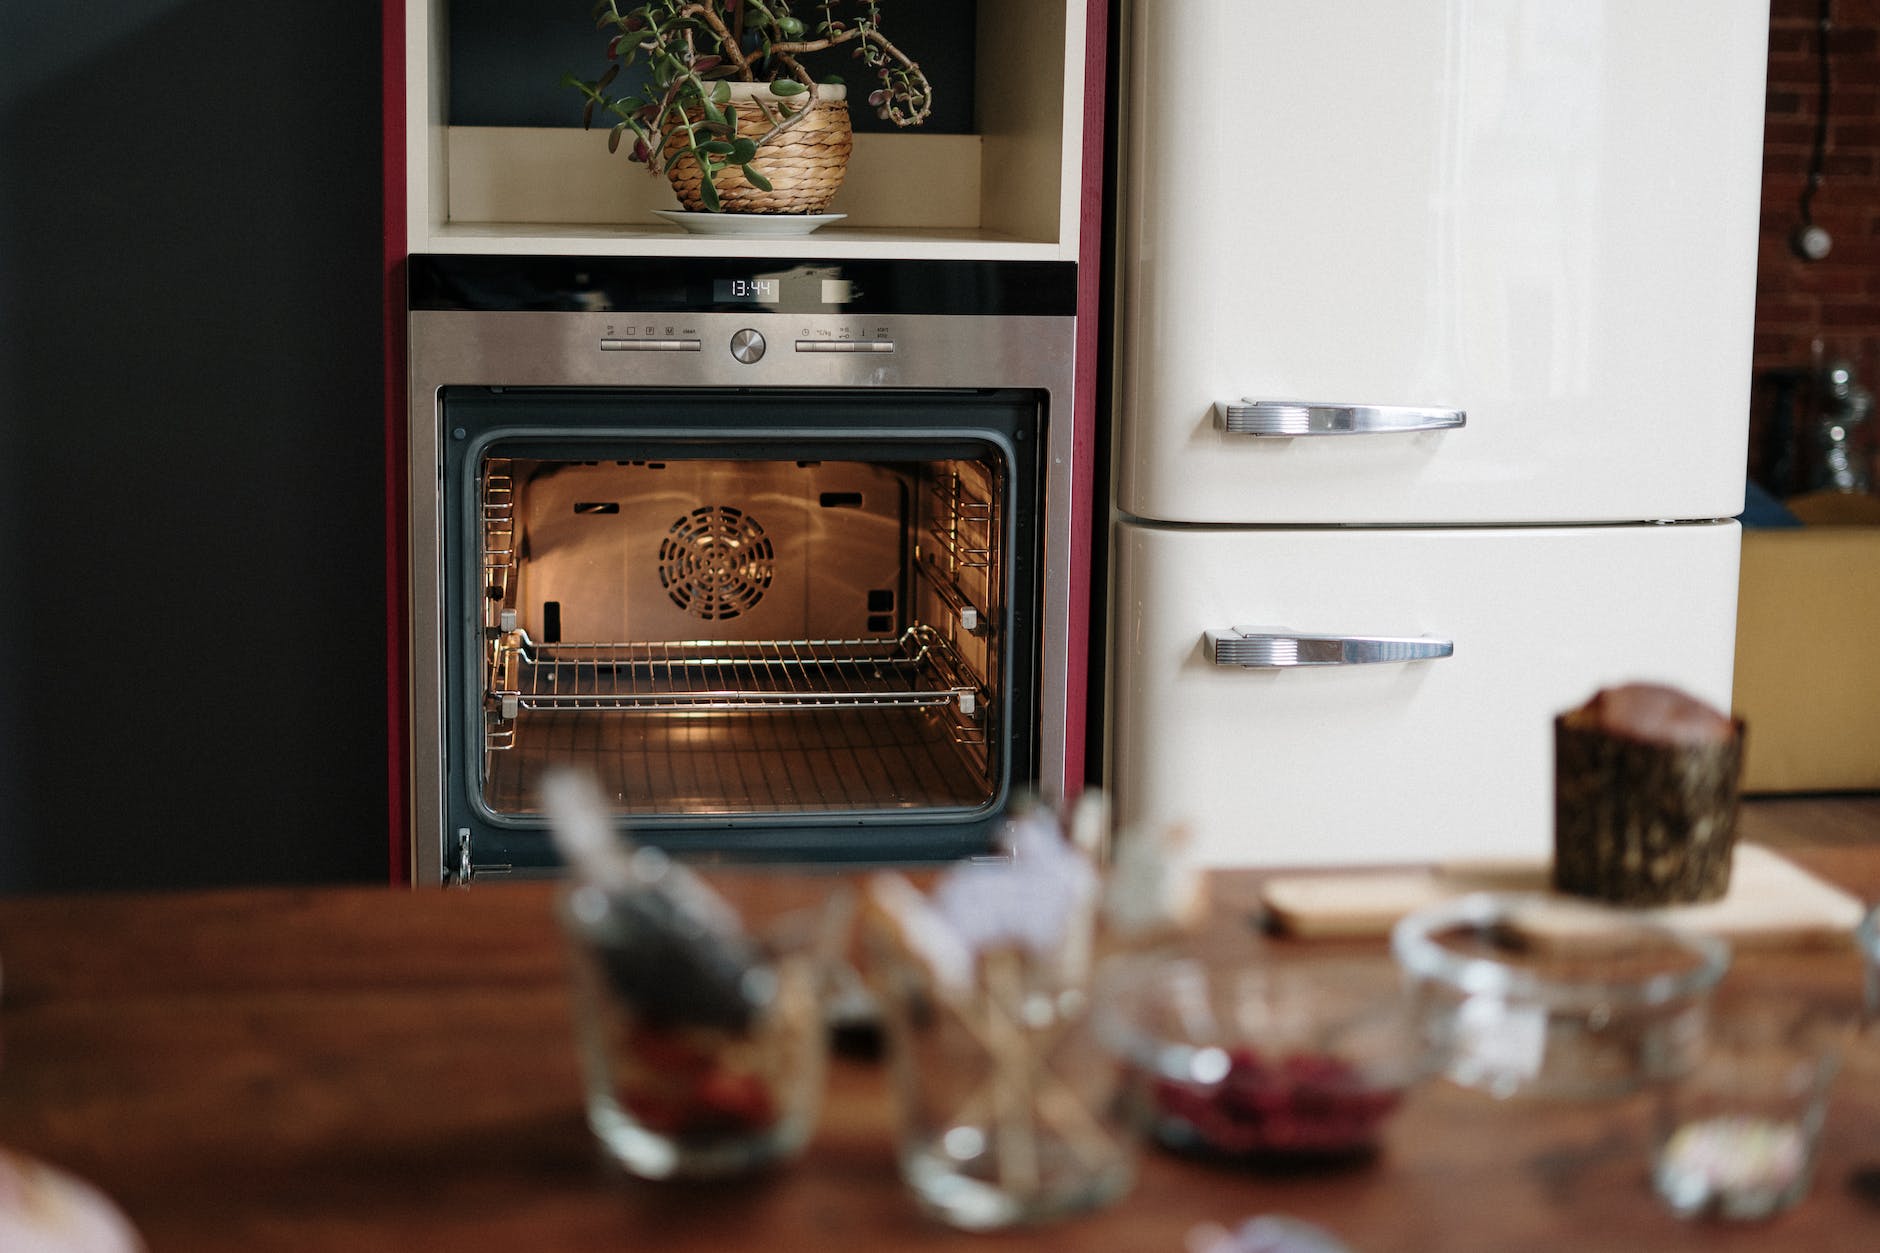
TIP: you can test the doneness of you cake sponge by poking the cake with a toothpick in the center. When you pull the tooth pick out, and it’s dry, your cake is done. You want no moisture or batter on the tooth pick. Although you might see cooked crumb–that is still done.
Or….
TIP 2: When your timer goes off take a temperature reading in the center of your cake. When you reach an internal temperature of 200°F, your cake is done.
This particular tip is invaluable. If you’ve watched baking competitions you see people testing cakes by poking it like a chef pokes a steak. The amount of resistance tells you the internal state of being done.
The average person doesn’t know what a done cake feels like. We can easily
learn the feel of an under done cake and an overly done (and dry) cake. I’m
going to save you the head ache and just tell you that you only need to reach
200°F and your cake will be perfectly done no matter what. This works for all
elevations. AND it gives you a more accurate unit of measurement to direct you
in how much longer to cook your cake when it’s under 200°F.
Now that you know you do not have an undercooked cake, you’re halfway done.
Some people find the cake (or sponge) cooking the most intimidating. Others find the frosting to be intimidating. But frosting a cake doesn’t have to be intimidating either, because I’m going to show you a trick that I used with the Pinterest inspiration picture that was given to me for the cake I made the other day.
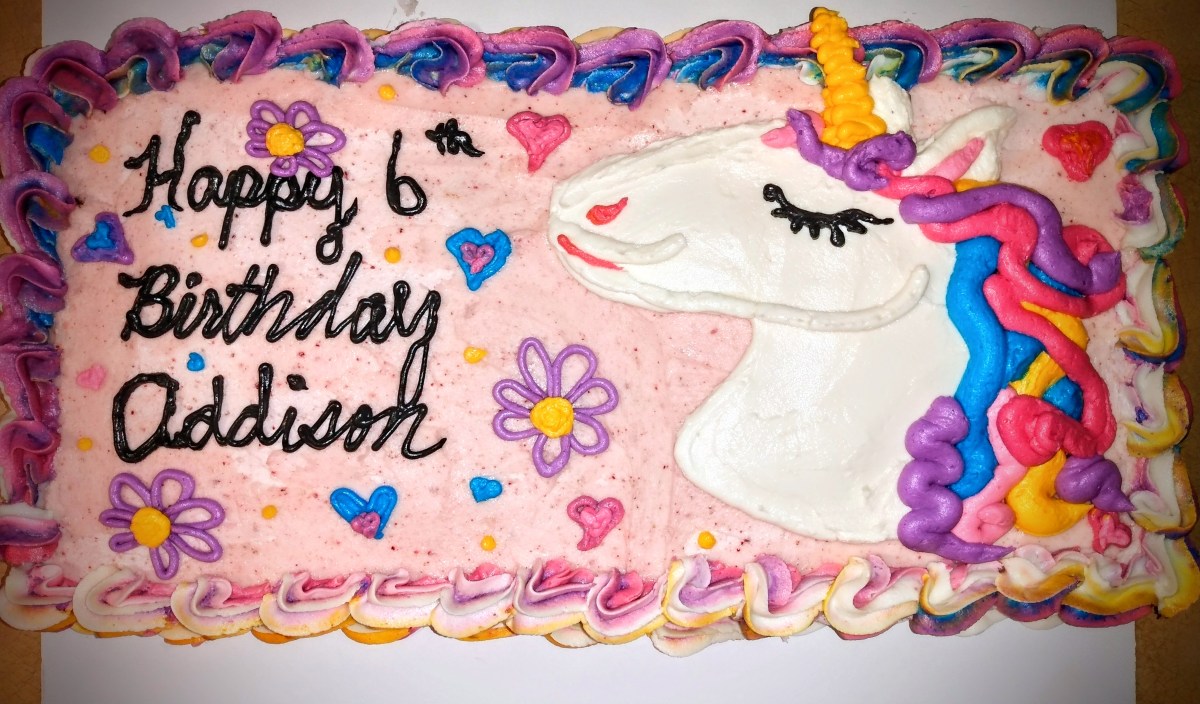
My go to frosting is formulated by Wilton. I’ve successfully modified this recipe to make it flavored. But this recipe gives you three different consistencies. I used two of these for the following Unicorn Cake that I recreated, stiff and medium. I used the medium for the filling between two layers and doe the exterior frosting. The stiff consistency I used for the decorative elements.
When it comes to coloring your frosting, the stores give you the choice of the liquid food dye or gel. The gel will give you vibrant colors for less.
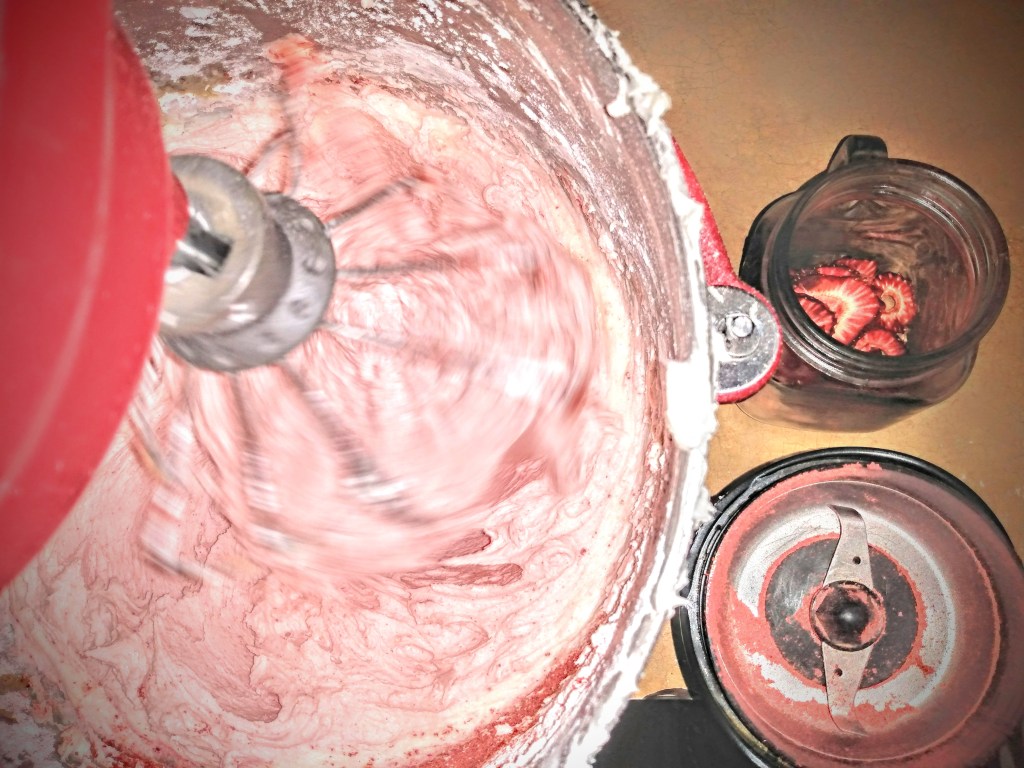
TIP: If you’re a family that is conscientious about food dyes, you can still color your frosting. What you’re going to do is plan in advance and dehydrate the fruit, vegetable, or edible flower for the colors you want. Don’t worry about the vegetables. The Wilton frosting is sweet and can overpower the vegetable flavor, if that is a concern for you.
As a point of reference, it took me about half a pound of strawberries (sliced, dehydrated, than powdered) to turn a single batch of Wilton frosting pink and mild strawberry flavor. I had the pink color to the frosting long before the strawberry flavoring that was requested by the birthday girl.
TIP: When you use a fruit with high water content, you definitely want to turn it into a powder in order to prevent your frosting from becoming watered down.
Frosting the cake is going to look a little differently depending on what kitchen tools you have available. If you can pipe the frosting onto the cake before you spread the frosting, you will be able to do a thin layer of frosting without getting crumbs of cake into your frosting.
Don’t have piping tools (pastry bag, coupler, and decorative tips), that’s okay. The trick is to take your butter knife (if that’s all you have), put dollops of frosting onto your cake, and then spread the frosting around using the flat of your knife.
The number one cause of crumbs in your frosting is your knife hitting the cake’s sponge. If you just move the frosting around, with your knife only touching your frosting, you should eliminate all crumbs.
If you still find you have crumbs, the other reason is that your frosting is too thick. This is particularly a problem with cakes that are light and fluffy. Not a problem!
If your frosting doesn’t spread easily, stop. Remove the frosting and put it back in the bowl. Add a teaspoon of water (or less) and mix it into your frosting to loosen it up. Test the consistency by trying to spread your frosting on your cake. It shouldn’t grip your cake like Velcro, but smoothly spread like mashed potatoes. Once you can easily spread your frosting, make that cake beautiful!

Want to make decorative elements, like an inspiration picture, but don’t feel confident in your piping skills? You will want this trick.
Don’t worry. You can use this trick even if you’re only comfortable using the tubes of colored frosting!
Print out your inspiration picture (with the elements blown up to the size you want them on the cake). If you have face details you want to recreate, make a copy for the body, and a second copy for the face. (The same is true for detailed that are stacked but not faces.)
For example, here’s the inspiration that I was working with.


The original creator had freehanded the design of this cake. I’m fortunate if I can draw a horse head on paper with a pencil, so I needed this trick.
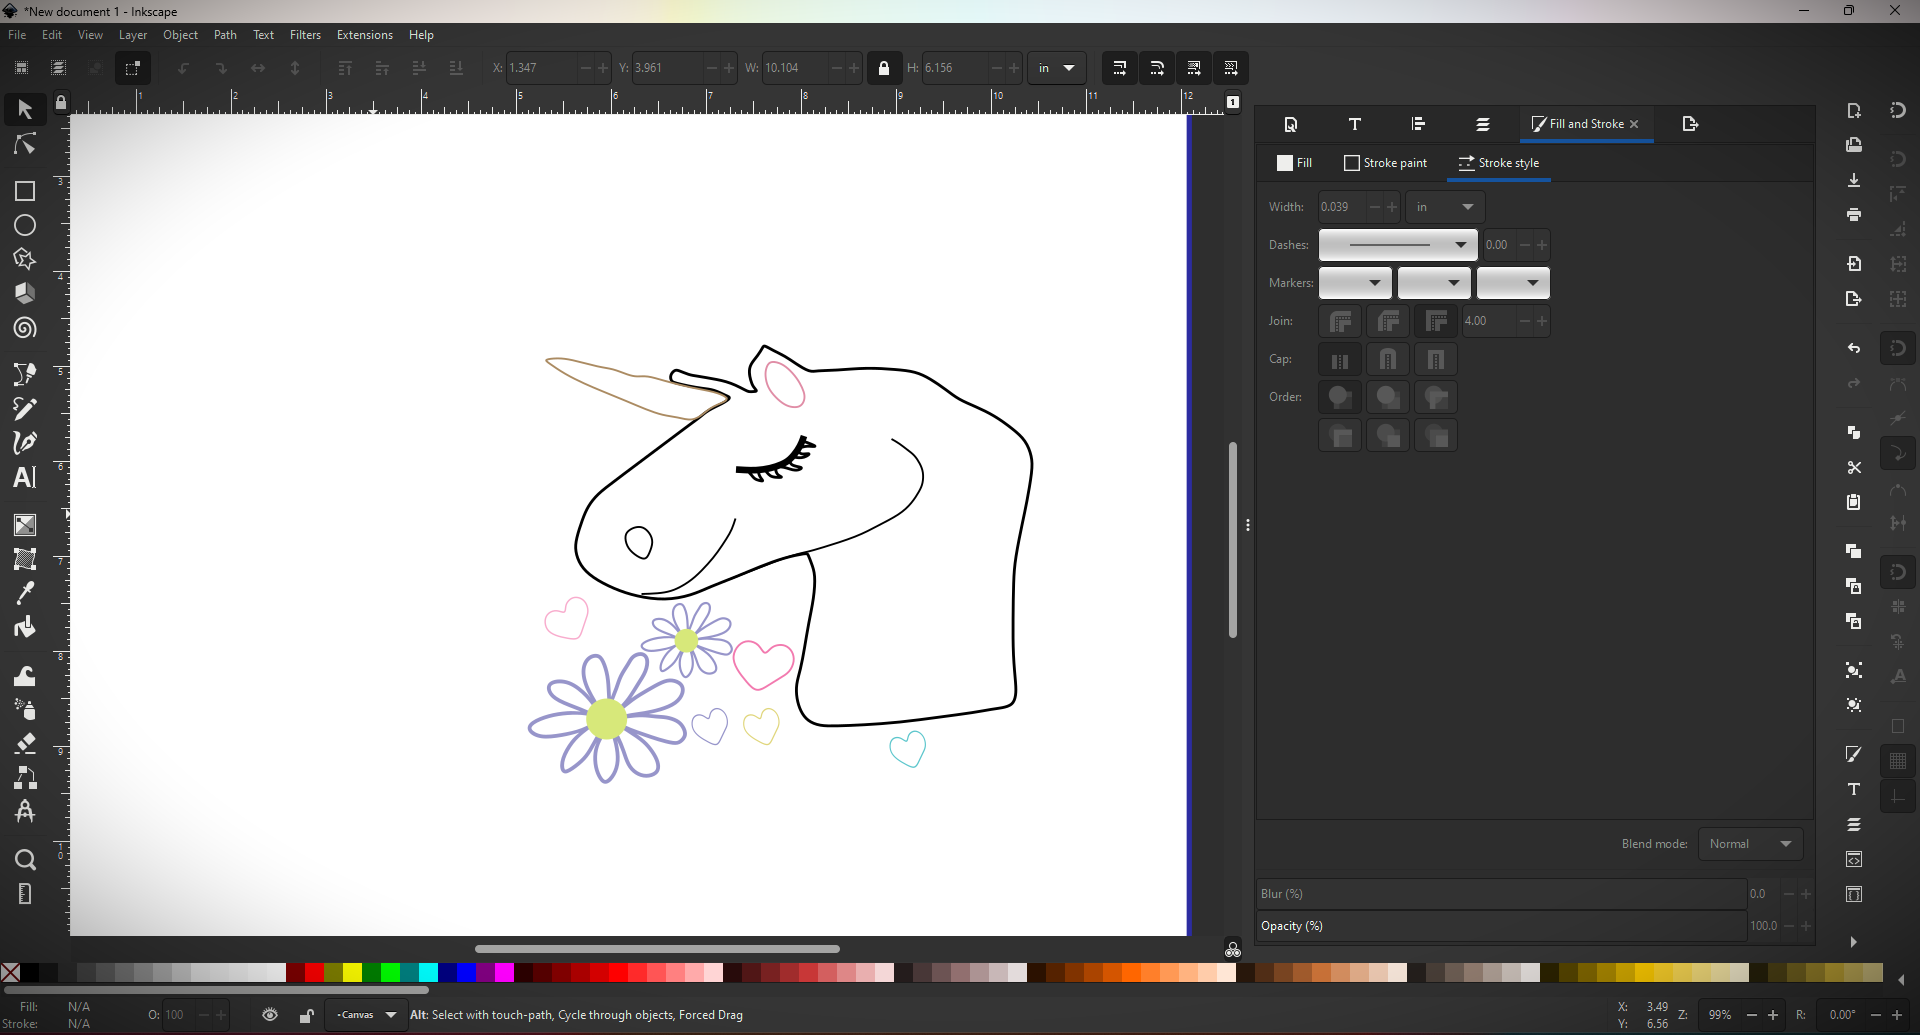
I do have skills in Inkscape where I took the picture and traced the elements and made my own stencils. After I printed out the stencils I put them on top of a metal cooking sheet. To keep them in place, I used a loop of tape. Then on top of the stencils I taped down a sheet of waxed paper.
Once my different colors of frosting were put in piping bags, I started tracing the stencil lines with the planned out colors.
In the instance with the unicorn head, I made the outline, then filled (flooded) the inside with frosting, smoothing everything out with a knife to make it look like a solid piece.
When all my decorative elements were piped out, I put the cooking sheet in the freezer.
You’ll want to plan this one ahead of time. The frosting will take time to freeze. Even with the stiff frosting, you will want this to be in the freezer for at least over night.
When the frosting is frozen, you can transfer the elements from the waxed paper to the cake.

A memorable cake doesn’t have to cost a fortune. In fact, making a cake shows the person that you love them. And it doesn’t have to be perfect.
My favorite cake my husband made was the marshmallow frosting cake. And I guarantee that none of us will make that frosting again. It was not user friendly because it was a pouring frosting instead of a classic spreadable one.

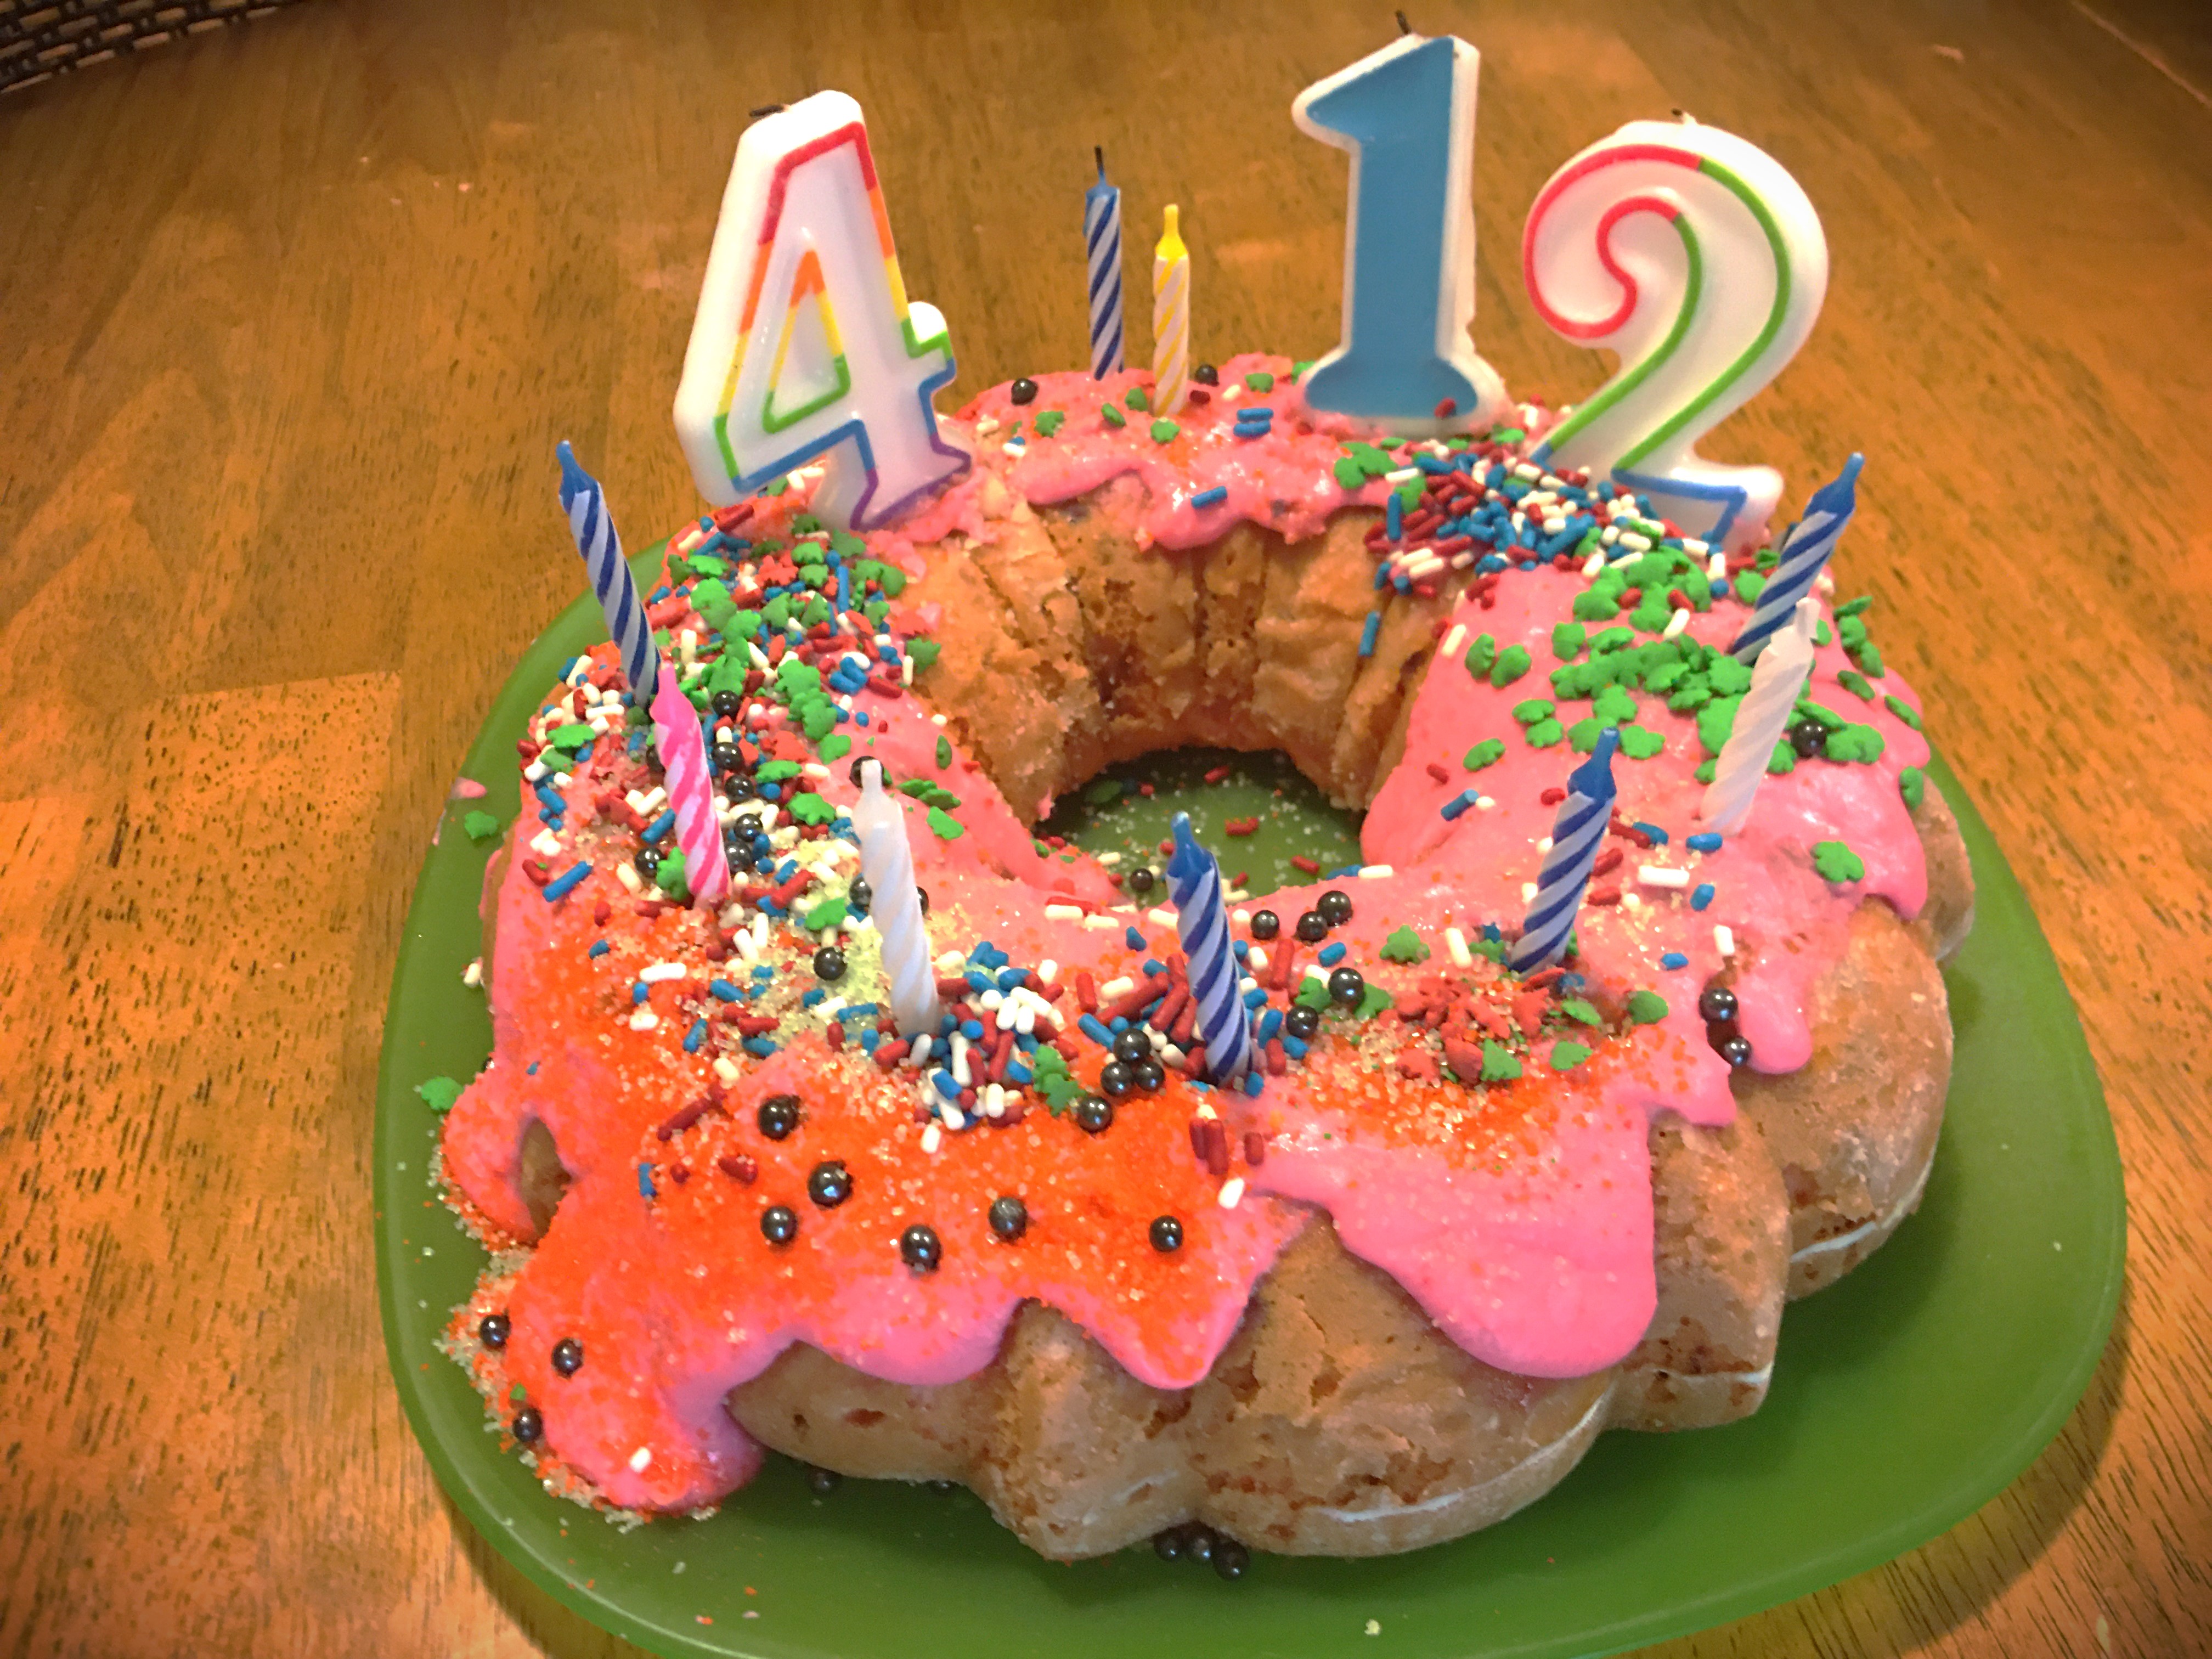
This isn’t the marshmallow frosting cake. But it is the one my boys made on their own, for me.
The most memorable cake I made was my son’s bubble cake. He wanted a bubble cake so I made a tall multi layer cake in the shape of a bottle of bubbles. That sponge would not keep shape. It wanted to disintegrate on me and there was not enough support I could put in to make it stay. Let’s just say I’m glad I made it a fondant cake, because that fondant was the only thing keeping it together. I was in tears. But my son was dancing with happiness over having a bubble cake.

I tell you these stories so that you know that sometimes the best memories come from the imperfections in our cakes. After all, my favorite childhood cake, the Holly Hobby one I mentioned at the beginning, wasn’t all perfection. I look at the pictures from that birthday and only see love. My mom looks at those pictures and sees the cramping in her hands because of all the piping that cake took. She finished that cake with tears of pain. But it meant the world to me.
So don’t be afraid to make that cake for your loved one!
It may turn out to be an imperfect but testament of love that lasts through the ages. Or it may be the cake that blows your mind because you never thought you could do it, but you did! No matter the outcome, it is always worth it to make that cake!
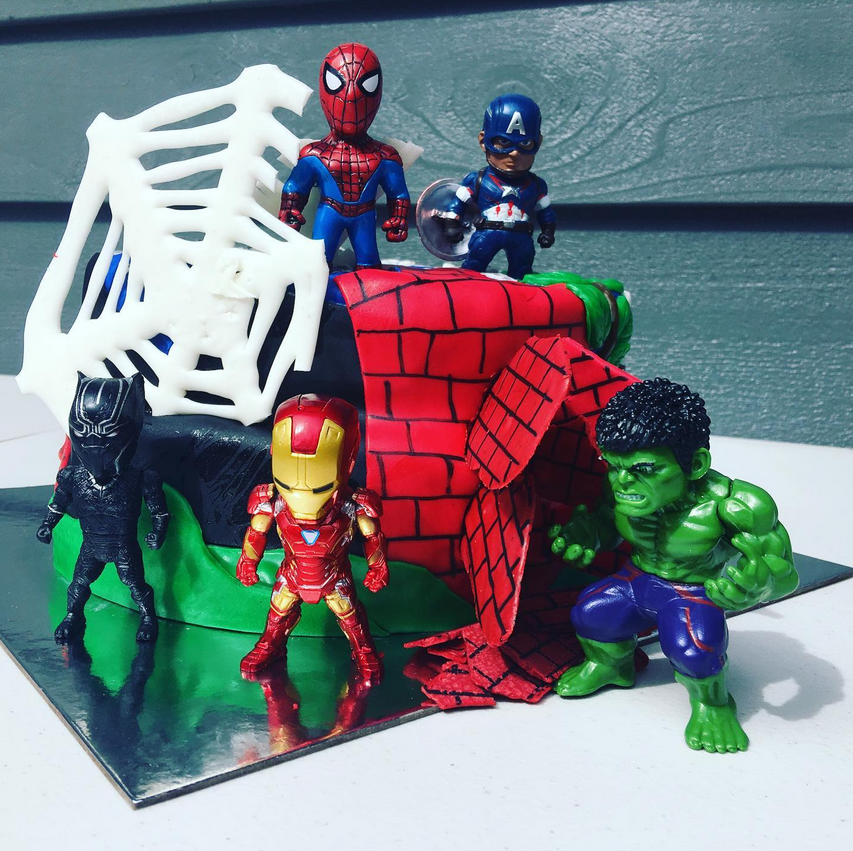
Super hero birthday
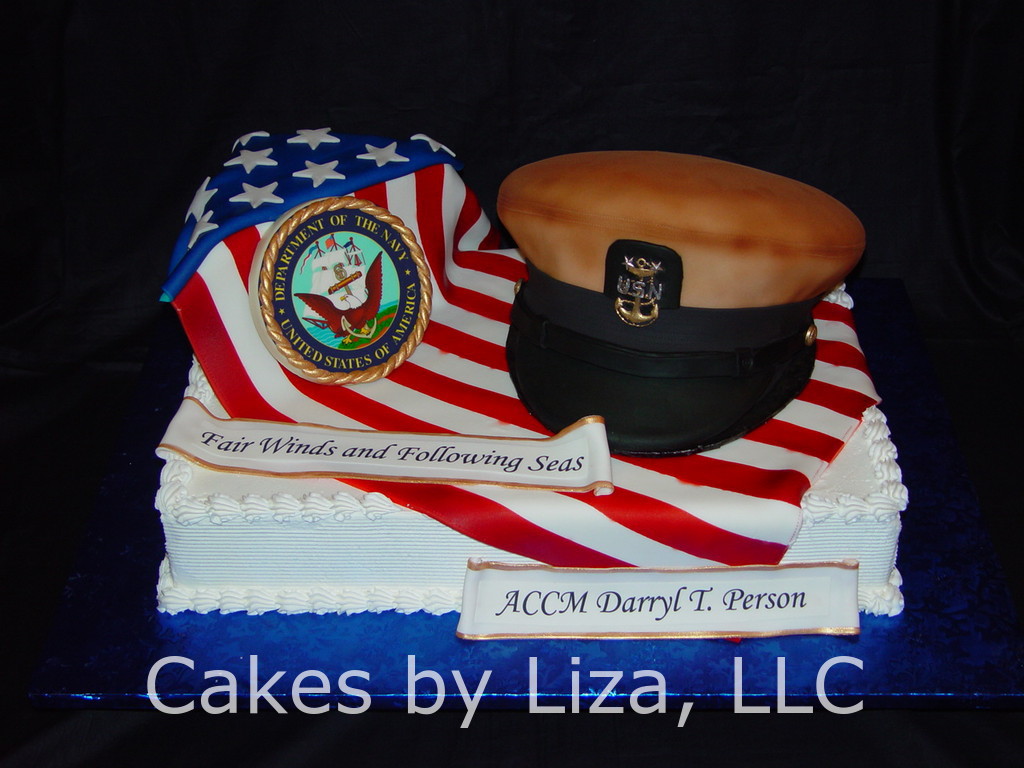


Navy Retirement Cake. Inspiration cake and my cake with the medalion that was placed against the center wave in the flag.
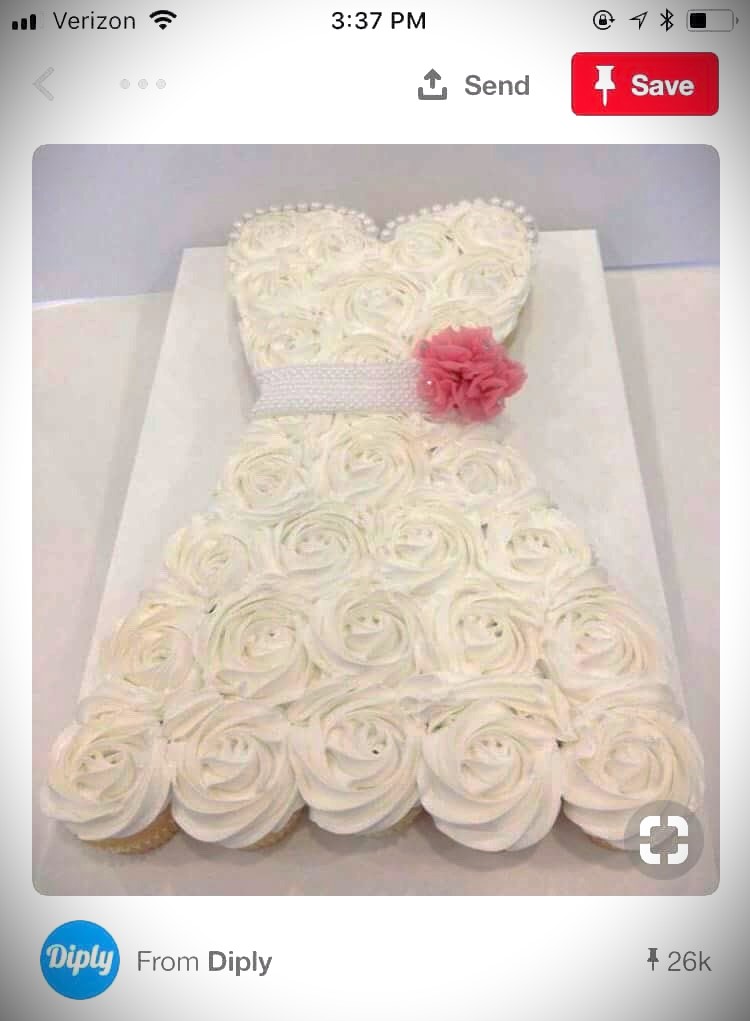

Bridal shower cupcake cake.
