
I don’t know about you, but I’ve seen too many videos talking about how to propagate ginger, all promising success. And yet I failed a few times. I followed all the directions. I tried rooting in water and just putting the root with node in soil. And following all the advice nothing happened.
Now a person not secure in their gardening skills will think that they have a black thumb, they can’t grow grow ginger. But I want to tell you that you absolutely CAN grow ginger!!! It’s not that you’ve failed. It’s just that you didn’t find a method that works for you.
Before you check out on growing ginger, take a read here and see if this method will fit you.
The problem I had with all the standard methods is that I have absolutely no idea why I failed.
Can you relate?
If I knew how I failed I could make corrections. But when I don’t know I’m flying blind. And in all actuality I had chalked it up that I would just have to buy ginger for the rest of my life. And so I bought ginger.
Unfortunately I forgot my ginger, because I still had my two ginger seasonings on hand (coarse ginger and ground ginger). It wasn’t until I was running low that I remembered that I had bought a root and it was finally time to process that root to renew my herb stash.

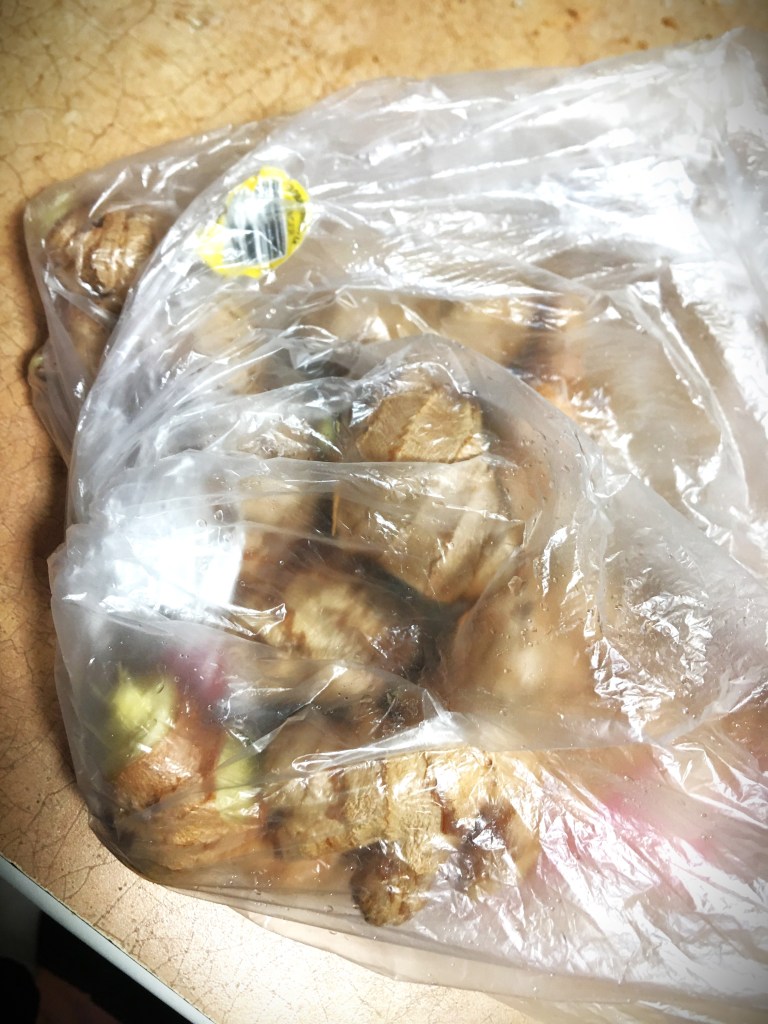
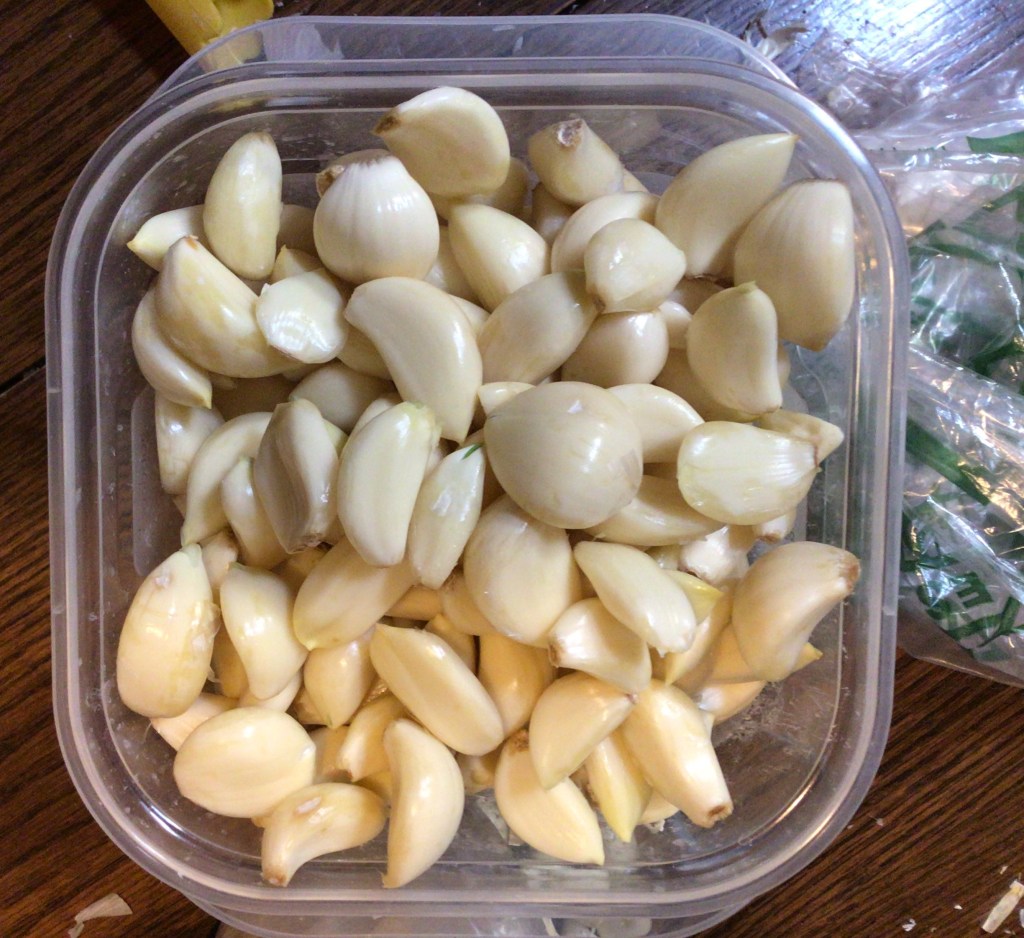
Imagine my surprise when my neglected ginger, still in the produce bag, had about a dozen nodules with red tips on them! While I had convinced myself that I would not do another ginger experimentation to grow, I seriously couldn’t resist what I had accidentally done in my kitchen, just by being a busy mom and letting something fall through the cracks.
Instead of trying one of the other methods that I had already failed at, I decided to try something that I was already successful at, this time around. I let the ginger tell me what we were going to do. As a massive bonus, I entered a botany lesson that I never learned in any college course.


Success #1 was simply letting the ginger sit in plastic, room temperature on my kitchen counter.
When I say “success” I want you to know that it doesn’t mean that I actually grew a ginger plant. For the first time I actually grew roots in the nodes!
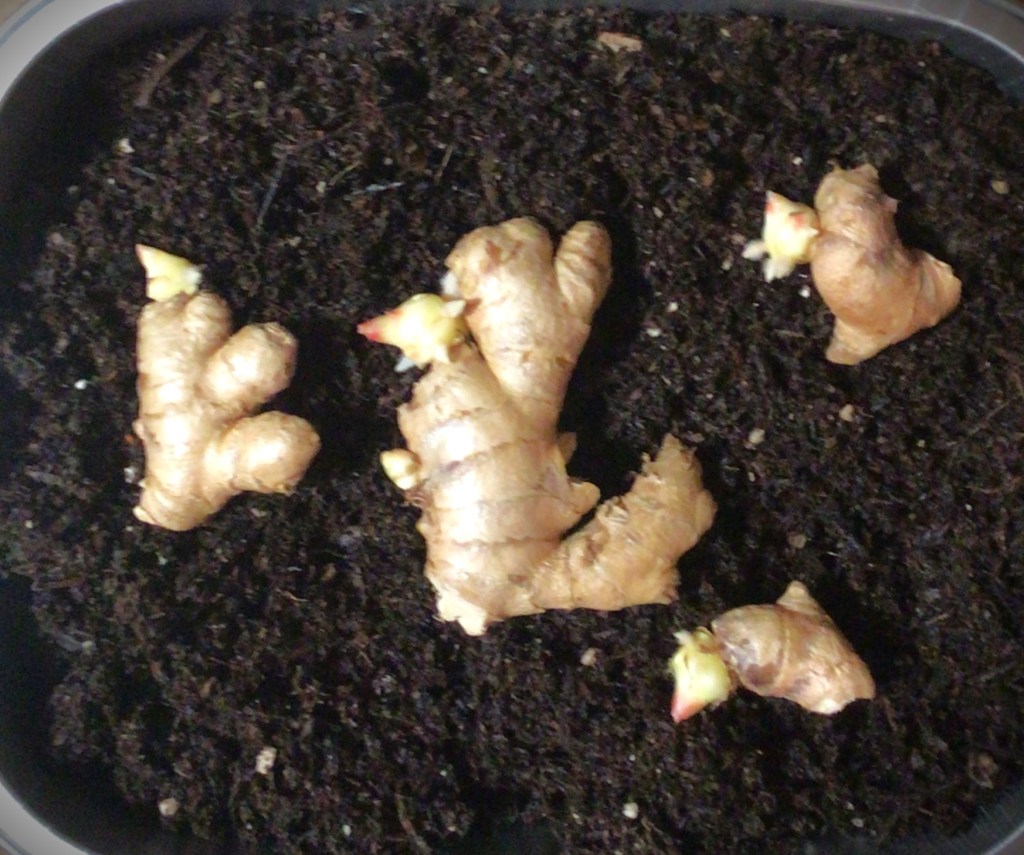
I don’t know where I thought the roots would come from. If I had to guess, I would have thought the roots would have come from the brown scaled portion of the rhizome. I never would have guessed that the roots would come from the nodes themselves! So when I saw these first glimpses of roots, that was what made me commit to seeing this through one more time.
So at this point, I cut the sections that had the nodes with emerging roots from the original rhizome. I washed them and soaked these pieces in water for about 15 minutes before putting them in the lidded tupperware. Because the produce bag was enough to grow these nodes and roots, I wanted to continue this environment. And because I know that terrariums are viable grow environments, I switched from the plastic bag and moved toward a terrarium. With wetted skin and a semi closed system (setting the lid down on the bowl without pressing it sealed shut), I moved forward to see what would happen. (The rest of the rhizome with rootless nodes, I left them in the produce bag to see if the roots would grow.)
The bonus of continuing in this exposed manner, I have full control to make choices based off of observation. If the root dries out, I simply spray some water in the bowl and “close” the system again. If the rhizomes start to shrivel, I have the option of placing these bits into some soil to supplement nutrients. (However that was a last ditch effort in my mind because I’ve grown potatoes over successive season and have seen how depleted a potato can become with sprouts and still successfully grow a potato plant and a new generation of potatoes. And I’ve taken it down to where a potato has little left inside the skin.)
If you can see in the upper right corner of the picture, the top node has obvious growth that occurred in the time I had it in the plastic container. I was concerned that these roots were being infected with mold and that I was losing the ginger. I didn’t necessarily smell mold but I also didn’t know what it was that was making my root look more like an enlarged moth antennae.
Taking the node with the largest “moth antennae” root, I tried to “wash” the white fuzz off. It didn’t want to come off. So I took a knife and tried to gently scrape the fuzz off. It flaked off. And it was then that I understood that this phase of “fuzzy root” is normal. The part that flaked off showed an exposed root similar to those pictures that you can find online that strips the enamel off of a tooth and show you what the dent, underneath, looks like.
My translation of this observation is that the stage of rooting was ready for soil. It just seems natural that the filament extension of the root is the ginger’s way of seeking out nutrients to grow. Wanting to have success this time around, I put the rhizomes into potting soil. But first I had to cut the rhizomes down to orientate the nodes so that they face up.

Why did I cut the rhizomes???
It’s a legitimate question! My original thought, when doing this was that I only had a shallow dish to plant these in. Hind thought, this probably wasn’t the best idea. The whole point in growing ginger is to get roots that you can harvest in a year. The small bits that they were before would have made it for a successful harvest in a year. These small of pieces probably won’t. I probably hamstringed myself and extended my time to harvest because ginger is a slow grower to begin with.
The good news is that as of time of time writing, all my ginger is thriving and doing quite well. Not a single piece has died. I’m just anxious for some growth to take off. But I’m ahead of myself.
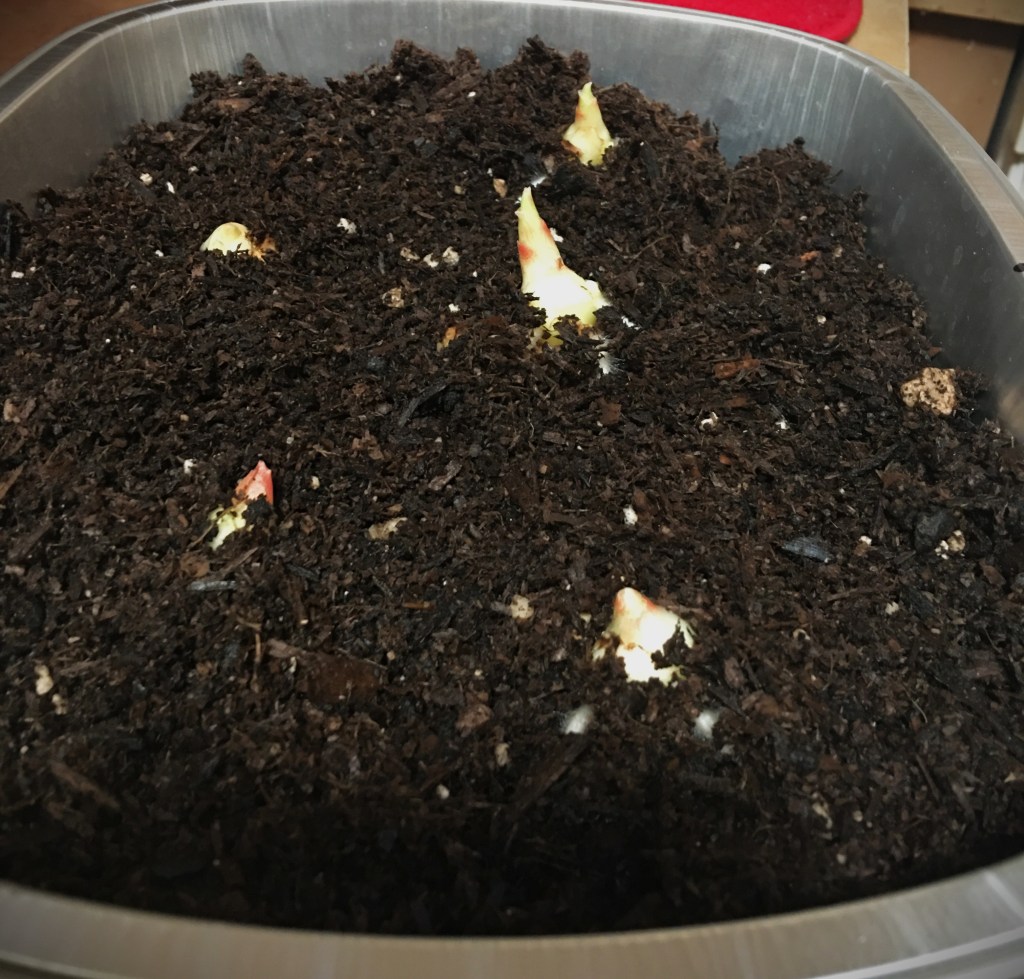
Once I positioned the nodes facing upward, I went ahead and added a layer of potting soil up on top and left the node tips pointing out.
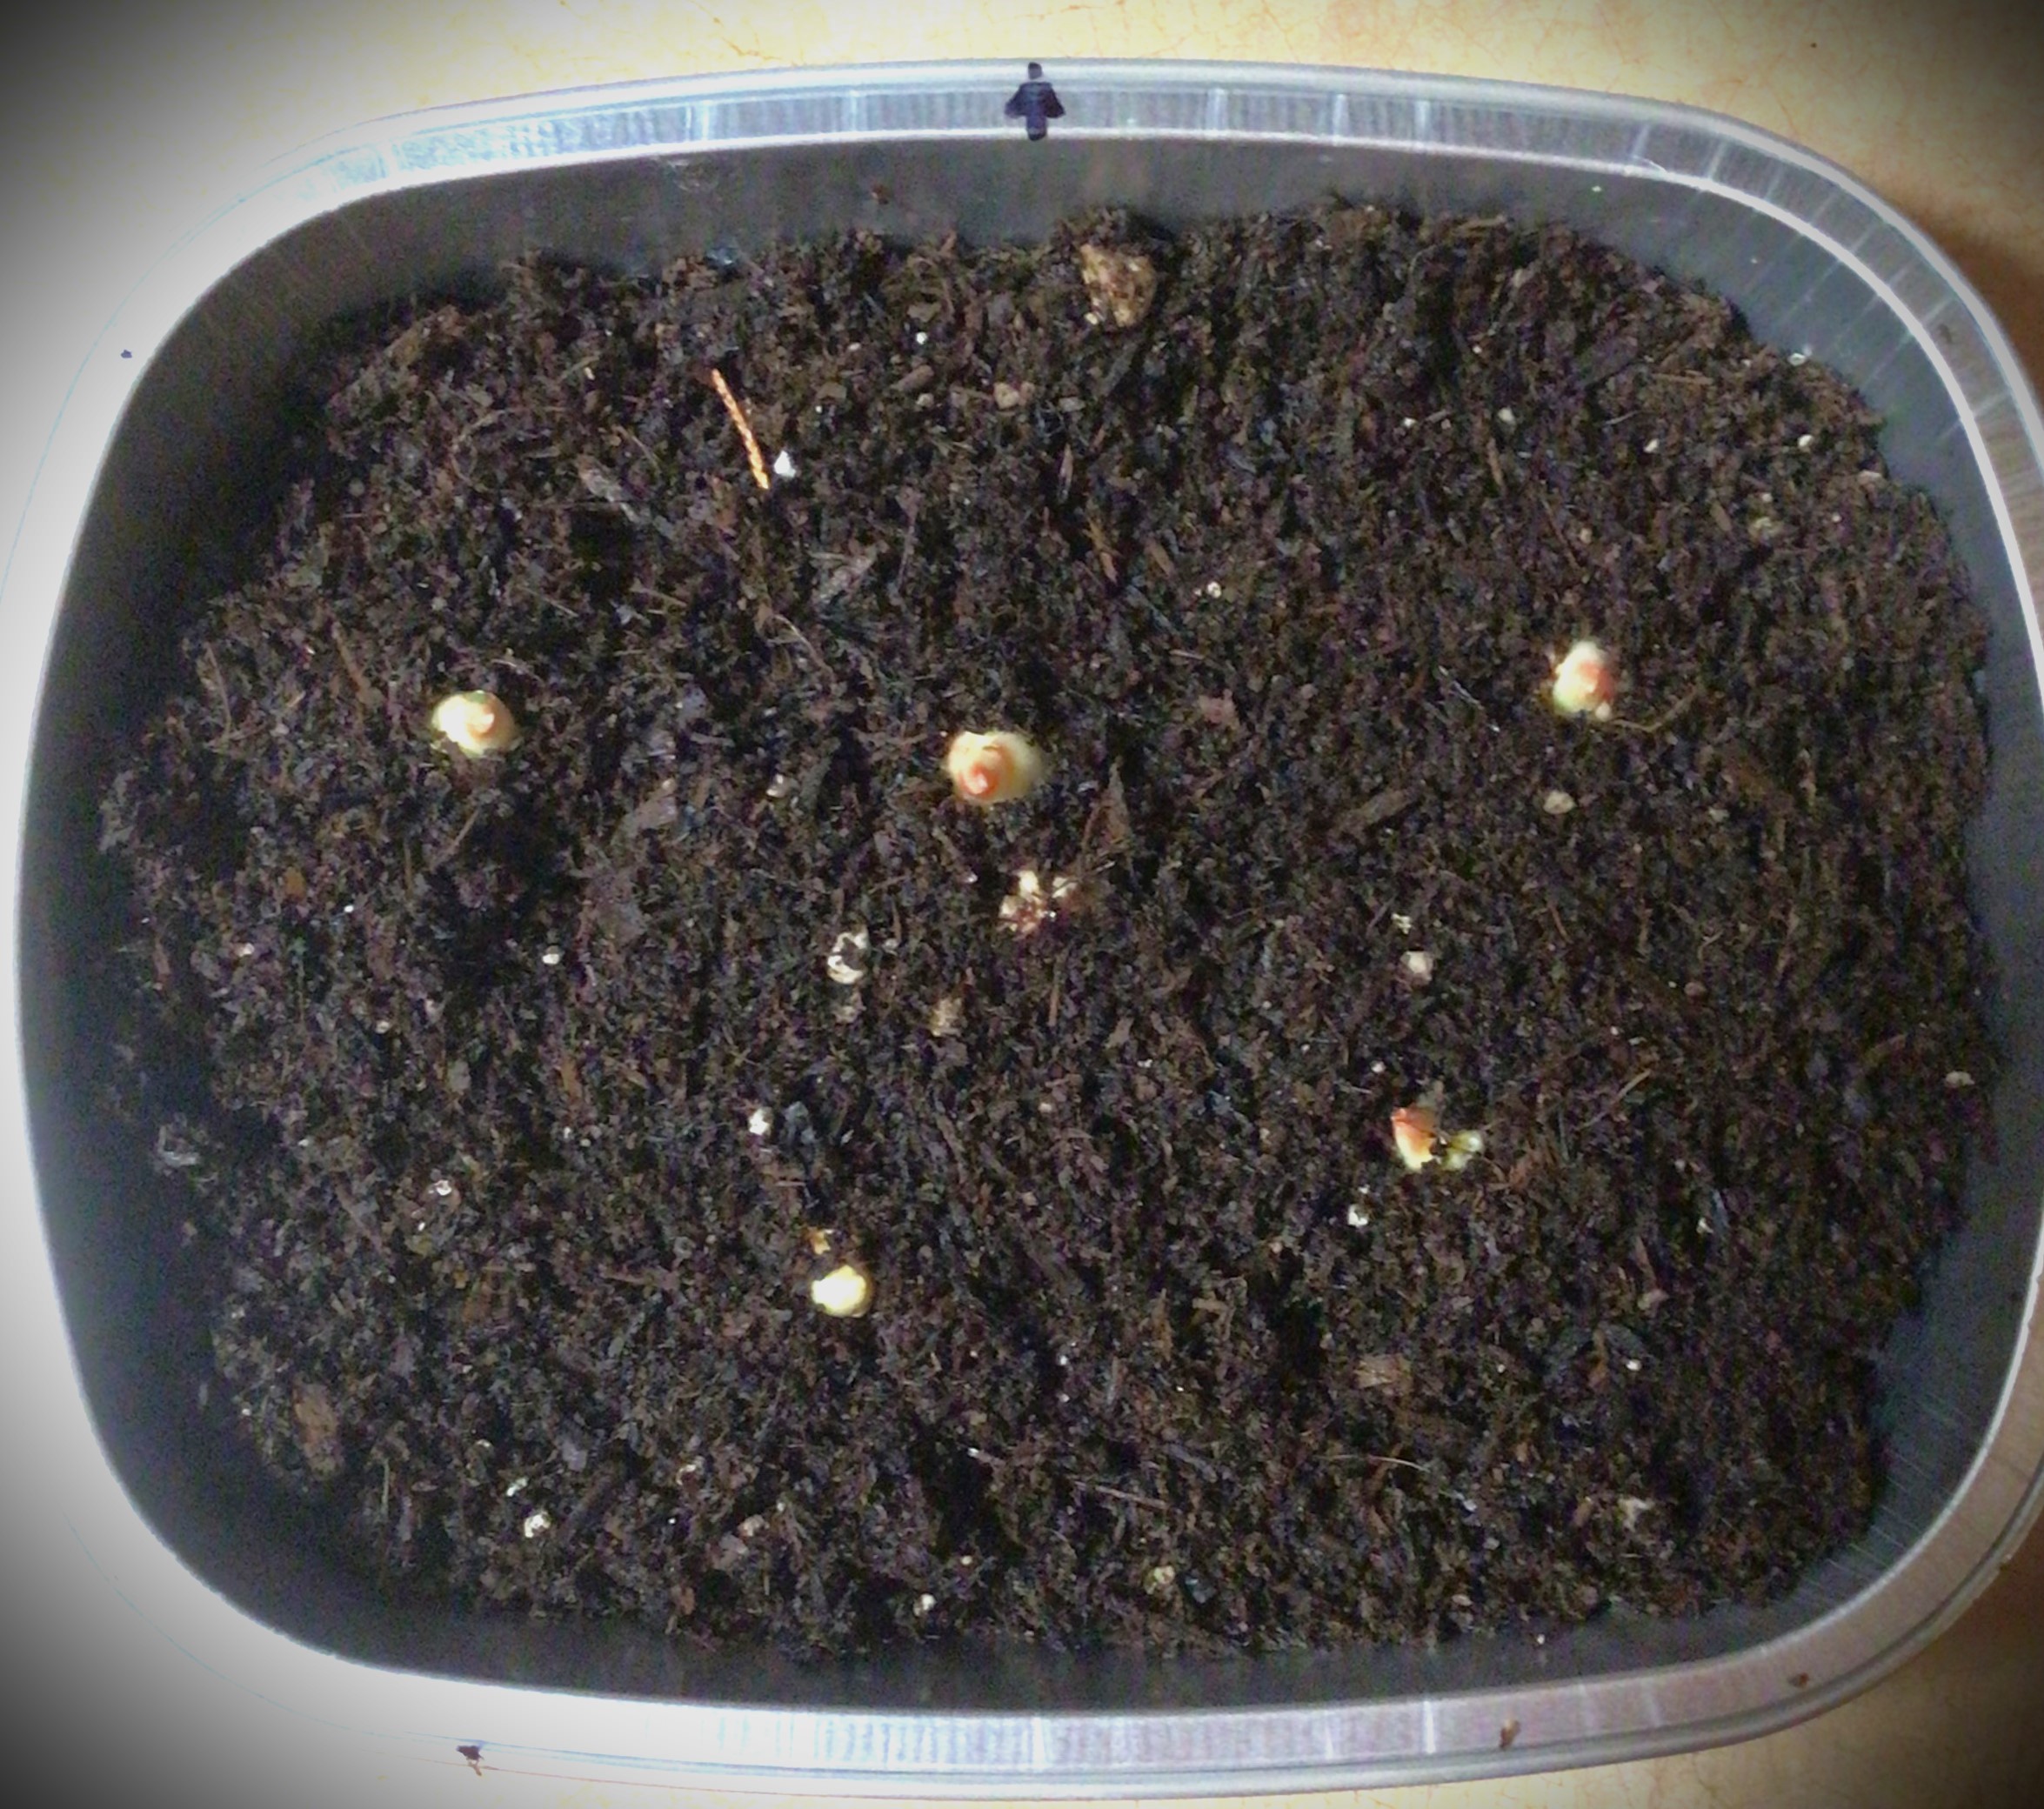
To keep their terrarium feel still going, I took a sheet of plastic wrap and created a layer on top of this cooking sheet. That central node and one other was above the rim level, so I sliced holes in the plastic wrap for the nodes to poke up through.
The slices in the plastic also double as a slight air flow to keep the potting soil from growing mold as well.
At this point I set the ginger aside to have some more grow time. And in the mean time I set out to understand the “fuzzy roots”.


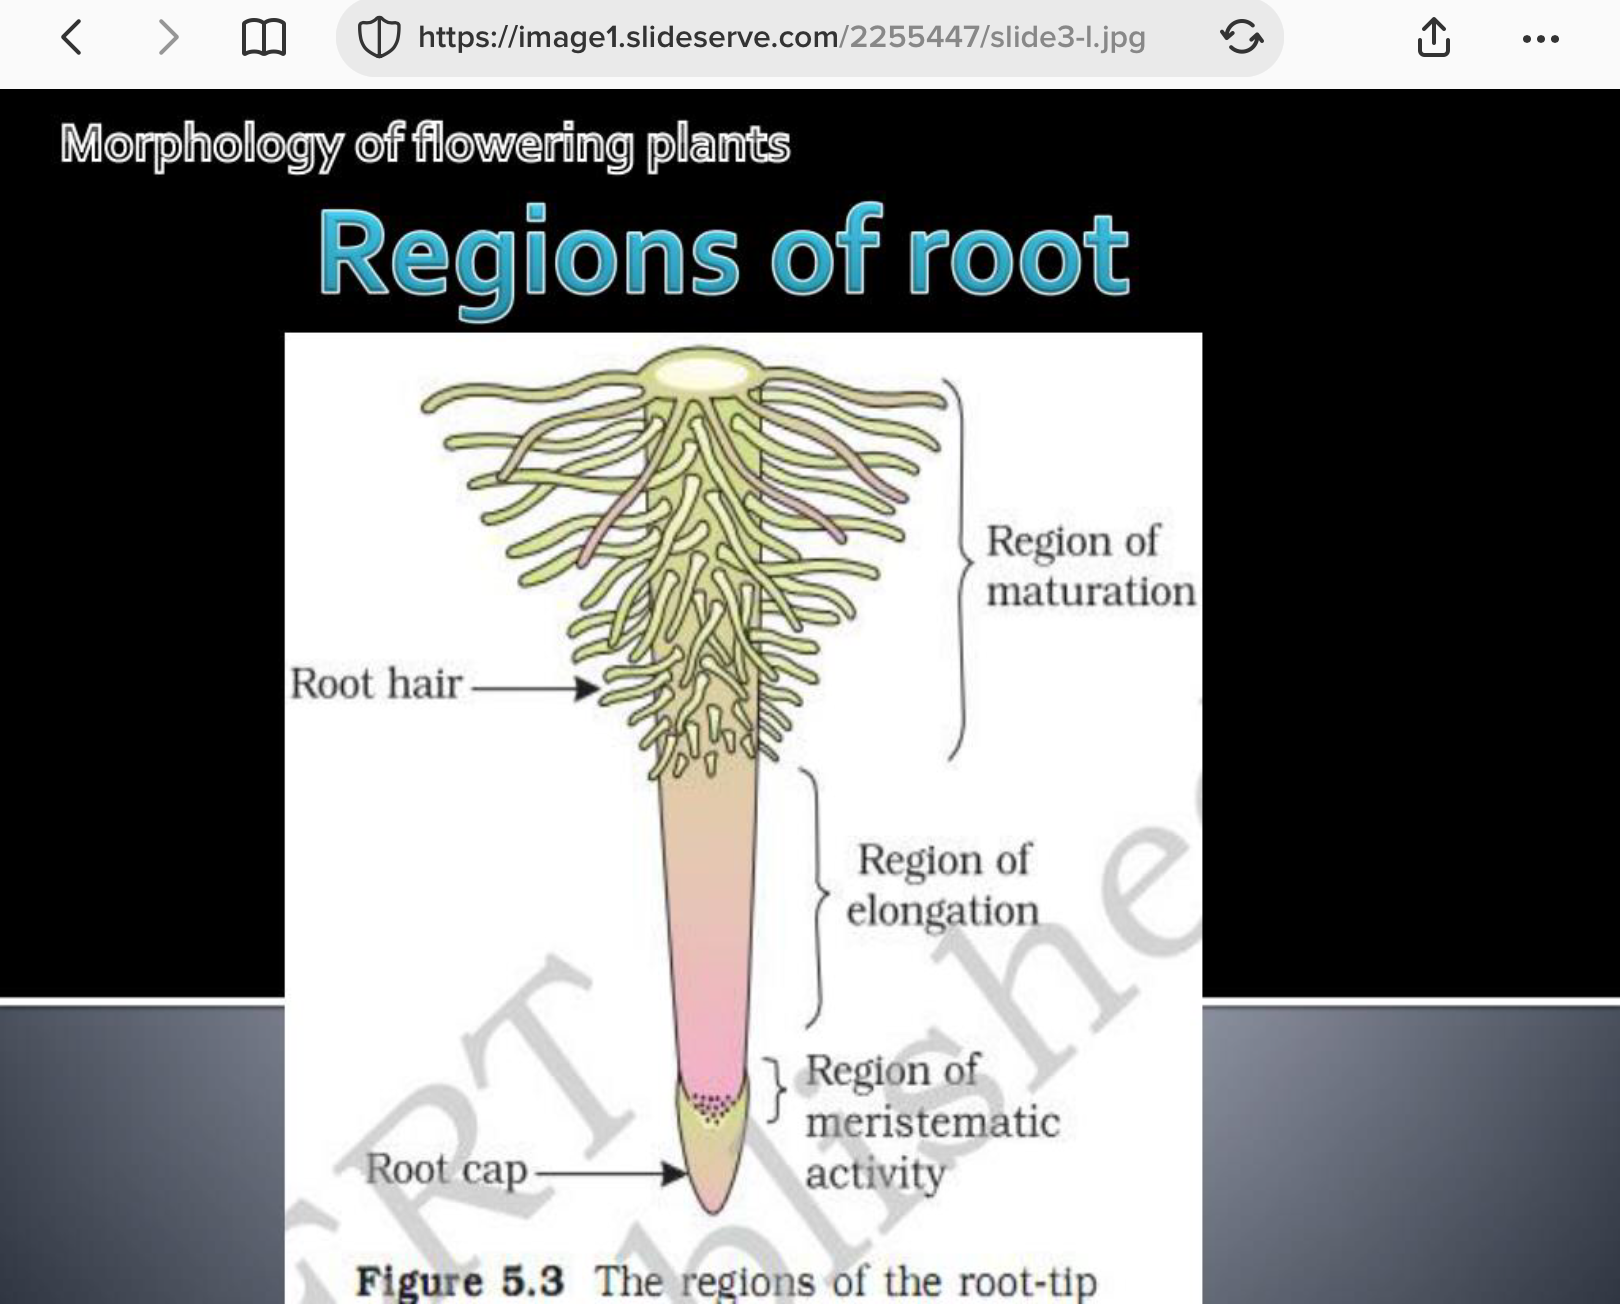
I didn’t get my answers until I came across someone’s dissertation and posting of slides for their report. If you want to get to know ginger like you’ve never seen before, check out these three pictures! All of a sudden it made sense why the roots were coming out of the node and that “fuzzy roots” are part of the anatomy of ginger. (Full disclosure, the third picture is not ginger. In this dissertation, ginger was barely mentioned in comparison to the other plants. I include this diagram though because it’s the perfect depiction of what I was seeing in the “fuzzy roots” of my ginger. It gave me the assurance that I absolutely needed to know that what I was observing is natural and part of the growth process of ginger.)
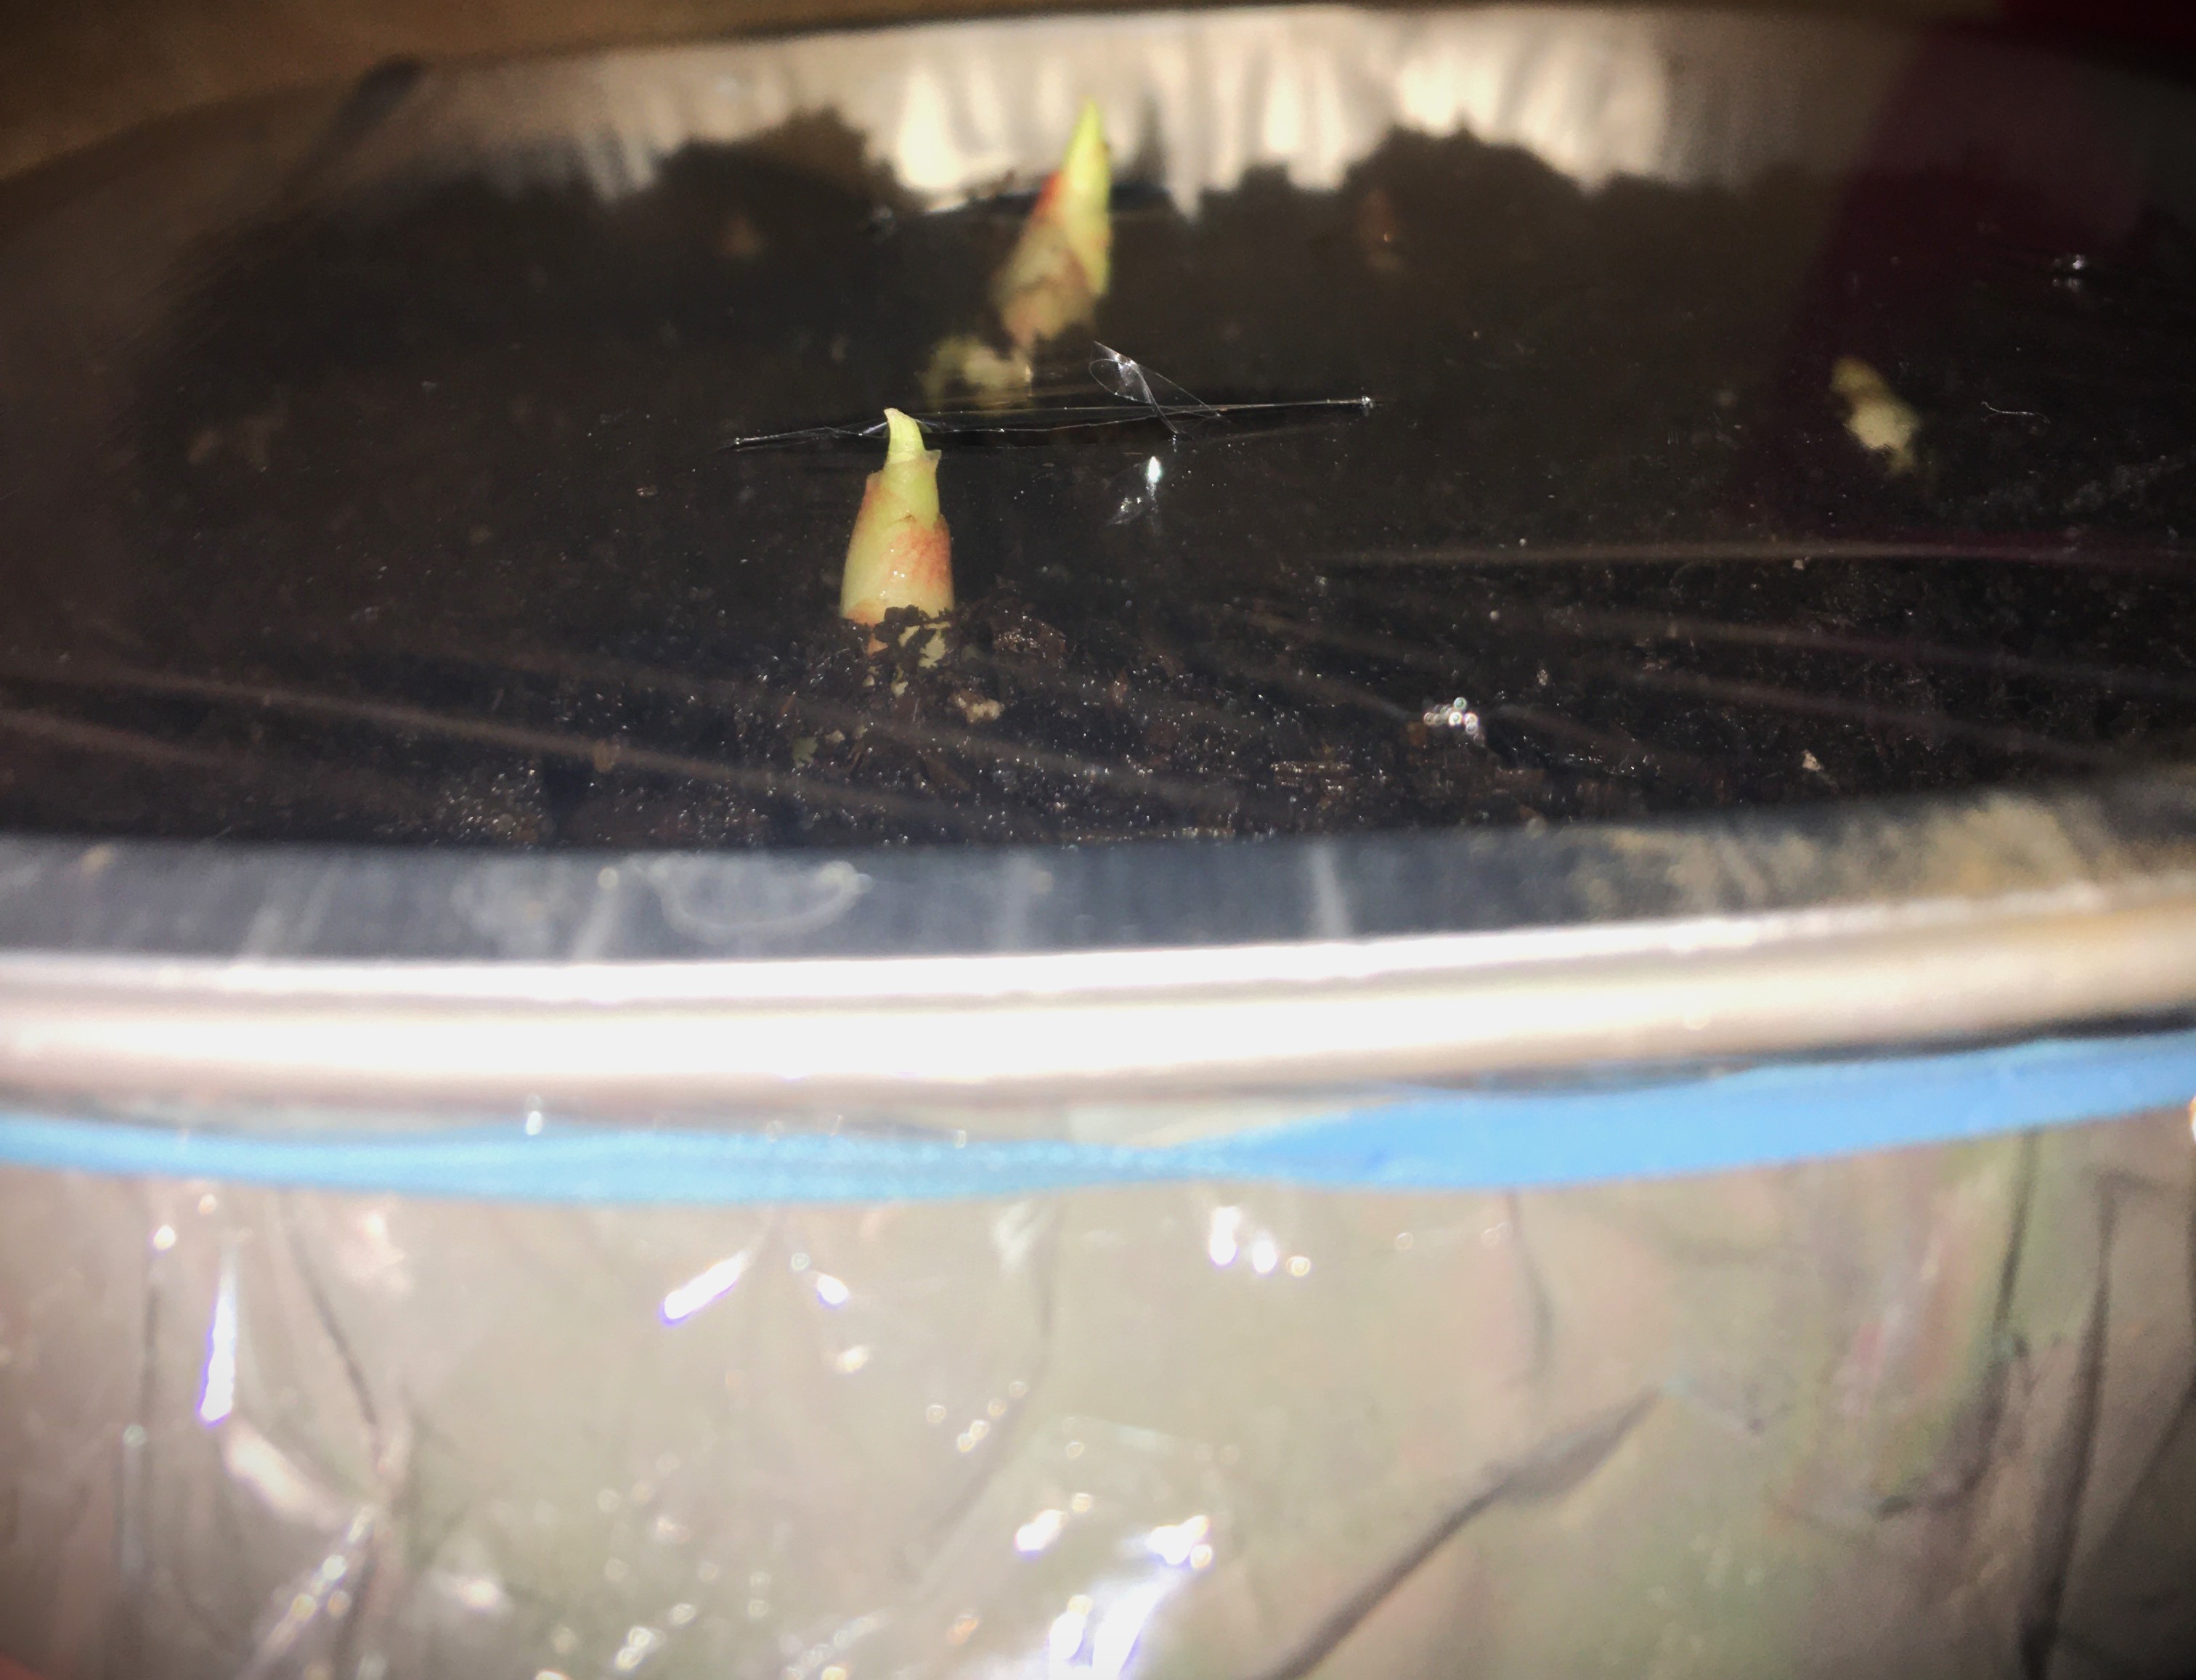
About two weeks later is when I couldn’t keep my patience any longer. I had to take a look at the root growth again. As you can see from the tip growth that things were progressing. But seeing how I’ve delved into understanding the root growth of ginger, curiosity was just getting the better of me.
I can’t tell you how excited I was!!!
All thoughts of ginger consumption set aside just look at this picture.
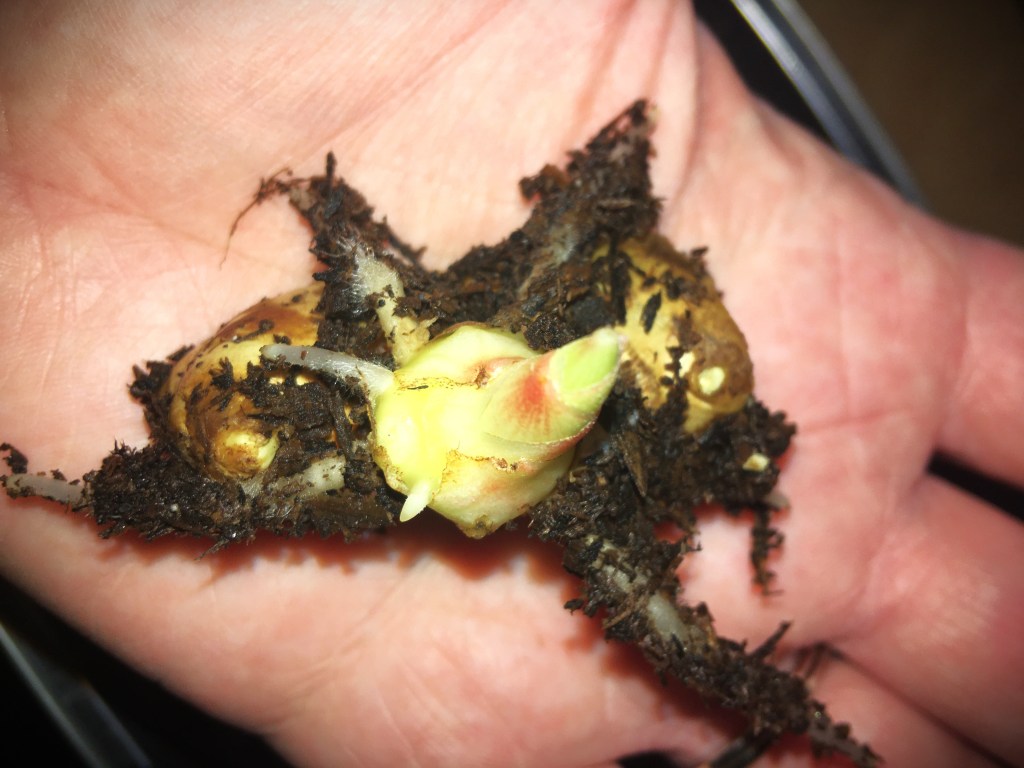
This is what we are missing when we grown ginger underground!!!
Look at that beautiful root growth!
I wish I knew what to say at this point. I’m still in awe and amazement at what this ginger decided to show me about itself. It honestly is discouraging at seeing excruciatingly slow scale leaf growth. Even now, if I didn’t have the commitment to study the root growth of ginger, I would have questioned this round of ginger growing. I would have questioned if this stalling meant that I was going to lose yet another round of ginger propagation. BUT when you take a look at those roots!
At this point I decided that I could rest assured that my ginger was going to thrive. I planted this start and the others I had made in the process (including the slow arriving ones that I had left in the bag at the beginning of this post).
If you have failed with growing ginger in the past, using other methods, see if doing something different creates different results for you. If you’re discouraged, set up your own trial where you too can look at the full life of ginger. If you want to have options in order to help your ginger grow, this might be the method for you. I haven’t seen anyone else try this method of ginger propagation, so I’m going to call it Root Growth Observation because you watch who the roots are growing in order to move on to the next step and support your ginger in its growth.
If you’ve had difficulty propagating ginger, what worked for you?
Have you tried something like this?
Tell me all about the process you went through.


Leave a comment