Extended Life or Heirlooms

Part 3 and Finale to Make A File Do More

To end this series on Make A File Do More, I want to switch things up a little bit. Instead of a file, I want to focus today on how to make a Statement Piece work more for you.

This is particularly important for DIY Brides. You do everything you can to make your budget stretch the farthest for you. And the best way you can do that, is incorporate as many décor elements into furnishing your new home.

Instead of using cut flowers, for table centerpieces, use live flowers. When the wedding is over you can then plant the flowers in your flower beds or planter boxes.

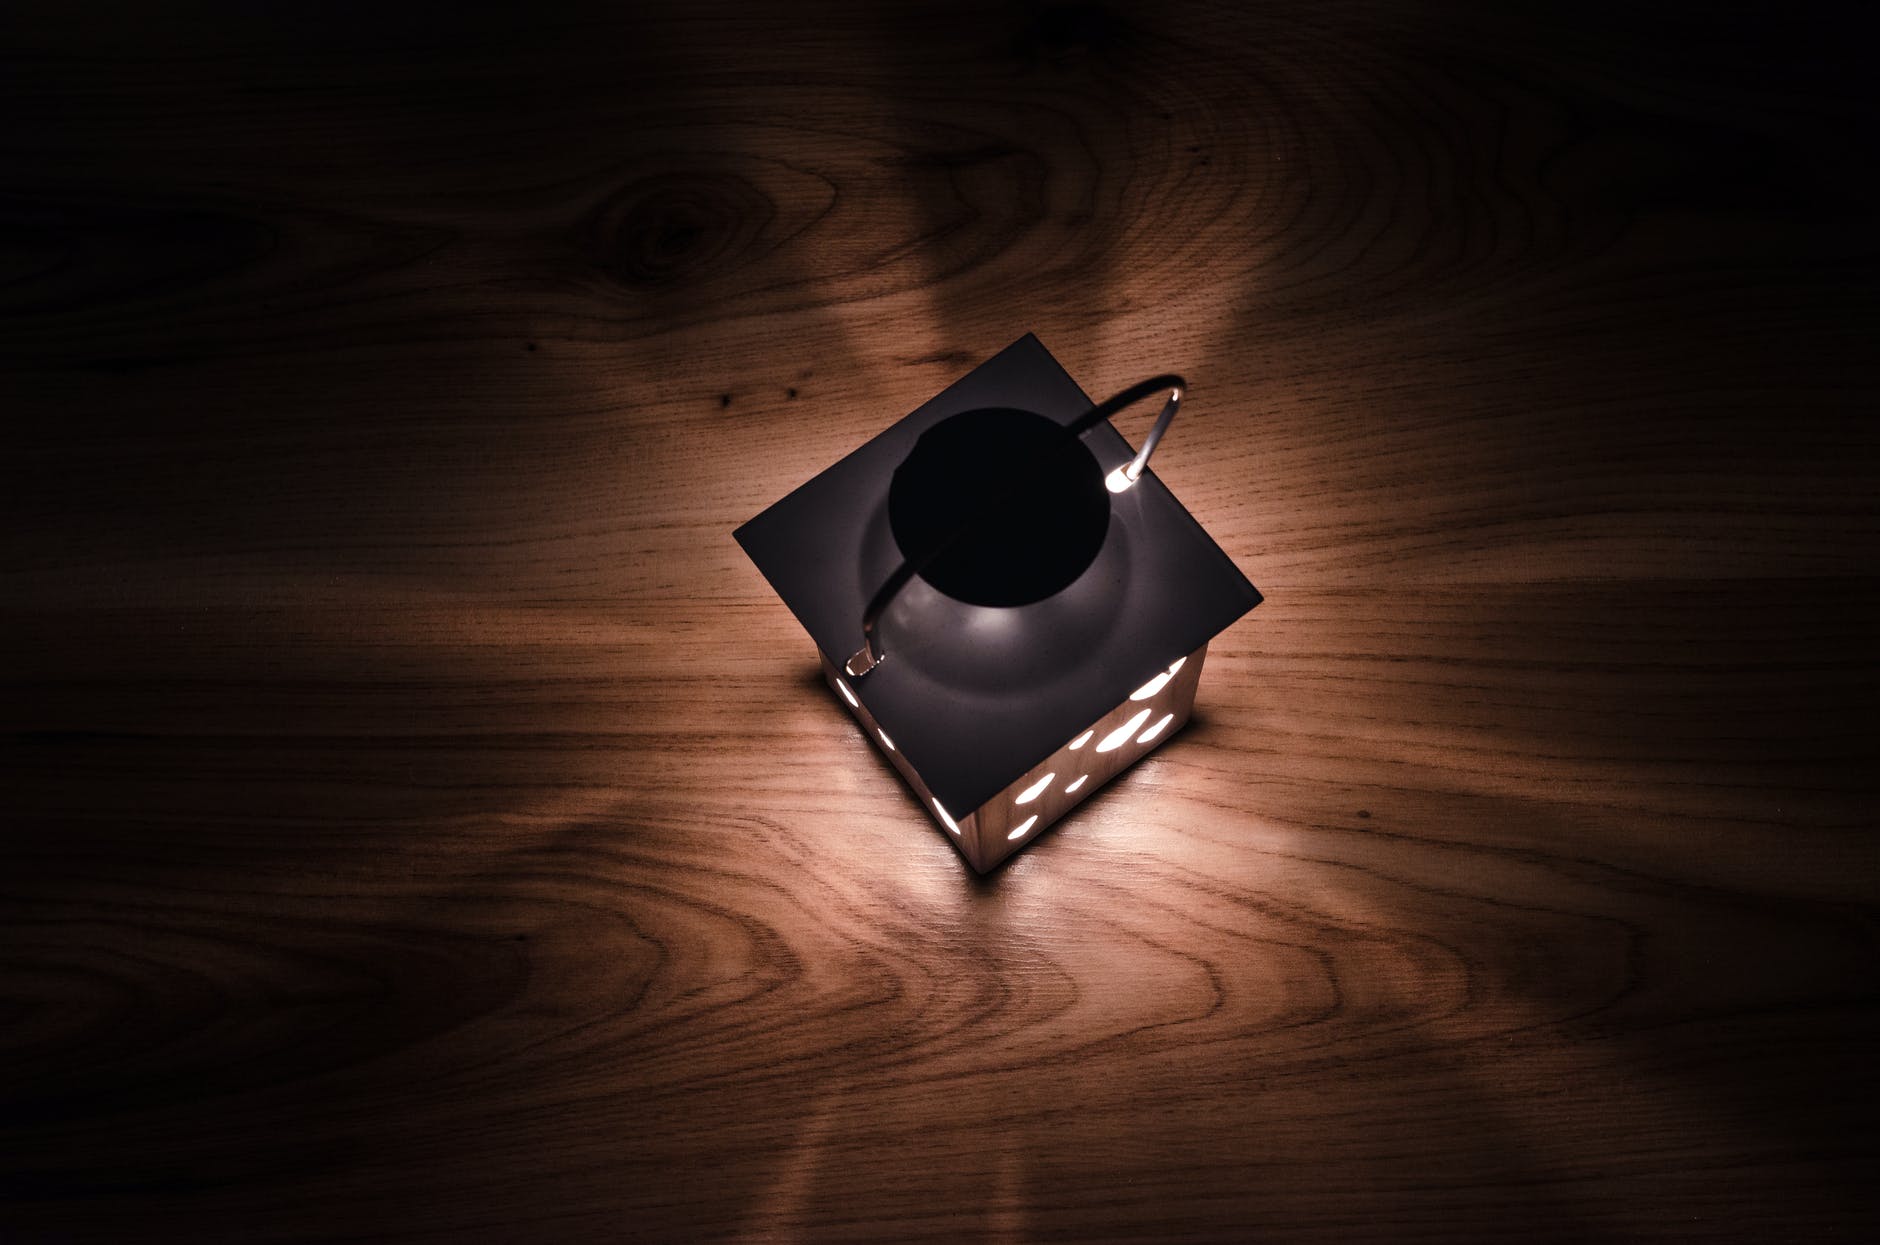
For your entryway table incorporate lighting from unique lamps that can be used for your bedside lighting. Mind you, I’m not talking about your standard lamp. Use lamps that have character. Think along the lines of art deco glass, stain glass, jet beads, frosted glass orbs, or even something that reminds your guests of Chihuly glass art.

Advertisements

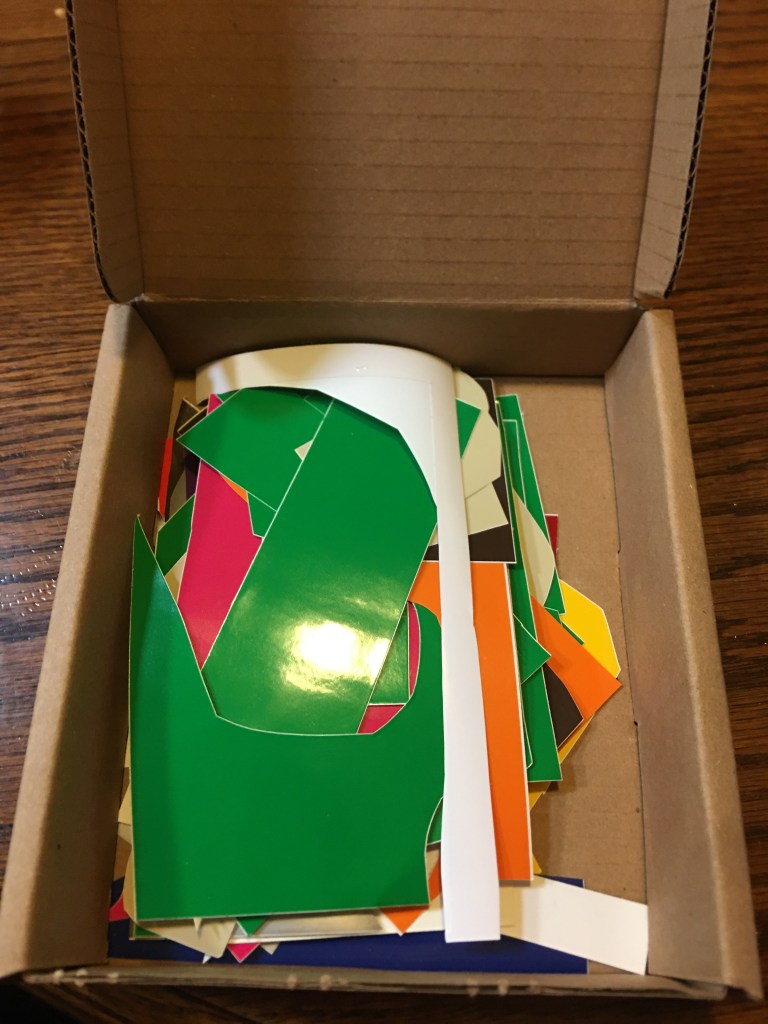
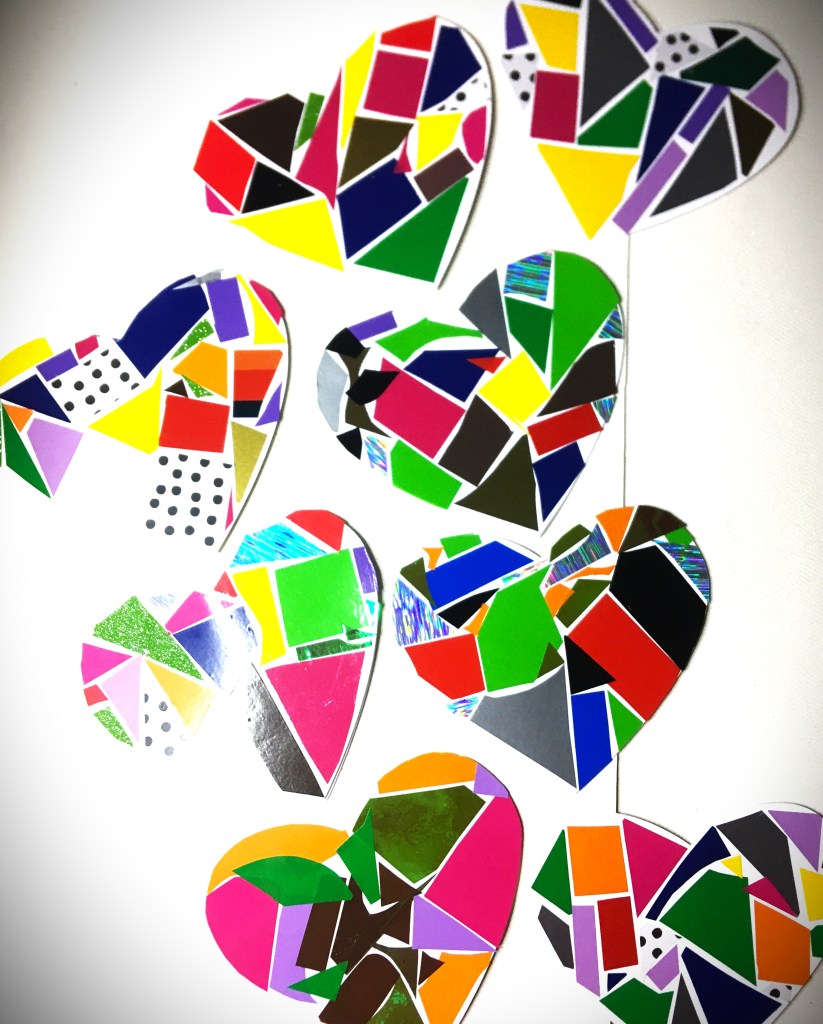
In this case, I want to show you how you can take a piece of art and reuse it over and over again.

Maybe you have a loved one who gifted you a needle point, painting, hand drawing, or other memorabilia. And you want to honor that loved one. Use it as part of your wedding décor. And then after the wedding, you can use it, or give it a place of honor in your home. This is particularly true with beloved items that are placed in a shadow box. You can use a removable vinyl on the glass, with a wedding or love quote. Then when the wedding is over, you can remove this vinyl detail and use the item as a more day to day item.

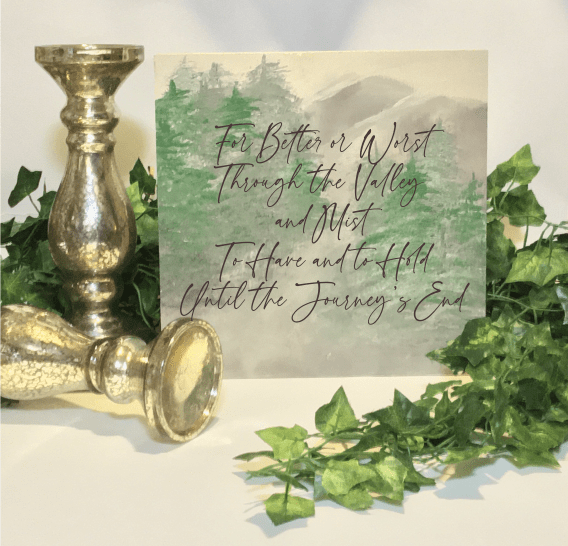
I’m going to use this painting.

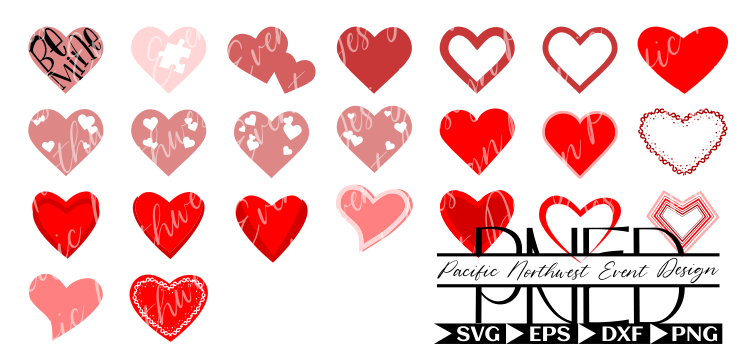
For a wedding or anniversary setting I have this quote, Better or Worse. It can be used on any number of table type settings. It even works for centerpiece arrangements. (If you find a collection of quotes you love, you can have a different quote at each table. Then after the wedding you can have a tile work collage of quotes on a focal wall in your home.)

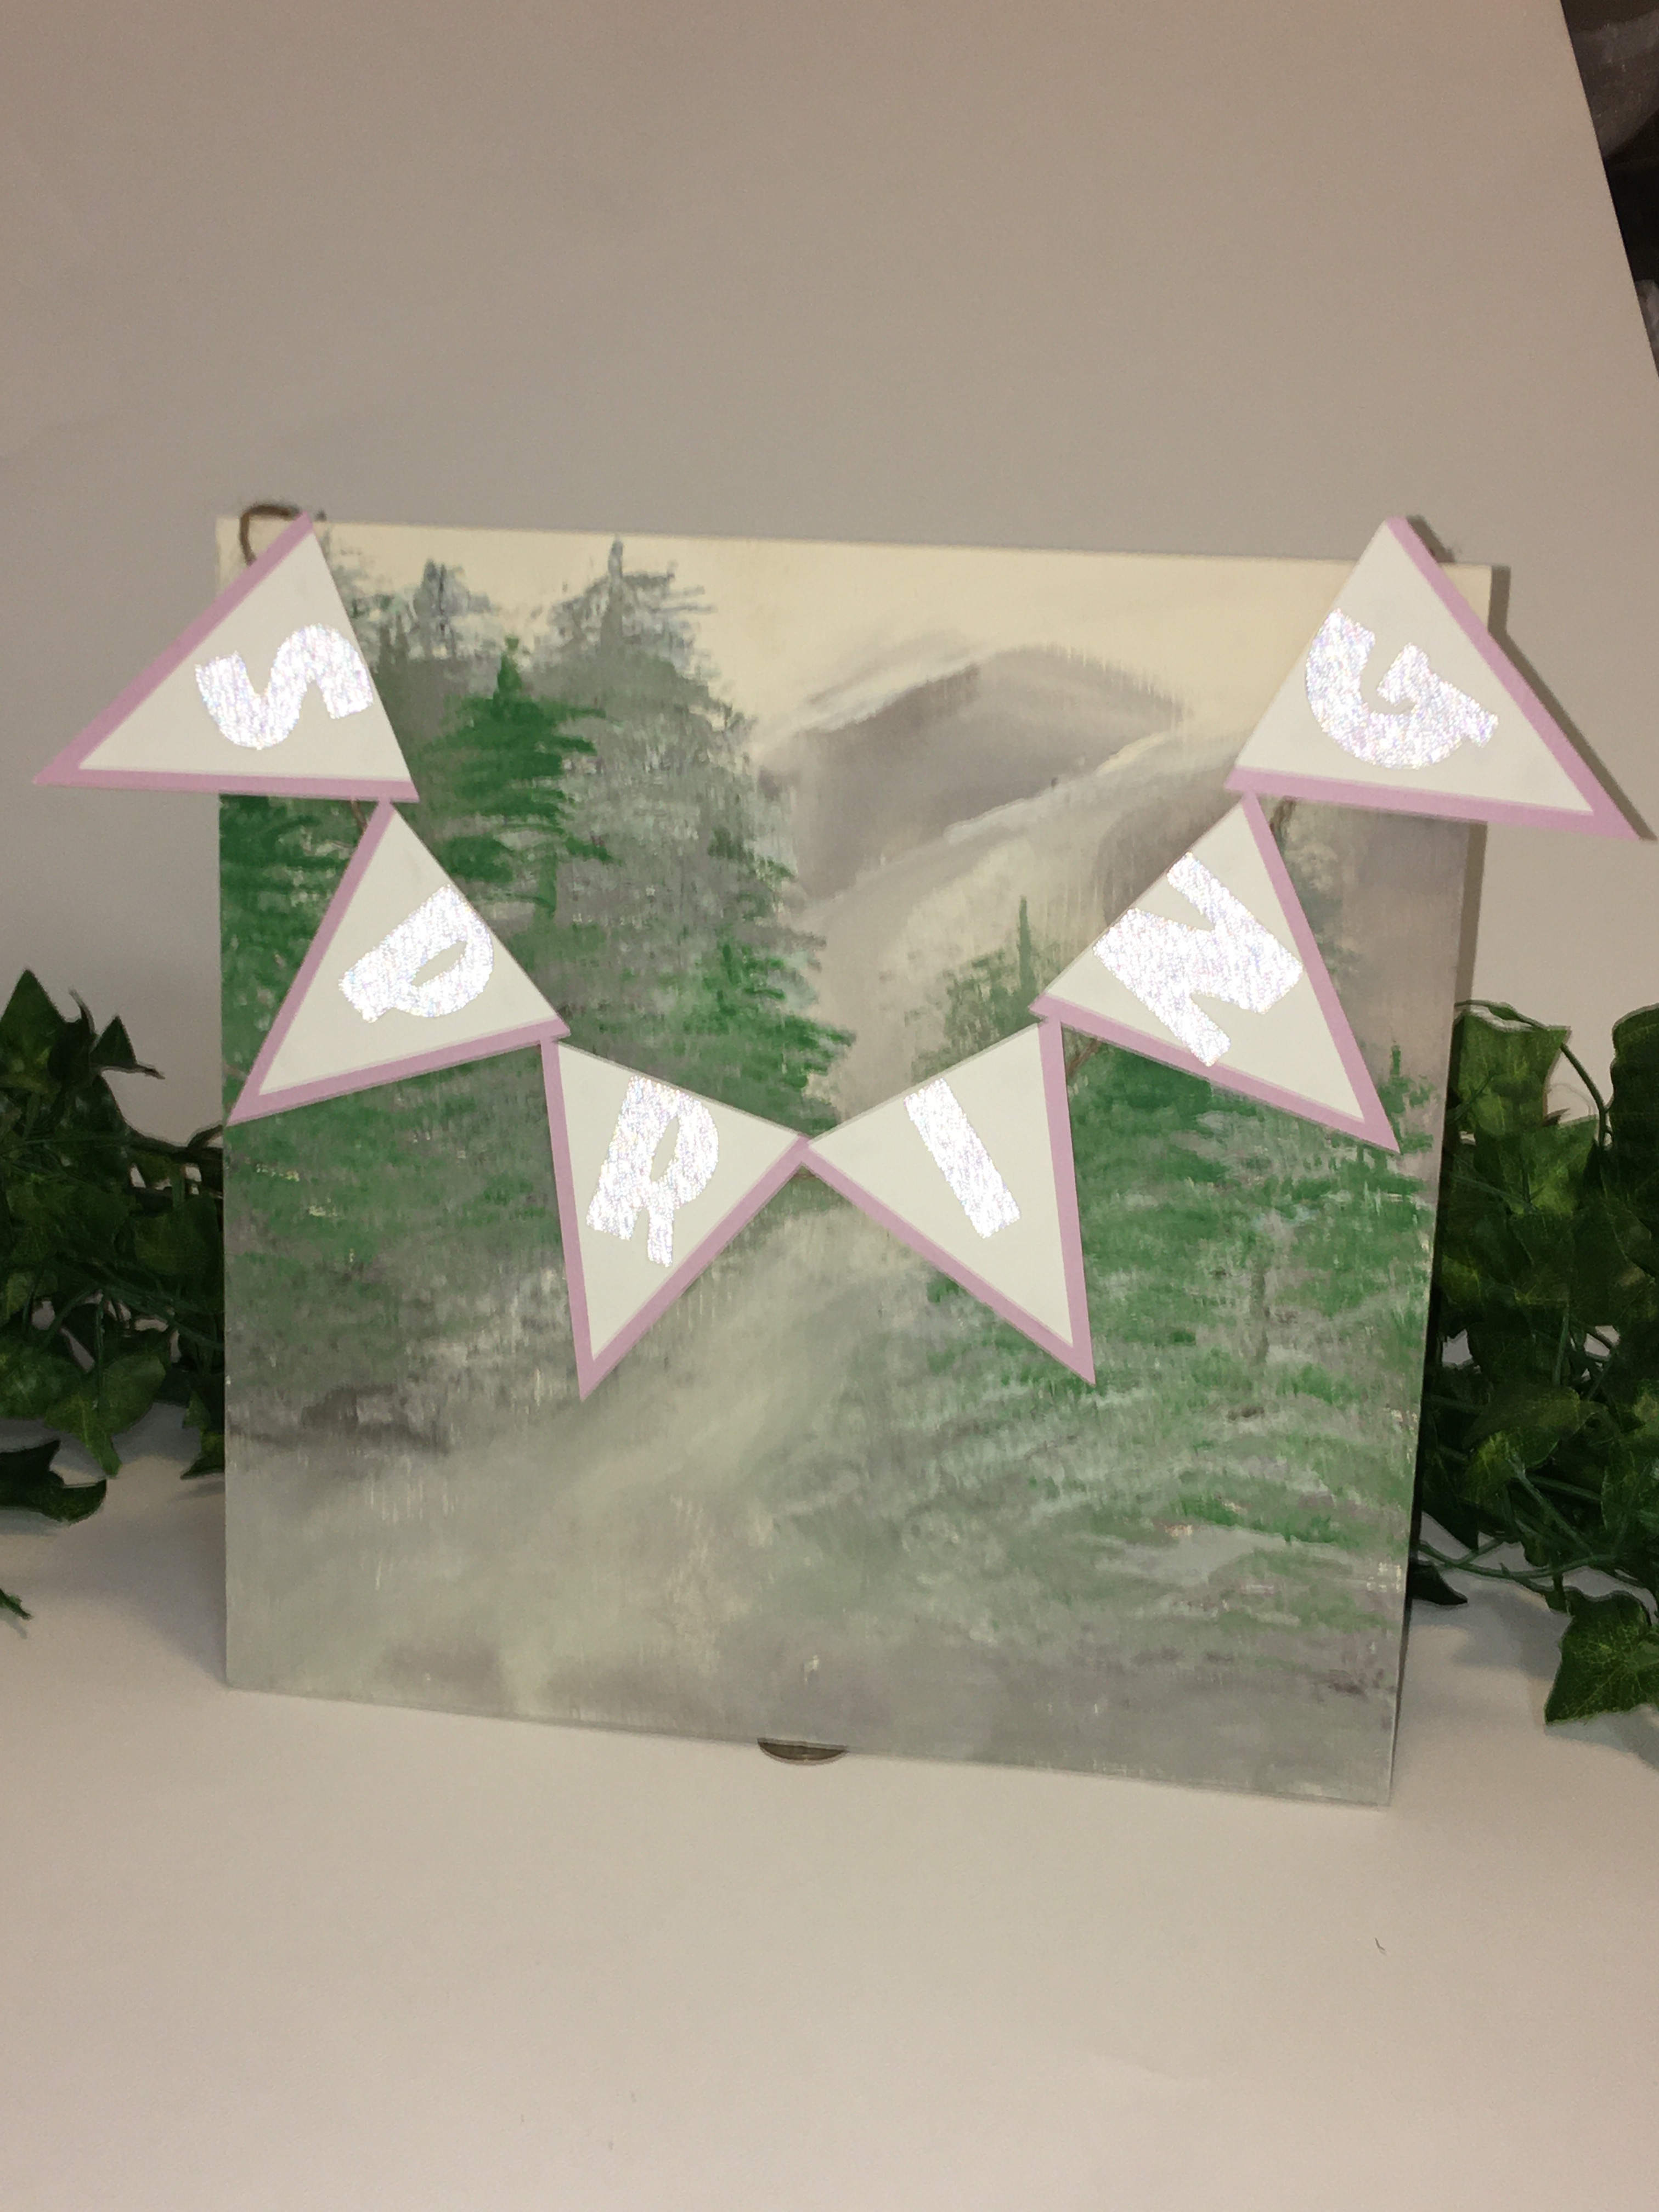
As another option, for after the wedding, is a seasonal display that so many crafting groups create year round; whether coasters, seasonal blocks, seasonal tiered trays, or another format.

I have not yet pulled out my Easter decorations, but I did make a spring pennant to drape over the top. And once I locate my kiddos’ Easter baskets and other décor items, I have the perfect backdrop for a spring and Easter Display.

Advertisements

So whether you are looking to make a cut file have an extended life in your crafting season, use one item over and over again to bring cohesion in an otherwise eclectic event design, or finding a way to bring added life to items that may otherwise have no life with your family after an event, DO NOT be afraid to think outside the box. Be unique. Find ideas and ways of giving décor items and crafts more life instead of being disposable. We don’t life in a society that talk about heirlooms anymore. But this was a part of life with the generations before ours. We all dream of things we make being passed down to those who come after us, as living memories. Maybe we have items that will. But the one thing that is completely in our control is giving as much life and purpose to things that we celebrate our milestones with.

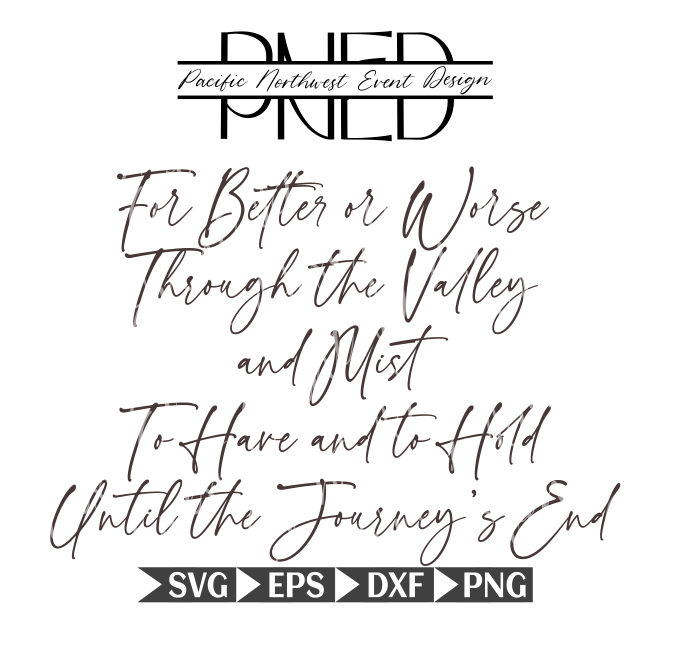
The file used today, Better or Worse, is perfect for all of your wedding and anniversary needs!

Processing…
Success! You're on the list.

Make A File Do More Part 2

Make that one thing be the end all, be all of your design. Let it be the heart beat in every element that you put out. It doesn’t have to on everything. But that one idea is repeated enough everywhere that it forces all of the other ideas and elements to merge into that one idea. Everything else becomes backup singers or backup dancers to that one idea that you make shine!

Using a Birthday Train File for a Child’s Birthday

Use #1: Cake Topper

Last week I started a miniseries, Make A File Do More. And this week I want to show you how I personally made one cut file to make all the decorations for my son’s birthday. (Please excuse some of the photos. I wanted to make sure to get this posted without causing further delay on reshooting some of the items and editing. Photos will be swapped out in a couple days to better renditions.)

For each of my boys’ birthdays, I give them the option of their theme and I make decorations for them. This year my son wanted a Train birthday. I pulled out the file I made for Easter last year and I updated it with birthday balloons and an added insert to make 3-D Table Top decorations.

The only files that I used for my son’s party, and this blog, are Birthday Train and 3D Train Frame.

As you can see here, we have an absolutely beautiful cut file that looks great in its original form. But as you see, with the cake topper above, it’s an even better as a blank canvas to personalize and use hand detailing to create something above and beyond.

Children’s birthday parties, what are the three standard decorating items for Children’s Birthday Parties? They are Cake Topper, Table Topper, and Banner/Bunting. Everyone gets them. And these items are standard products found in every store, even a dollar store. The one thing that box stores cannot sell are what YOU add and make a standard cut file into something special and unique for the person you are celebrating.

The great part of making one file work extra is that you can pick and choose what you want to use, and how you want to use it. For example, the train is 5 elements. For the Cake Topper, I chose the most important part of the train and then worked with the baker to make the cake and the decorations cohesive. The baker was excited to see me today, because all they saw were my notes asking them to move the white icing balloons in from the corner a little bit so that I could use them as the steam coming from the smoke stack of the Engine.

Let me tell you, when you’re in one industry you look forward to the unusual. It was unusual to ask for balloons to be turned into steam. And I’m sure it made their day! It definitely made my guest’s day. I’m happy because this was the easiest way to make train steam in my busy mom schedule. Otherwise, if I had the time, I totally could have gone the next step and got dry ice and rigged a system to produce actual “smoke” for the train. (Something I would create and recommend to my clients.)

As you’ll see with the 3D Train, you can even change up how you decorate within all your different components.

Instead of the “confetti shower” inside the train (Cake Topper and Banner/Bunting), you can create reflections on the window.

What I absolutely love about this cut file is how easy it is to combine with any other decorative element you want to choose to go with. If you’re party is on the budget, you can go to the dollar store and get the balloon print table cloths. You don’t even have to coordinate you paper plates. If you child literally went down the aisle and grabbed plates of one color, bowls of another, cups of a third color, and napkins of a fourth color (all because they LOVE color), it’s okay. It’s perfect even! Because the different colors of the balloons have you covered.

If you have even more to your budget, you can have the dry ice rigged to all your engines. You can put in your photo booth, carnival stations, balloon arch… everything you desire can be used with this cut file and you have the perfect unifying piece to make everything cohesive.

This train can be added to shirts for the birthday boy/girl, the party planner or point person, as a go away gift for your guests.

Birthday Train can even be resized for countless other items. I’ve successfully used all 5 cars on a 12 inch wide canvas bag. It can be sized up to make even larger items. In fact, I sized the Banner/Bunting train cars up so that most are 12 inches wide. The Closed Car is the largest car, and that one ended up being cut from two 12×12 inch cardstock squares and pieced together. If I can piece together one train (and absolutely no one knew!) then it’s possible to make lawn decorations from this cut file.

The bottom line is that when you have the right cut file, the possibilities are endless!

Just like I said in Make A File Do More, it doesn’t matter which type of an event you are planning for. It doesn’t matter what your inspiration folder in Pinterest looks like. The one thing that every event needs is one item to be your focal point. Pick your favorite phrase. Pick your favorite SVG. Pick your absolute favorite Pinterest idea. Make that one thing be the end all, be all of your design. Let it be the heart beat in every element that you put out. It doesn’t have to on everything. But that one idea is repeated enough everywhere that it forces all of the other ideas and elements to merge into that one idea. Everything else becomes backup singers or backup dancers to that one idea that you make shine!

If you are interested in train cut files, please visit Pacific Northwest Event Design. Coming up in time for Easter will be my Easter Train. Sign up for my newsletter below to find out when that file is live. Also coming in the future will be seasonal trains.

The Files used for this blog are Birthday Train and 3D Train Frame. For more information on these files, please click the above links!

Processing…
Success! You're on the list.

Make A File Do More

If you’ve been in any field long enough (craft, wedding, art, photography, name the occupation), you realize that you can collect files and ideas for eternity and use it once. Or… you can find a way to make one file work for you in countless ways.

For example, photographers take the time to develop their basic settings for editing a photo. With this setting saved, they take a photo, hit the saved button, the adjustments from the saved settings are automatically added, and then they make a few minor adjustments before going to the next photo. So instead of spending 15-30 minutes on one photo, they can have one done in a couple minutes.

Photo by Lukas on Pexels.com

The same can be done with cut files.

The perfect part of working the same basic cut file over and over again is that you create more value for yourself, save time (instead of always starting off from scratch), and you have a primed canvas ready to go for your next idea. Sometimes you have that perfect text or saying that you want to use, but don’t have the inspiration to make something unique to go with it. Think of it like your basics white T-shirt and jeans combo. It’s always ready to go and you just throw on something on top to make it just right for the moment.

If you set up shop at a craft fair, this is especially important for you. How many times have you heard someone comment that they like something, but it doesn’t quite fit them (whether style, color, whatever). By having one item a couple different ways, you decrease the chances of a whole lot of product going home with you AND find out how to optimize your sales by what style sells better. Plus, when it looks like someone is getting a one of a kind (instead of a cookie cutter) item, it’s most likely to cause a sale. It’s the thrill of buying what someone else can’t have.

Cohesion and simplicity work when you have one key element and you work it over and over again. That element is incorporated in everything. But it’s also slightly changed up.

For the next couple of weeks, I’m going to work a simple heart cut file over a few different mediums to show you what I mean by working the same file over again, for cohesion and still find a way to add diversity.

This week I’m going to use paper and vinyl with this Heart Card file.

The craft here is a card. But it has two different ways of decorating built in.

Each year, for Valentine’s Day, I write on hearts what I love about my boys. And I use the hearts as part of our house decorations. As you can see in picture 3, this card is perfect for standing on its side. However, my youngest is at the paper shredding stage. So instead of standing the hearts up all over the house and letting the boys scavenger hunting for their hearts, I will hang some decorative baker’s twine and hang the hearts like bunting/garland.

First things first, decorating. In the past I’ve done solid hearts and lace/doily hearts. I haven’t done a stain glass window style. And the leader, of one of the crafting groups I belong to) posted her heart idea using scrap vinyl. I loved her idea, because I have three small scraps boxes that I keep adding to. (I save scraps to minimize what I throw out.)

One of my scrap boxes

These scraps I cut into glass shard like pieces, triangles, squares… really I just grabbed my scissors and mindlessly cut away. The odd angled bits were probably my favorite ones for this project.

This was the set up for one of my sons’ class valentines. He’s a crafter and went to town, happily making his valentines.

There were a lot of the red heart components (from my Hearts collection) that were left over from prepping for my son to make his class valentines. And I was particularly in love with the thin spiral looking heart. So I couldn’t let those go to waste.

And with a little glue, the finishing touches go on quick and easy. I ran out of With a little glue, the finishing touches go on quick and easy. I ran out of glue stick and used some Elmer’s spray adhesive. Both glues worked great and I had no issue with the card stock sticking to the top of the vinyl (which was a combination of shiny, glitter, metallic and holographic).

After completing my 12 cards here (in addition to the 11 I prepped for my son), there is one bit of advice I want to give with the small pieces of vinyl. It sucks pulling the backing off of all those tiny pieces. If you puncture the vinyl, it really doesn’t show when you press it down and use a scraper to burnish the vinyl down. So you don’t have to worry too much about that. It was easier to take one larger piece of scrap, remove the backing, and cut as you go. However that has its own drawbacks. You don’t have the freedom to lay the piece down to see if it fits in a space. Nor can you adjust it if you don’t like the color combination of a neighboring piece. It is quicker, but you lose out on the control of how everything fits and looks. I wasn’t so much concerned about that in this project, because the red card stock on top framed or covered up areas that I was less than impressed with.

If my 80’s Retro hearts are not quite your vibe, please don’t dismiss this heart or technique. There are so many options out there. If you only use one or two colors of vinyl, you will have a completely different look than what you see in these pictures. If you’re not feeling the vinyl, you could do something If my 80’s Retro Funk hearts are not quite your vibe, please don’t dismiss this heart or technique. There are so many options out there. If you only use one or two colors of vinyl, you will have a completely different look than what you see in these pictures. If you’re not feeling the vinyl, you could do something different. Use Solid or Printed card stock. Paper Mache pages from a novel or sheet music onto cardstock. Or even use photographs for the non-scored heart. Glue on lace or doily on top of drawings, painting, or photos. There are so many ways of making this Heart Card work for cards or decorations for a wedding or other event!

Thanks for joining me today! Be sure to come back next week for the next installment for creating cohesion for an event with one file.


Files Used This Week

Click the links for Heart Card and Hearts to see product descriptions and get these files for your projects.

Processing…
Success! You're on the list.

Modify to Personalize

It never fails! There is a picture of a loved one that you want to use (whether for a gift, a wedding, various other reasons), BUT the background just ruins the picture. Do not fear! This post is for you.

Standard phone picture

My son has seen me make a few shadow boxes for gifts and what he wanted to gift more than anything else was a shadow box of him and his BFF for her upcoming birthday. The best, and most recent, picture that I have of them is of course the one that had a pile of yard waste behind them. Fortunately, I have a trick or two up my sleeve.

Background removed and a new back ground added

There are a few good free online programs that you can use to remove your background. For this particular project, I used Remove BG, because they’ve always offered a good selection of different backgrounds with three different blur settings. If my count is correct, there are 93 as of the time of writing this post. And the best part is that you do not have to be computer suave to change your back ground. All you have to do is upload the picture and hit “remove background”. You will have the focal point of the photo on a checkered background. You can then superimpose this image on any photo you have or you can hit “Edit” to add a background from this program.

Once I downloaded the picture, with new background, there was one additional step I needed to take before submitting my picture online to print and pick up at my local photo department. From the photo editor that came standard on my computer, I resized my picture to a larger file size. (I had gotten the error message, online, saying that I had low resolution.) With this larger file size, I was able to submit my photo. And it printed exactly as you see above. We’re not talking professional quality, but perfect for this project.

While we waited for the 5 x 7 print for my 6 x 6 shadow box, I designed a layered cloud shadow box mat to make the print fit seamlessly in the shadow box. BFF Shadow Box can be found here. My son added glitter to the second layer and chose the font, text, and vinyl choice. My about to be six year old was so disappointed that he couldn’t do the shadow box from start to finish, but he has no idea just how much he did create in the design. So in honor of the work he did, all proceeds from the sale of this cut file will go to my partner orphanage in Rwanda for the education of the students there.

For assembling the shadow box, I started by attaching the 36″ fairy lights, with hot glue, to the back panel of the shadow box.

Many shadow boxes have a finish where you can attach the lights to the inside side and top/bottom panels so you can have the lights shine through the layers. This particular shadow box has a wax like finish and the glue would not adhere. The back panel was brown and I had painted with black matte chalk paint. The hot glue loves this paint that I had no problem attaching for a back light.

With battery pack lights there are two options for how you mount the switch. This particular shadow box had a slot in the top for coin deposits. For wall mounting, or if you plan to decorate the top of the frame, this is a great option. However the kids I’ve gifted shadow boxes to have enjoyed having the ability to sit the frame on a table top so they can turn it on and off as they please. For this reason, I prefer the second option for a hidden switch. All that I had to do was take an X-Acto knife to the bottom corner of the back panel (where the battery pack was nearest glued to) and cut out a small notch. Then I hot glue the battery pack to the back panel. Make sure the screw side is out so that battery changes can be made without taking the pack off.

Once the lights are secured, I turned my attention to the shadow box layers. 1/4″ raised adhesive tape is perfect to attack the two cloud layers and photo. The depth that you see in the final product is actually from two layers of the raised tape stacked on each other.

All the prep work is finished. The vinyl text is applied to the outside of the glass. Place the cloud layers inside the shadow box. Then close the box up by placing the back panel.

This project is perfect for birthdays, weddings, showers, and celebration of life. And now that you know how to remove backgrounds, you can now use your favorite photos that you thought was unusable because of what was in the background.

If you have any questions on how to do this project, or want to know how to do some other project, please leave a comment below or email me at info@pacificnorthwesteventdesigns.com

See you next week!

Processing…
Success! You're on the list.

On the Move

Some of the most fun conversations are the ones where I get to talk about some things that just don’t come up in a normal conversation. And there is one that I just can’t pass up!

From my personal Facebook account Lynn Z. wrote:

Congratulations❤️❤️❤️Great. Moving this week to new home and I need help!

Lynn, Congratulations on your new home!!!! I am so excited for you. There’s so many opportunities and possibilities with a new home. I can’t wait to see the pictures you share of your home once you’re settled.

It’s been a while since I’ve moved so any moving tips I might have are going to be outdated and everyone knows already. For example, box up your rooms individually and mark each room on all sides. That way you’re not hunting for the lable and the box gets dropped off in its appropriate place. An analytical (list detailed) person would take it a step further and write a number on each box. And in your new home place a post it, with a number written on it, so anyone helping you move can help put the right “Bedroom” box in the correct bedroom. Having a number on the box also allows the analytical person to make an exact detailed list of everything that is in each box so you don’t have to open a box to find that specific one thing you’re looking for.

Now this tip isn’t exactly a moving tip, but I know it sure is helpful in so many areas of life. Especially when you’ve lived a lifetime in a house, like I know Lynn has.

These small totes are amazing! They are in and out of stock all the time at my local dollar store. I always grabe a few more when I see them in stock. They are an 8 x 6 x 4 inch container that has been amazing for my small house. As you can see above, they are my work mule for my crafting space. (I have the wall mounted 4 sqauare cubbies. They stack beautifully and I ovbiously have enough room for two rows. It keeps my items organized and I can find my supplies in seconds when I’m creating.

But I also use these all around my house. You know how you’re hall/bathroom closet gets overrun with all those small items so you don’t have room for your bath towels? This was my solution. I have a container for back up toothbrushes and tooth paste, my boys’ bath soaps/bubbles/other items, hair cutting supplies/tools, and most importantly my first aid kit! Let’s face it, when you’ve lived in your home for a while (or live in a tiny house for a family my size), you don’t keep the packaging. So something like this makes it easier to organize your home without losing prime real estate. And in the case of moving, the ability to put in a box quick, stack, put straight on your new shelves is a God send.

Taking from the days of decorating large venues, it also helps organize your boxes. For Christmas we would decorate Casinos during the night. We would load up 2 or 3 box trucks and have a crew that was broken up into multiple teams. If you’ve been in a casino, you can appreciate how much work takes into transforming those buildings in just one night. We had measurements for each surface we hung garland on, clusters of ornaments, trees, wreaths…everything. Everything matched and we had to make sure each team had all their area’s specialized items.

On a house moving scale, I also recommend having a Box A and Box B method. If someone is downsizing or starting their new home in a minimalistic fashion, it helps to have your household broken down into must-haves and want-to-keep. You don’t want to spend your whole time in your new house fishing through boxes and deciding on the spot what you have room for and what you want to get rid of. Open your Box A/must-haves first. Place those items. If you have room for anything in your Box B/want-to-keep, then you can add those. However, we all know that when we move, we want our homes to look like home ASAP and not live in boxes. So that’s the benefit of Box A. You have that ready to put away the moment you enter that room to unpack. Box B can be left in a corner to get to in a couple of days, or when time allows. Meanwhile, your home is functional from day one.

Here is an example of my Box A and Box B method for my christmas tree decorations. My boys are 5, 4, and 3. So you better believe I have tree decorations that they are not allowed to touch. Box A has all my fragile items. Box B has all the items that if dropped or handled by boys, they’re not going to devestate me. This makes it so easy for me and my Christmas loving boys. I pull out my boxes and the boys can start right in on decorating the tree without me having to hover or them asking. They know that these are theirs and they have complete liberty to decorate the family tree.

It doesn’t matter if you’re moving, decorating a large venue, putting together a small party, it is definitely a time saver to plan everything ahead of time. Organize your work space to create the atmousphere of quick assembly. Have everything you need within reach and at easy disposal. When you’ve finished assembling your decorations, put them in travel containers/boxes that make sense for depositing in one place for a quick installation and efficient movement. Keep all your table decor together. You’re entryway items in their own container. This is especially important for Wedding DIYers. You depend on friends and family members to set up what you spent months putting together and planning. If everything is in the one box, they don’t have to hunt for anything. And it makes the clean up afterward just as quick. It goes back in that one container. Nothing gets left behind and everything is quick. And lets face it, everyone wants to party and not spend all night cleaning up. Beign efficient is the name of the game to allowing friends and family enjoy themselves and be the help you need to pull off that wedding of your dreams.

This box divider is my BEST friend. In fact I have a few variations of this. I forget where I bought this 11 x 6.5 x 1.5 inch plastic box. But I’ve very certain this was orginally packaged and sold for storing cake decorating supplies. At least that is what I kept my tips, connectors, and bags in when I took a cake decorating class before I met my husband and made my last move. As you can see, I found a new home for my cake decorating and put my household fix it items here. This is where I keep all my exta pieces from IKEA build it yourself items, my dry wall screws, nails, screws, washers, allen wrenches (before this I could never find those bad boys when I needed them) and left over components to my bed frame. This type of set up made my last big move (after marrying my husband) an absolute breeze. I didn’t lose my washers and screws for my canapy frame. They were all there and ready for assembling when we arrived. Plastic bags always get lost in a move. But a good storage container like this, keeps things organized and easier to find in a room that’s filling up with opened boxes and fill.

Compartmental organization like this also a must have for installing or striking an event. For weddings I cannot tell you how many saftey pins I have gone through. And there is always a need for three different sized pins. Having all your tools and equipment on hand and seperated for quick grabs is essential. It always feels like you never have enough time to get done all that you need to get done. So whatever leg up you can give yourself, the more you will thank yourself.

If there is a subject you would like tips on How I Can Do That, please leave a comment below on what you would like to see. Also join my email list. I send out a weekly newsletter letting you know about new blogs and when new designs are released at http://www.pacificnorthesteventdesign.com

Processing…
Success! You're on the list.