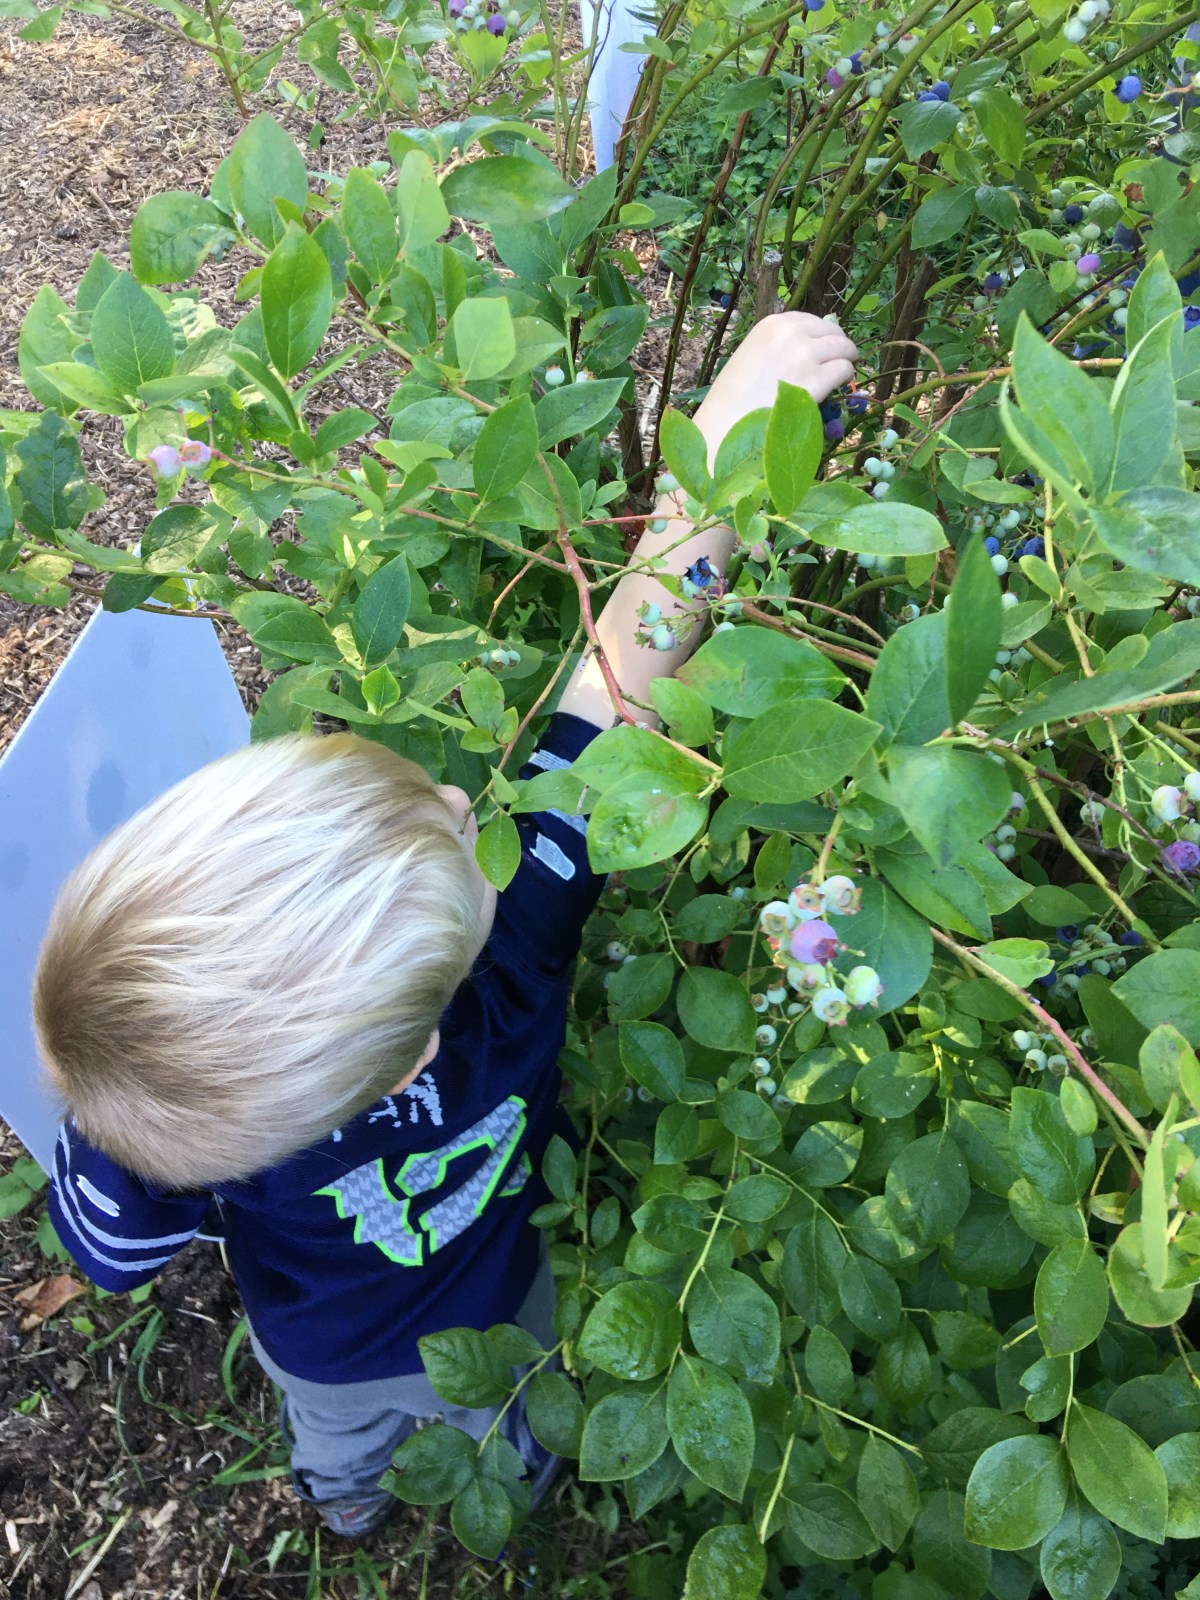

This picture was our family’s first time going out to pick blueberries. I have a second berry picking appointment coming up this weekend and I wanted to share with you our experiences and what you can do with any blue-berries that you picked this year. Or if you’ve yet to visit a blueberry farm, than the berries that you can find in your local produce stand or appointment.
This year blueberries were slow to come into season because of our long cold and wet spring in the Pacific Northwest. (In fact, our whole growing season was completely thrown off, not just the blueberries.
Why did I choose to pick our own berries this year?
My youngest two kiddos LOVE blueberries. If my mother in law or we buy a pint of blueberries from the store, these two will gobble them all up while your back is turned making lunch. LOL I wish that were an exaggeration!
My problems with store berries are that produce prices have jumped through the roof so much where I can only afford to buy one fruit, in moderate weight, each time I go to the store. Yes, we’re a family with a tight food budget. And truth be told, blueberry prices make it so that this fruit really isn’t in our range. I can choose a pint of berries or a few bunches of bananas, or a bag of clementines. So If I want to have fruit to last past one meal, you can guess which direction I usually go. And then there’s the problem that when the blueberries are on sale, sometimes I find berries that already turn, or they’re molding in a day or two at home. Again, not cost effective.
So when I saw a social media add for a local blue berry farm, I jumped on the opportunity!
If you know grocery store storage, you know that the fruit you purchase today is already about 3 weeks off of the plant that it grows on. So picking berries ourselves means that they’re the freshest that you can possible get. And you have the bonus of the fruit being picked while ripe, instead of green. (If you know how quickly the vitamins leave your produce once it’s picked, you understand the value of eating your produce as soon from picking as you can get.
Then there is the educational bonus. By taking the boys out to pick, they see where the blueberries come from (not the store refrigeration case), what the blue berry bush looks like, what a ripe berry looks in comparison to a green berry, and what kind of environment it takes to grow blueberries. (Yes, we picked with boots on our feet!)
This was definitely a learning experience for the boys because we had been picking an insane number of blackberries this summer. And the one thing that they immediately noticed is that they love picking blueberries over black berries because they don’t have thorns!
The remaining bonus to picking blueberries our selves is that we can speak with the farmer and learn about their farming practice. If it matters to your family if a farmer uses pesticides, natural organic sprays, or no sprays at all, this is how you get that information. There are many local farmers out there who do not have the time or money to purchase the “organic” sticker from the FDA. And often times, these farmers use a lot less product on their crops than the companies who can afford that sticker.
Pearson’s Bees and Berries is one of these farms. I would never have known that they skip even the organic sprays had I not met them and talked with them. But the first thing that I loved about this farm is that their bushes are heirloom. This is where I draw the most value from farmers. With as much as society pushes for scientific advancements, I really do not want those advancements in my food. I’m not the mom who buys everything organic. But I am the mom that buys produce (and grow my own) from heirloom and heritage plants whenever I can.
And I’m also the mom that buys directly from local farmers over grocery stores. People are under the assumption that farmers make a lot of money from their crops. Unfortunately, especially for the small farms, they don’t make very much from their crops unless they sell directly themselves. And I would rather my money go directly to a family to invest in their business than a chain. Plus it frees up the grocery resources for the families who are unaware of their local farmers or (for any numerous reasons) can’t make it out to the farms themselves. And if you’ve ever lived in a community where the power goes out or a snow storm comes in and the onion bins are empty, you know what it means to free up resources when you can. (The onion bin is a true story. Every year!)
This first visit to the blueberry farm, we picked 9 pounds of berries. This weekend we’ll pick another 9 pounds.
What do you do with all those berries???
I’m so glad you asked that question!
With my family, the way that we maximize our small grocery budget is by preserving everything that we can for the year. When berries are in season, we store them in a way befitting to how we will use them throughout the year. Apples we make apple sauce. And last year I learned how to can apple pie filling. So in the fall, I can buy the apples at the cheapest price of the year and take care of our apple needs for the year. Black berries, we pick them (for the price of gas to get to our picking location) and have our jam for a year or two for the insane amount of PBJ that we go through in our house.
This is my first year with blueberries to preserve for the year. So I photo documented everything to share with you here. If you decide to hit the berry farms this year before the season ends, you can have an idea on what you want to do with your berries!
Frozen
The first thing my mother in law recommended to use, when she heard of our first trip of picking blueberries, was that they freeze beautifully. And indeed they do!

I took this cookie sheet, and made a single layer of berries. I put them in the freezer to get them frozen and then put them into zip lock bags. I chose the quart sized bags and measured out the berries into 2 cup increments. Most blue berry recipes that I have (and looking at new ones), this is perfect for making a double batch of just about everything. And yes, I always make double batches of everything. With a family of five, with three of them growing, I just overcook to be on the safe side and err on the side of leftovers. And with blue berry muffins, it’s nice to have one baking session with treats for the week.
If I only need 1 cup, then at least I only have a cup of thawed berries in the fridge for the berry thieves to nab!
Dehydrate
The baker in me made me dehydrate. I’ve had many recipes where the juice of the berries was just too much for the sponge and it made a soggy mess! So by taking the liquid out of the berries, you not only save freezer space with this shelf stable preservation but you also keep the right consistency to cakes and muffins.
The problem was what is the right way to dehydrate blueberries?
Before I set up my dehydrator my mother in law had already found a news article that stated the way that you HAVE to do it–but the berries in half.
Now I froze 3 pounds of my berries. And that left me 6 pounds of berries to dehydrate. There was absolutely no way I was going to cut all those berries in half. I’m a mother of 3 after all!
So I performed an experiment.
I left berries whole, with an assumption going into this that they would take forever because of the sturdy berry skins, for one tray. The second tray I filled with berries that were cut in half.

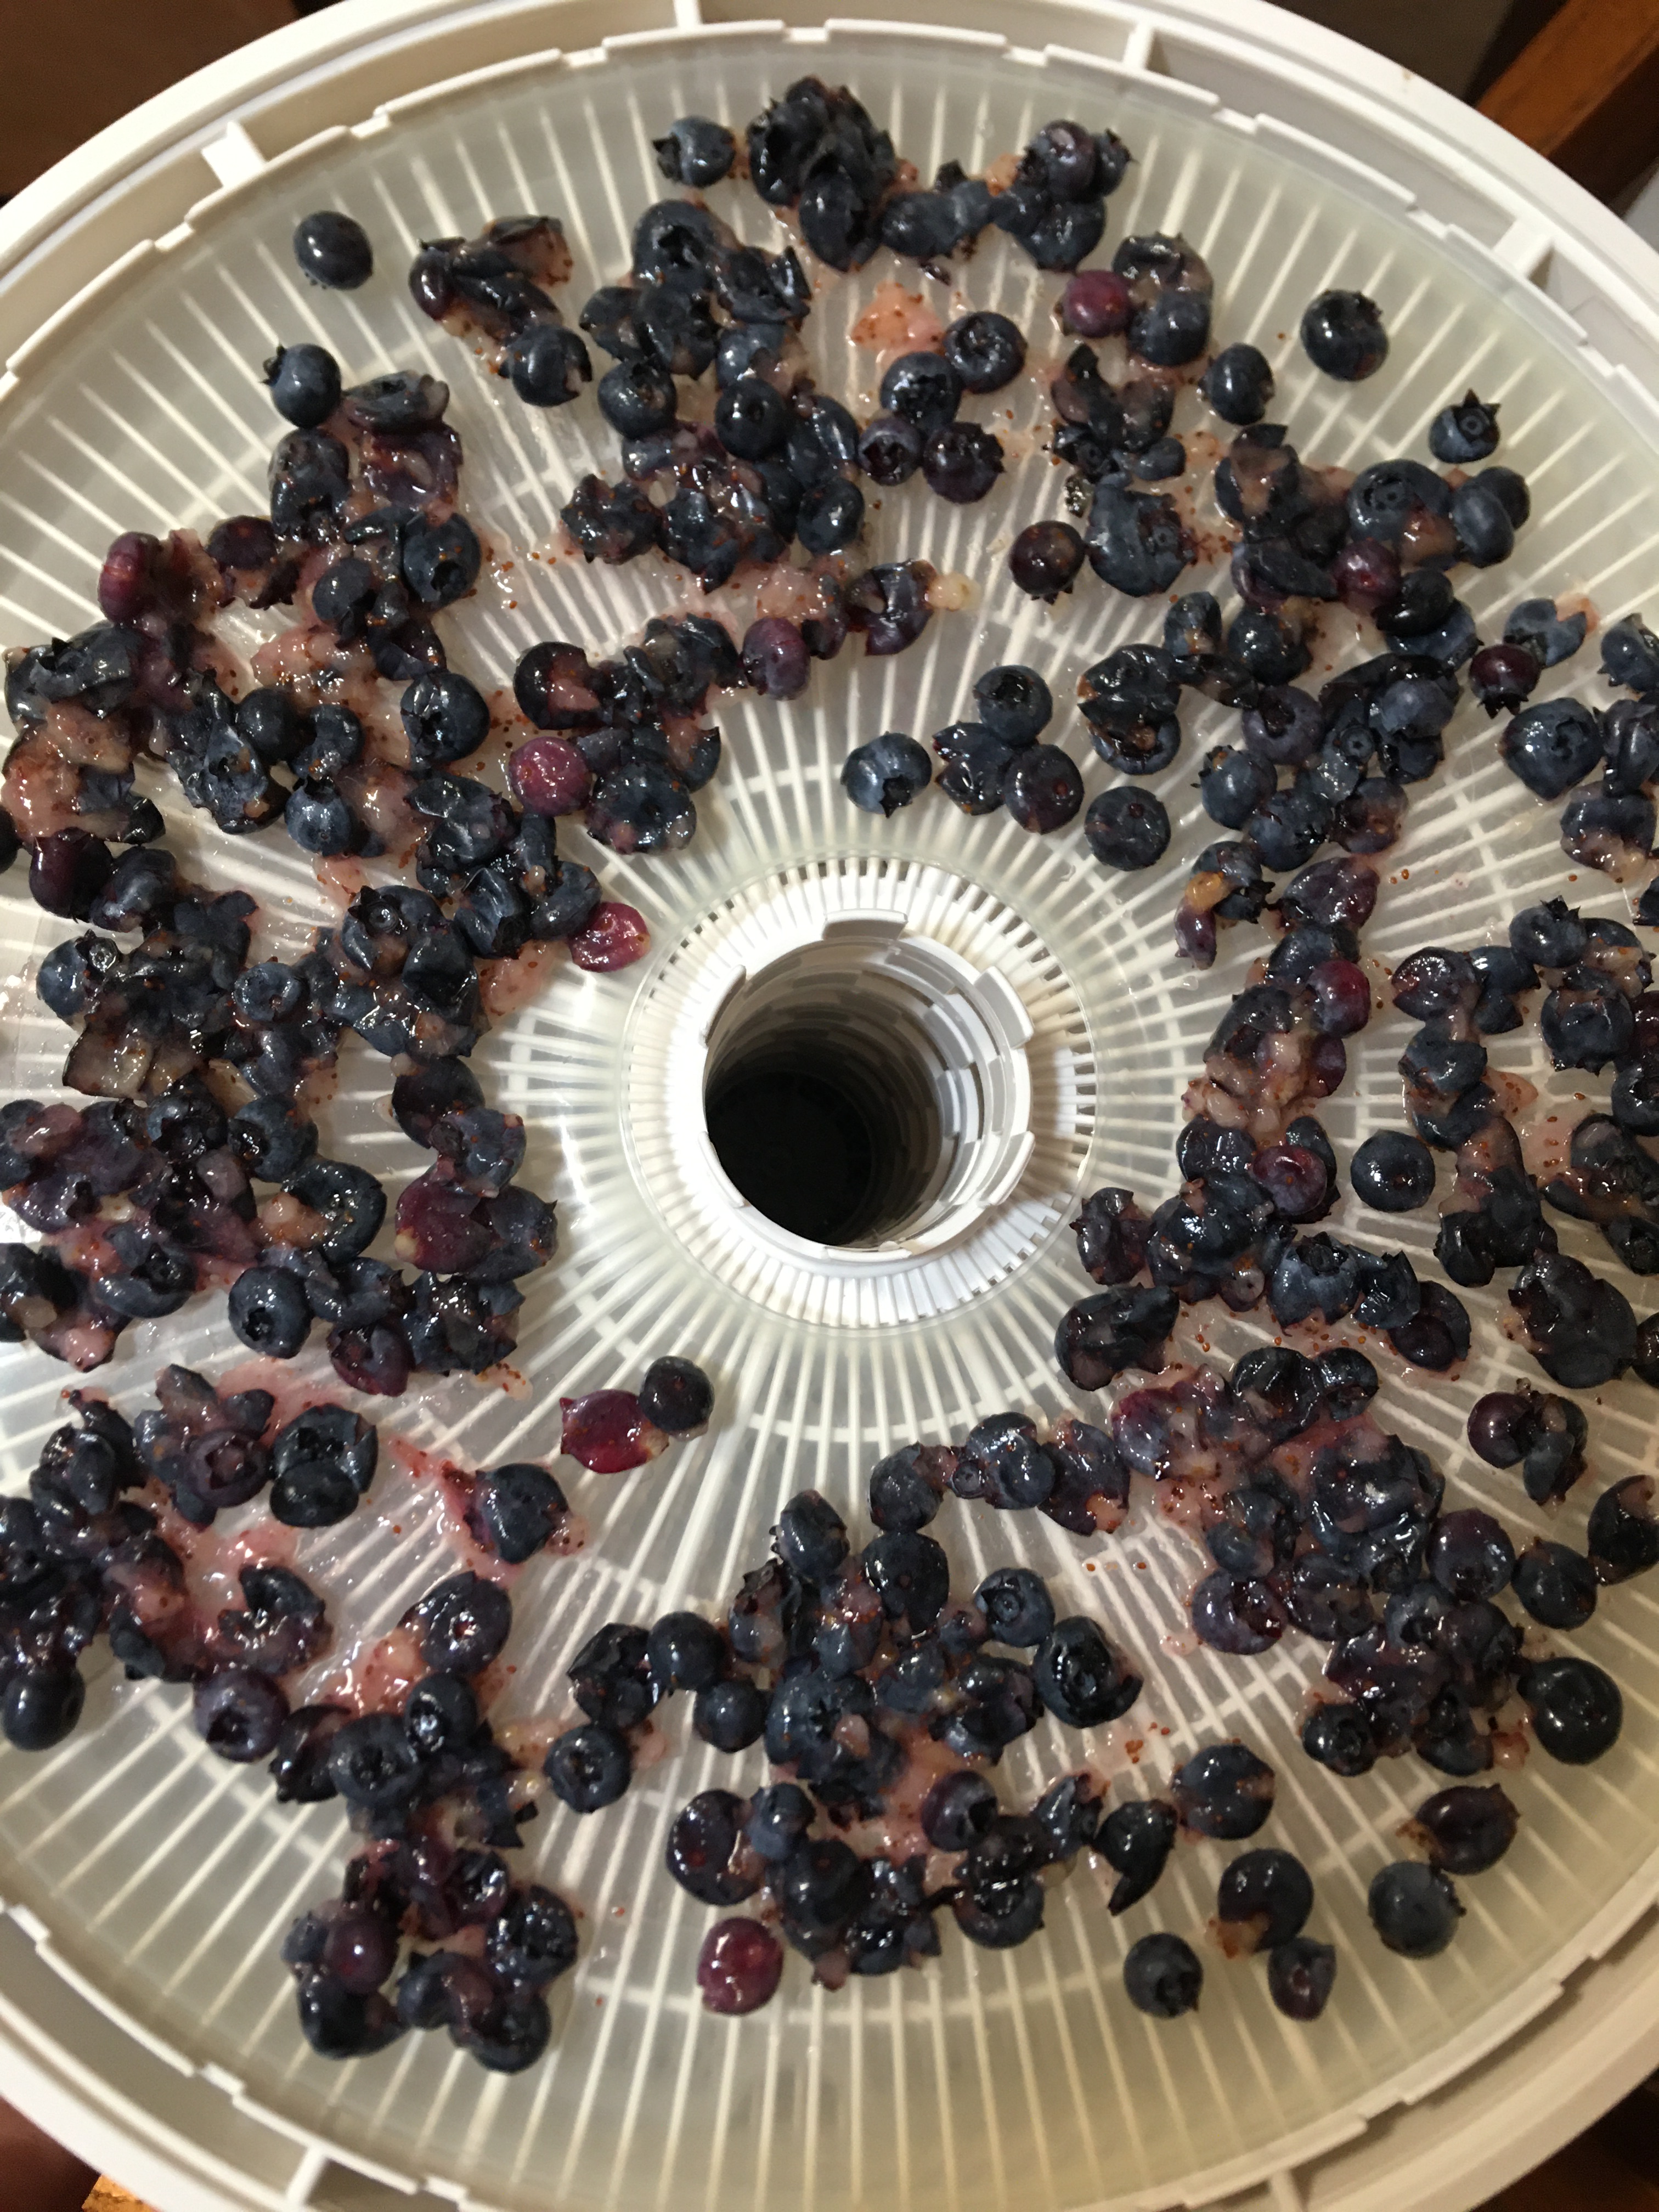
As seen above: whole berries and smashed berries.
For three trays I lightly smashed the berries onto a plate, using a glass cup that I could look through. By using the glass cup you can make sure that you see which berries you are smashing, which ones you already smashed, and just how much pressure you are adding in connection to breaking the skins open. For the smashing, I applied just enough pressure that the skins split open, allowing the air in to dehydrate, and yet keep the majority of the fruit structure intact.
When you look at the pictures above, the whole berries and the cut berries looked the same. So I just put the whole berry picture up. Both of those sets were placed on the mesh insert. I’m done with the days of putting fruit directly on the trays. By using just the mesh I don’t ever have to scrub my trays. Plus the mesh you can fold and break up any of the thin bits that cling to the surface. So even the mesh don’t have to be scrubbed either! The Right picture is the smashed berries. You can see what I mean when I say just enough to break the skin. Some got a bit more flat than the other (which looks a lot like the whole berries on the left). But these berries are a bit messier. I wanted to save the mess and not lose out on any of the blueberry goodness. So I dehydrated these on the jelly roll sheets.
The final two trays of blueberries were my fully mashed berries. I’m teaching myself how to seed save from different plants. My tomatoes are not yet ripe, so I can’t practice on those yet. So I chose to use the blueberries as my maiden voyage. And I’ll talk more about that below!
As you can see below, with the final dehydrated product, the fully mashed berries were a mess, a beautiful, lovely mess! So those of course were on a jelly roll insert.

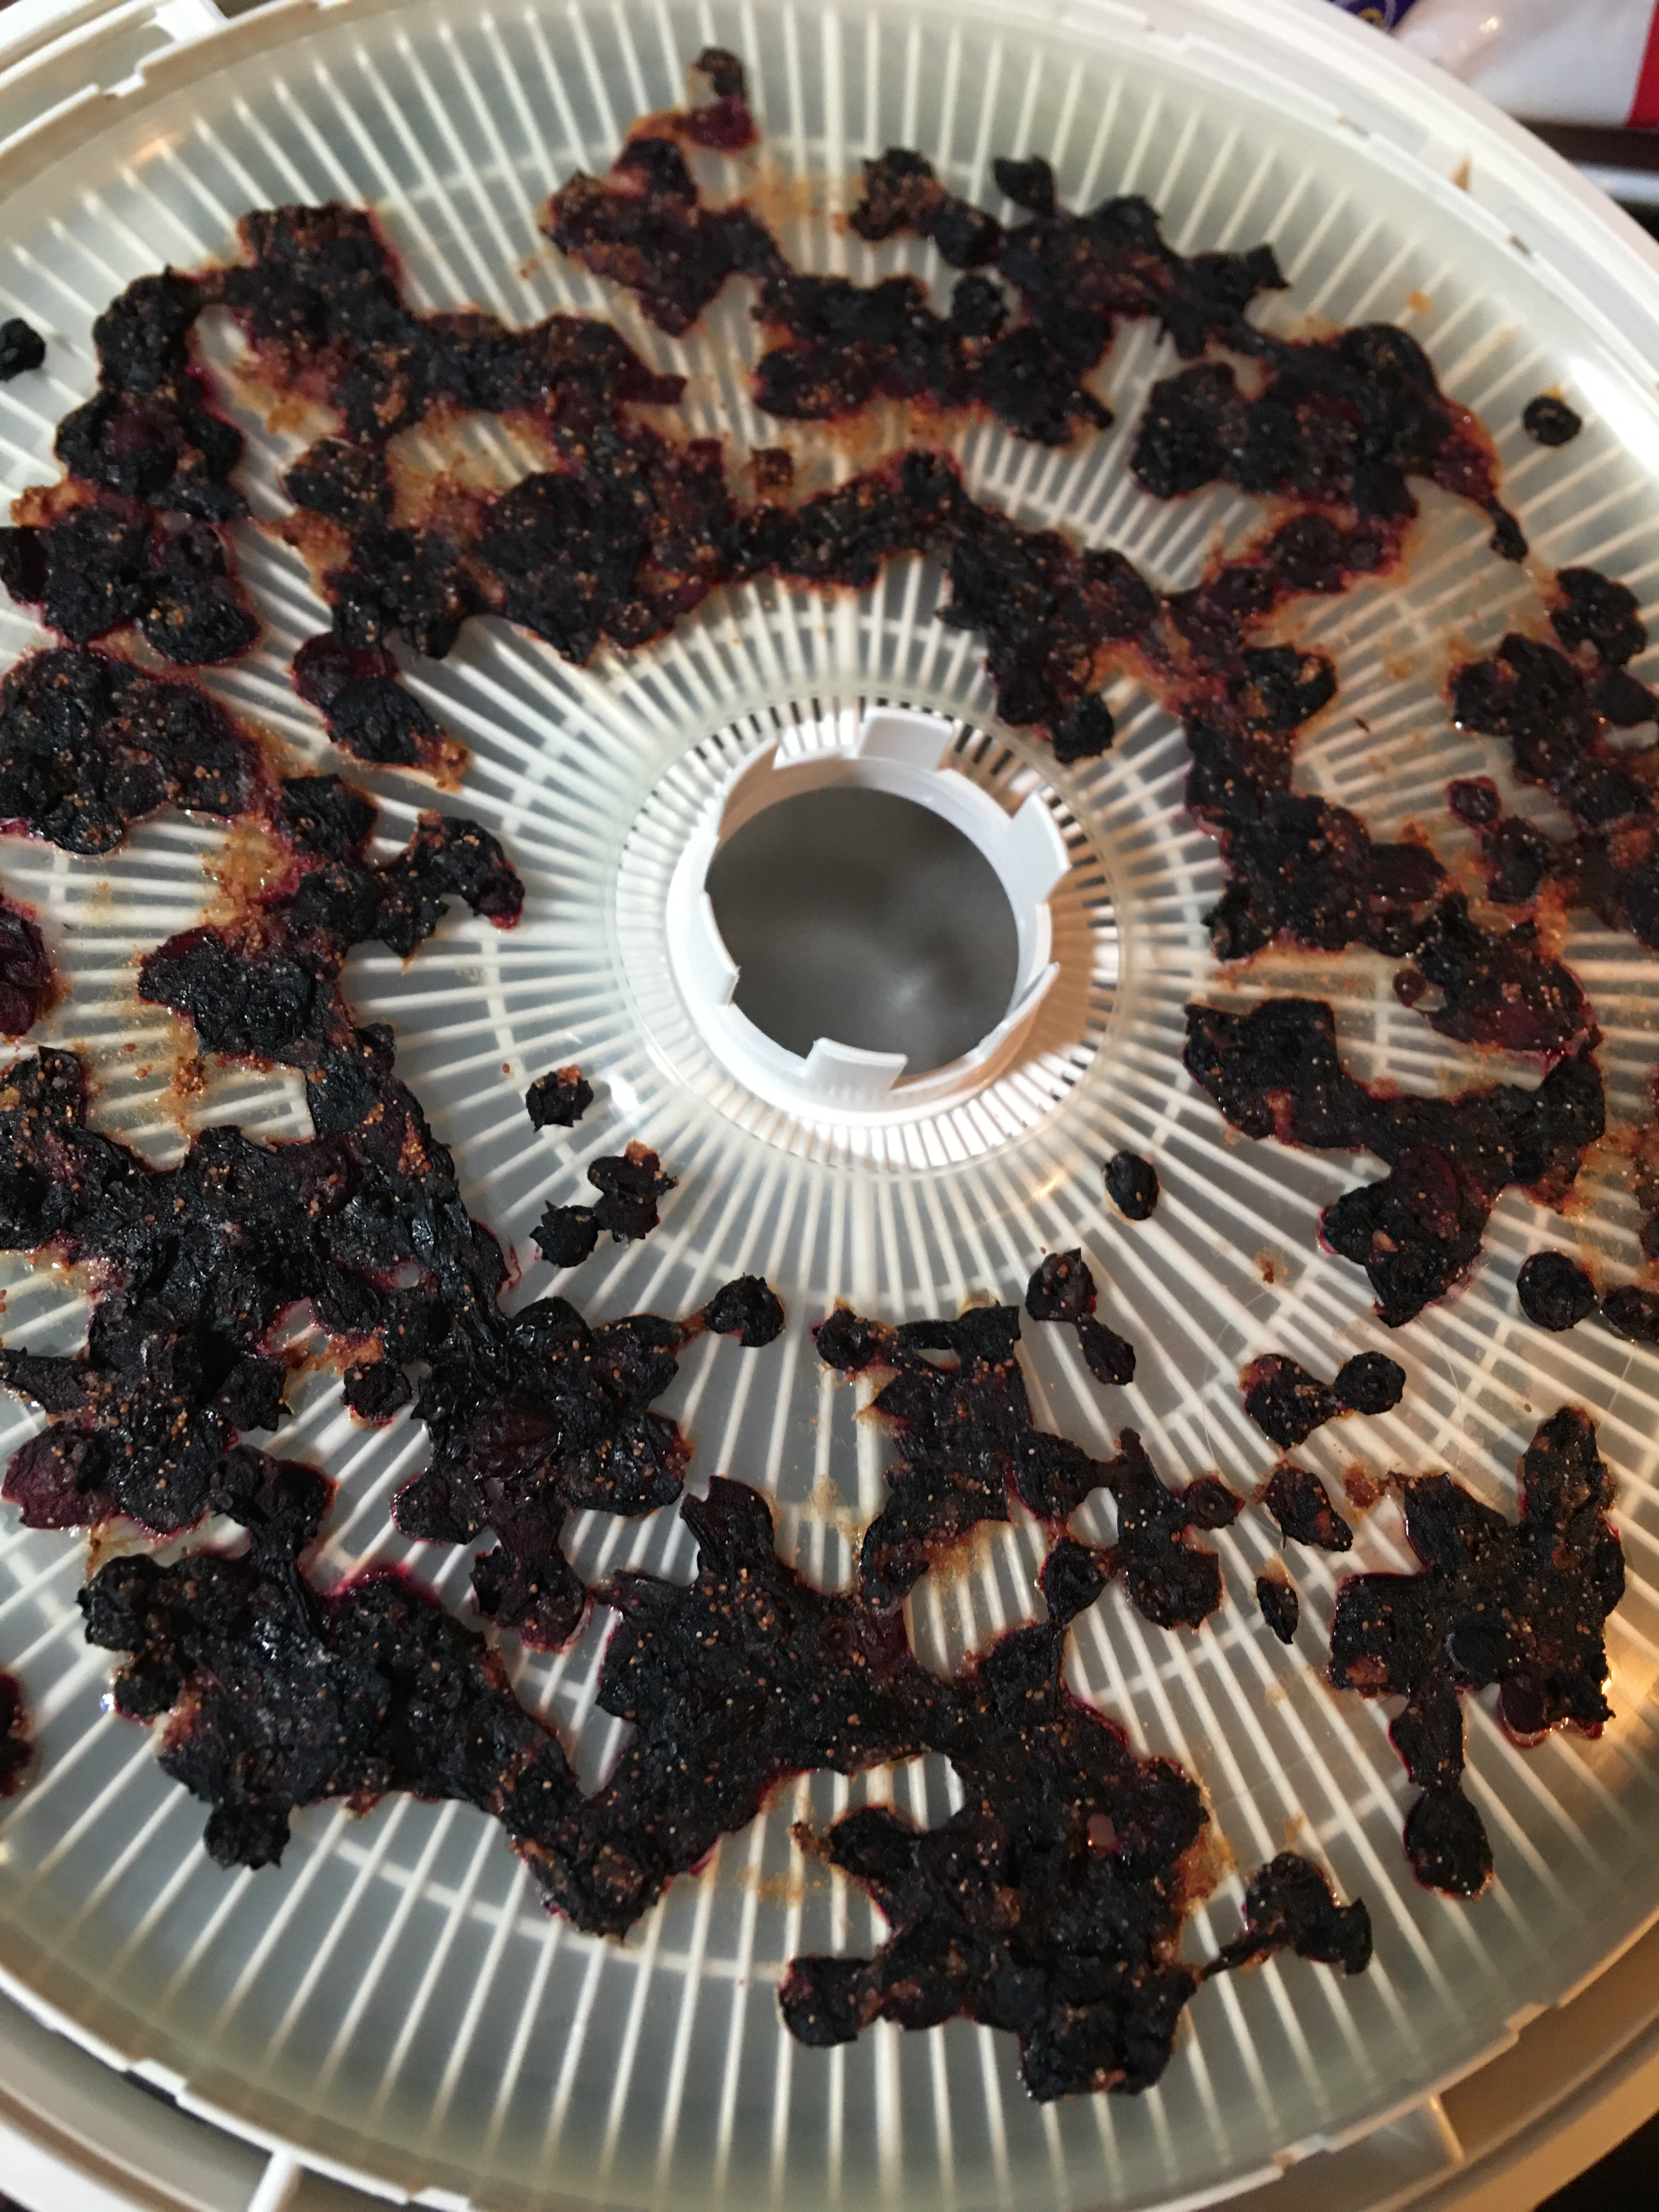
As seen above: smashed and fully mashed.
The drying time and final products actually surprised me! The smashed and mashed took the least time to dehydrate, as anyone would expect. They took about the same amount of time, 13 hours. (Of course we had very high humidity days, which didn’t help here.) The mashed berries pulled off the jelly roll just like any fruit leather would. So if you want fruit leather you can use a blender or you can skip that extra clean up and just use a plate and glass. Of course the blender will give you the means of smoothing out everything across the jelly roll and produce a nice solid leather you can cut into perfect strips. Or you can go the quick and dirty route and skip the whole cutting process. Either way works and is a complete judgment call.
The smashed berries surprised me. I didn’t think they would turn out as perfect as they did. There was very little flesh spread and it looks nearly identical to how the whole and cut berries turned out, when they finished. These look exactly the same as the dehydrated blueberries in the packets of oatmeal or premade blue berry muffin packages. My walking away point is that for the least dehydrating time and same end product, a light smash is the way to go for dehydrating berries!
What surprised me the most was that the cut berries and the whole berries took the same 23 hours to dehydrate. Cutting the berries didn’t speed along the process for me. Even when I ate a whole berry and a cut berry, their textures were identical. I’m not sure why the article my mother in law read said that you had to cut the berries for the best result. There wasn’t a difference.
However there was a difference between the whole/cut berries vs. the smashed berries. When dehydrated the smashed berries had a little bit of pop corn roughness to it, but it had a bit more “airiness” to them. You could say they had a snap and not as dense feel to the teeth. It wasn’t a completely night and day difference between the three methods. But it was noticeable.
My Vote: a quick smash of the blueberries and dehydrating them is the way to go!
One side product you might not have thought of
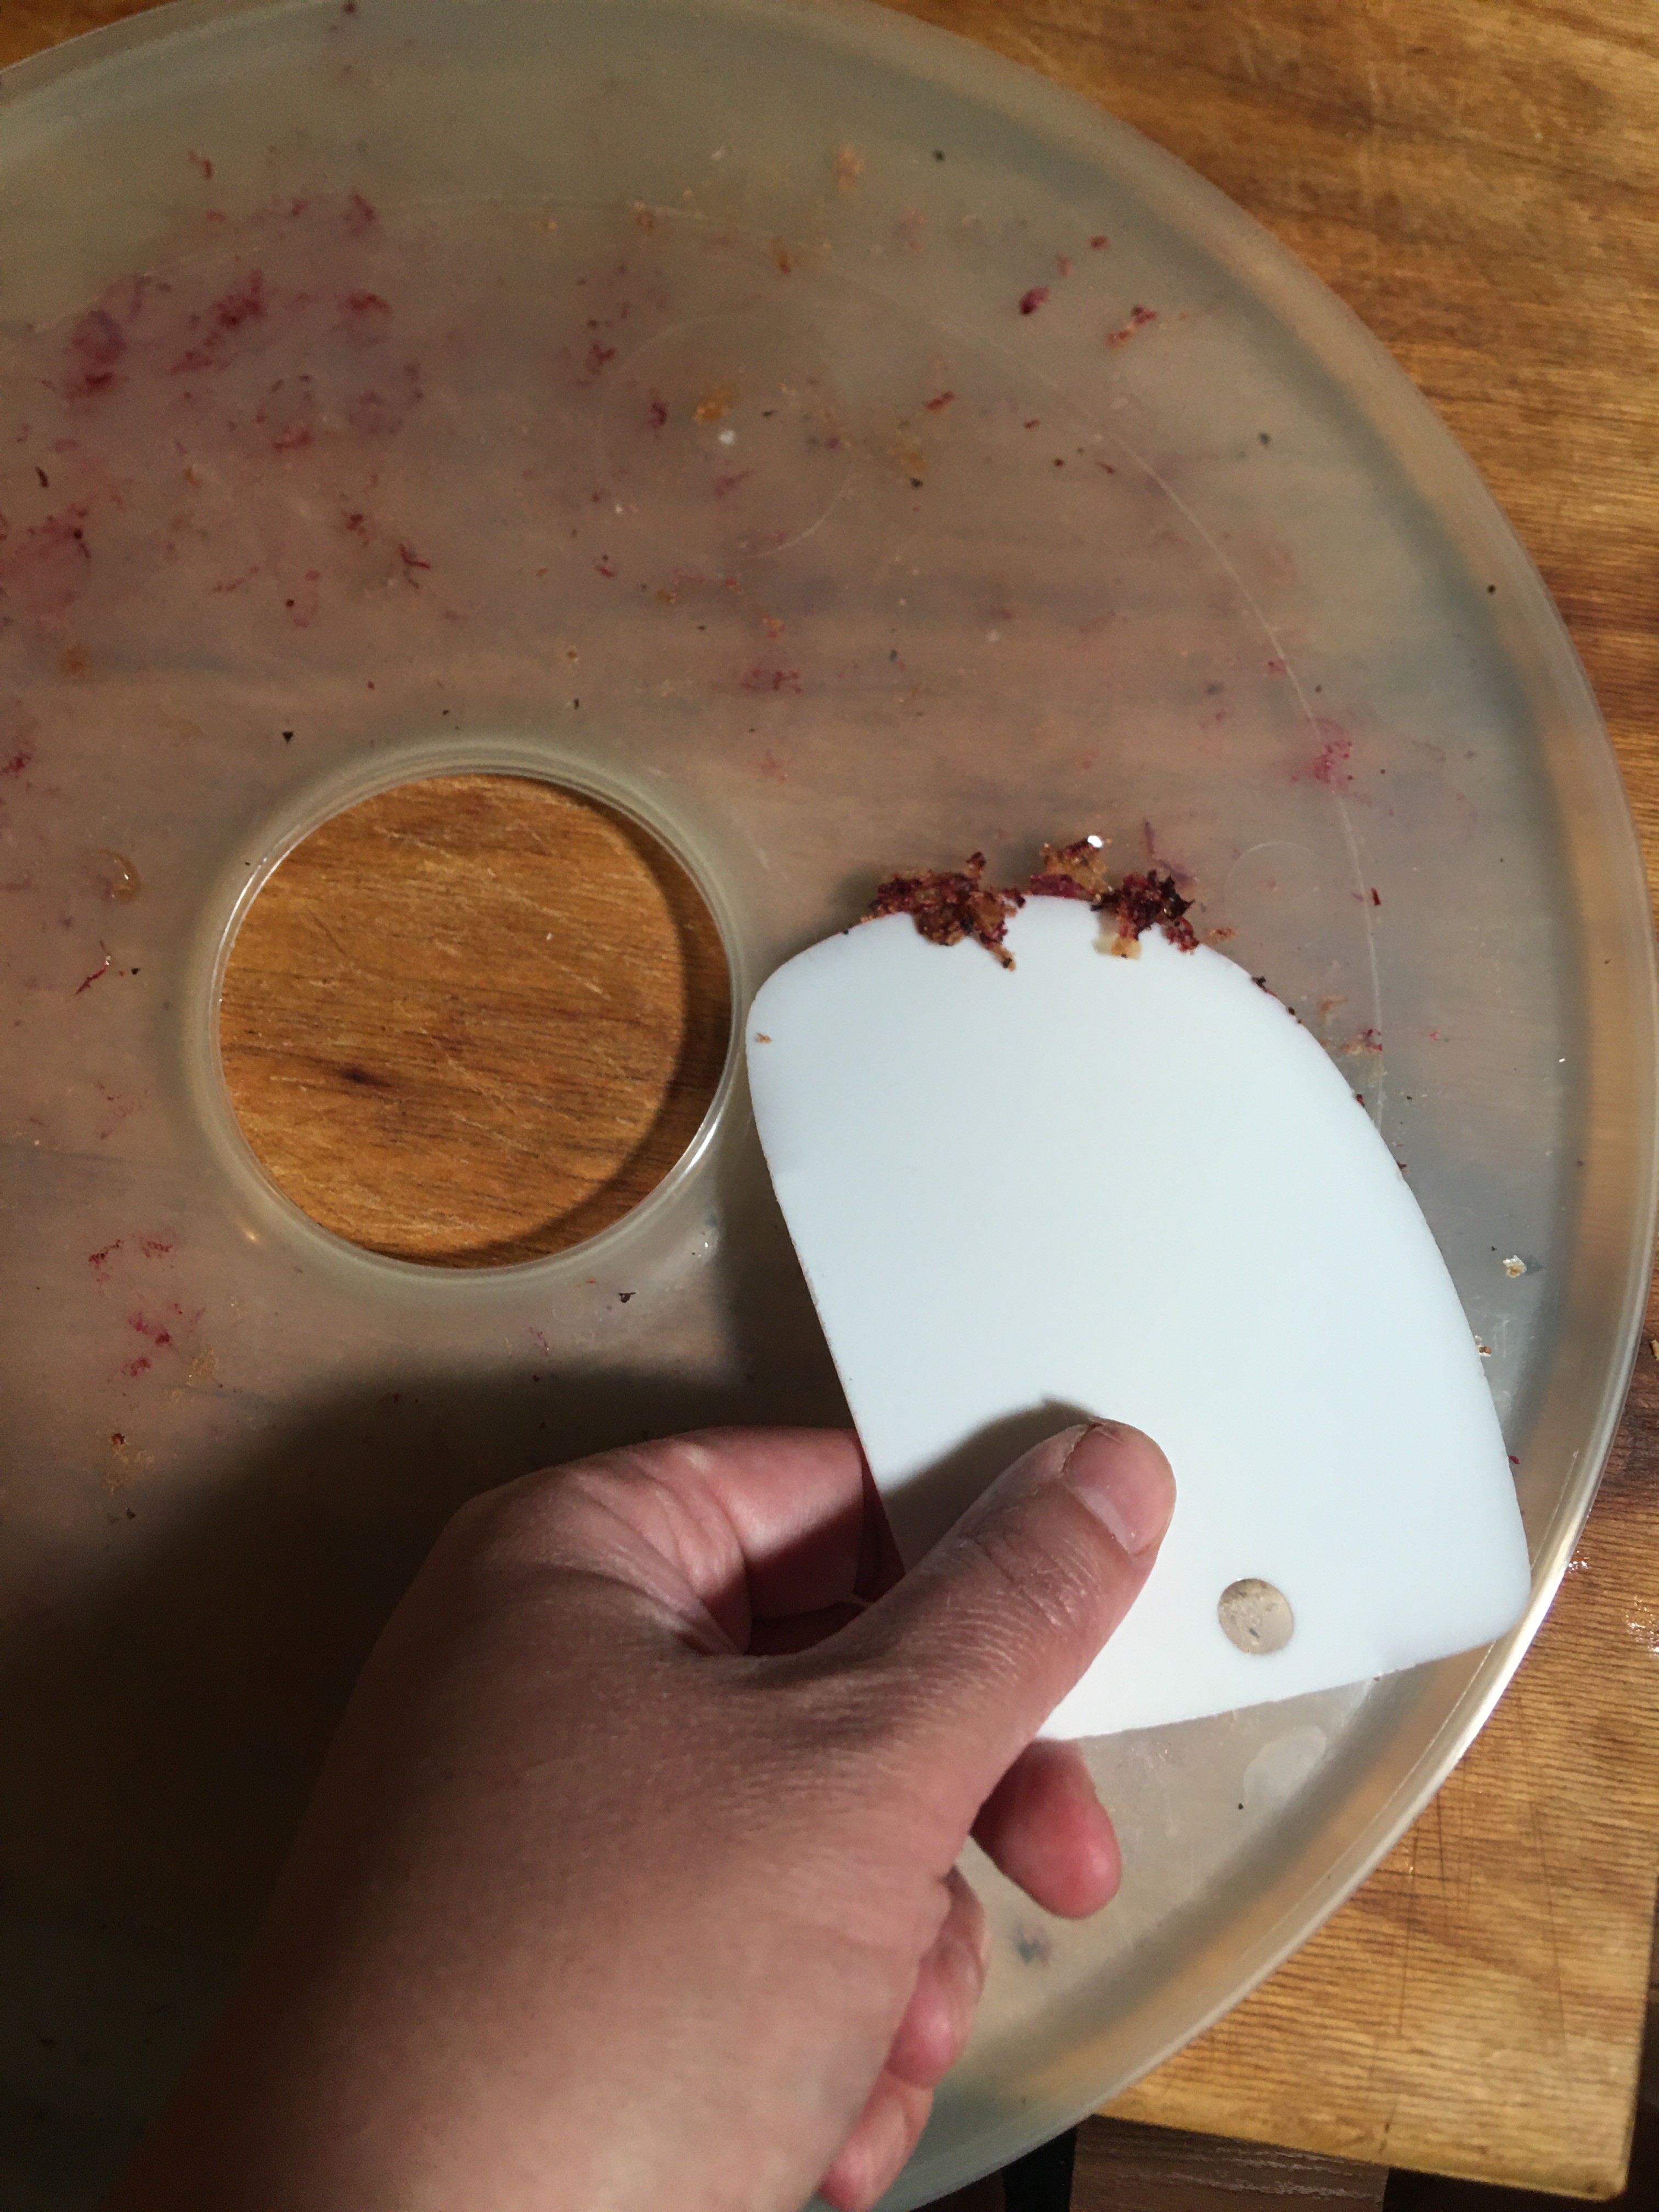
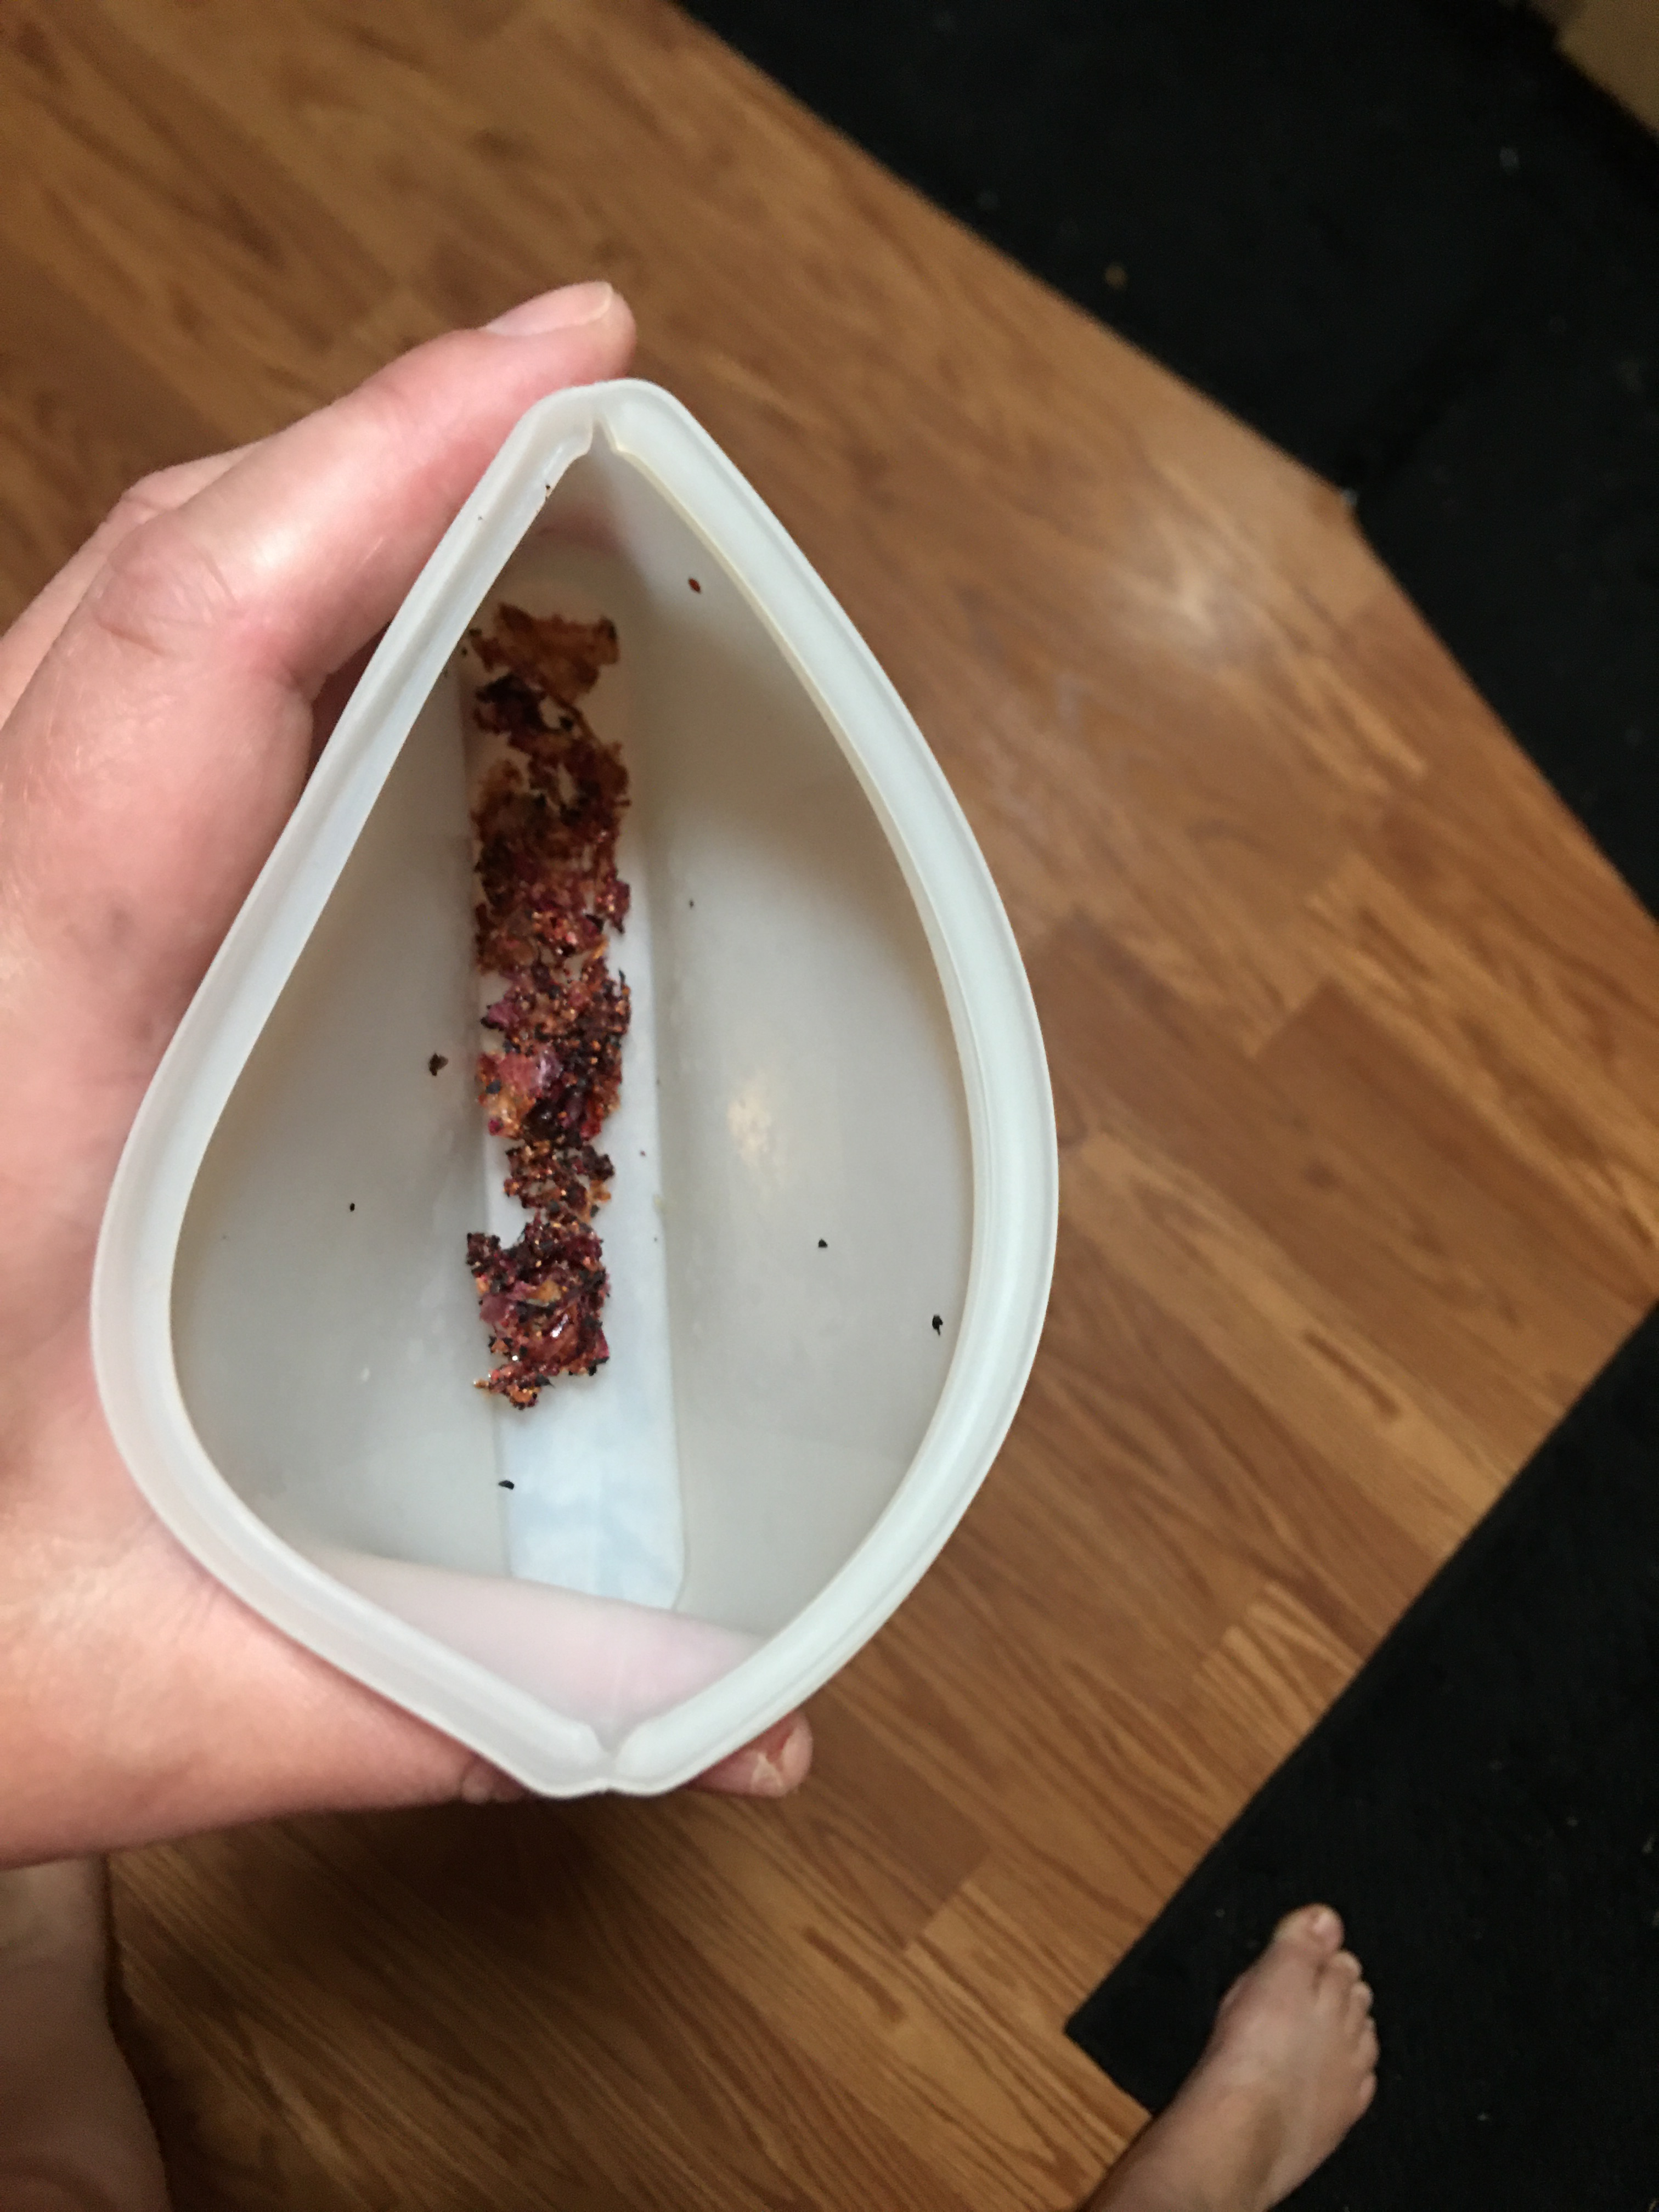
Before I end this portion of dehydration, I wanted to talk about this one last observation. I like finding ways of using as much as I can of the things I preserve. And if you’ve dehydrated long enough, especially with the jelly rolls, you know there is always that bit from the juice and fragments of flesh stuck to your tray. This time, I decided on another experiment. I scraped off this little remnant. As you can see in the right picture below, I didn’t gain a whole lot of extra bits off of 5 jelly rolls, but I want you to stay tuned because I use this bit in a recipe below and I want you to know that this is completely usable!
What caused me to go to this effort?
I had to scrape my jelly rolls anyway, to make it quicker for washing when I was all done–no scrubbing. I took a taste of these scrapings. And let me tell you what! These scrapings have just as much flavor as the blueberries themselves. So yes, all that flavor, I was definitely going to cook with that.
Saving Seeds
I have no idea how successful this attempt of seed saving will be. I’m very new to this skill set. Including this batch of blue berry seed, I have three other plant varieties that are in the process of cold stratification.
If you are also new to seed saving, perennial plants do require cold stratification in order to tell the seed that it’s ready to sprout. I only have a small garden so it’s not space effective for me to plant seeds in the fall and let them over winter (cold stratify naturally) and hope they take off in the spring. So the best option for me is to go through the stratification method using my freezer and start the seeds indoors and plant any successful starts.
With blueberries, the methods I’ve seen people use for capturing seeds all involved using a blender and wasting the flesh. As you can imagine, I have no intention of losing berries to waste, so I tried something different.
If you remember above, when I talked about mashing the blueberries I mentioned seed saving. Here is what I did. The mashing broke apart the berries that you would see happen in a blender. The difference is that the flesh, I was able to put in my dehydrator and use it as a food source.
On the plate that I mashed the berries on, I removed the thick flesh and left the juice on the plate. With a silicone spatula, I scraped the juice from the plate into the bows that you see here.


As you can see, there seeds were quite numerous from the several handfuls of berries that I mashed. Definitely the seeds are numerous enough to get me a few starts to plant this spring. And I might have enough to share with others.
The method that I used to separate out the seeds from the juice and bits of flesh was the sluicing method. If you’ve seen a video on how you sluice a pan of gold, you understand the steps that I took here. I didn’t pour in very much water, maybe 1/4 cup of water at a time. I swirled the water in the bowl and let the water separate the juice and flesh from the seeds.
It is true what you hear; the seeds to stick to the bottom of your blender, or in this case your bowl. There will be a few floating seeds, but those are the ones that you don’t want anyway.
I sluiced, in my soup bowl, four or five times until you I got to this last picture of the seeds in the bowl.
From this point I continued in the stratification method that others already show how to do; place a damp paper towel in a zip lock bag, place the seeds on the paper towel, and place in the freezer to start the stratification process. (These are placed in the freezer for a minimum of 90 days for blueberries.)
I know that I’m not going to have any blueberries for five years, but I want to start this process now. And I might have to plan ahead and grown several bushes because I definitely have blueberry lovers on my hands!
Freeze Dried
While I do not have a freeze drier, I so wanted to mention this method of food preservation. This method maximizes on the flavor and texture of the blueberry while maintaining the maximum level of vitamin retention. No other food preservation method tops this method at this moment in food history.
That alone is reason enough, but there is also the added bonus of berries being shelf stable and fresh for up to 25 years, 1 year after opening. If you’ve water bath or pressure canned any preserves, you can recognize the benefit of not having a jar or seal failing you.
Maybe you’re like me and don’t have a freeze drier. I want you to know that you still have that option available to you.


More information on freeze dried blueberries can be found here.
I’m going to talk more about freeze dried berries next week, because I’m going to use these in recipes. And believe me, if you are a professional cake or cupcake baker, you’re going to want to see what freeze dried berries can do for you and your clients. You’re going to have all the berry flavor without throwing your water ratio off. Plus the added bonus of being able to decorate with the berries that you can’t do with fresh and less of your precious time than dehydrating.
Blue Berry Recipe
I wanted to share the blue berry recipes that I have and how each of these ways of preserving blueberries act in a given recipe, but I’ve given you ALOT of information already. So be sure to tune in next week for the recipes and how the berries work.
BUT in the meantime I don’t want to leave you hanging with the jelly roll scraping. So here we go on this quick analysis.

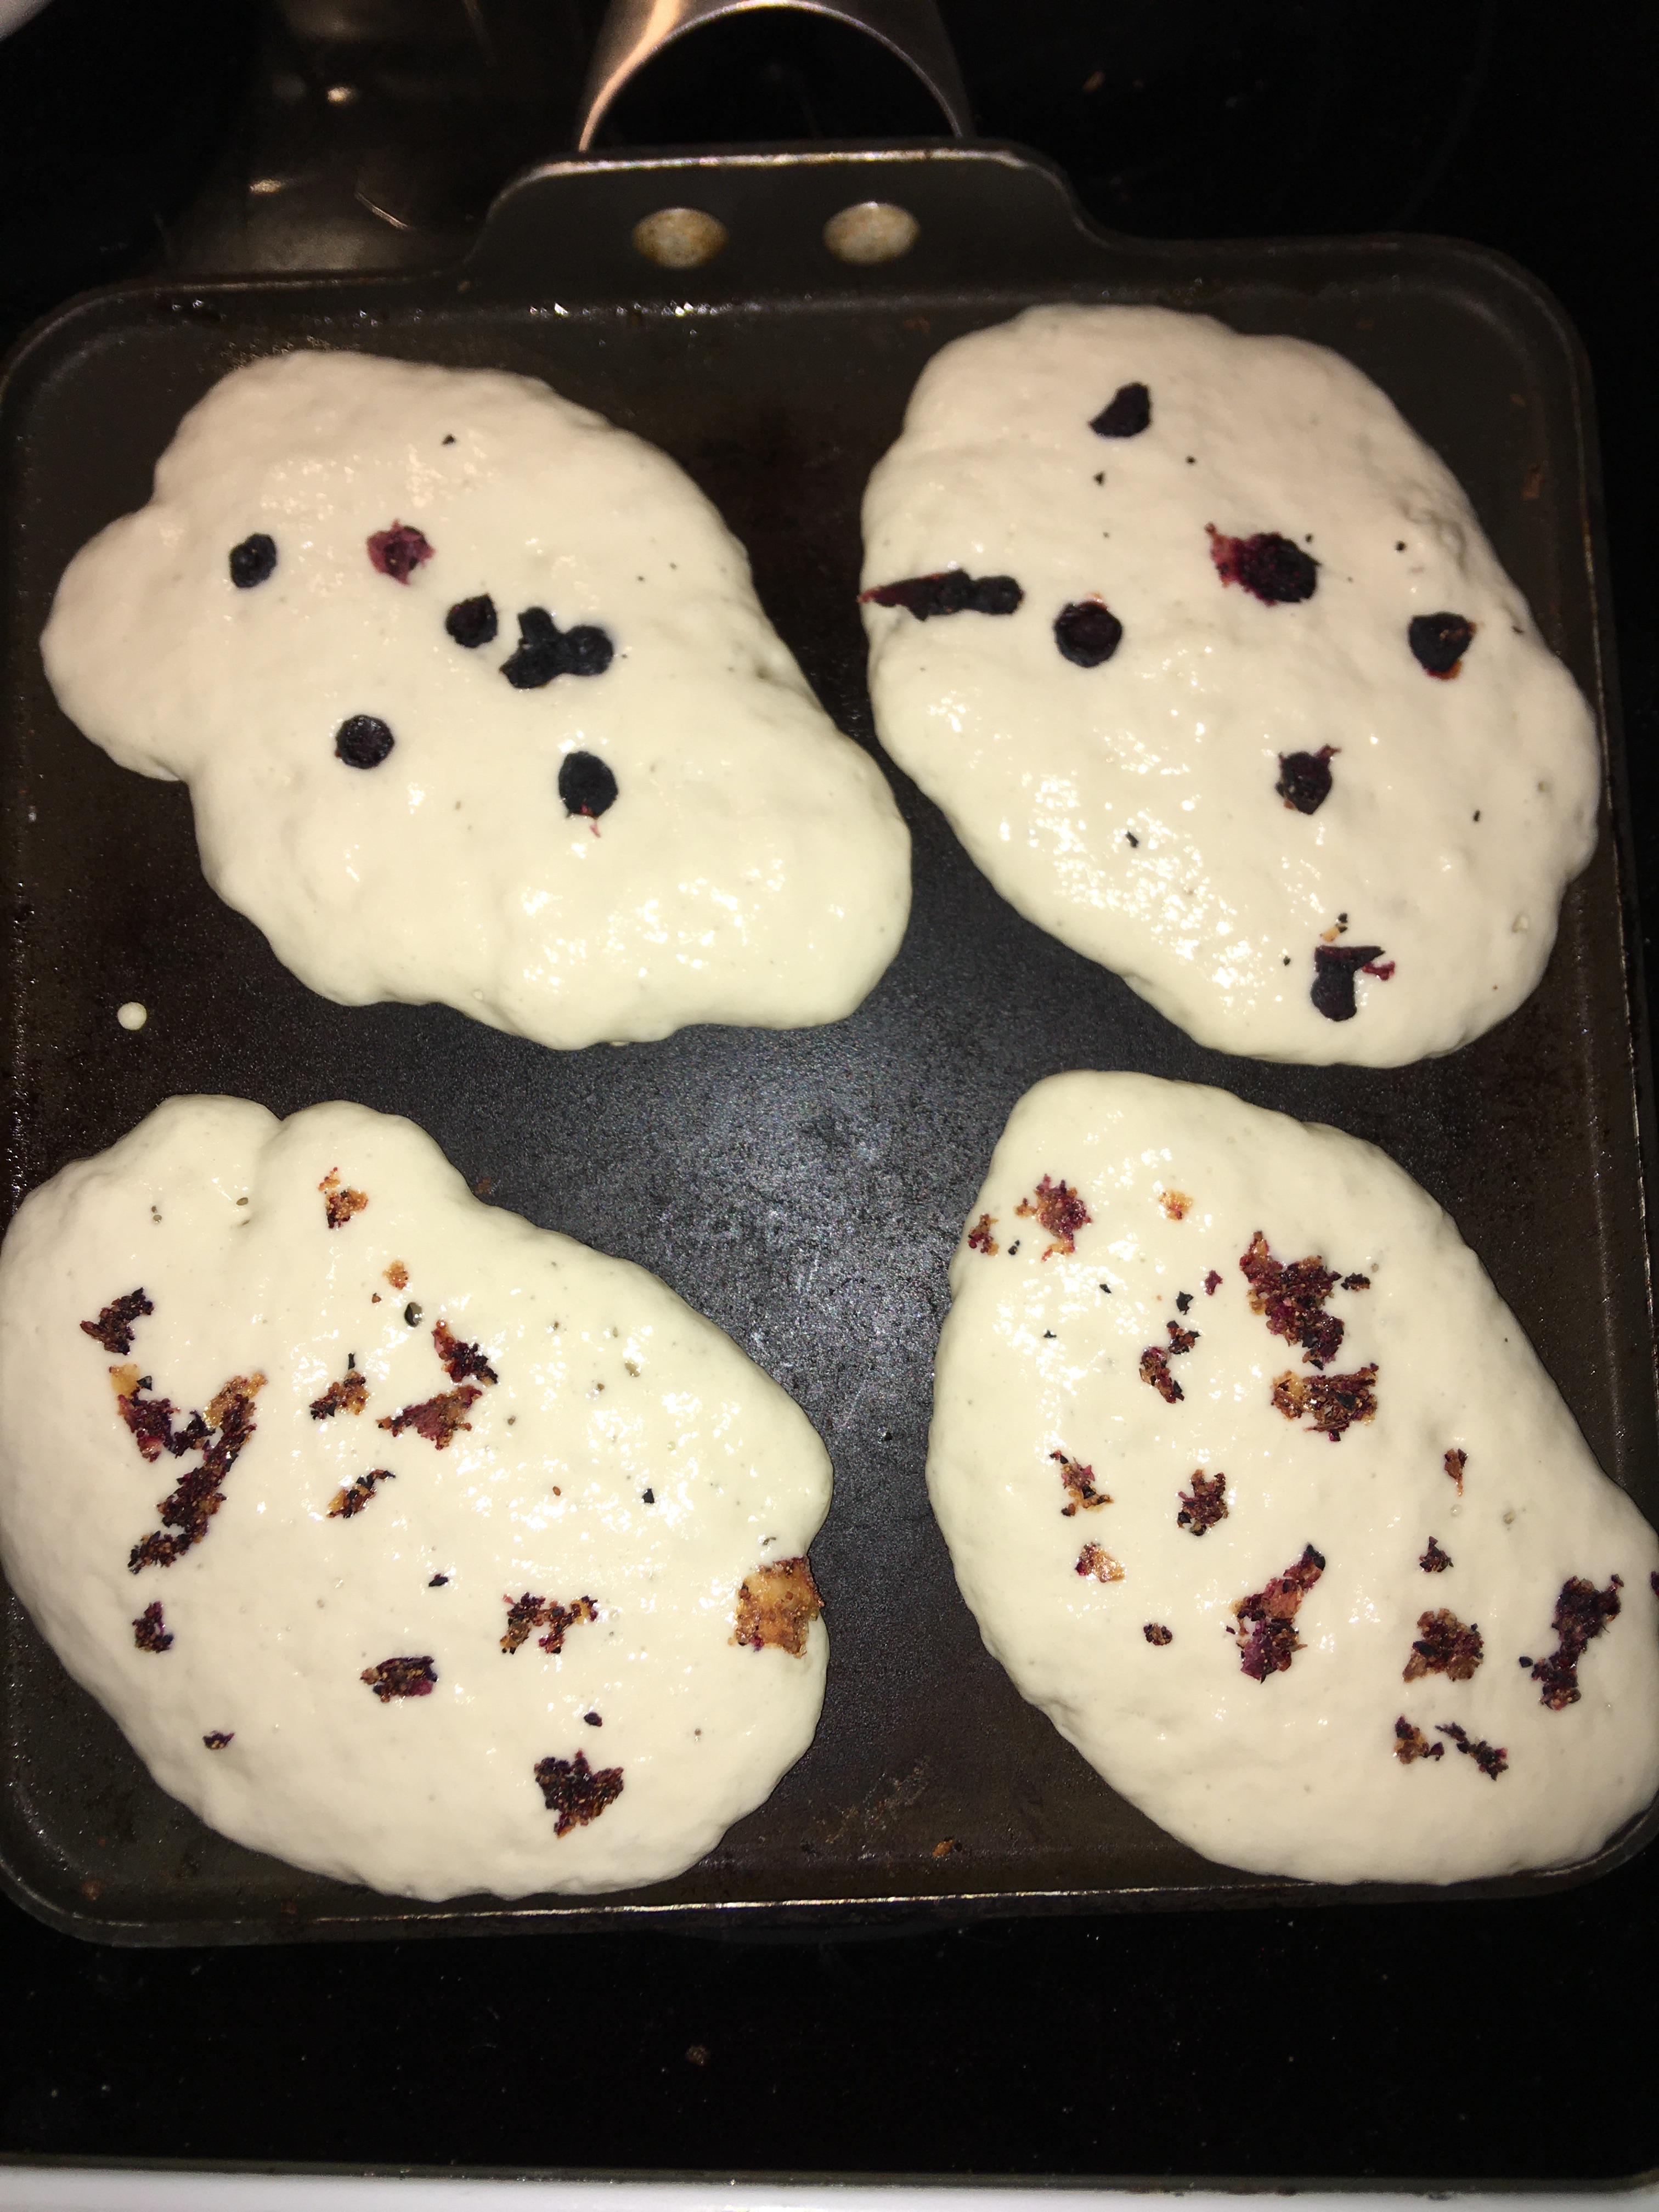
As seen above: the berry scrapings and blueberry pancakes (above: whole dehydrated berries, bottom: berry scrapings)
I didn’t have very much of the scraping, just enough for two pancakes for the boys. I made two other pancakes with the dehydrated berries. (And of course some plain flapjacks for the kiddo who dares to turn his nose up on blueberries.)
The dehydrated berries had a bit of crunch to them, but did not disappoint in the flavor department. The blueberry scrapings I absolutely loved! There was the full blueberry flavor without the bite of a dry blueberry, or even the wet squish of pancakes with fresh berries in them.
I’m so tempted to make more mashed berries and spread it very very thin to maximize the blueberry scrapings, because it’s the absolute perfect world for blueberry pancakes–full flavor without messing up the texture of a classic pancake!
Products seen today
These products are affiliate links. We can receive a commission from purchases made through these links, but at no extra cost to you. These products I have purchased for myself. Where I have talked about them, my statements are based on my experience on these products.

This was a replacement dehydrator for my other Nesco that served me well for over a decade. I wanted to make this recommendation because this dehydrator came with a mesh and jelly roll for each tray. I was prepared to purchase these accessories, but was so pleased to find out that I didn’t have to.

Leave a comment