This year is an interesting year to go into for Christmas. For some families, they are facing a tight budget and want to still have some wow while still meeting other necessities. Other families have taken the last few years to simplify their homes with a minimalistic look. And yet there are other people you will gift this year who are limited by space, be it home or office.
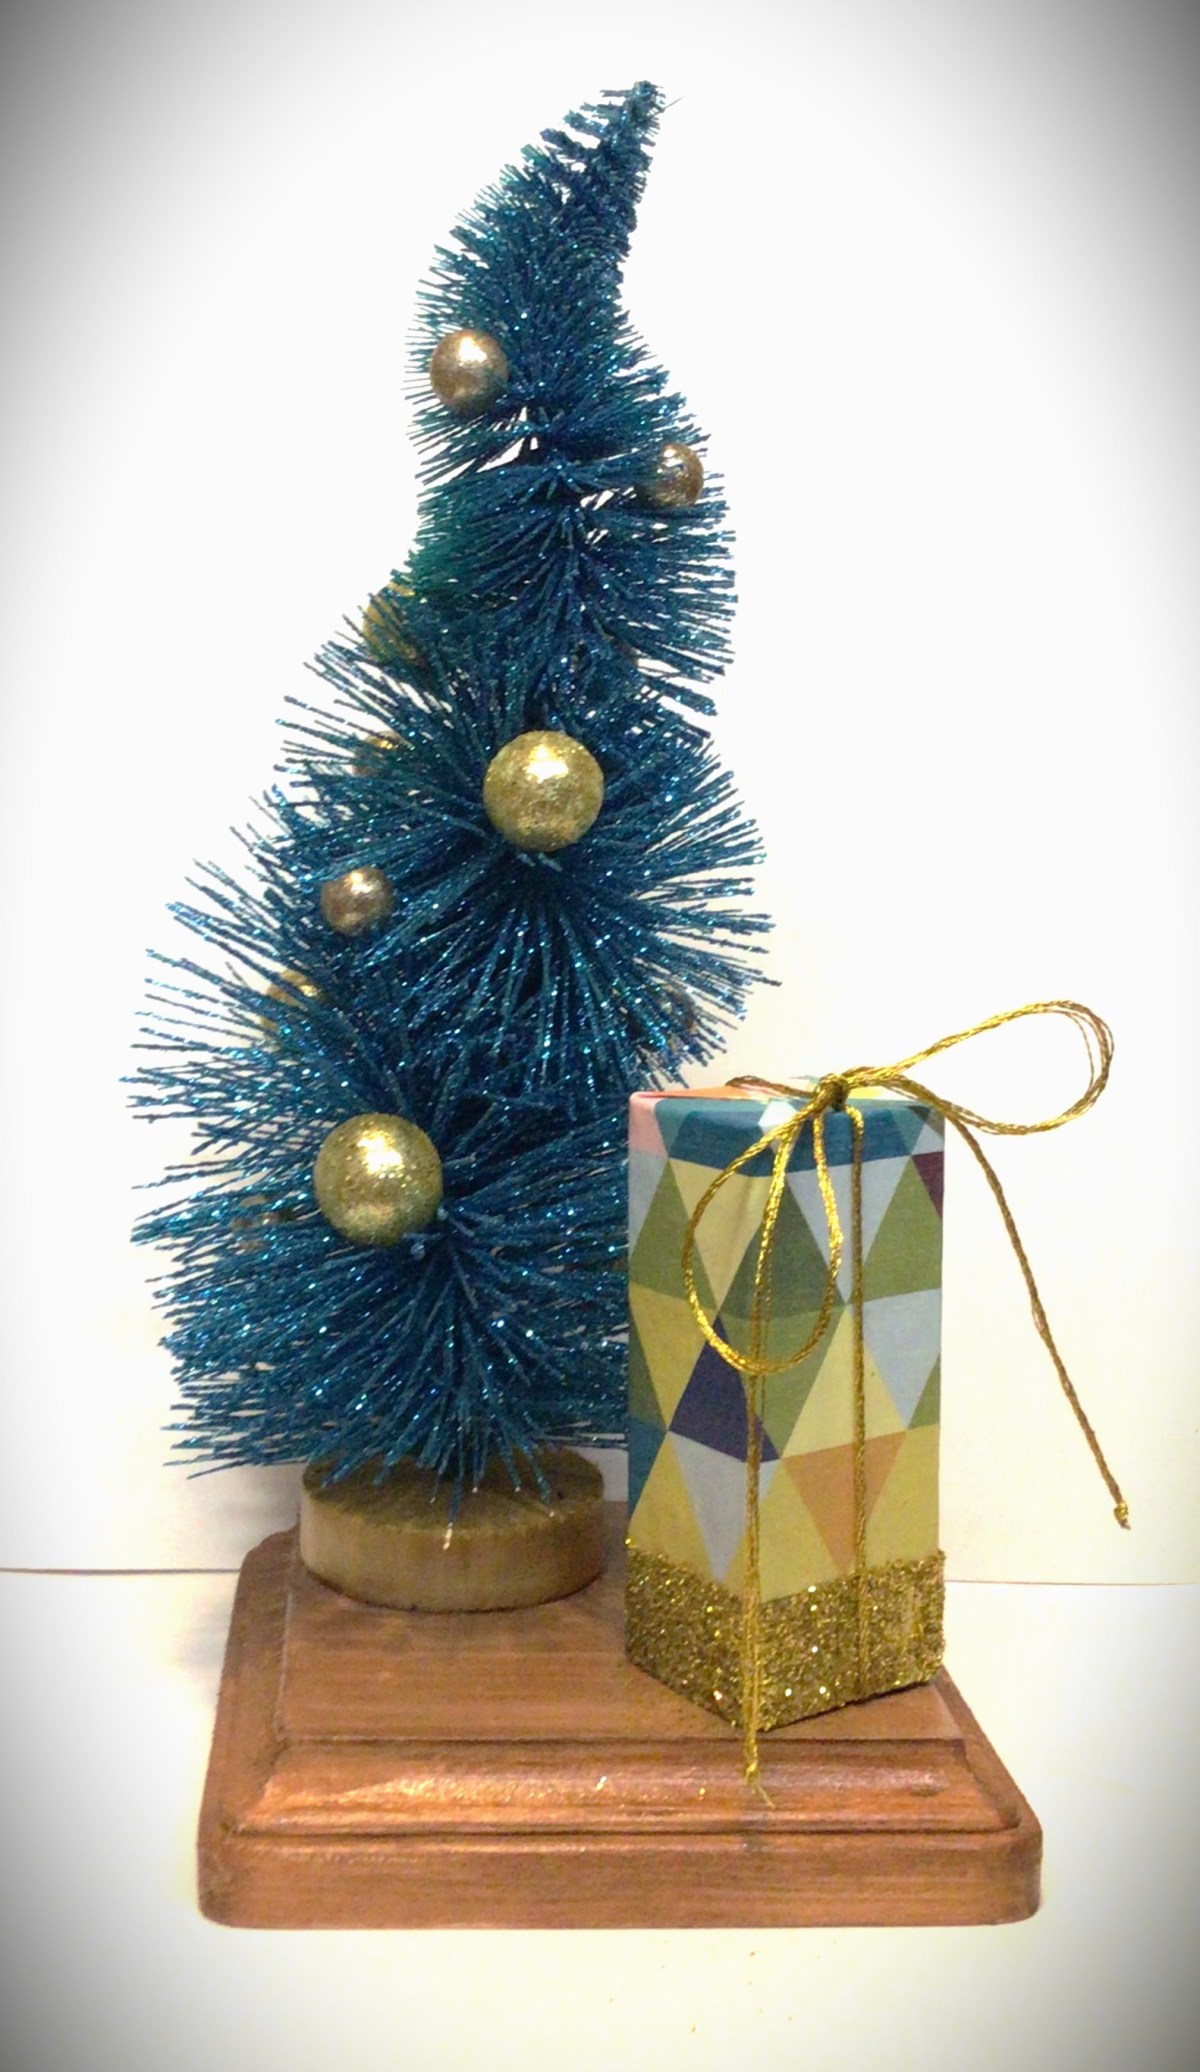
The first gift I want to present to you this year is the Desk Tree.
The beauty of the Desk Tree is that it is minimalistic in design and fits into small spaces at the same time. Not only that, but it is a blank canvas for other ideas that you already have in place for someone on your list. But I’ll come back to all these possibilities in a few moments. As well as the announcement of a special treat!
Let’s Make a Desk Tree
The fundamental components are the base, tree, and present. Everything else is completely customizable and based off of what you can find in your local shops or what you already have in your craft room. This time the only thing I purchased recently was the tree.

Other supplies I had on hand:
- acrylic paint
- paintbrushes
- wood glue
- Mod Podge
- hot glue gun
- clamps
- craft paper
- glitter
- gold embroidery floss
- styrofoam balls (different sizes)
Prep All Wood Pieces
I didn’t choose to sand the wood, because I wanted to keep rough surfaces for the wood glue to adhere to well. In fact, where I glued two pieces of wood together I roughed it up by scratching into the wood with a wood carving blade.


Option: you can paint the base before or after you glue on your tree. For the example in this set of photos, I glued the tree on first and worked around it. For the other copies I made, I painted the base first and glued on the tree afterward. The disadvantage of adding the tree first is that you have to have a steady hand as you paint around the tree. The disadvantage of adding the tree after the base is completely finished is that you run the risk of scratching the “floor finish” if you rough up the spot where you will add the tree.
Paint the Base
I could have painted the tree base before gluing it on. But let’s be honest, I didn’t think about it until later. So just know that it is easier to paint the tree base before you glue it, but entirely possible to paint it while on the base. Just remember to paint the tree base before you paint the floor. Because I chose to go with gold accent to my teal tree, the gold tree base paint doesn’t ruin or effect the floor at all since it blends in with brown. This is another good reason to paint the tree base first. If your paint brush slips, it’s not going to throw off your paint job. And as you can see here, in the first picture, I cleaned the gold off my brush by just painting it on the “floor” going with the grain of the wood.
When you paint the “floor”, paint in the direction of the wood. This allows you to use thin coats of paint (making it a faster dry time) and if the wood grains show through, it adds to your paint job instead of competing with it.


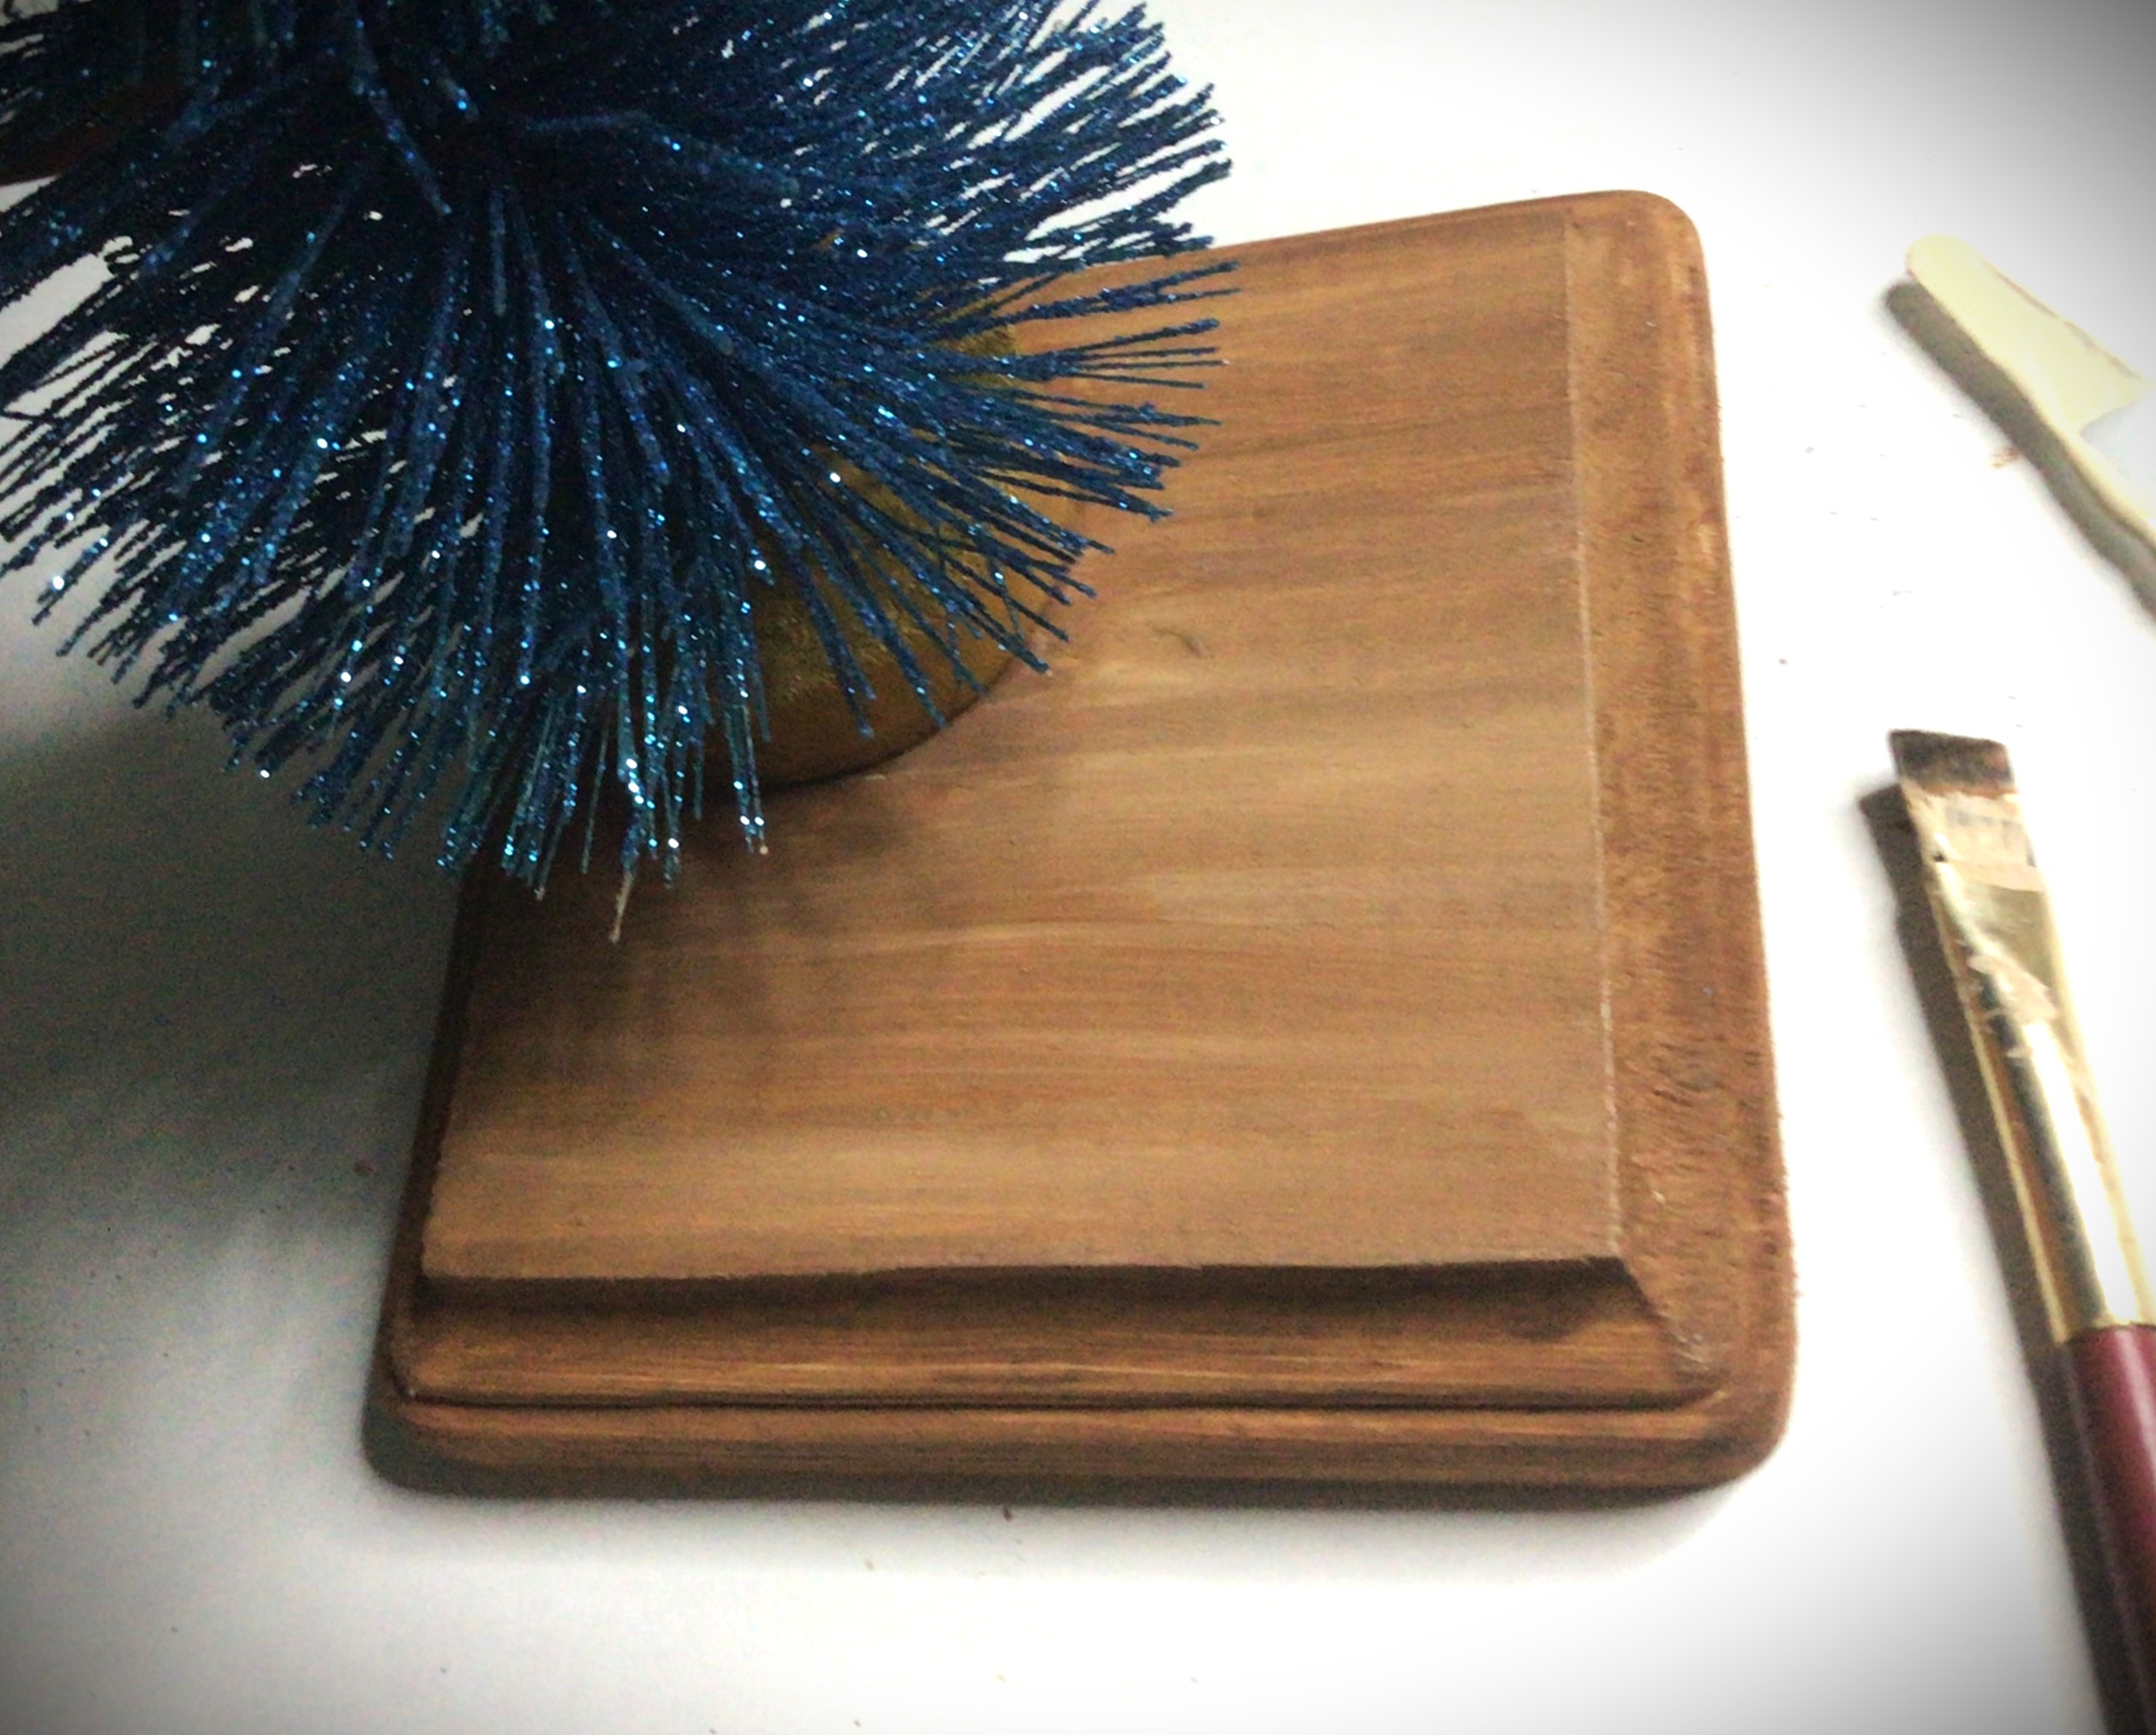
Picture 2 I took to show you that you have the option of leaving any decorative edges of your wood different if your creativity is taking you in a different direction.
Picture 3 shows you the direction that I went, changing the color of the pine to more of a mahogany wood color.
Option: Perhaps you don’t want to paint the base to another wood color finish, but have a wood stain in your garage. Go ahead and use the stain!
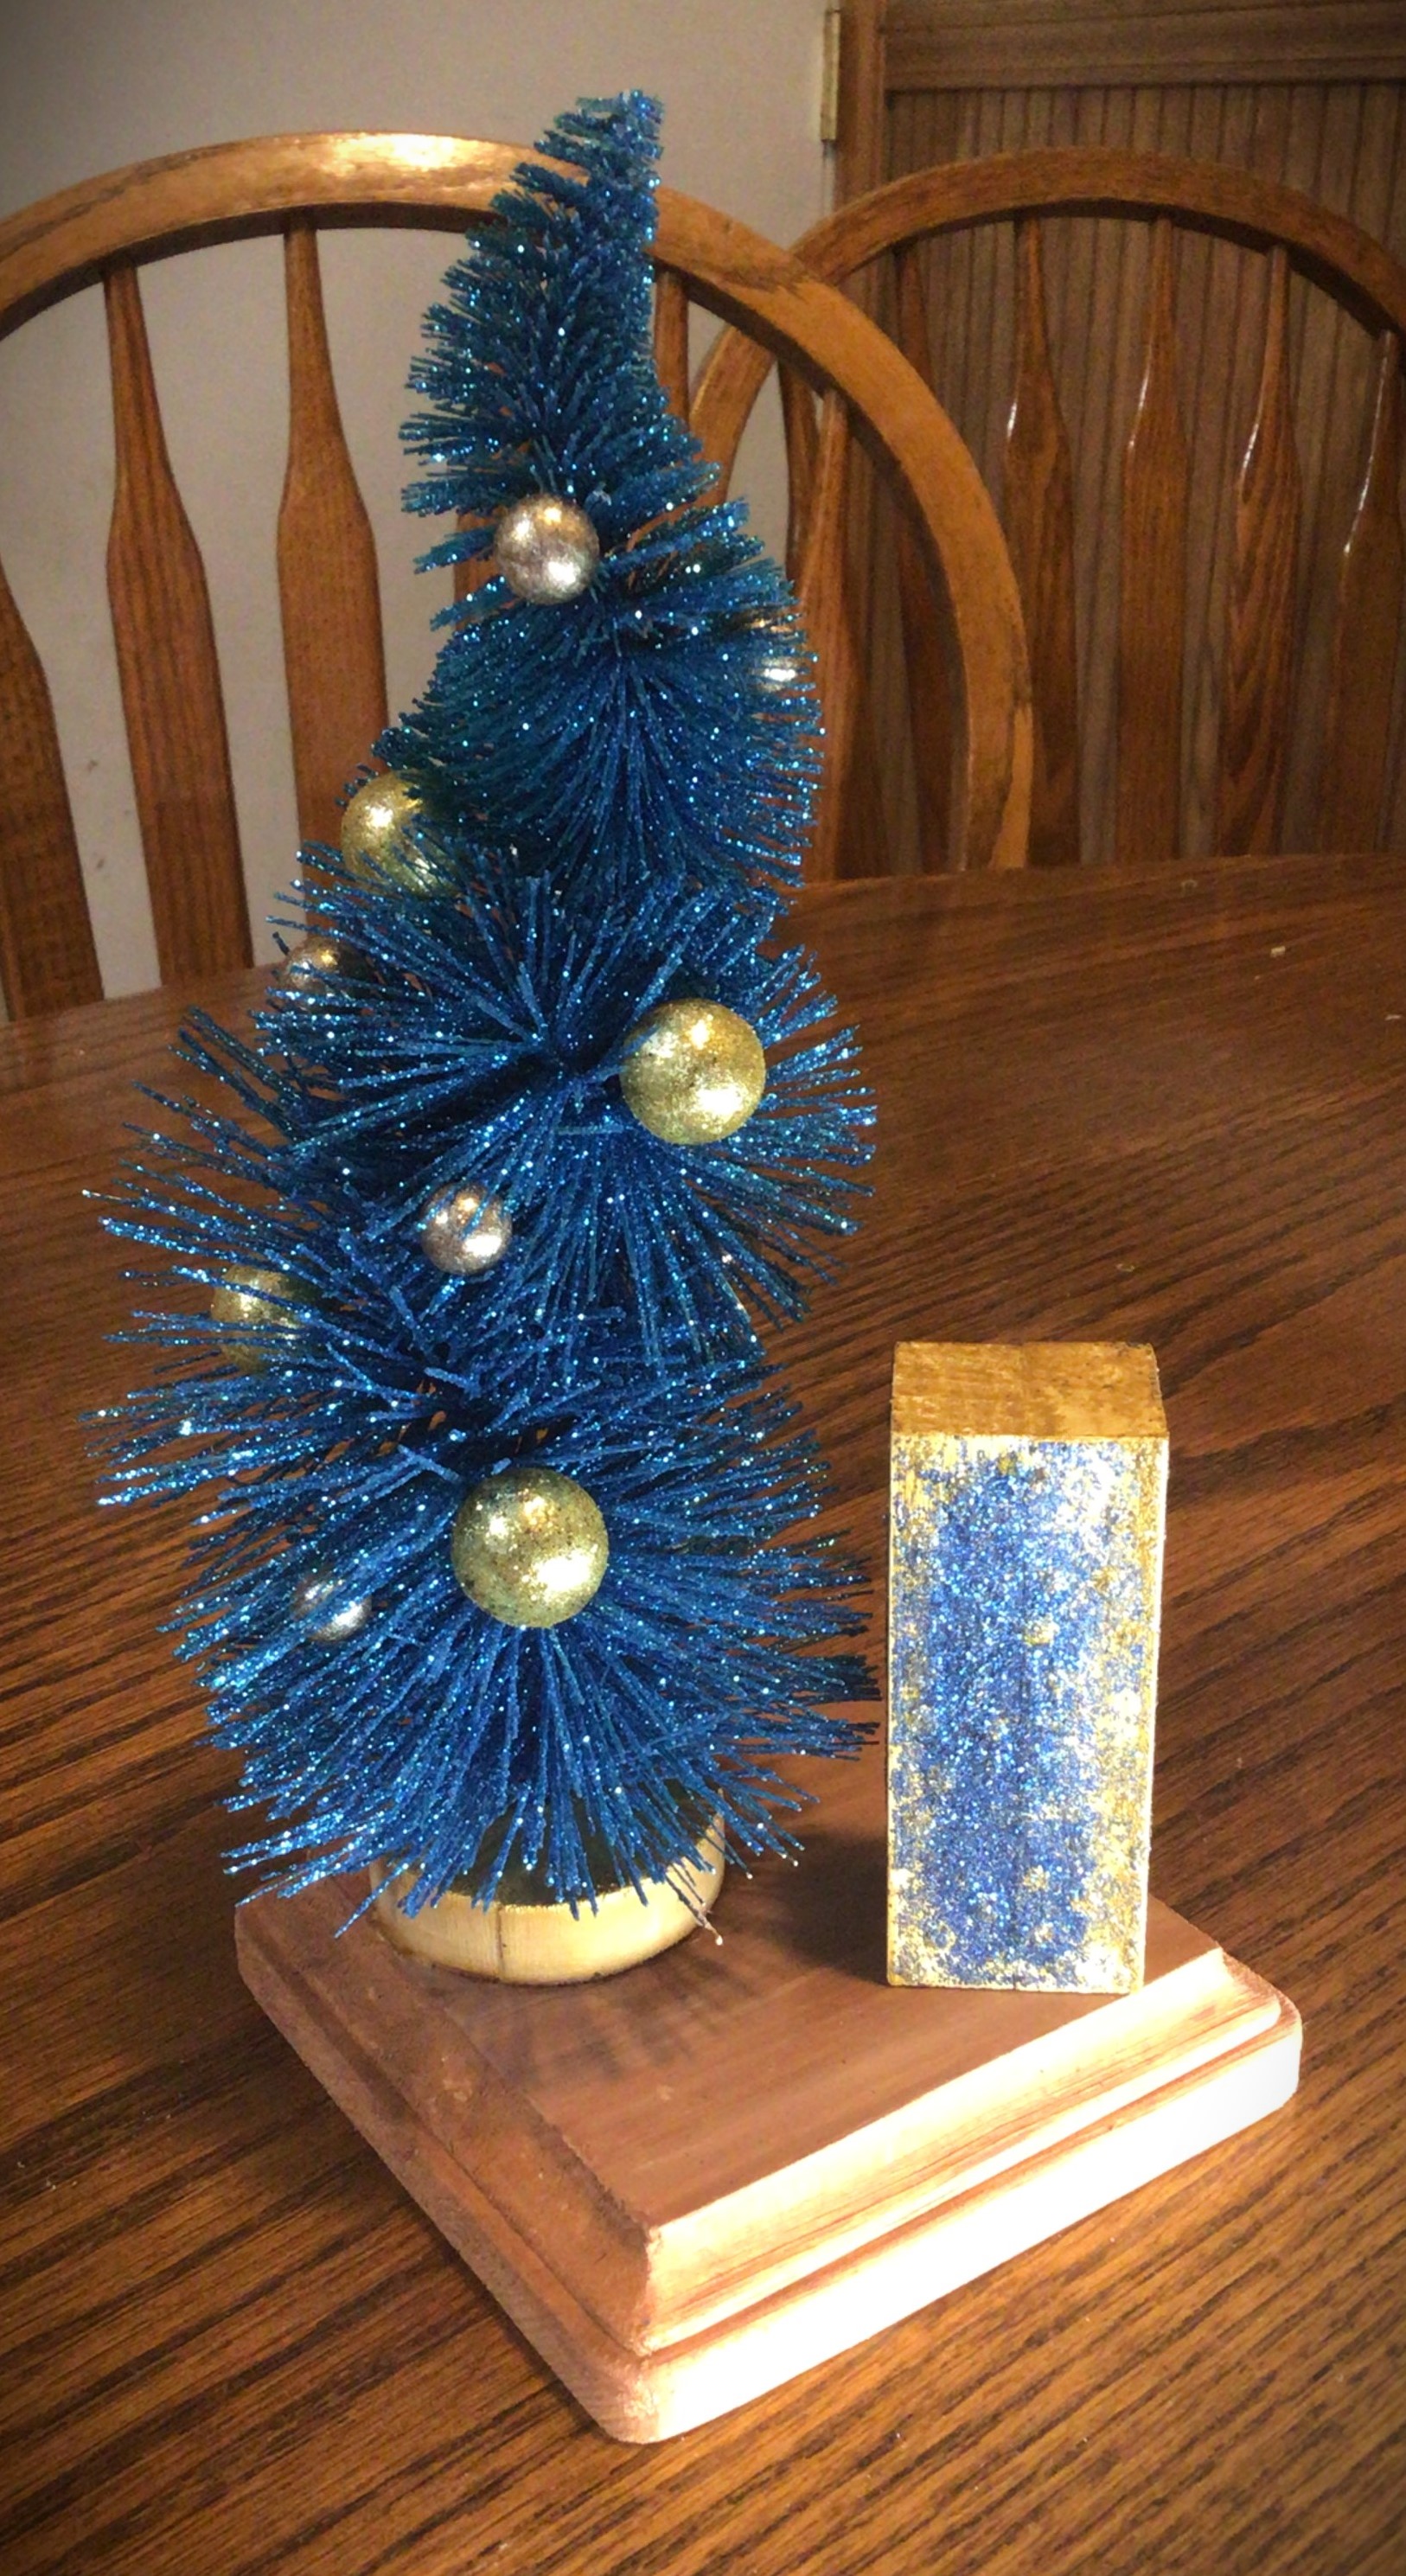
Stylize Your Tree Set
Sometimes you have to pause and put things together to see what direction you want to go with. Originally I had planned on painting my “present” and then add dots of glitter to make my own “wrapping paper”. Let’s just say that my polka dots looked like my preschooler made them. It wasn’t the vibe I was going for so I present to you my second option, glitter “wrapping paper”. For a different project, I might choose this option, but it wasn’t working for me either.
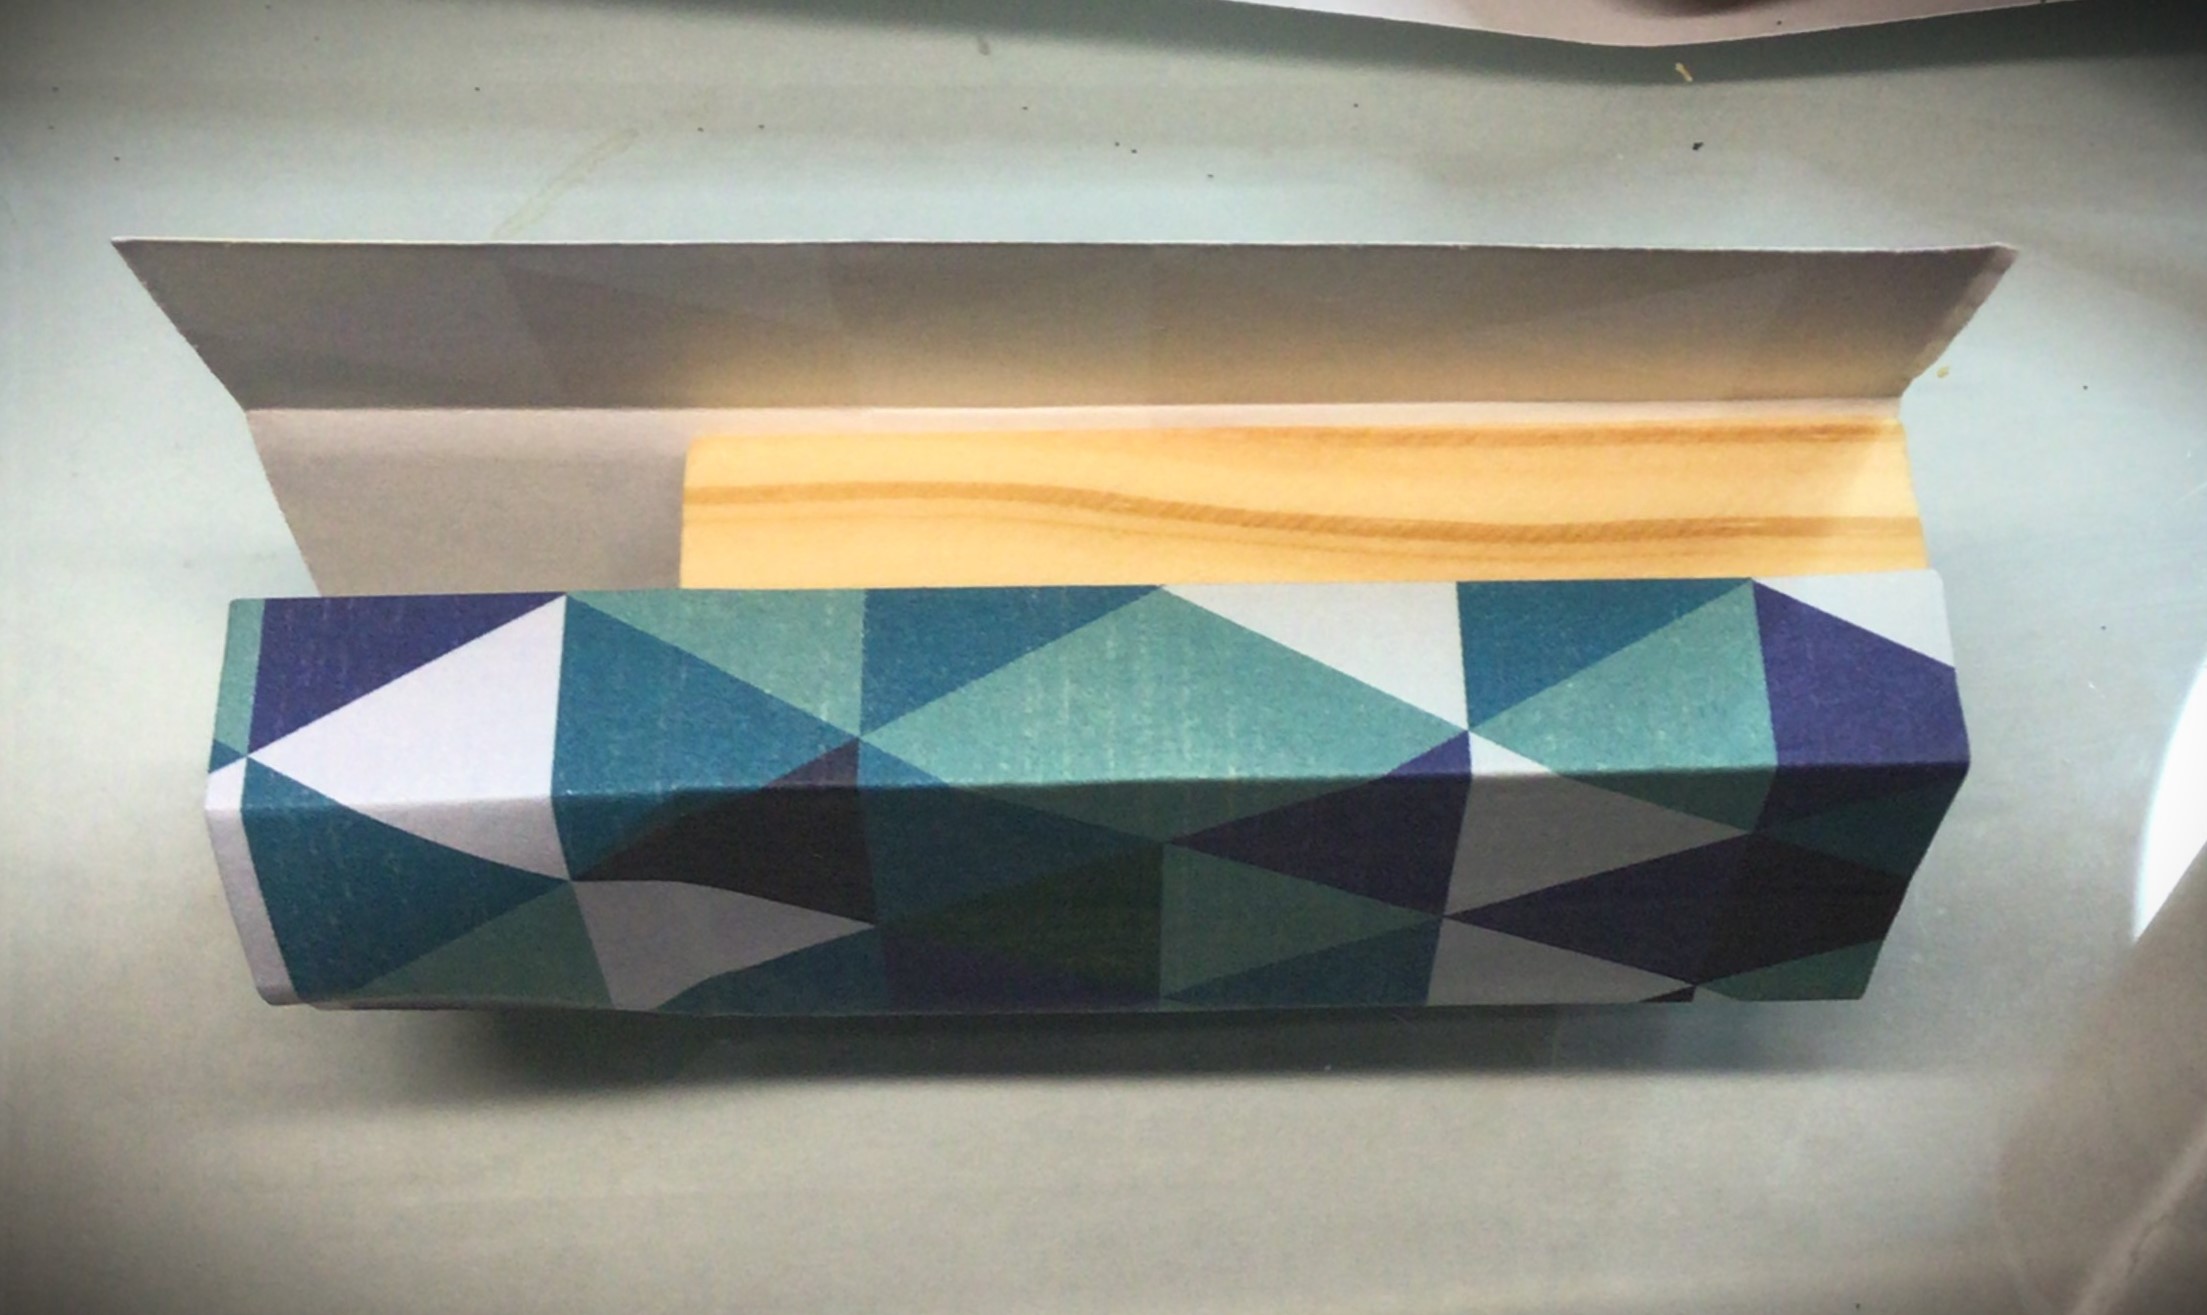
While I was staring at the teal tree with the “ornaments” that I put on it I asked myself what it was that attracted me to this tree. And the answer was the playful was that geometry was used. And then it hit me! I had geometric crafting paper.
As you can see here, the geometric triangles brought symmetry to a very asymmetric and quirky tree. And the crafting paper just made my job of wrapping this “present” so much easier.

Wrap the Present
This is simpler than actually wrapping your Christmas presents because you get to use glue!
Once I trimmed my paper (leaving the bottom exposed, with enough left over to wrap the top), I created the folds in my paper before gluing it down. The one thing I hate about gluing down craft paper is that if you have to lift it to reposition it, the paper doesn’t look as nice. So to avoid this pit fall, I made sure to make all my creases first. This allowed me to put the edge of the wood block in the crease and line up before laying down the Mod Podge.
Plus there is the added bonus of knowing where your finishing end will land. In this case, I started my first crease by thinking of this blind end finish and placing the paper edge on the corner of a short end. By the end of my creasing job, the tail end had the paper over lapping around halfway on that same small end.
Start by gluing the paper down with this small end tail.


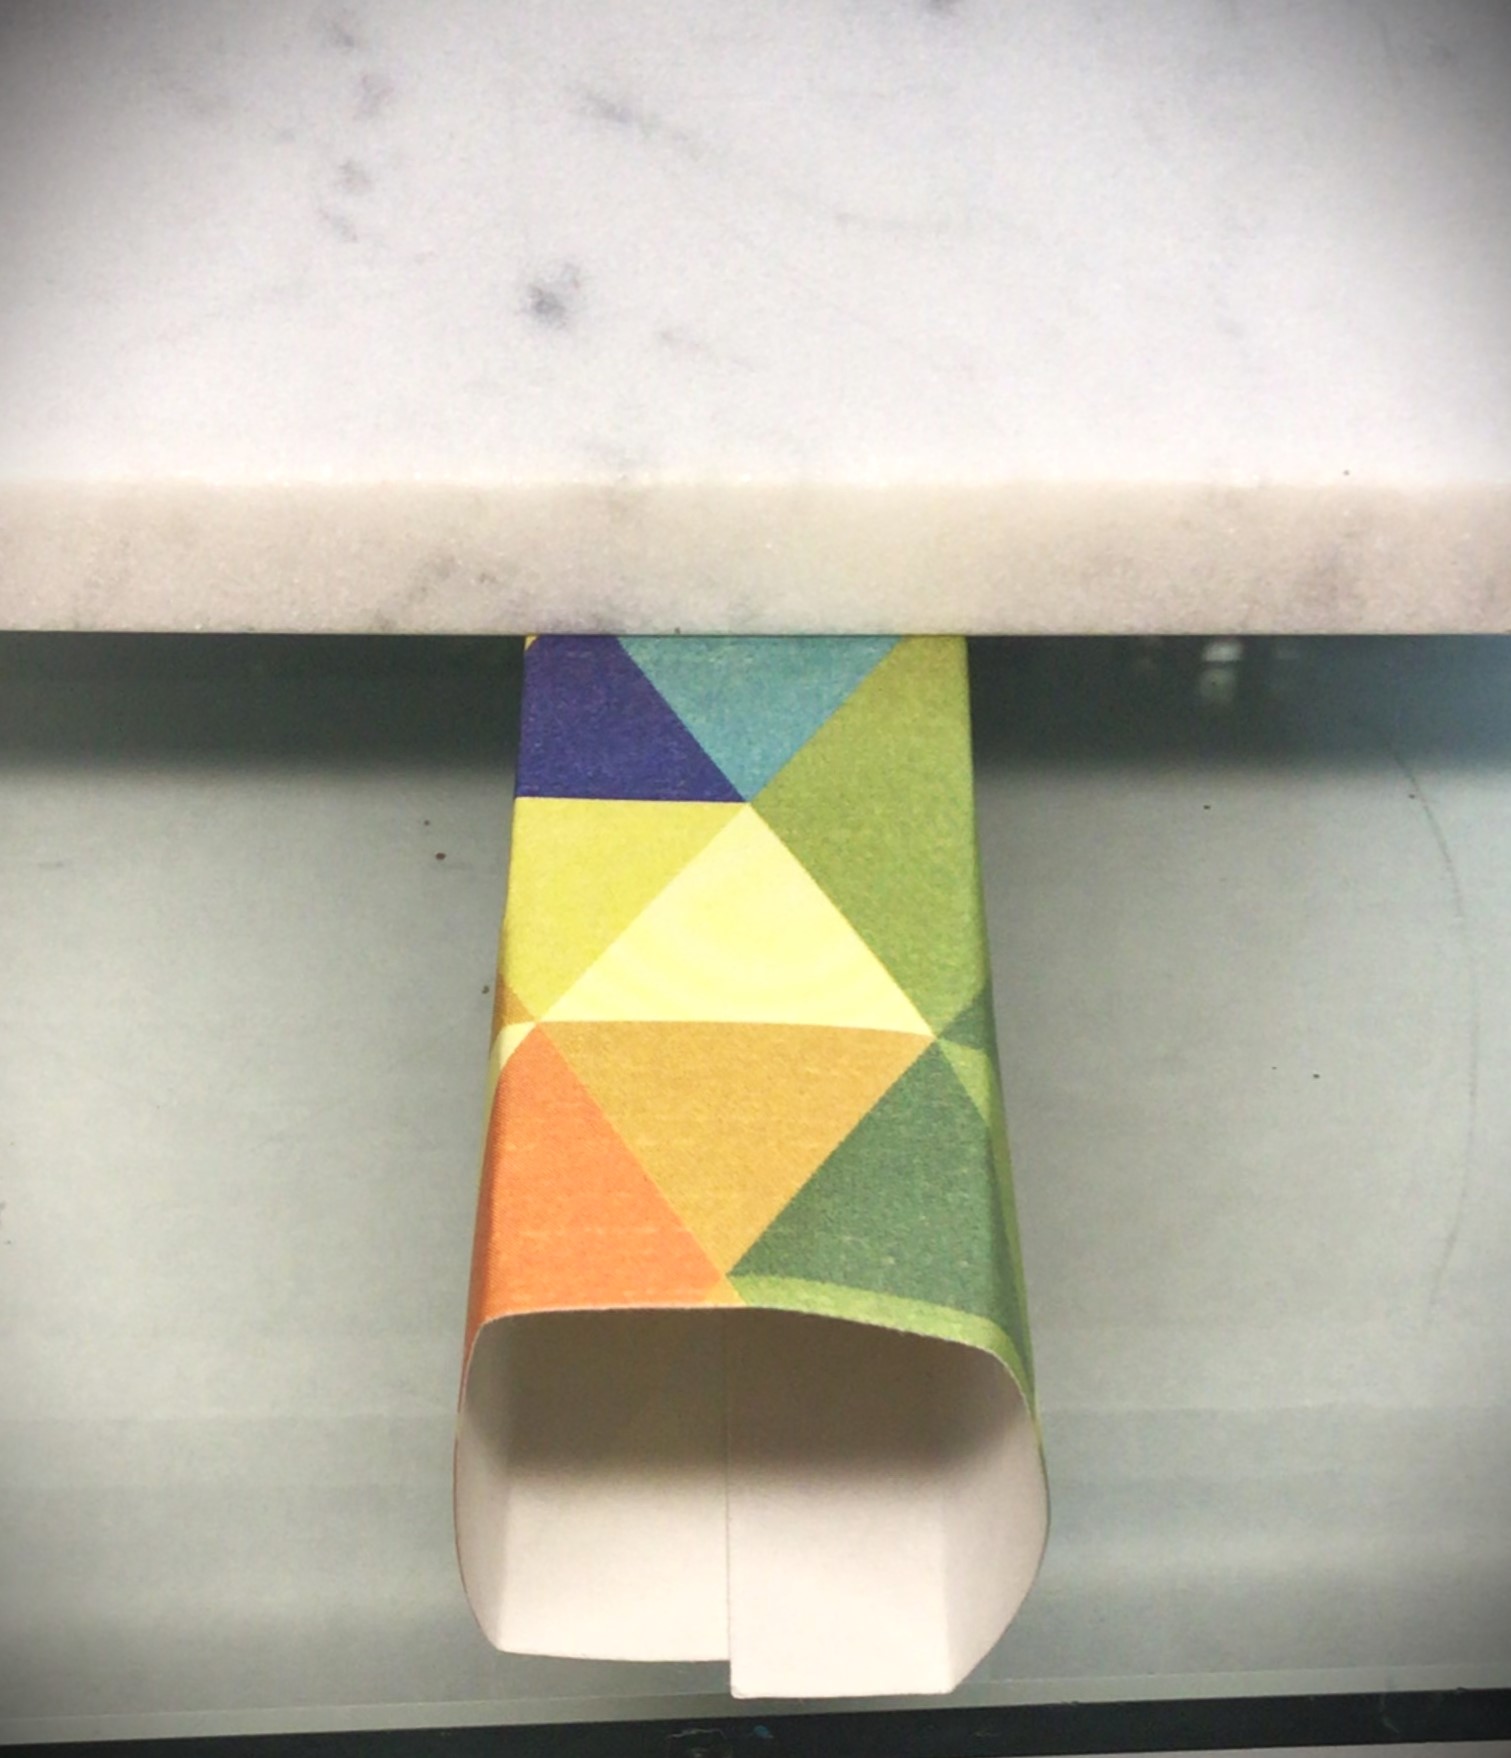
Work one end at a time and smooth out the paper as you lay it down. This will prevent the paper from slipping, having bubbles, or making creases as you go around your wood block.
When you come to the end, your last flap will be the section that lines up with the short end of the wood block. Apply glue to both the wood block and on top of the paper that you already glued down. The “present” how has a hidden seam where you don’t have to worry about hiding a back side of the present.
Put this seam side of the “present” table side down and place a weight on top of the block. This frees your hands up to do another step of the project while the glue dries, keeps the paper from lifting or wrinkling.
Once this seam side is dry, you are able to know wrap the top of the wood block. For this step, pre-creasing will also make this step easier.
Fold the seam side of the paper down first. Then fold the other short side of the block down next. Finally fold the long sides down.
Reopen the paper and apply Mod Podge down on the full top of the wood block. Fold down the seam side. Apply Mod Podge to the paper of the other short side and fold it down. Then put Mod Podge on the paper of the long side flaps and press them down in the order that you folded them.
When you “present” top is wrapped, you will want to add a weight to the top until the glue dries. (This once again frees your hands up to work on something else of the project.)


You will probably find that you need to put the “present” in between two items to keep it from falling over. You will see that I put it between a craft bin and one of my bottles of paint
Finishing Touches
In order to tie in the glitter from the teal tree and the pain finish of the craft paper, I decided to add some gold glitter trim to the bottom of the “present”.
TIP: To keep the glitter from shedding, consider applying a top coat of something. It’s whatever you have on hand. If you have some glitter glue, that seals in the glitter you just applied without adding a dull layer over the sparkle.
Once the glitter dried, I opted to add an embroidery floss ribbon. All my ribbons were disproportionate to the present. And I didn’t have any tiny premade bows to stick on top. So if your craft room also is limited in tiny items, consider things like embroider floss, thin hemp twine, baker’s twine, or even sewing thread wrapped around a few times.
Depending on what you use to finish off your present will determine how you attach your present to the wood base. Ideally, you would want to add the present with wood glue. In this instance, wood glue would have created more of a mess to clean up than hot glue. I placed hot glue on either side of the floss so that the glue would balance out the thickness of the floss and make the present secure.

Gifting Options
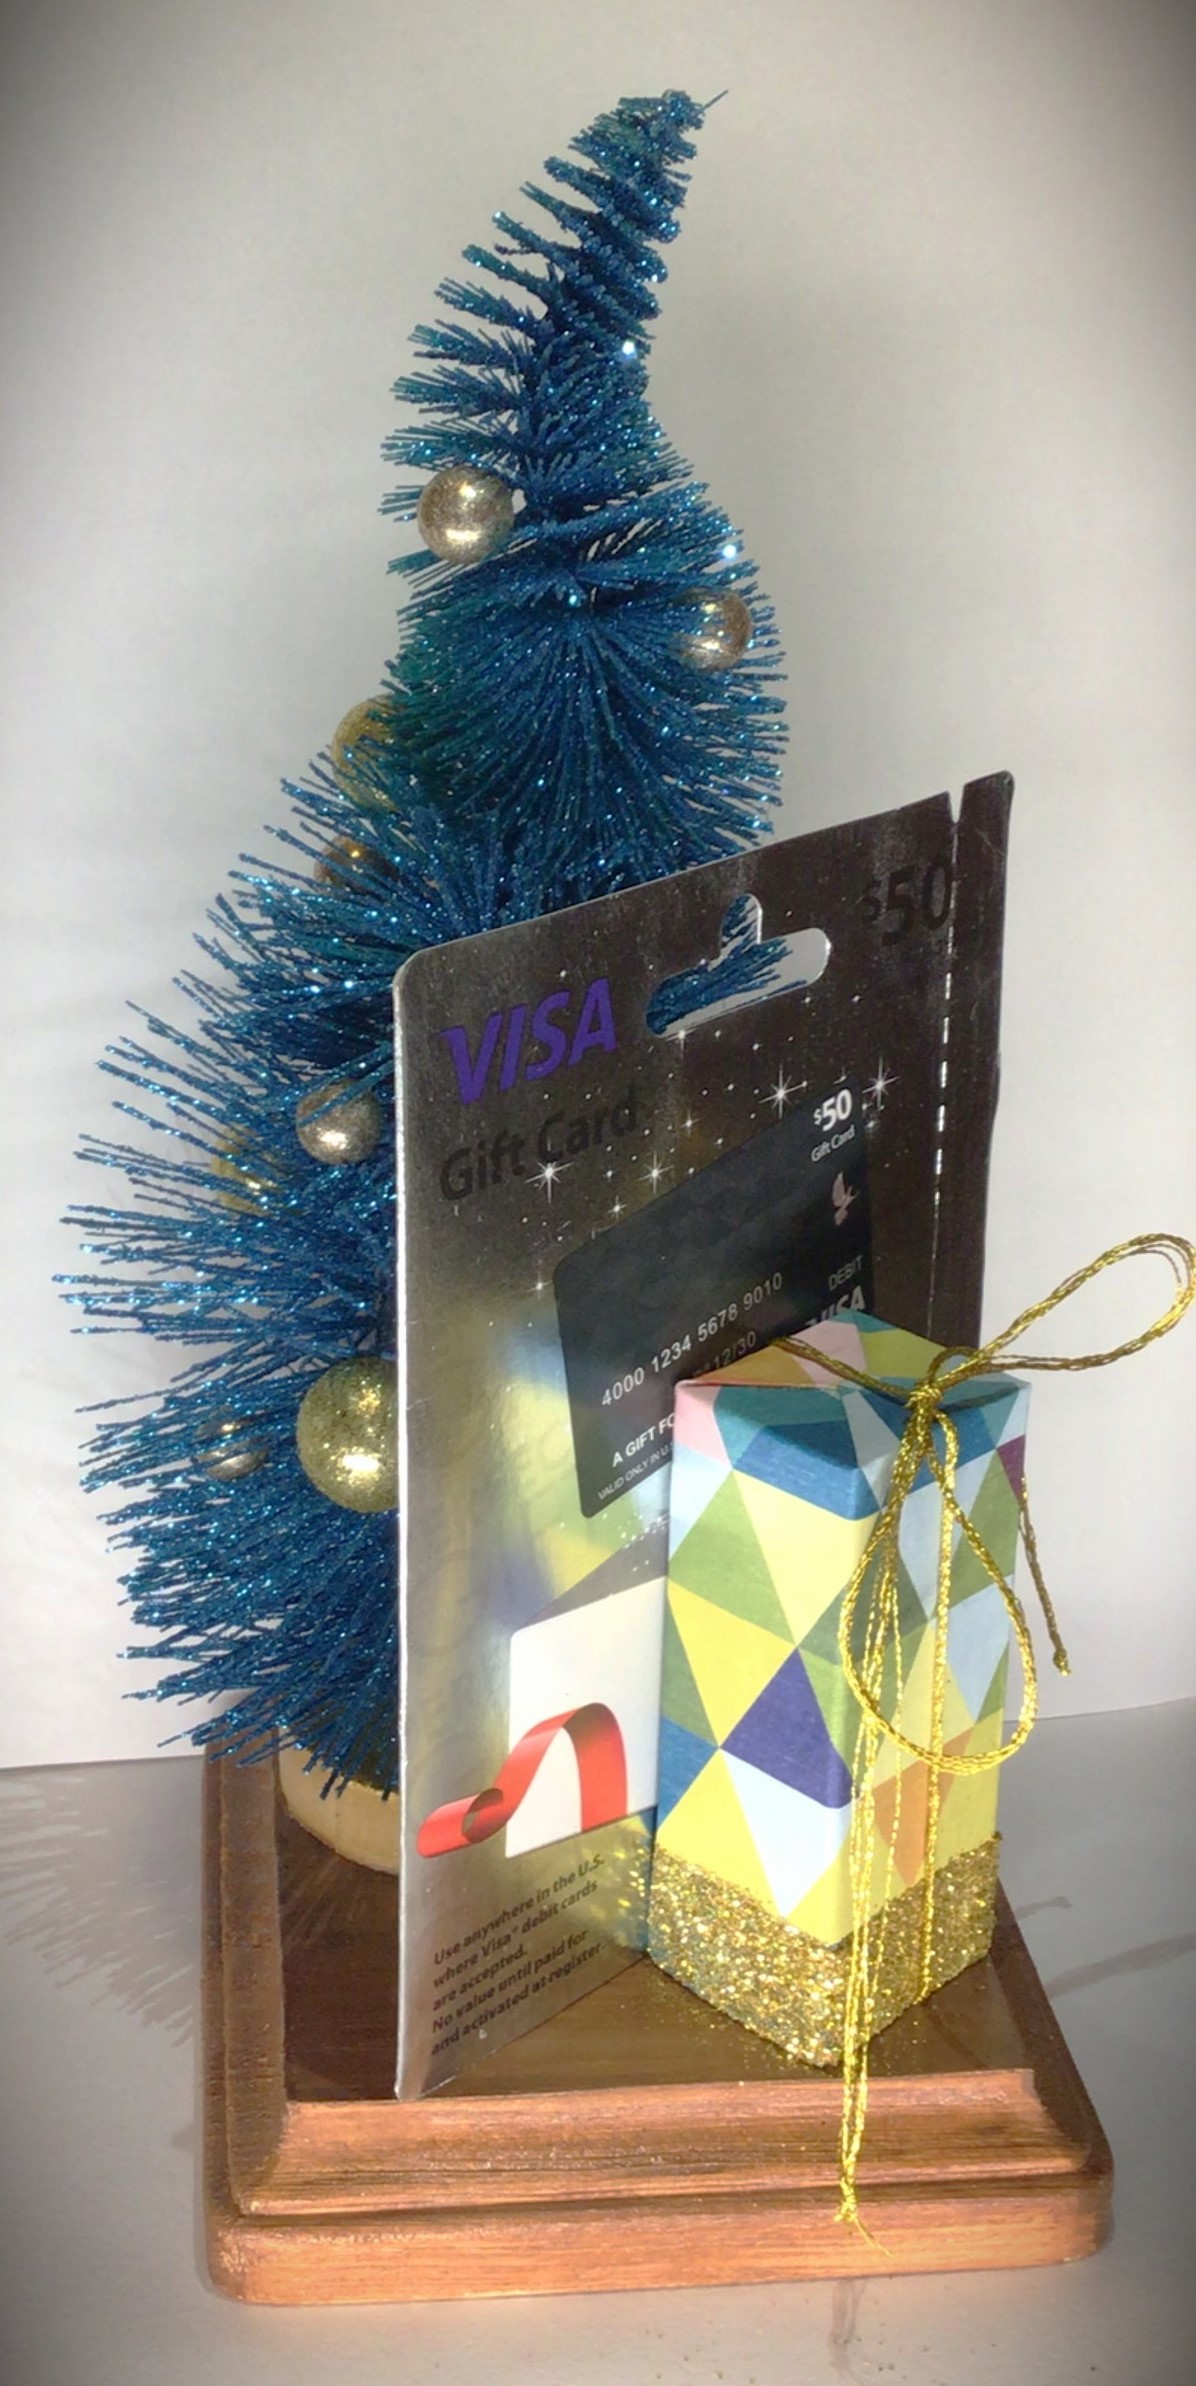
Desk Tree is perfect as is for gift exchanges and teacher’s gifts. But it’s even better when paired up with the little something extra that just wasn’t enough on its own.
Here are two examples of adding a little something extra to a gift that can still be brought out year after year for holiday decor. Match this up with that perfect scented candle that you found. Or maybe that person you gifting only wanted a gift card. This is a festive way of dressing up a gift card!

No matter how you decide to gift this Desk Tree, you will not go wrong with this project!
SPECIAL ANNOUNCEMENT!!!
Starting with Desk Tree, I’m going to make Limited Editions available of crafts that you see in my blog.
There are many people who would rather “I can make that!” But there are others who are not so crafty inclined. I don’t want you to feel left out on ideas that you love.
For right now, shipping is only going to be made available for the United States. And all purchases are only through my website, Order Here. I will keep you updated on any changes as they become available.
If you have any questions about Limited Editions, please do not hesitate to reach out to me at info@pacificnorthwesteventdesign.com or here:


Items used in the making of this project
These links are affiliate links to products used in this project. We may receive a commission for purchases made through these links, but at no extra cost to you.

These are generic Jenga blocks that are great for crafting on a budget when your local dollar store is out of stock.

Last Christmas, my husband put these Dewalt clamps in my stocking for crafting. And they are definitely one of my favorite project tools.
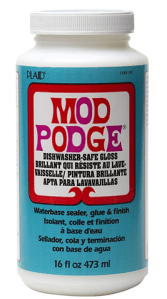
At the time of this posting, this Mod Podge is on sale. There are many varieties and finishes, but I wanted to send you to the sale link.
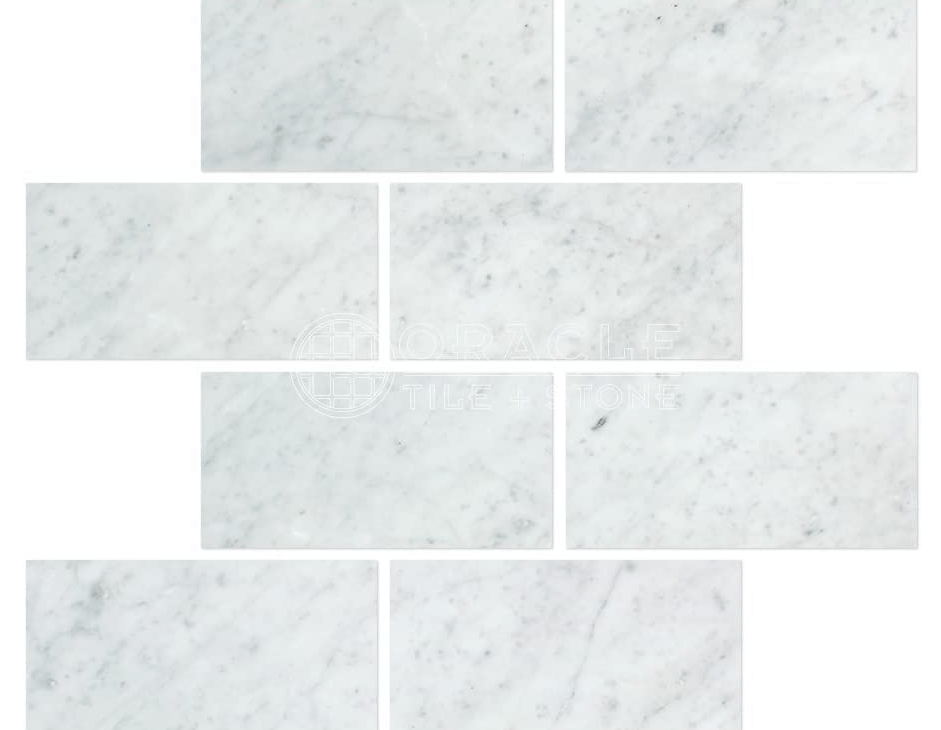
I originally bought these Marble Tiles for working with HTV. But I’ve found that they have had other uses in my craft room, such as a weight for holding certain projects down.

Leave a comment