After spending almost a decade in the event decorating industry I have repetatively heard "I can do that". Instead of being dismissed by creative minded people, I want to show you how I do "that" so you can be sucessful in recreating that inspiration image. I just might have a few tricks that you haven't seen yet!
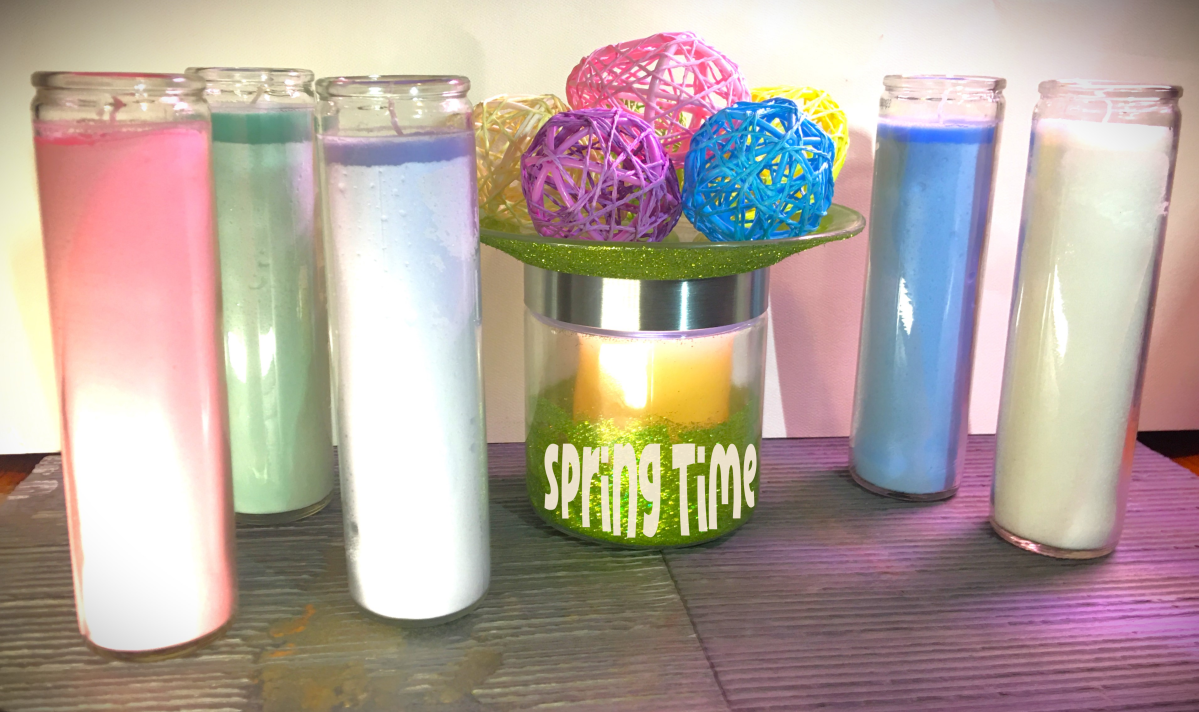
Depending on the space you’re looking to decorate for spring and Easter, you might find that you want a little sparkle in a small place. Maybe it’s a window ledge, a office desk corner, a mantel piece, or just a side table. This is something quick that you can put together and adds as much or little color as you like. The best part is that with the exception of glue drying time, you can have this project done in under an hour!
Materials Needed:
Clear Glass Salad Plate
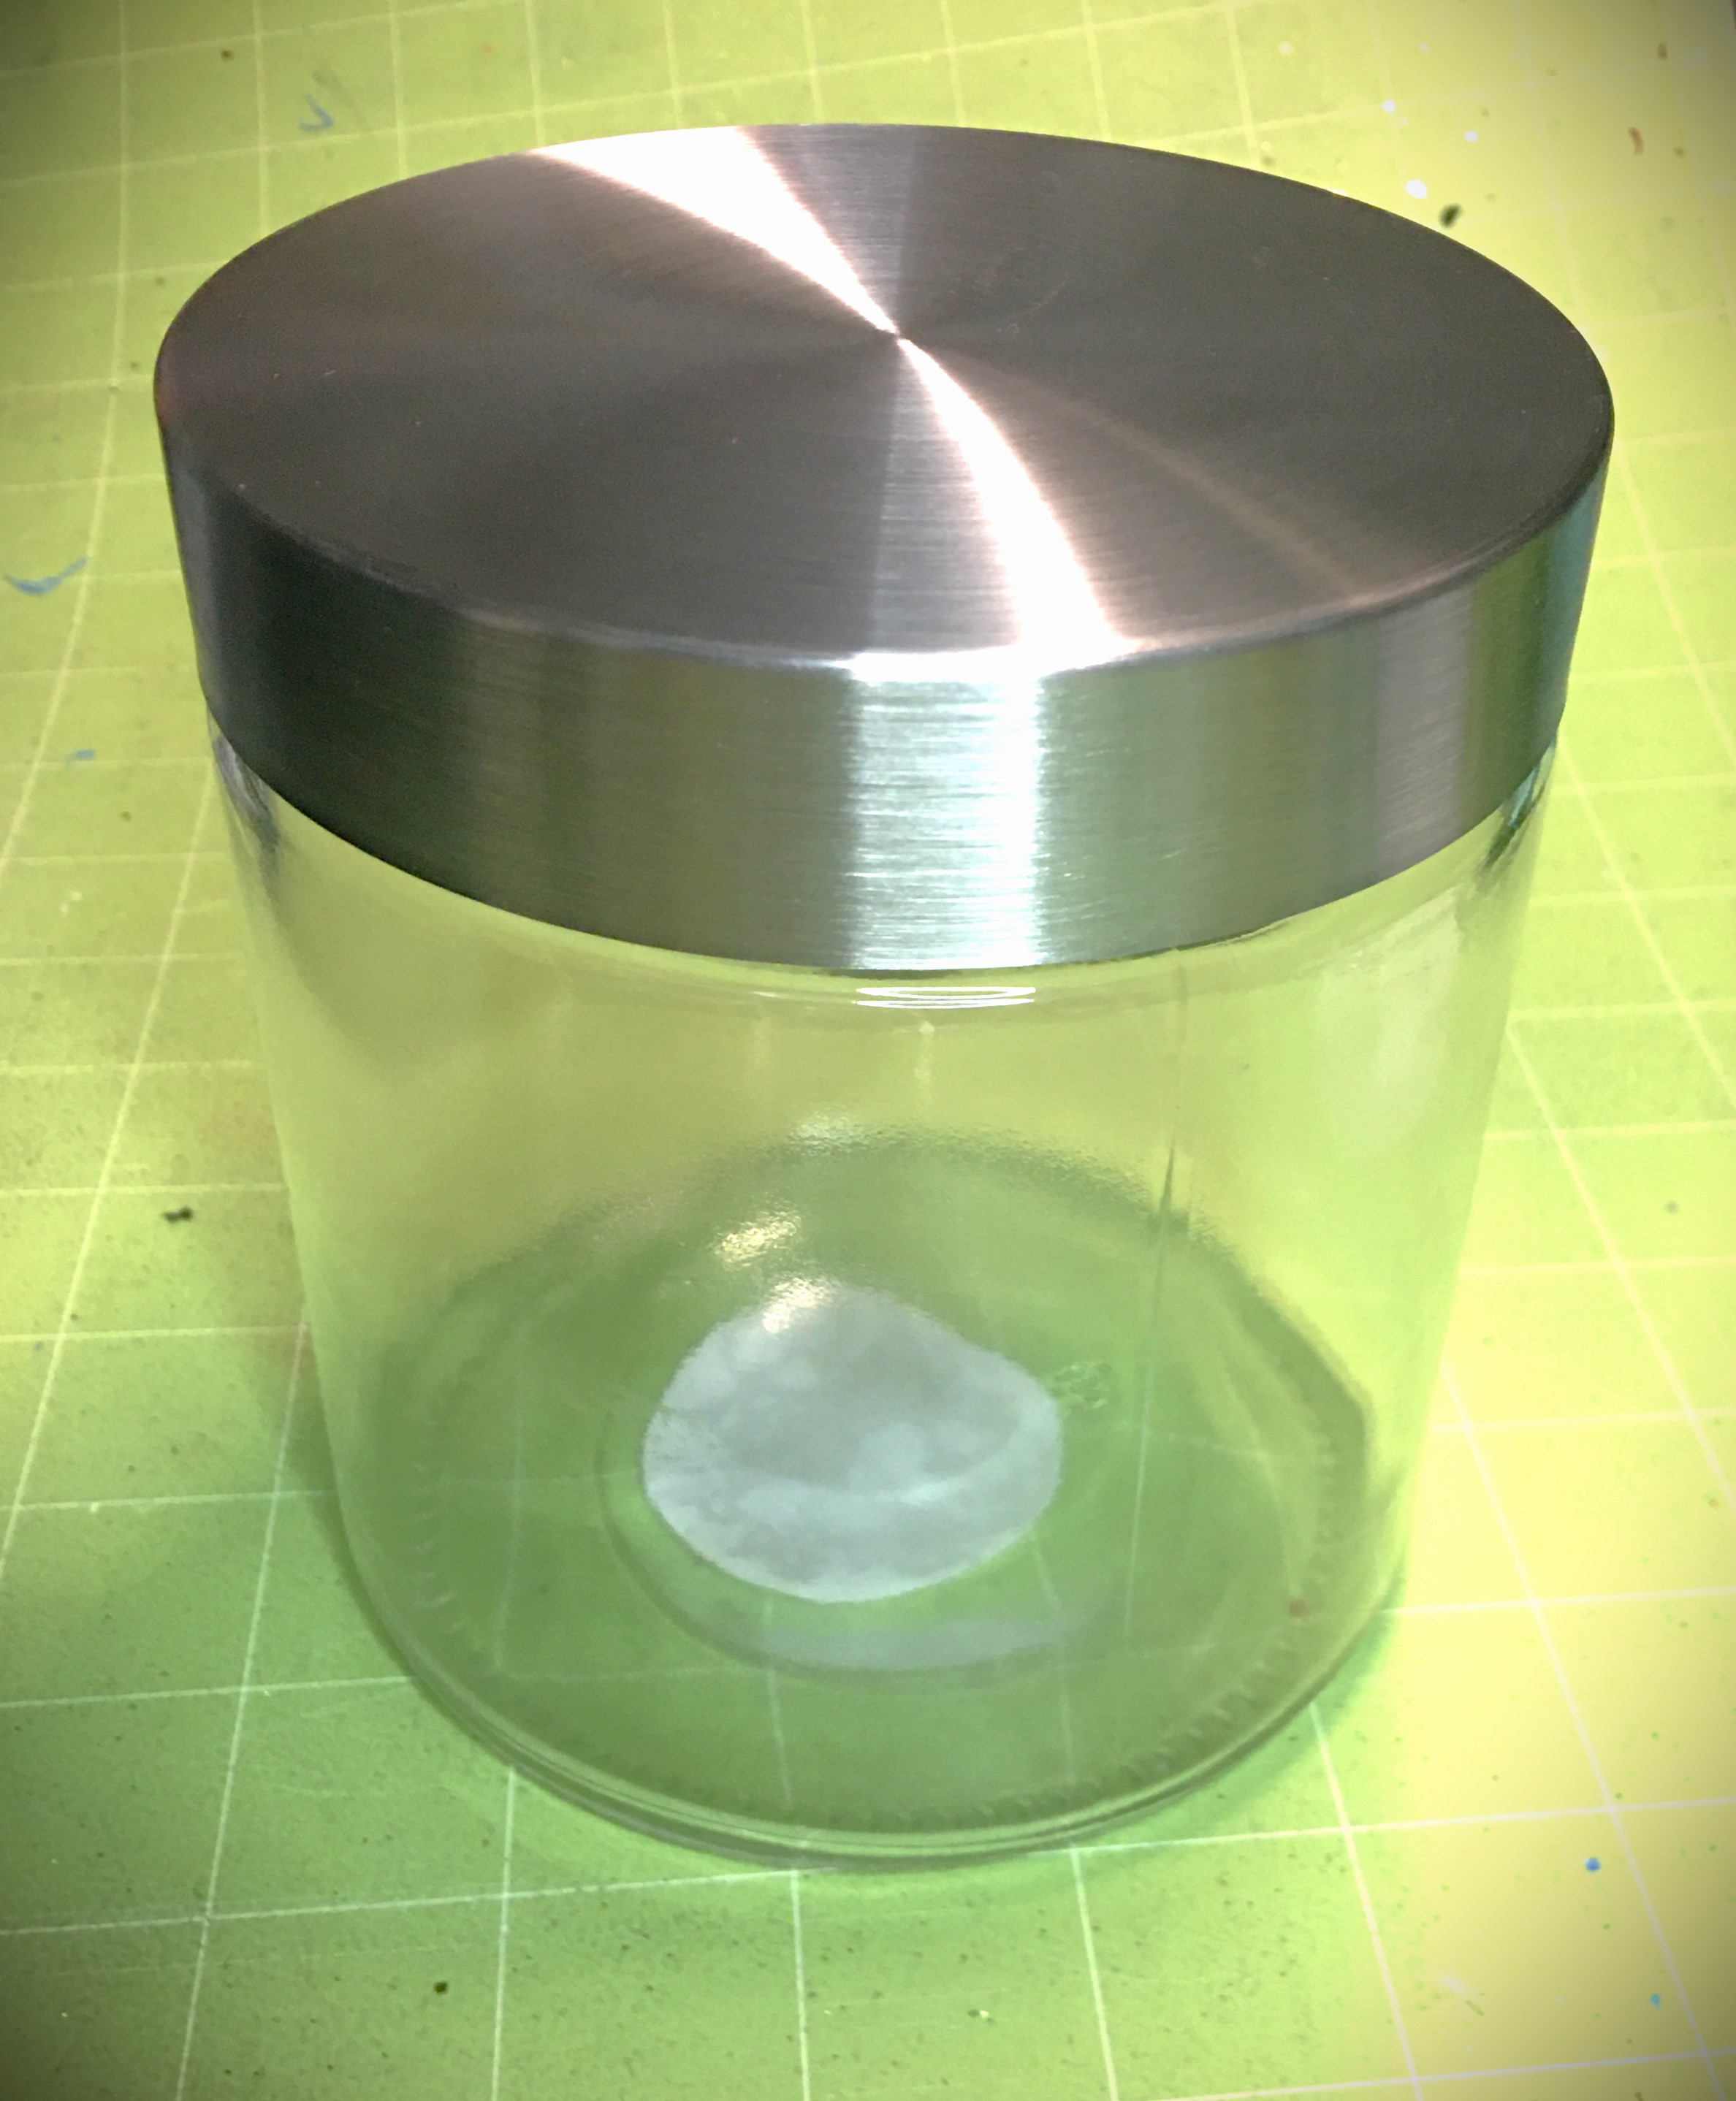
Clear Glass Cylinder Container (with lid)
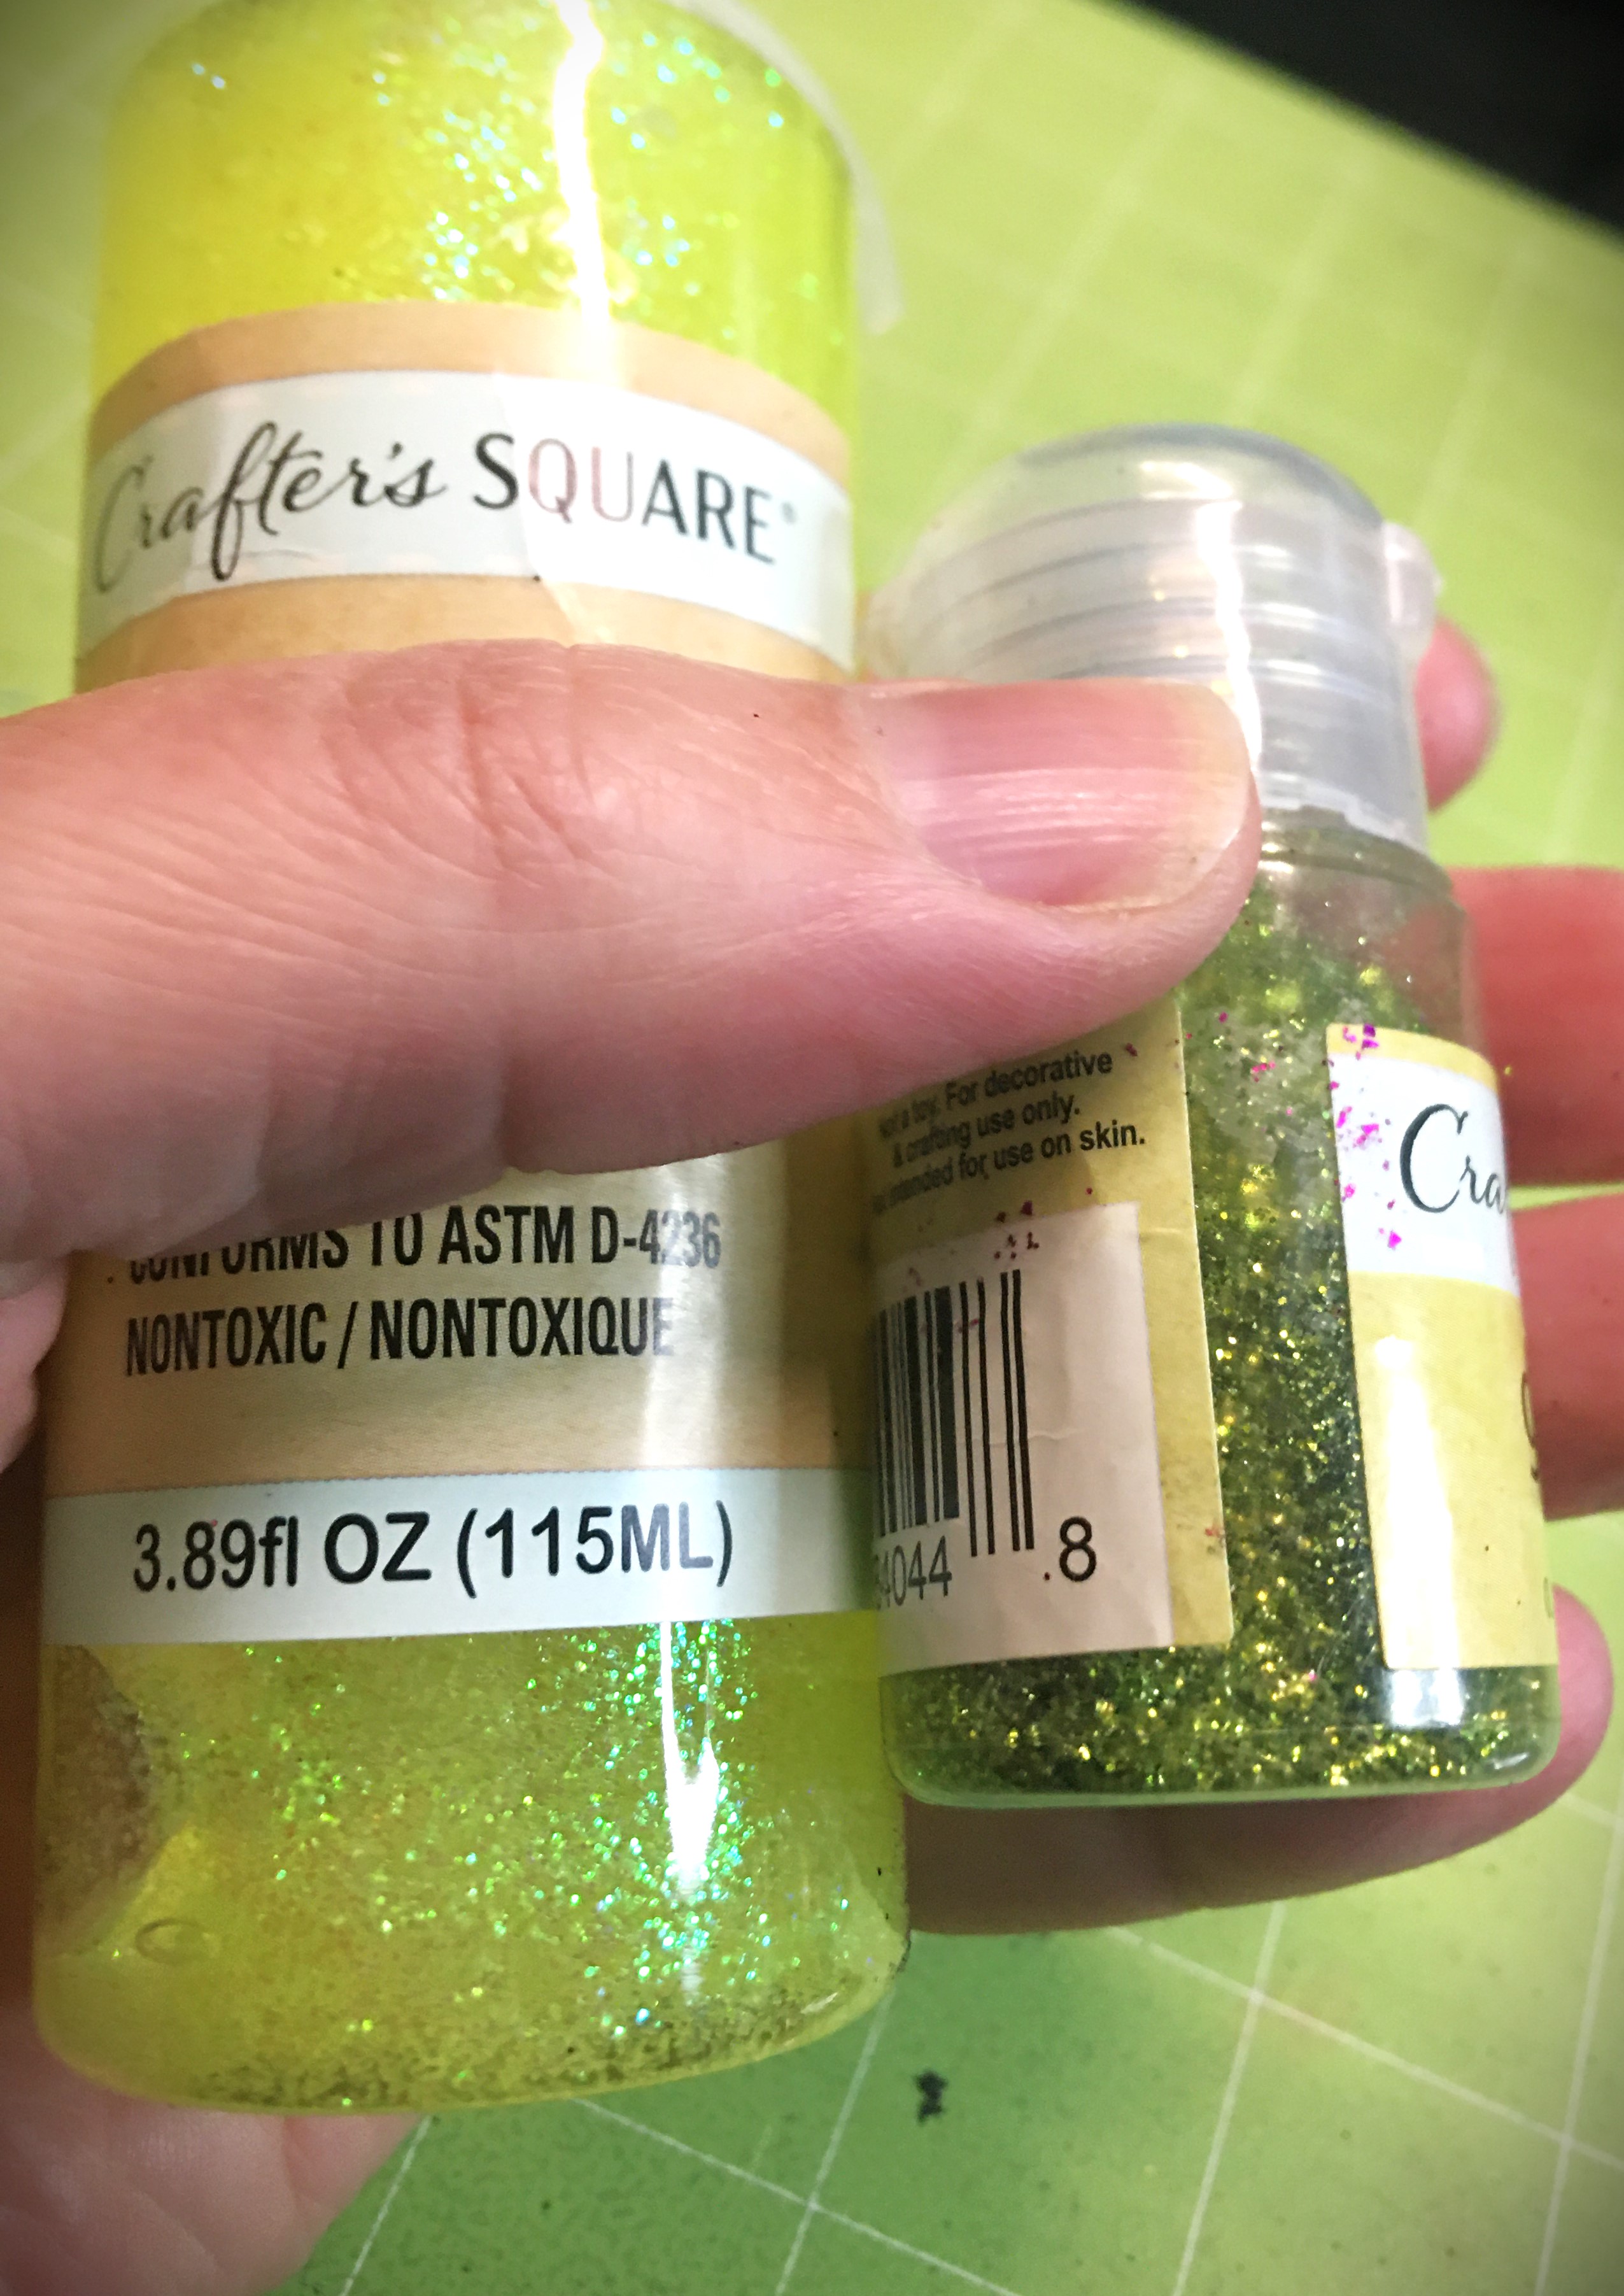
Glitter (color of choice)
Glitter Glue (complementary color)
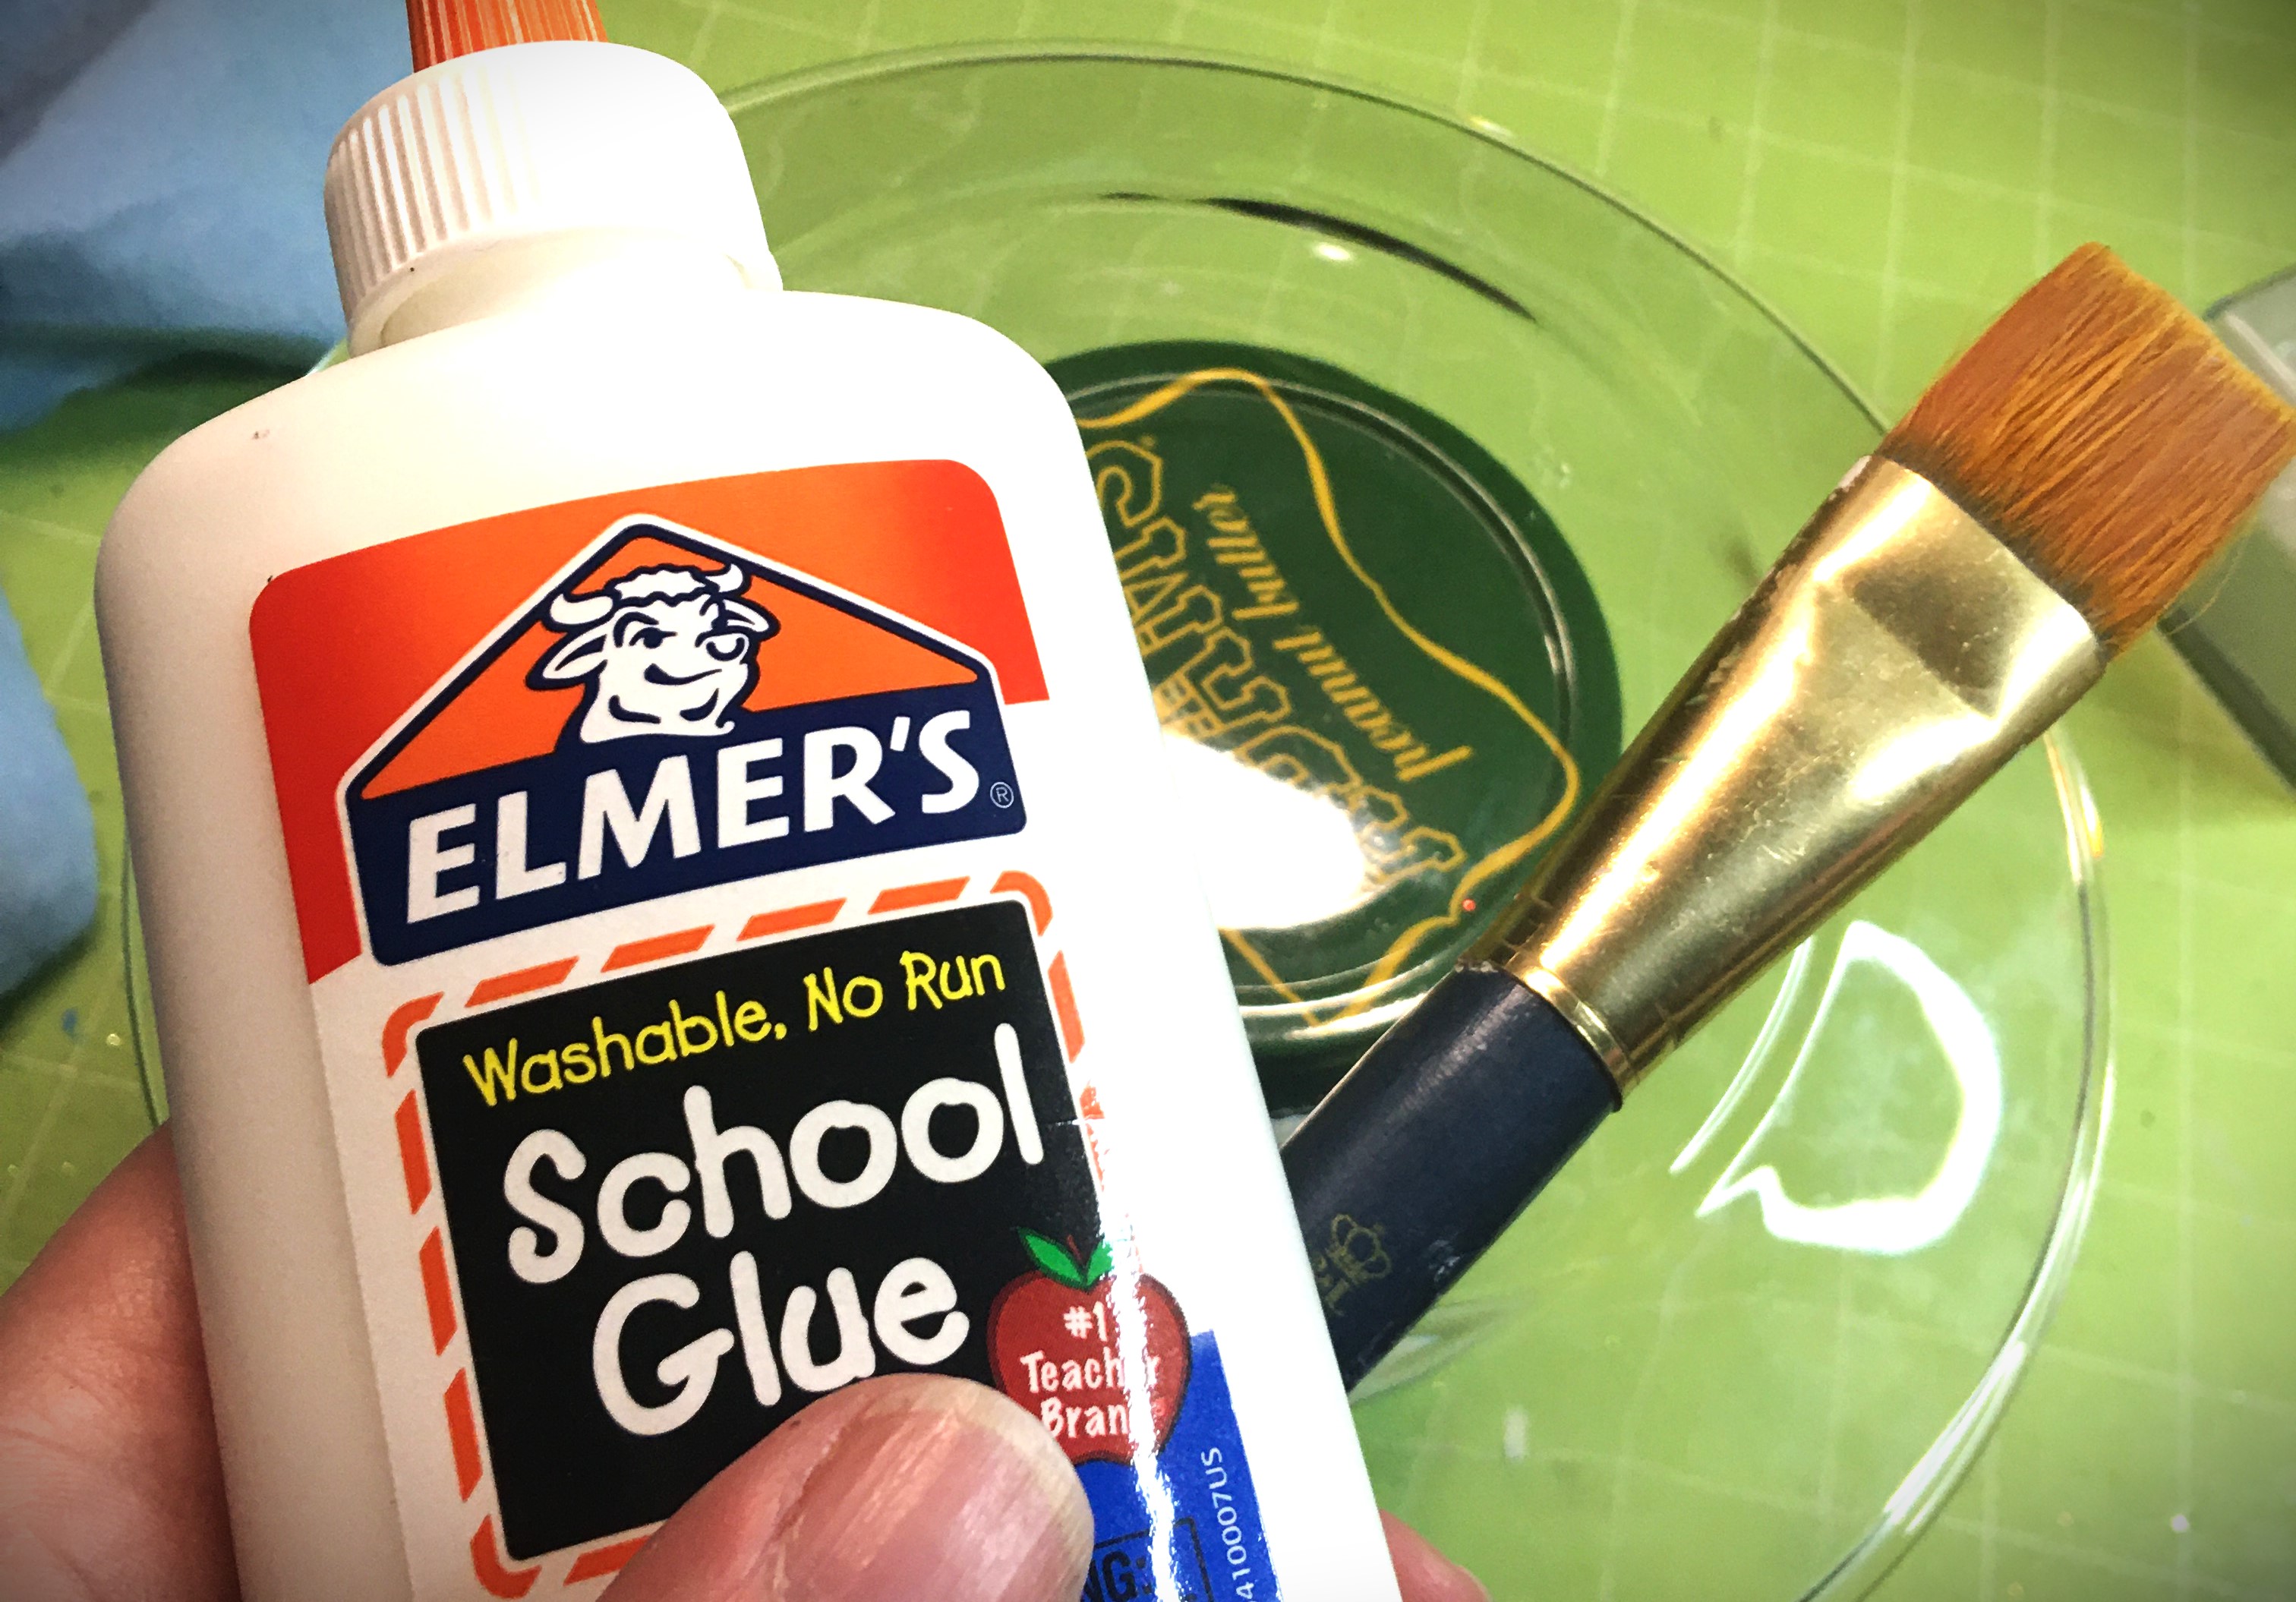
Elmer’s Glue
Paint Brush
Paper and Wire Decor Eggs
Tall Candles (colors of choice)
Fairy Lights (optional)
Polycyclic or Clear Acrylic Spray Paint (optional)
Vinyl Decals/Stickers (optional)
Silk Flowers (optional)
Everything you see here I sourced at my local dollar store, with the exception of my Elmer’s glue and polycyclic. Hello mom of young children here! I found that I’m least likely to cry with accidents when I buy things from the dollar store. And accidents happen.
Advertisements
Let’s Make It
Jar Stand
This one is a multifunctional component. I’m showing you how this holds a decor item, the paper and wire eggs. Instead of the eggs, you can use the plate for treats. Or you can set the plate aside and use the jar as a plate holder for part of your Easter Brunch.
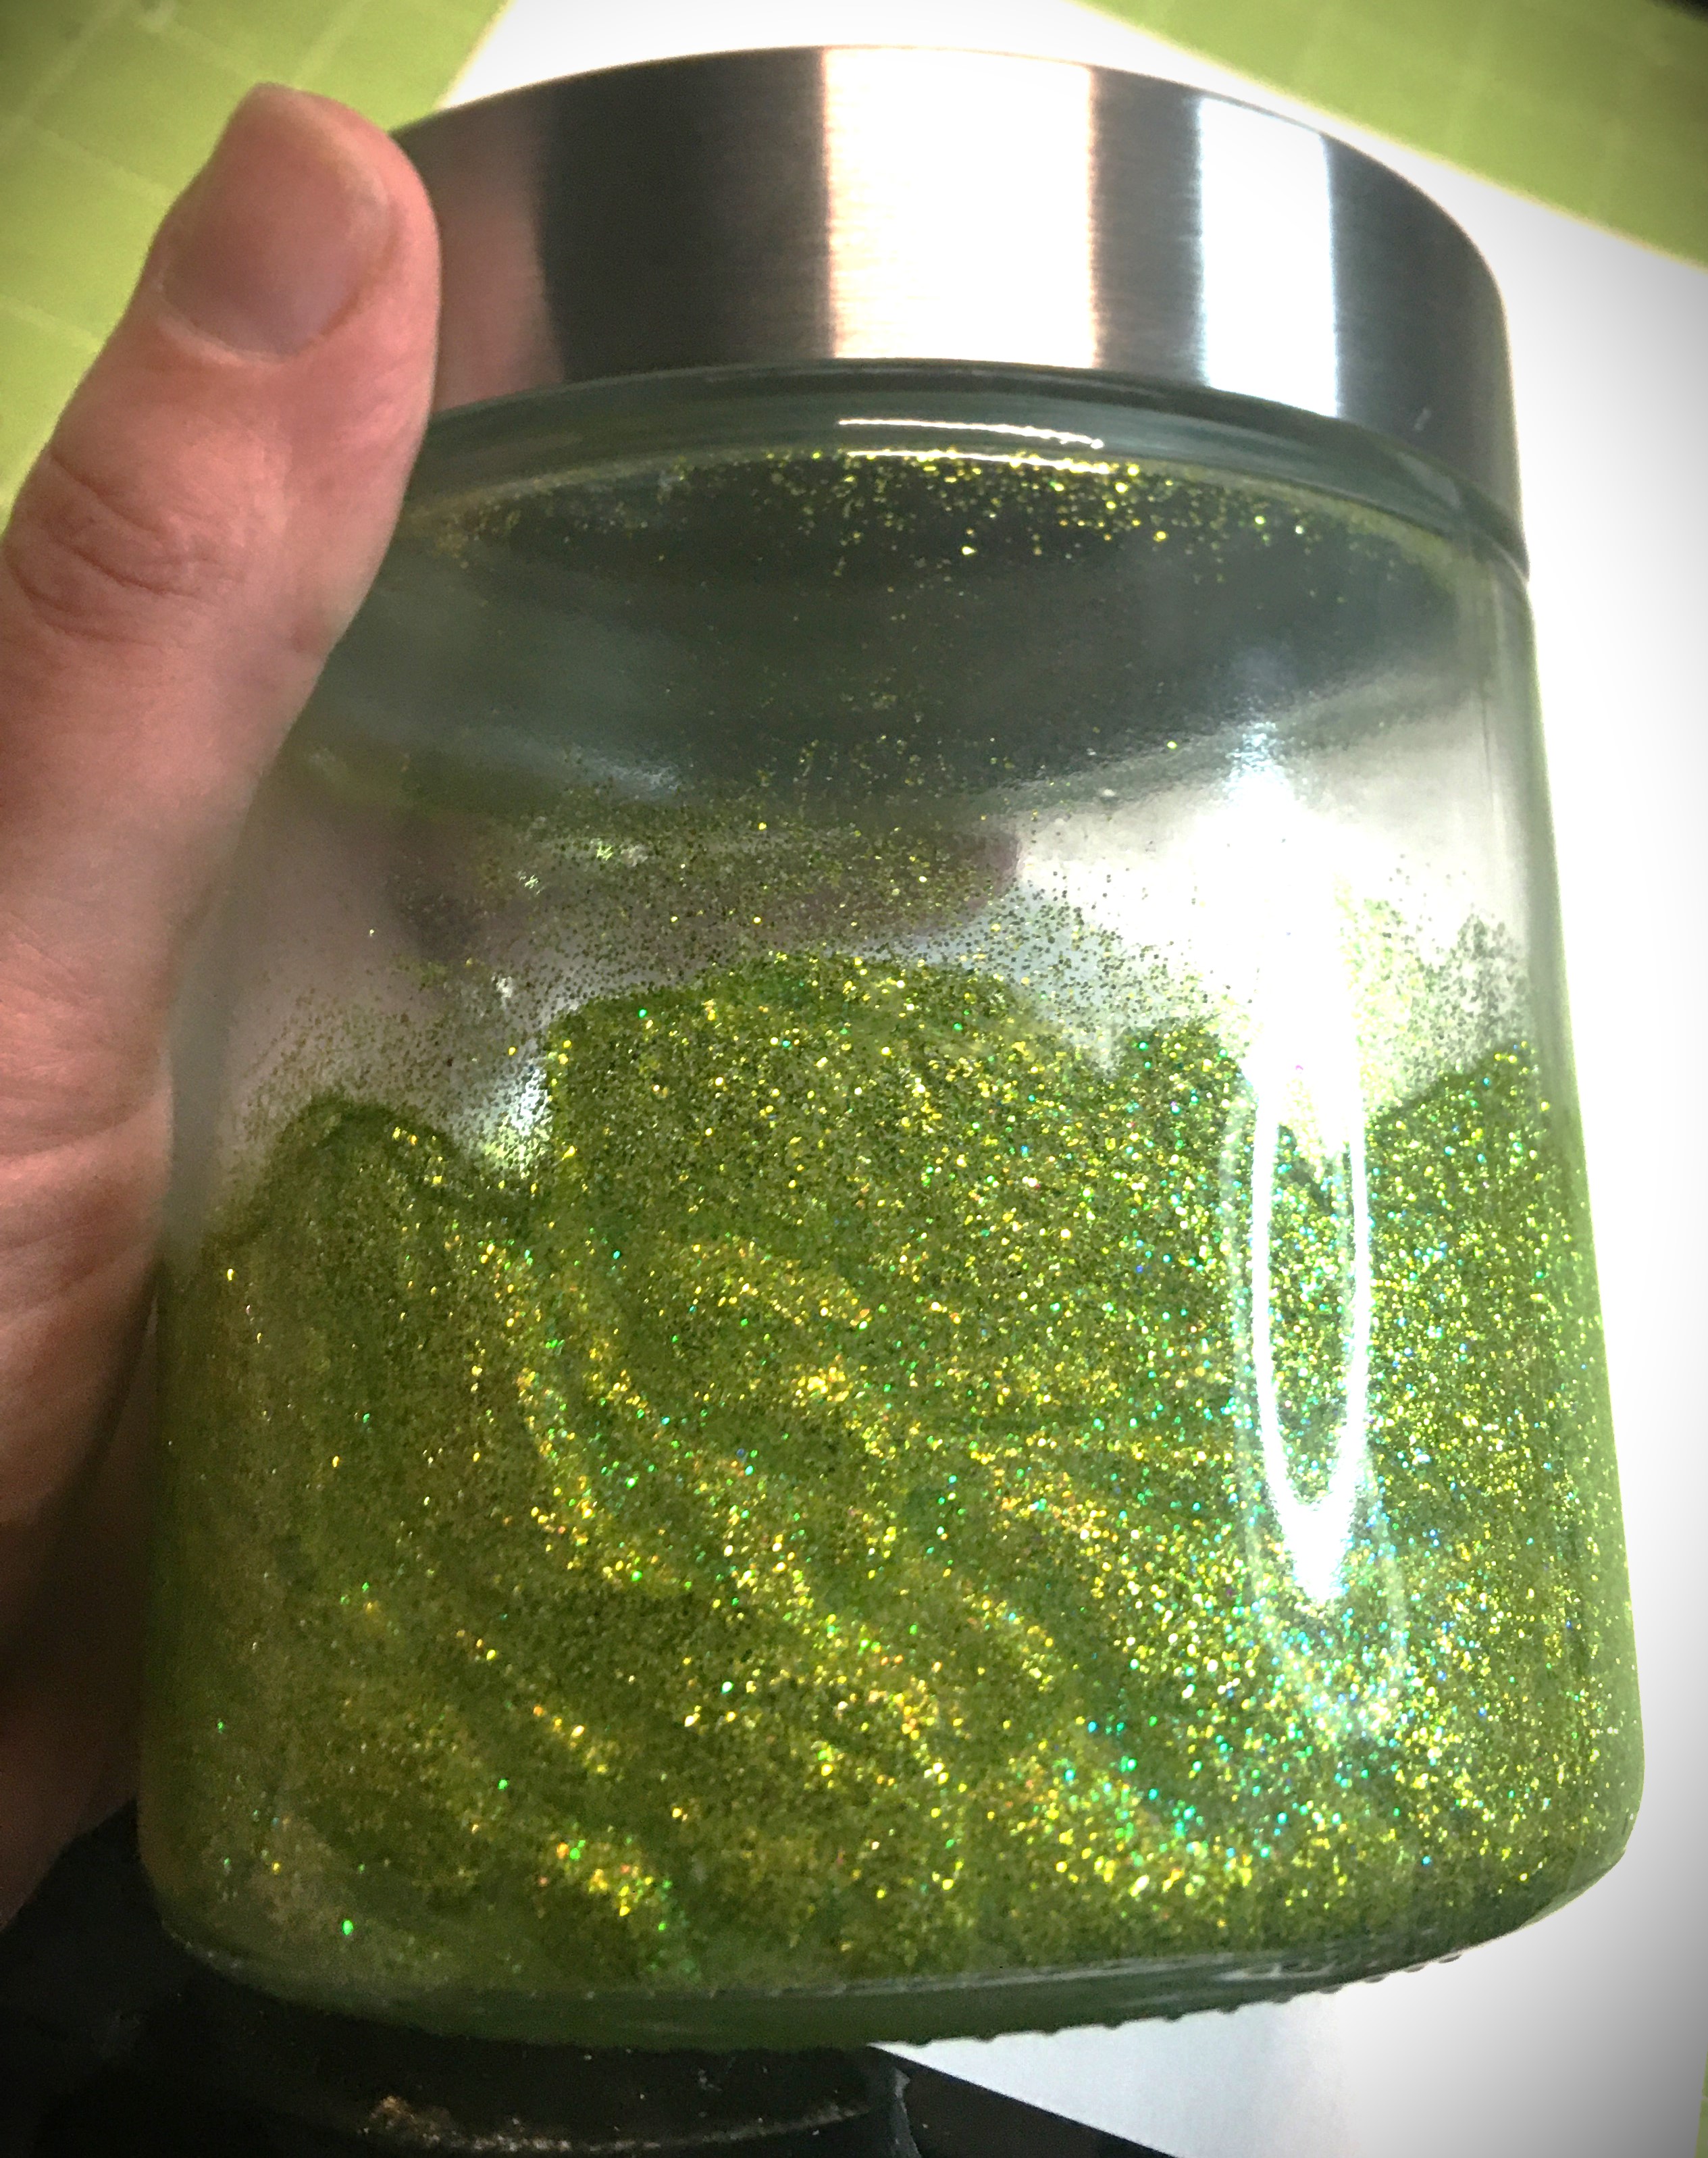
Inside the glass jar paint in your glue in the bottom portion of the jar. I used a yellow glitter glue to complement the green glitter. When using glitter glue, it’s important to pat the glue on your project and not paint it on. This type of glue does not have the holding power that Elmer’s glue has. I chose to stop the glue a little over halfway up the jar and stroke upwards to create a grass like effect. If you want to use Elmer’s glue you’ll have a little better control over the glue and a quicker dry time. Just make sure to add a little secondary color of glitter into your original glitter choice. This will give dimension to your color and keep it from becoming flat looking.
Dump a good portion of glitter into the bottom of your jar and swirl it around on top of the glue. For the sides of the jar, I turned and tilted the glitter from the bottom of the jar down toward the mouth. I also hit the sides as I turned the jar, so that with it came to knock out all the excess glitter, there was very little that came out.
Allow to thoroughly dry.
You may find that you need a dry loose bristle brush to brush out some stray glitterthat likes to stick to the clear glass.
Advertisements
Egg/Treat Plate
In order to keep this plate safe for treats, make sure to apply the glitter to the underside of the plate. This makes the face hand washable.
Apply a thin layer of Elmer’s glue to the area of the plate that you want to add the glitter. For me, I love the silver coloring of my jar’s lid and want that to shine up through the bottom of the plate. So I only applied glue to the lip of the plate.
Sprinkle glitter over the wet glue. The more thorough you are on the shaking off of excess glitter makes the final step easier to apply without lifting the glitter.
Once the Elmer’s glue is dry, seal in the glitter with polyclinicsealant or clear acrylic spray. This is an important step if you want to make sure that you won’t leave glitter trails when handling the plate. If you choose to use polycyclic, you want to tap the sealant on instead of brushing. Brushing actually ends up stripping glitter off of the glass. If you tap it on, the only glitter that comes off is whatever is loose to start with. If you’re like me and want to minimize the amount of glitter loss, clear acrylic spray is perfect. There is no loss. Plus the acrylic spray has the additional bonus of retaining the sparkle of the glitter more.
Allow to thoroughly dry.
Advertisements
Assemble the Accessories
For my display I chose to go with the multi colored paper and wire eggs and different pastel colors of tall candles. This is where even more personalization can happen. If you have rattan balls, you can use those here and keep with white candles to keep a clean minimalistic look. (In this instance a white frosted paint or white glitter might be your choice of decorating the jar and plate.)
For the candles, if you choose to go the color route, you can mute the colors by frosting the outside of the glass.
Or perhaps you have ribbon from other decor you already have up. You can hot glue a band of that ribbon around the candle.
For this set, I’m going to apply vinyl decals onto the glass. Also I’ll apply a decal on the jar.
Coming back to the jar, you might choose to further decorate the inside. Perhaps you want to add battery powered tea or short pillar lights. Maybe you love fairy lights. (For this one I would recommend hot gluing the switch the bottom side of the lid. This allows you to turn on the light just by lifting the lid and not having to fish for the switch on the bottom of the jar.) You could be a flower person. You could arrange your favorite silk flowers inside. Combined with fairy lights could be very dreamy looking. I think I’m going to have to find where I stashed my silk butterflies. The wing span is about 6″ and I could arrange 1 or 2 butterflies on the inside and have a little whimsy on the inside of my jar.
Advertisements
Put It All Together
Even with all the different ways of personalizing this project, it’s all going to take on a different life depending on how you will set this up. Will you use a colorful table runner? Or maybe you’ll display this set with absolutely no further modification. I can totally see the white frost, rattan balls, white candles set on a reclaimed wood side table.
What are your feelings about sharing a garage/shop with someone?
I find it frustrating! I have my office/craft space organized with containers that are labeled with its contents. So even if I have containers down I know exactly what’s in it at a glance. And it’s super easy to put away and clean up.
The garage… I so wish, with every wish available I could send my family away for the weekend to organize it and find an official home for everything. And you can guess it. My problem is that my husband has a way he wants it and our two ways of organizing a work space for repairs, large projects, and keeping our hand tools are two very different ways of thinking. The funny part is that more times than not, it’s my husband who’s coming to me to find a specific tool. And yes, I keep my own stash of hammer, screw drivers, and allen wrenches that I zealously guard like my fabric scissors. If you touch them, you better put them back where they belong, LOL.
And if you’ve built anything for any length of time, you know how hard it is to find screws, nails, and washers specific for your project. God Bless my Husband, but he has that garage that we’ve all seen our grandfather’s have: screws in a coffee can, nails in jars… they may have a home but you have to dig for the style and size of hardware that you’re hunting for.
So for my husband’s birthday this year, I had my boys help me build my husband a caddy to separate all those pieces of hardware into an easy to access place that you can quickly grab without feeling like you’re sorting through that bag of unmatched socks. And Bonus for my bragging rights, is that I sourced everything for this caddy from our garage.
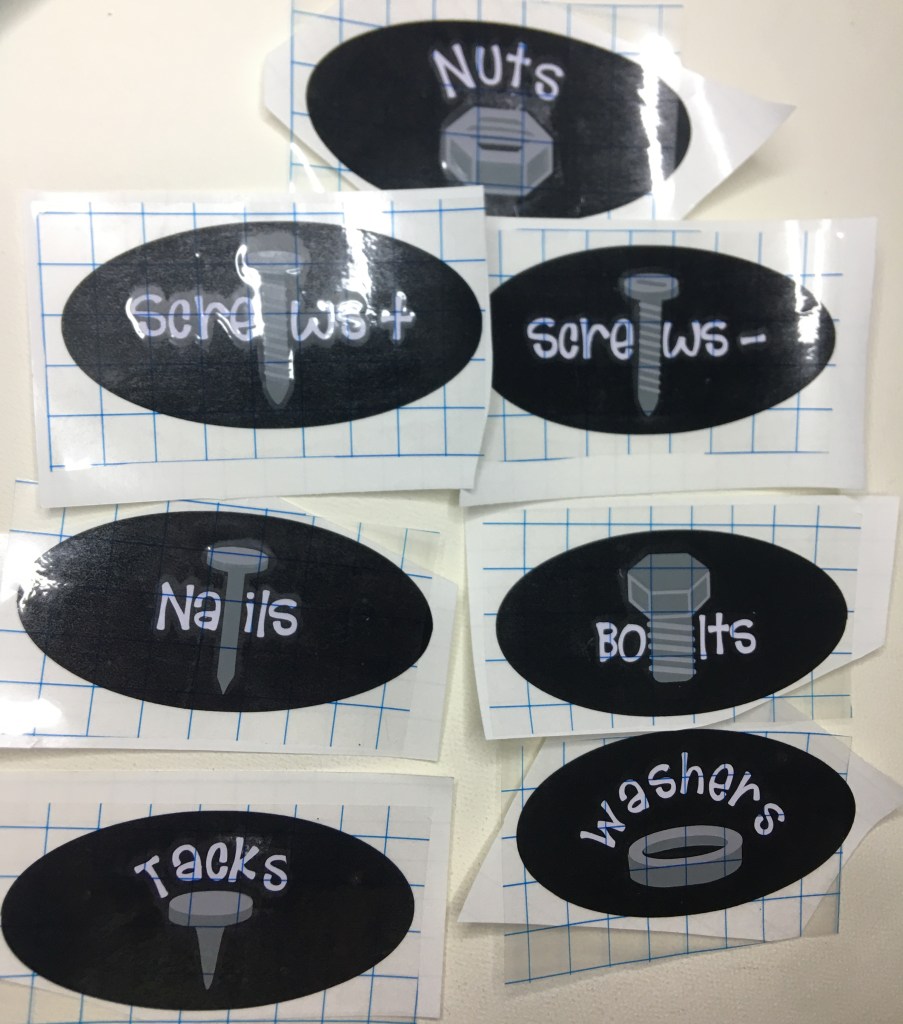
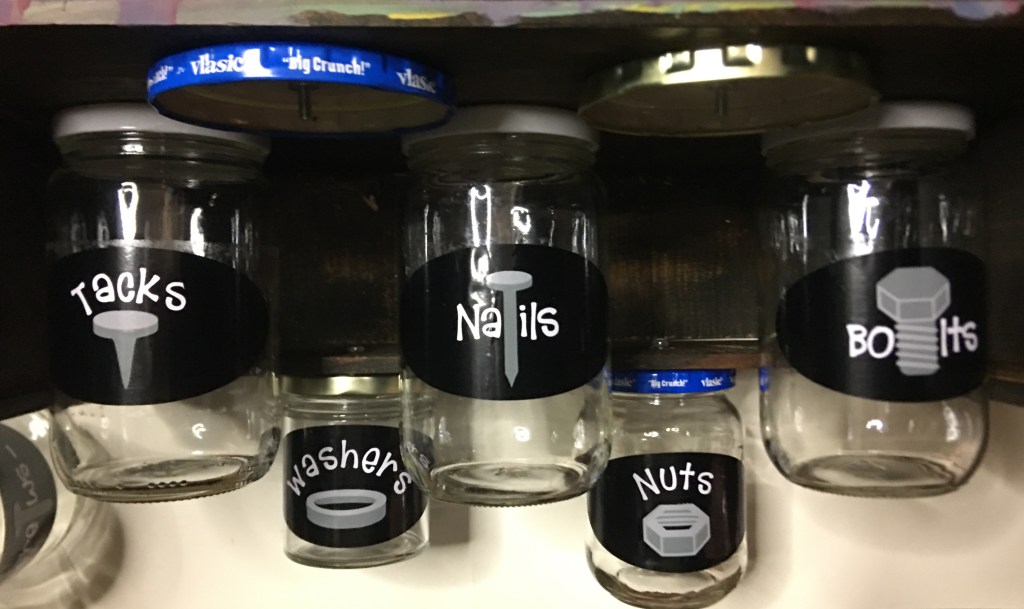
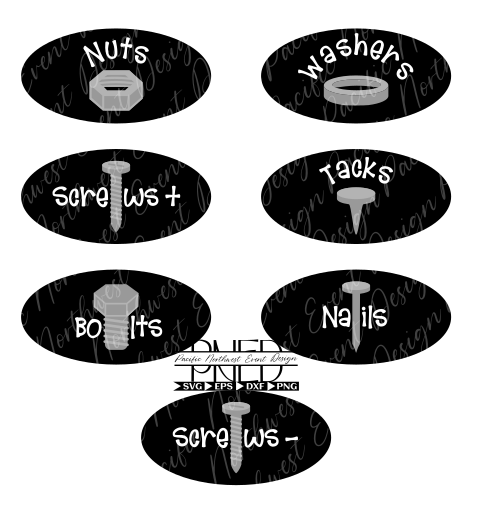
This caddy is perfect for a garage, craft room (of all types), office, or anywhere you need to space save and easily access anything. While you’ll see I labeled these specific for garage hardware, you can take this idea and run with it for crafting. Instead of nails, label it buttons. For a Teacher’s classroom, instead of tacks, label for push pins. Change bolts to paper clips. You can completely cater this project to anyone and their passion!
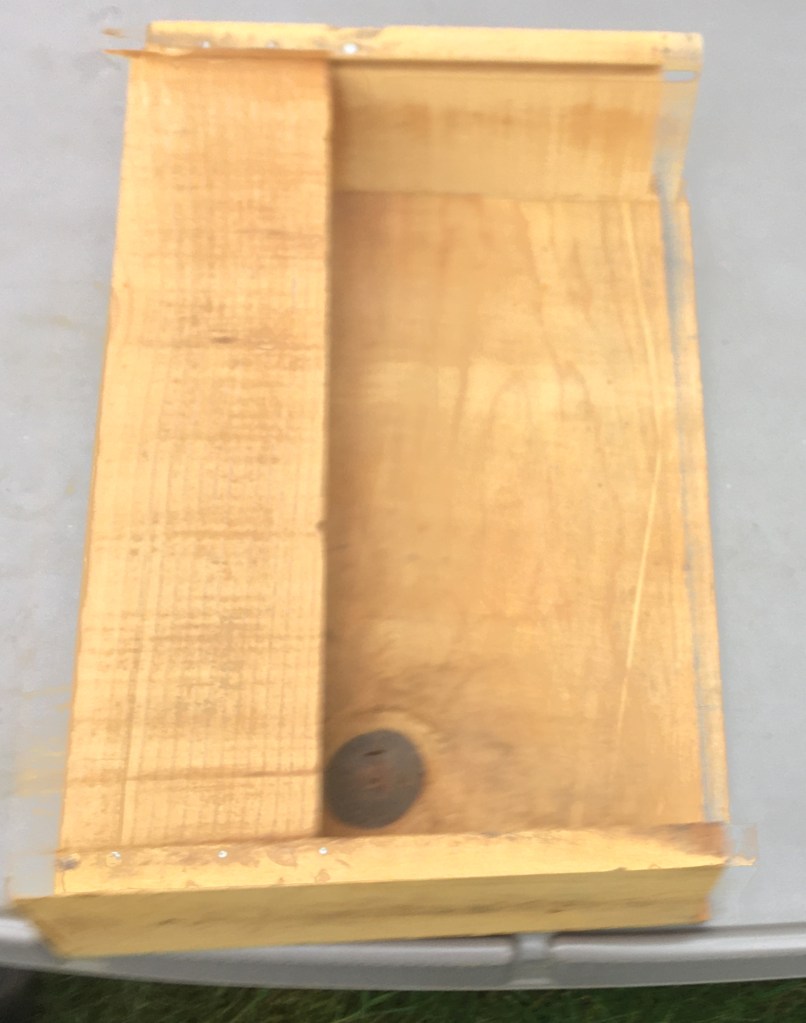
The box that I used is a wooden box (about 12″ by 8″) that’s very similar to a cigar box with sliding lid. The lid was missing and one of the long sides was about to fall off. So I just removed the lid and nailed it to the top of the box.
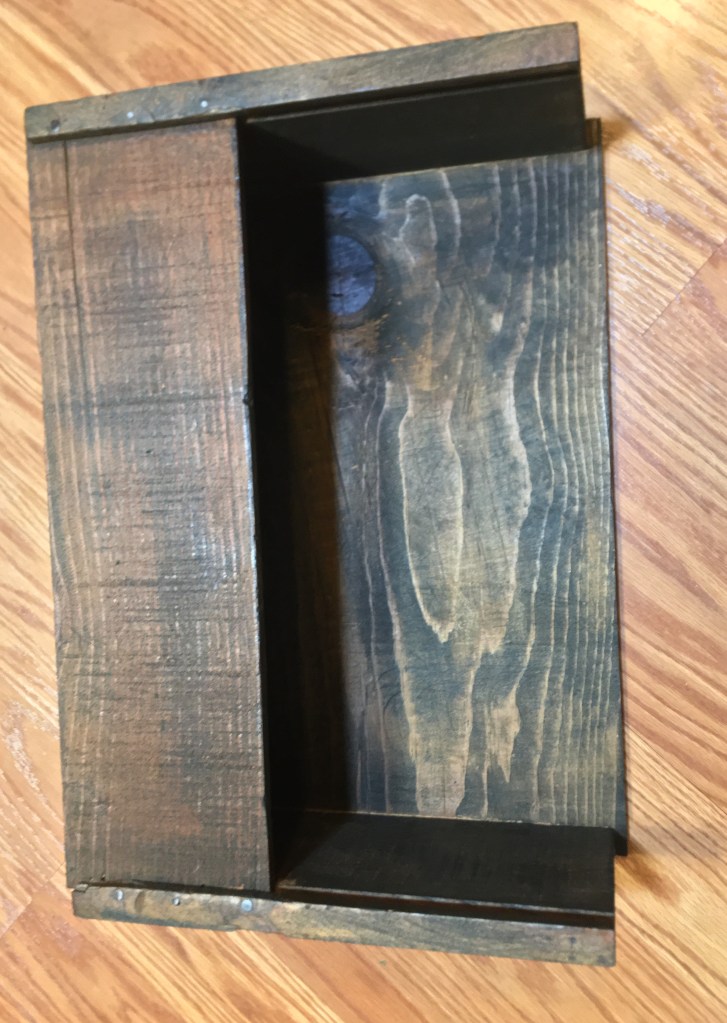
One reason why I wanted to reshape the box was to have a little hidey shelf, in case my husband wanted it. You know the little objects you want to put in a safe place, but usually any counter space is a place prime for losing the thing you want to put in a safe place. So here’s a safe place. This box was rough, because it wasn’t meant to be decorative. I sanded the box on all sided before staining it. Yes, it maintained the rough look and feel. But I also fully appreciate the rustic aesthetic.
Advertisements
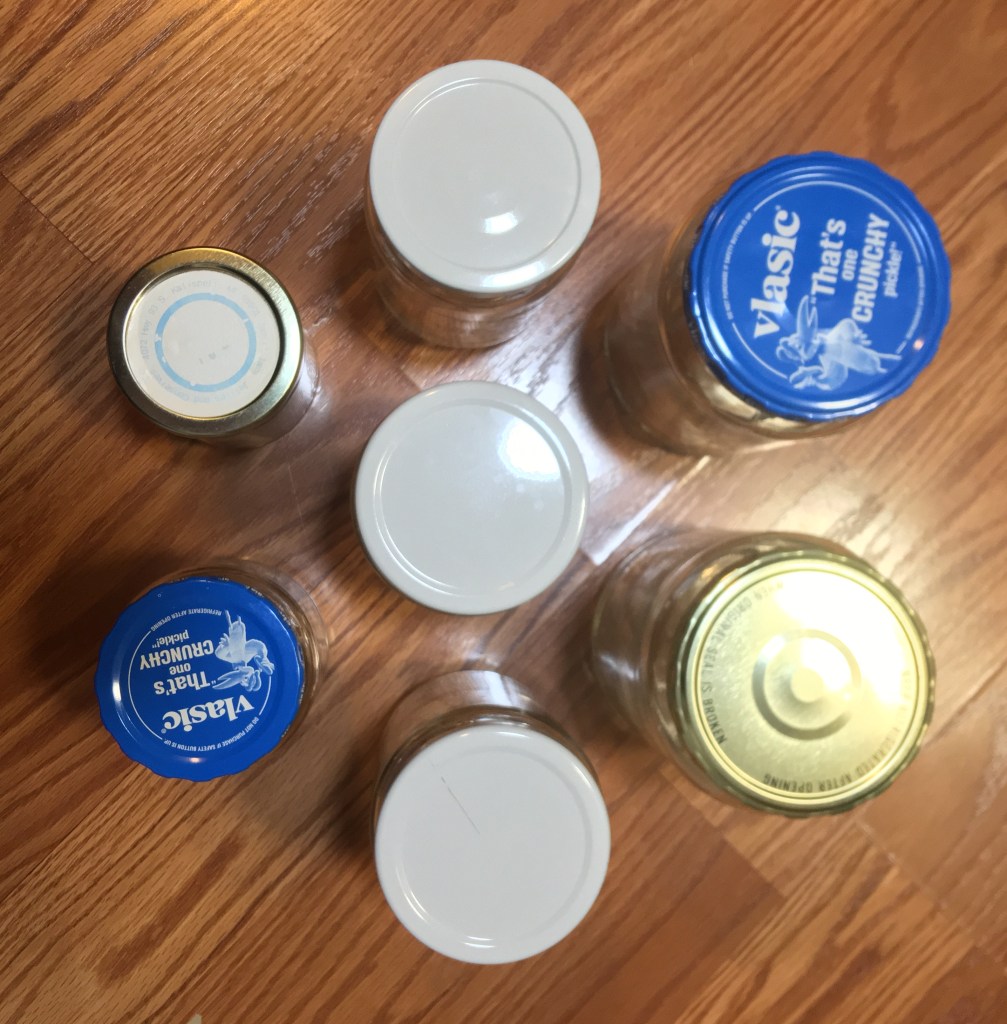
While the stain dried, I cleaned out my fridge from all the jars of pickled items. I’m not a pickle eater. Nor am I a fan of pickled vegetables. BUT my husband loves them. And my fridge door is where I sourced this collection of empty jars for this project. (I was not about ready to take from my canning jars, although I’ve seen people use canning jars for their hardware holders.)
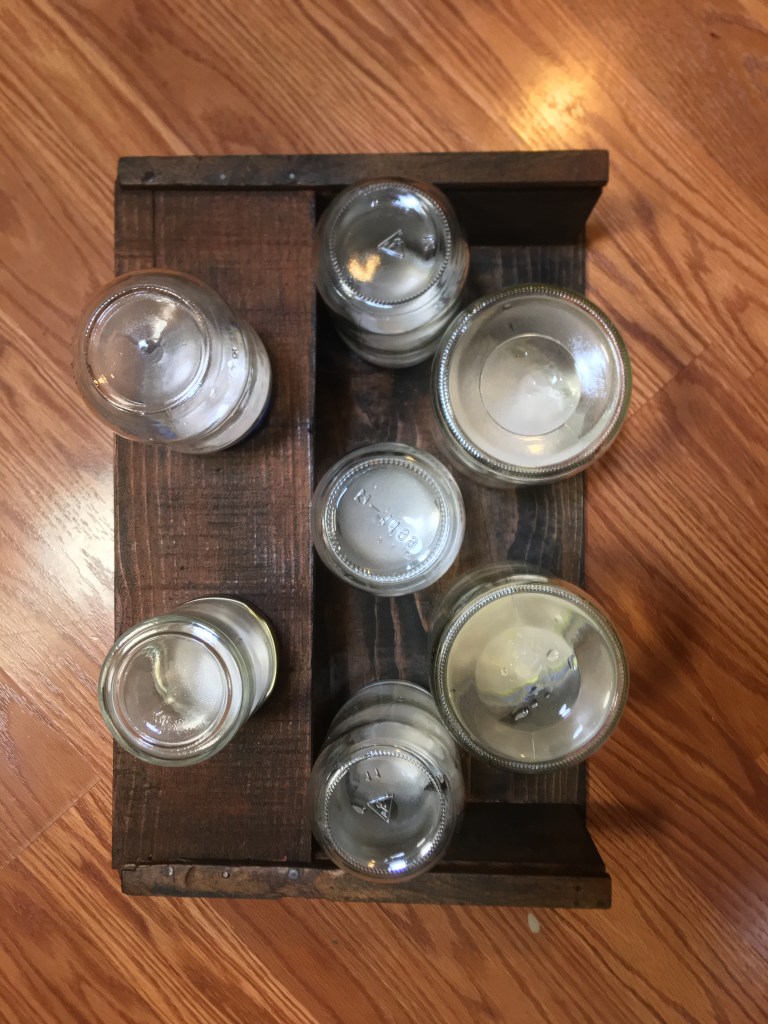
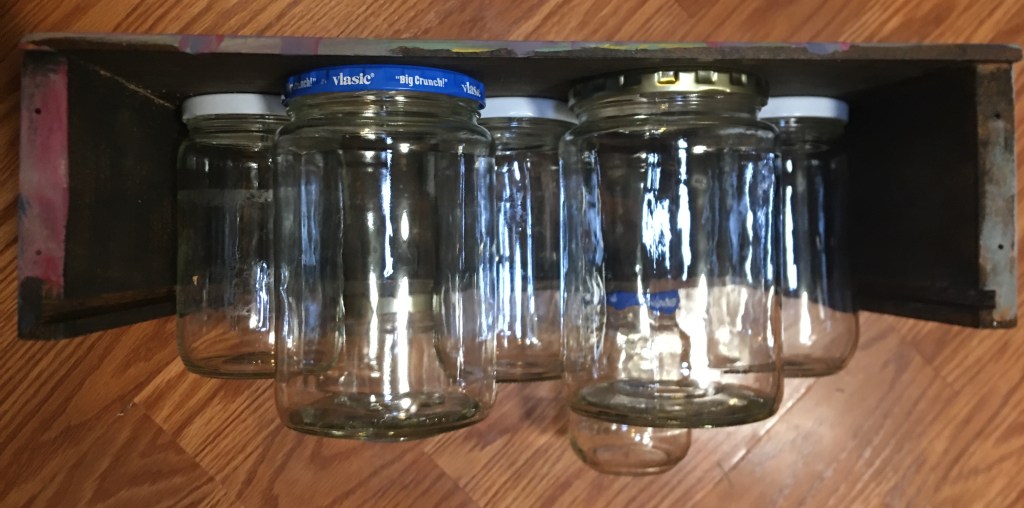
After the jars were washed and I found which ones were similar in size, I placed them on the underside of this caddy. The smallest jars I put on the shelf. And I went back and forth if I wanted the row of two or the row of three jars to be in front. I chose to put the set of three in the center just for symmetry. Plus, I knew the screws were going to go in the larger jars. And other than the nails, these are the most sought after hardware in my house. So I put those in the front to make it the most convenient to grab.
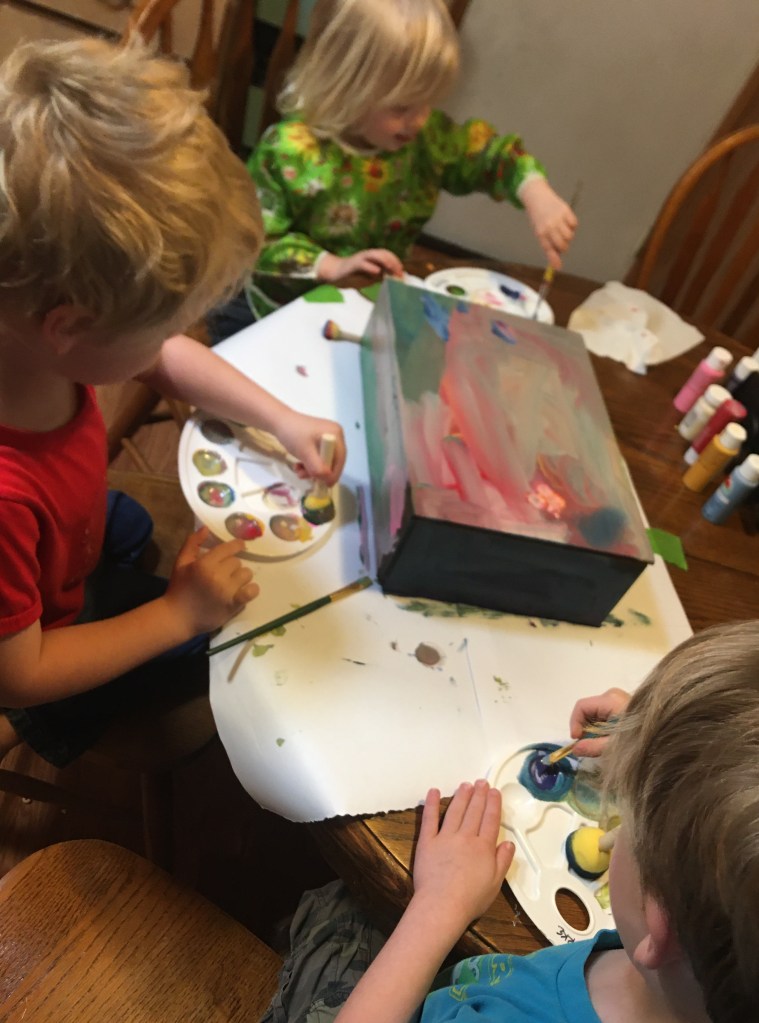
While the jars dried, from their scrubbing, I set the kiddos up for painting the caddy. They got a bit distracted and wanted to play instead of use tools, but they dropped everything to paint for their dad. And since my husband loves their art, I sacrificed my want to keep the wood stain, which was my favorite part. But I kept the underside stained so a piece of me was still there.
I’m showing you this step, because you can make your caddy however you favor it. You can keep it clean and upscale. Or you can make it very family orientated. There’s no wrong way to make this caddy.
Advertisements
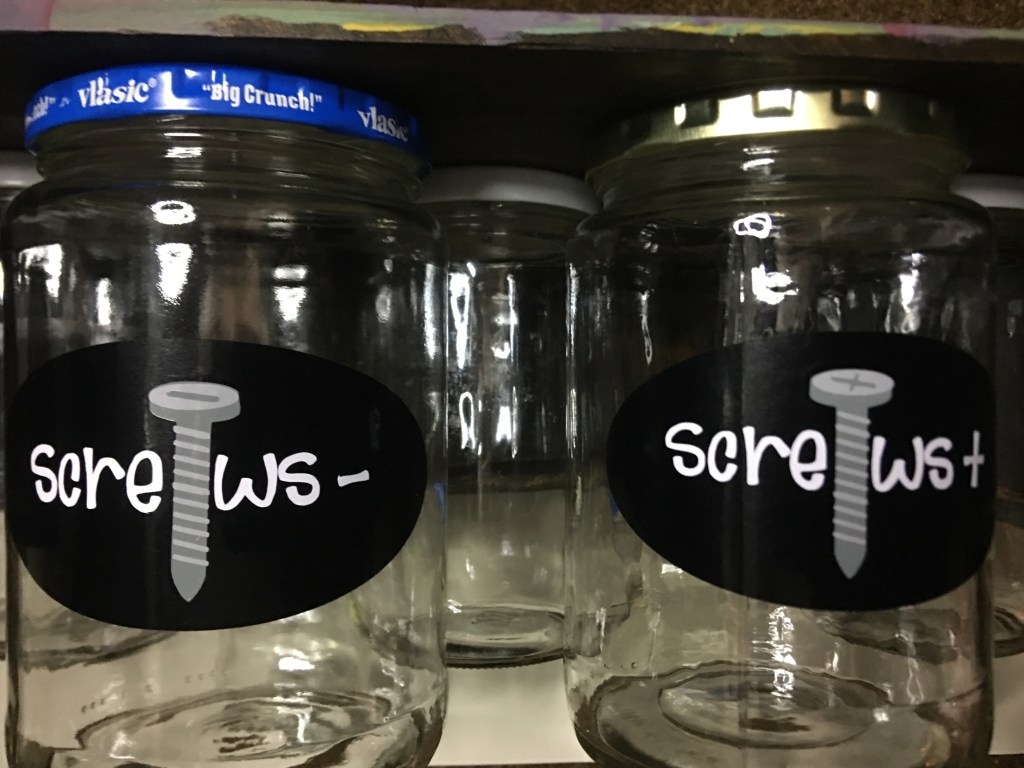
During this drying time, I cut out my labels with my cutting machine and assembled the layers ahead of time. That way when I was ready to apply theses labels, everything was lined up and ready for a simple peel and stick on the jars.
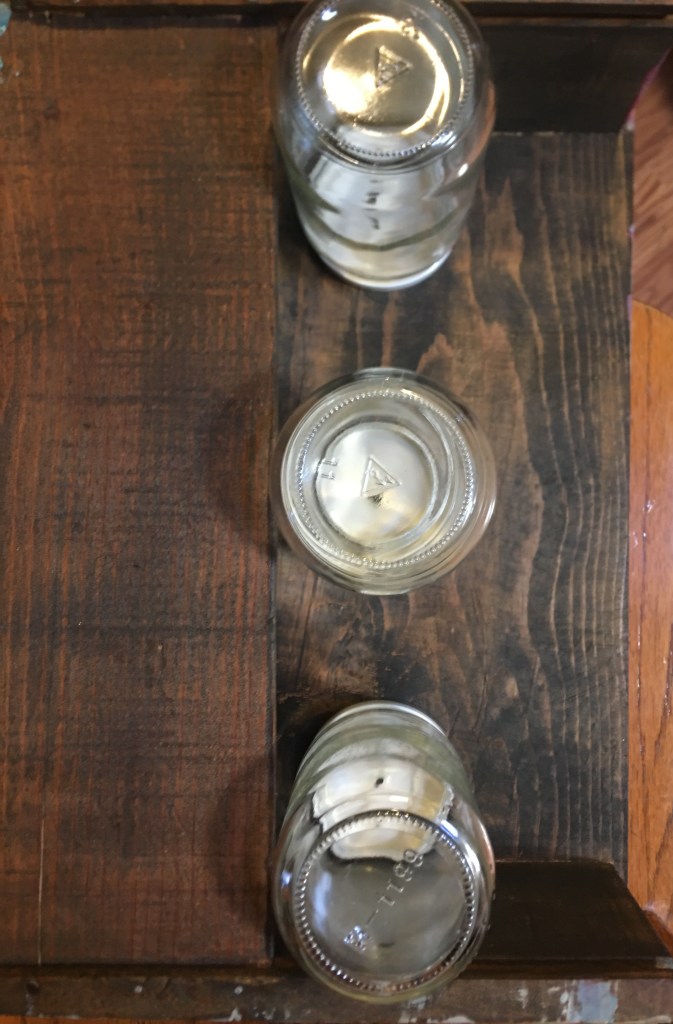
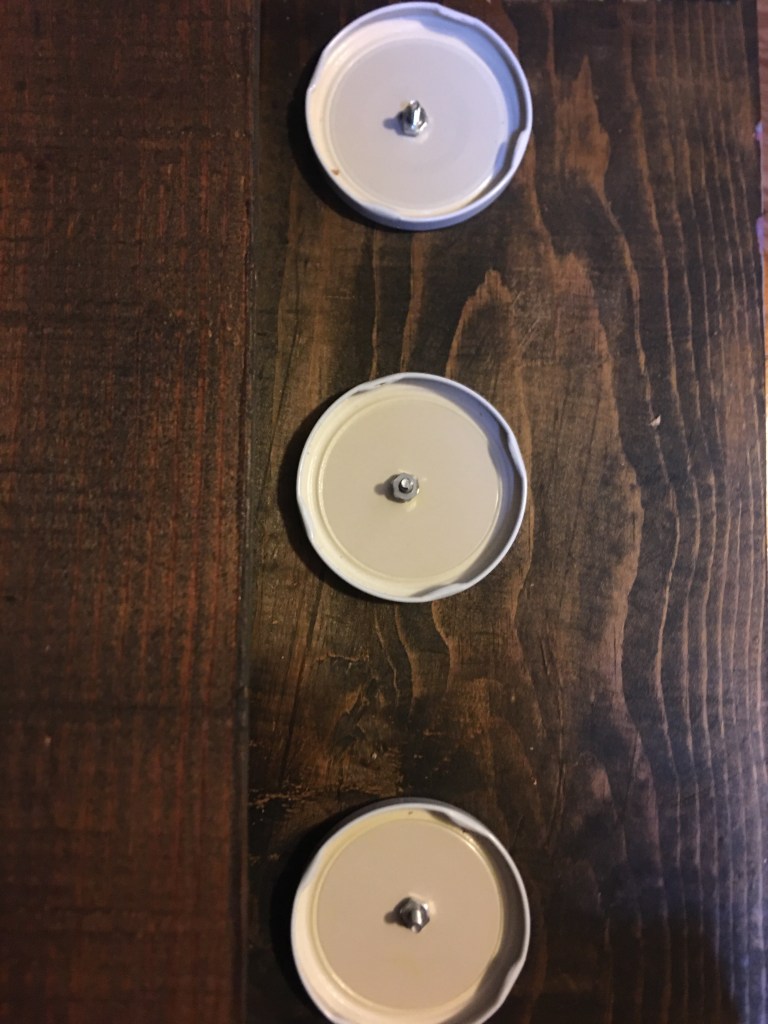
When the jars and the acrylic paint dried, I grabbed my drill, nuts, bolts, and jars. The first thing I did was drill a hole in the center of the lids. (If you are opting to use canning jars, make sure the lids you choose to use have already been used to preserve your food. That way you still have good canning lids ready to use in the future.)
After you are finished drilling, place your jars on the caddy in the exact places you want them. This pre-spacing is very important, especially when you have rows of jars next to each other like I have on the center and right side. I didn’t want the row to go over the edge, for esthetic reasons. If you have all your jars the same size and they second row comes over the edge, it’s okay. You may want to consider painting the jar lids to keep a uniform look. But the placement is also important because you will find that your jar lids are a smaller diameter than your jar sides. So by pre-spacing your lids, you will make sure you can screw your jars into your lids and not have an issue with the box sides or the shelf.
While you hold your lid in place, drill a hole through your caddy. When you hold is completed, you thread the bolt through the caddy and the lid and secure it with the nut. Hand tightening the nut and bolt will not be enough. You will want to tighten them with a wrench. This is most important if your bolts are short and if you want to be able to (un)screw your jar without holding onto the lid.
TROUBLE SHOOTING: If you find it difficult to keep your lid in the correct place for drilling, without moving, here are a couple of ideas you can use to assist in keeping your lids in place. Before drilling, use masking tape to tape your lid down to the caddy. Another option is to use a hot glue gun and place a circle of glue around the center of the lid. Be careful not to glue the center. You don’t want to drill through glue.
Advertisements
Once your jar lids are all secure, you’re ready to label!
To get labels to stick with the most success, clean your jar with a cotton ball soaked in rubbing alcohol. This will remove any oils, dust, soap, or anything else that could cause your vinyl to not secure cleanly to the jar.
It is crafter’s choice how you want to add the labels. You can place your jars on a work surface and apply them off the caddy. Or you can apply the labels while on the caddy. I chose to have all the jars attached to the caddy because the only jars that were a perfect match were the three that put in the center row. They were from the same company of pickled vegetables. All my other jars were different sizes, but very similar in measurements. However, if I applied my labels off caddy and centered them on the jars, then none of my labels would have lined up. However, with my jars on caddy, I could get the labels to line up near perfectly and give the illusion that all my jars are matching. The exceptions of course are my small jars in the back (washers and nuts). But those are tiny jars hidden in the back and completely understandable why nuts would be larger than washers.
However, if you’re the personality type that is bothered by things not absolutely, perfectly matching, then please ignore my chaos here. Work to your strengths and show us the beauty of our symmetry and perfectly lined labels. I love watching your work. But if you’re the type that can’t get things to line up perfectly, know that there are ways of lining things up even when your jars are millimeters off in their heights.
Mounting the Hardware Caddy
I’m sorry I do not have a picture of this for you today. We’re in the process of reorganizing our garage and we’re not sure yet if we’re wall mounting or rack mounting this caddy. I will update this post when we get that project finished, so you can see how you might choose to mount your caddy.
The one thing that you need to be aware of is how gravity is going to work when you have the jars filled with their hardware.
Remember, I organized my jars so that my heaviest and largest jars are on one side. If I install with screw jars forward, all the weight and pull are going to be forward. So I will need to compensate. If I install the screw jars in the back, toward a wall, there will be very little compensated needed because the center of gravity will be near the wall and negligible.
For wall mounting, I would want to have my screw jars forward and screw the back side of the box into the wall, with a screw in each corner of that board. Preferably I would want to screw the caddy into a stud, because that will carry the weight beautifully. If it’s impossible, hit at least one stud (which I would center the caddy on and put in an additional set of two screws, in additional to the corner screws). If all I have available is drywall, I will definitely put in wall anchors and drill the screws into those. That way the weight of the hardware will not weaken the dry wall and pull out of the wall under too much weight.
If we choose to go with mounting the caddy on our rack, I will do that using conduit bracket mounts. I will use at least three brackets on the screw jars side. That way, the weight of the screws will pull straight down. there will also be a bracket or two on the back just for stability purposes for when the screw jars are removed, and the center of gravity changes.
Another option for rack mounting is to use a block of wood. The caddy (jars removed for installation) I would put on the bottom side of the wire shelf, with the block of wood on the top of the shelf. Then drilling a screw through the open space of the shelf into the block of wood. This option is not the one I would personally go with, because it doesn’t work with how we use our shelves in the garage. But I did want to mention it because the caddy can be screwed into an existing shelf that you might have.
While there are many ways of installing a caddy like this, I want to put out one more idea. If none of the above work for your situation, you can add wall mounts to the back of your caddy. There are all sorts of alligator grip picture hanging mounts that you can use. With a trip to your local hardware store, you can find picture mounts that can hold portraits up to 50 pounds. That is over kill for this project, but I want to mention that this is another option that could work for you.
Please send in pictures or let me know who make this for. As I mentioned, this example of a hardware caddy I made for my husband for his birthday. But this is perfect for a Father’s Day gift, Graduation gift, something for a teacher, crafter, or even just as another option for home organization.


Leave a comment