Bless This Garden

This year I’m working in concert with others in a garden. (I am so excited for this!) If you’re as busy as I am, you can imagine how quickly things slip through the cracks.

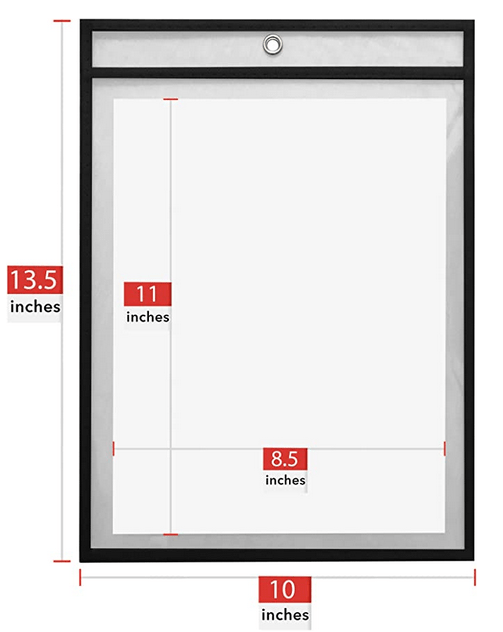
After hitting my local dollar store, I found some pieces that are going to make an inexpensive tool that doubles as home decor, all the while keeping tabs on what’s been done.

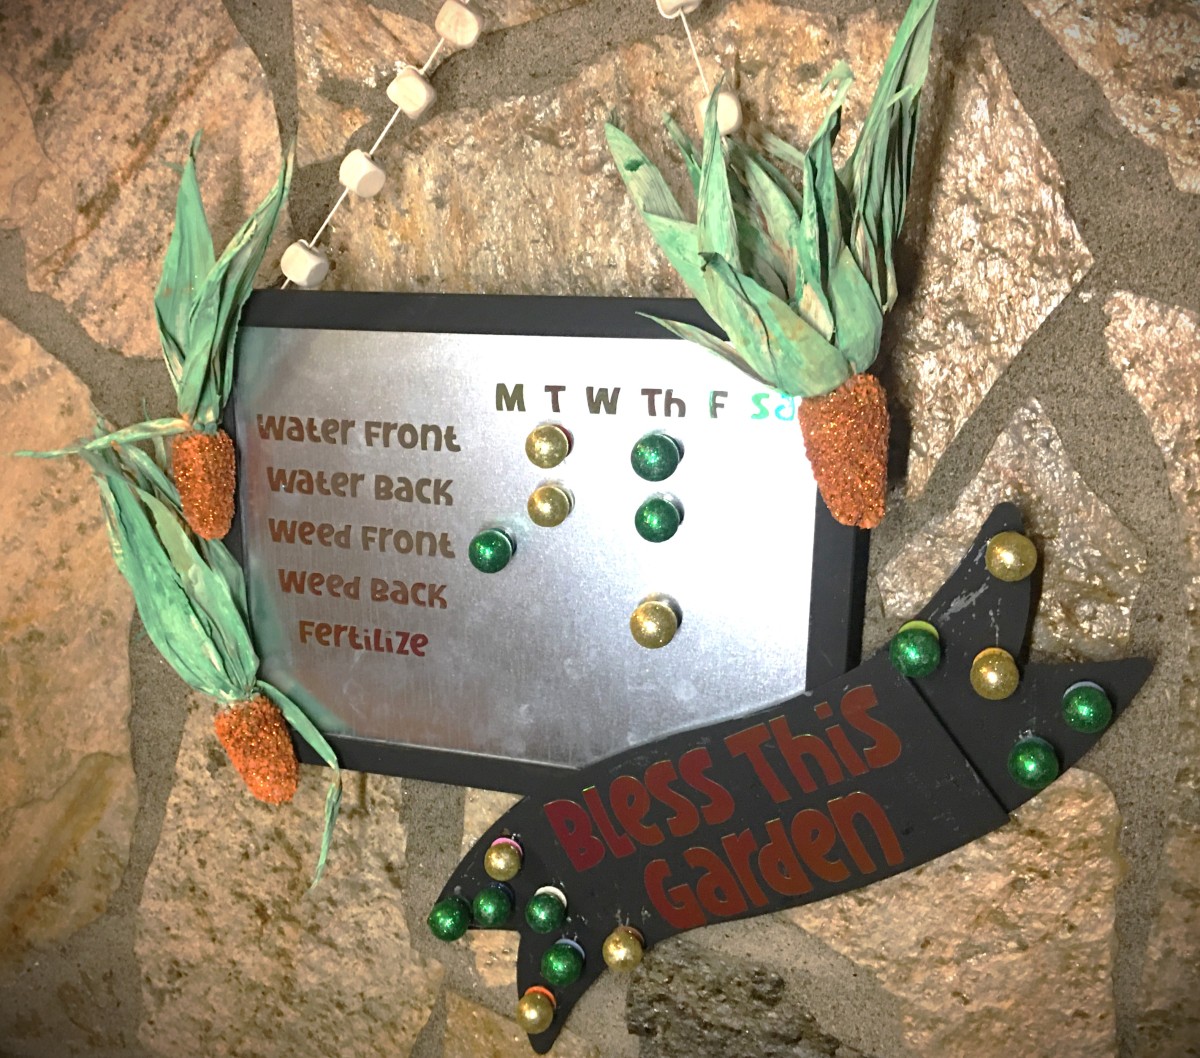
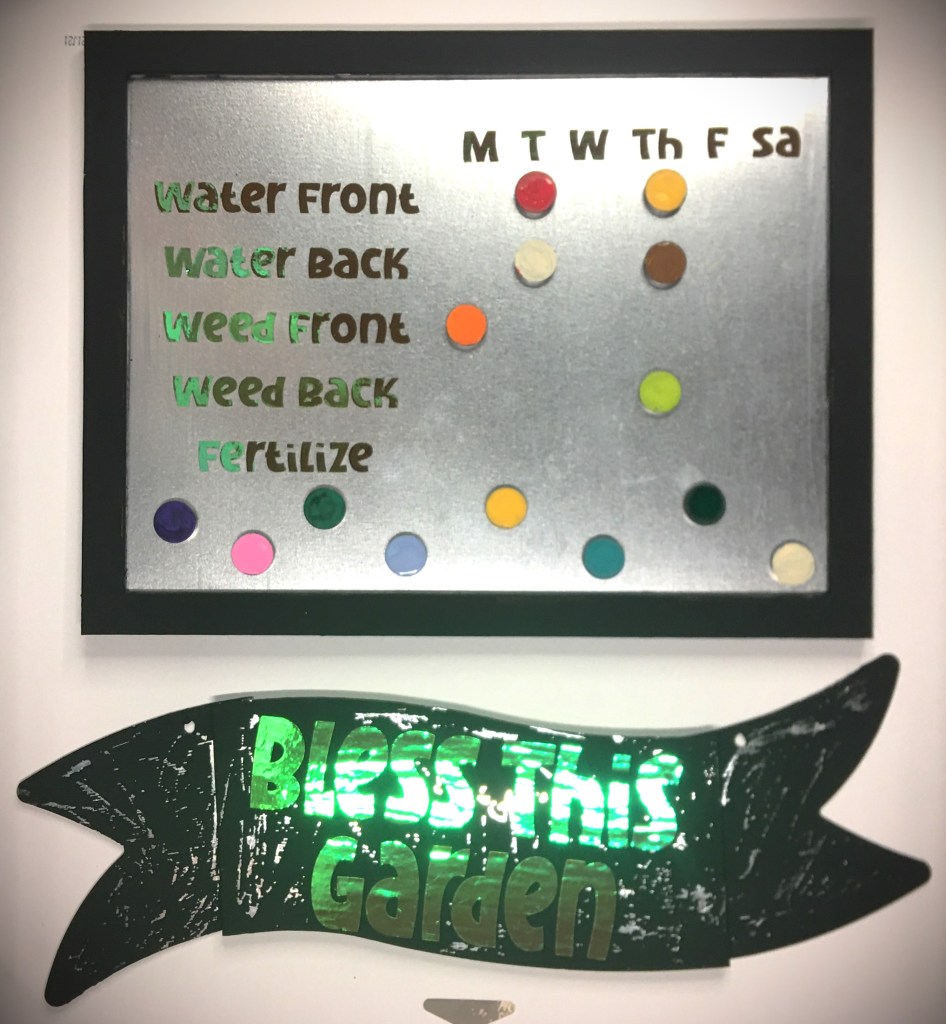
With these I decided to make a magnetic board where anyone tending the garden can quickly mark what they did.

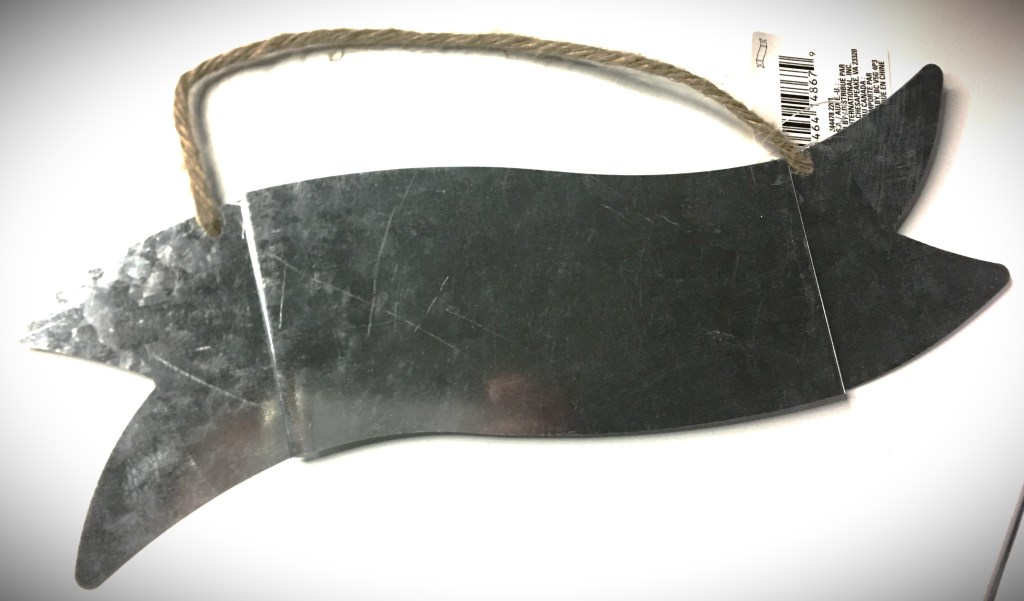
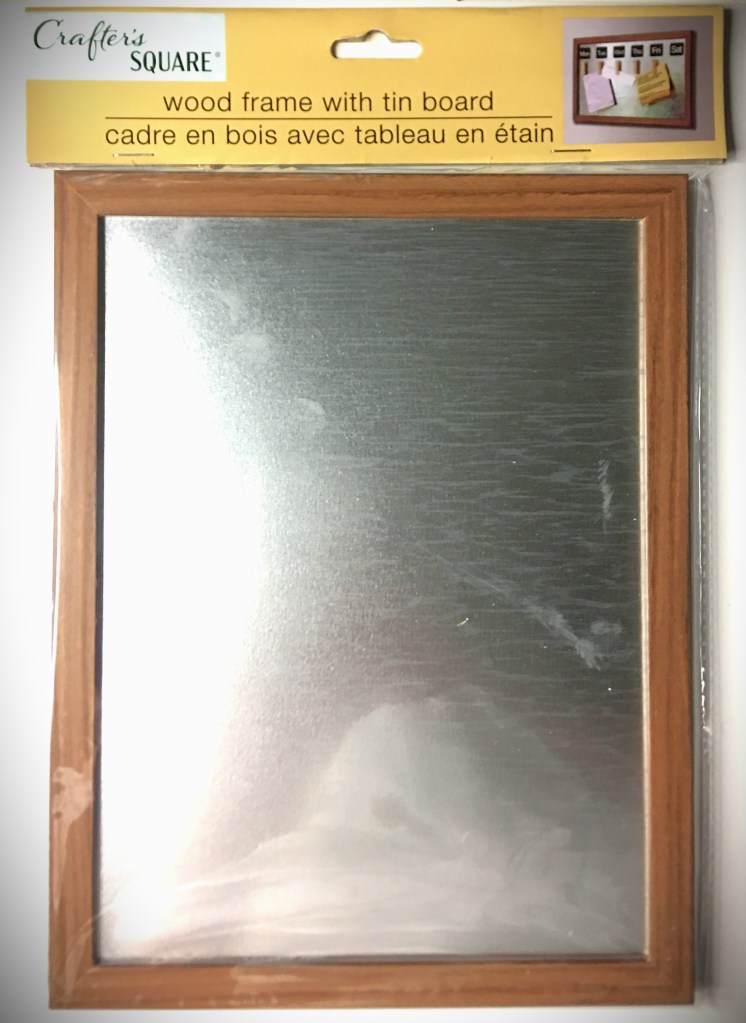
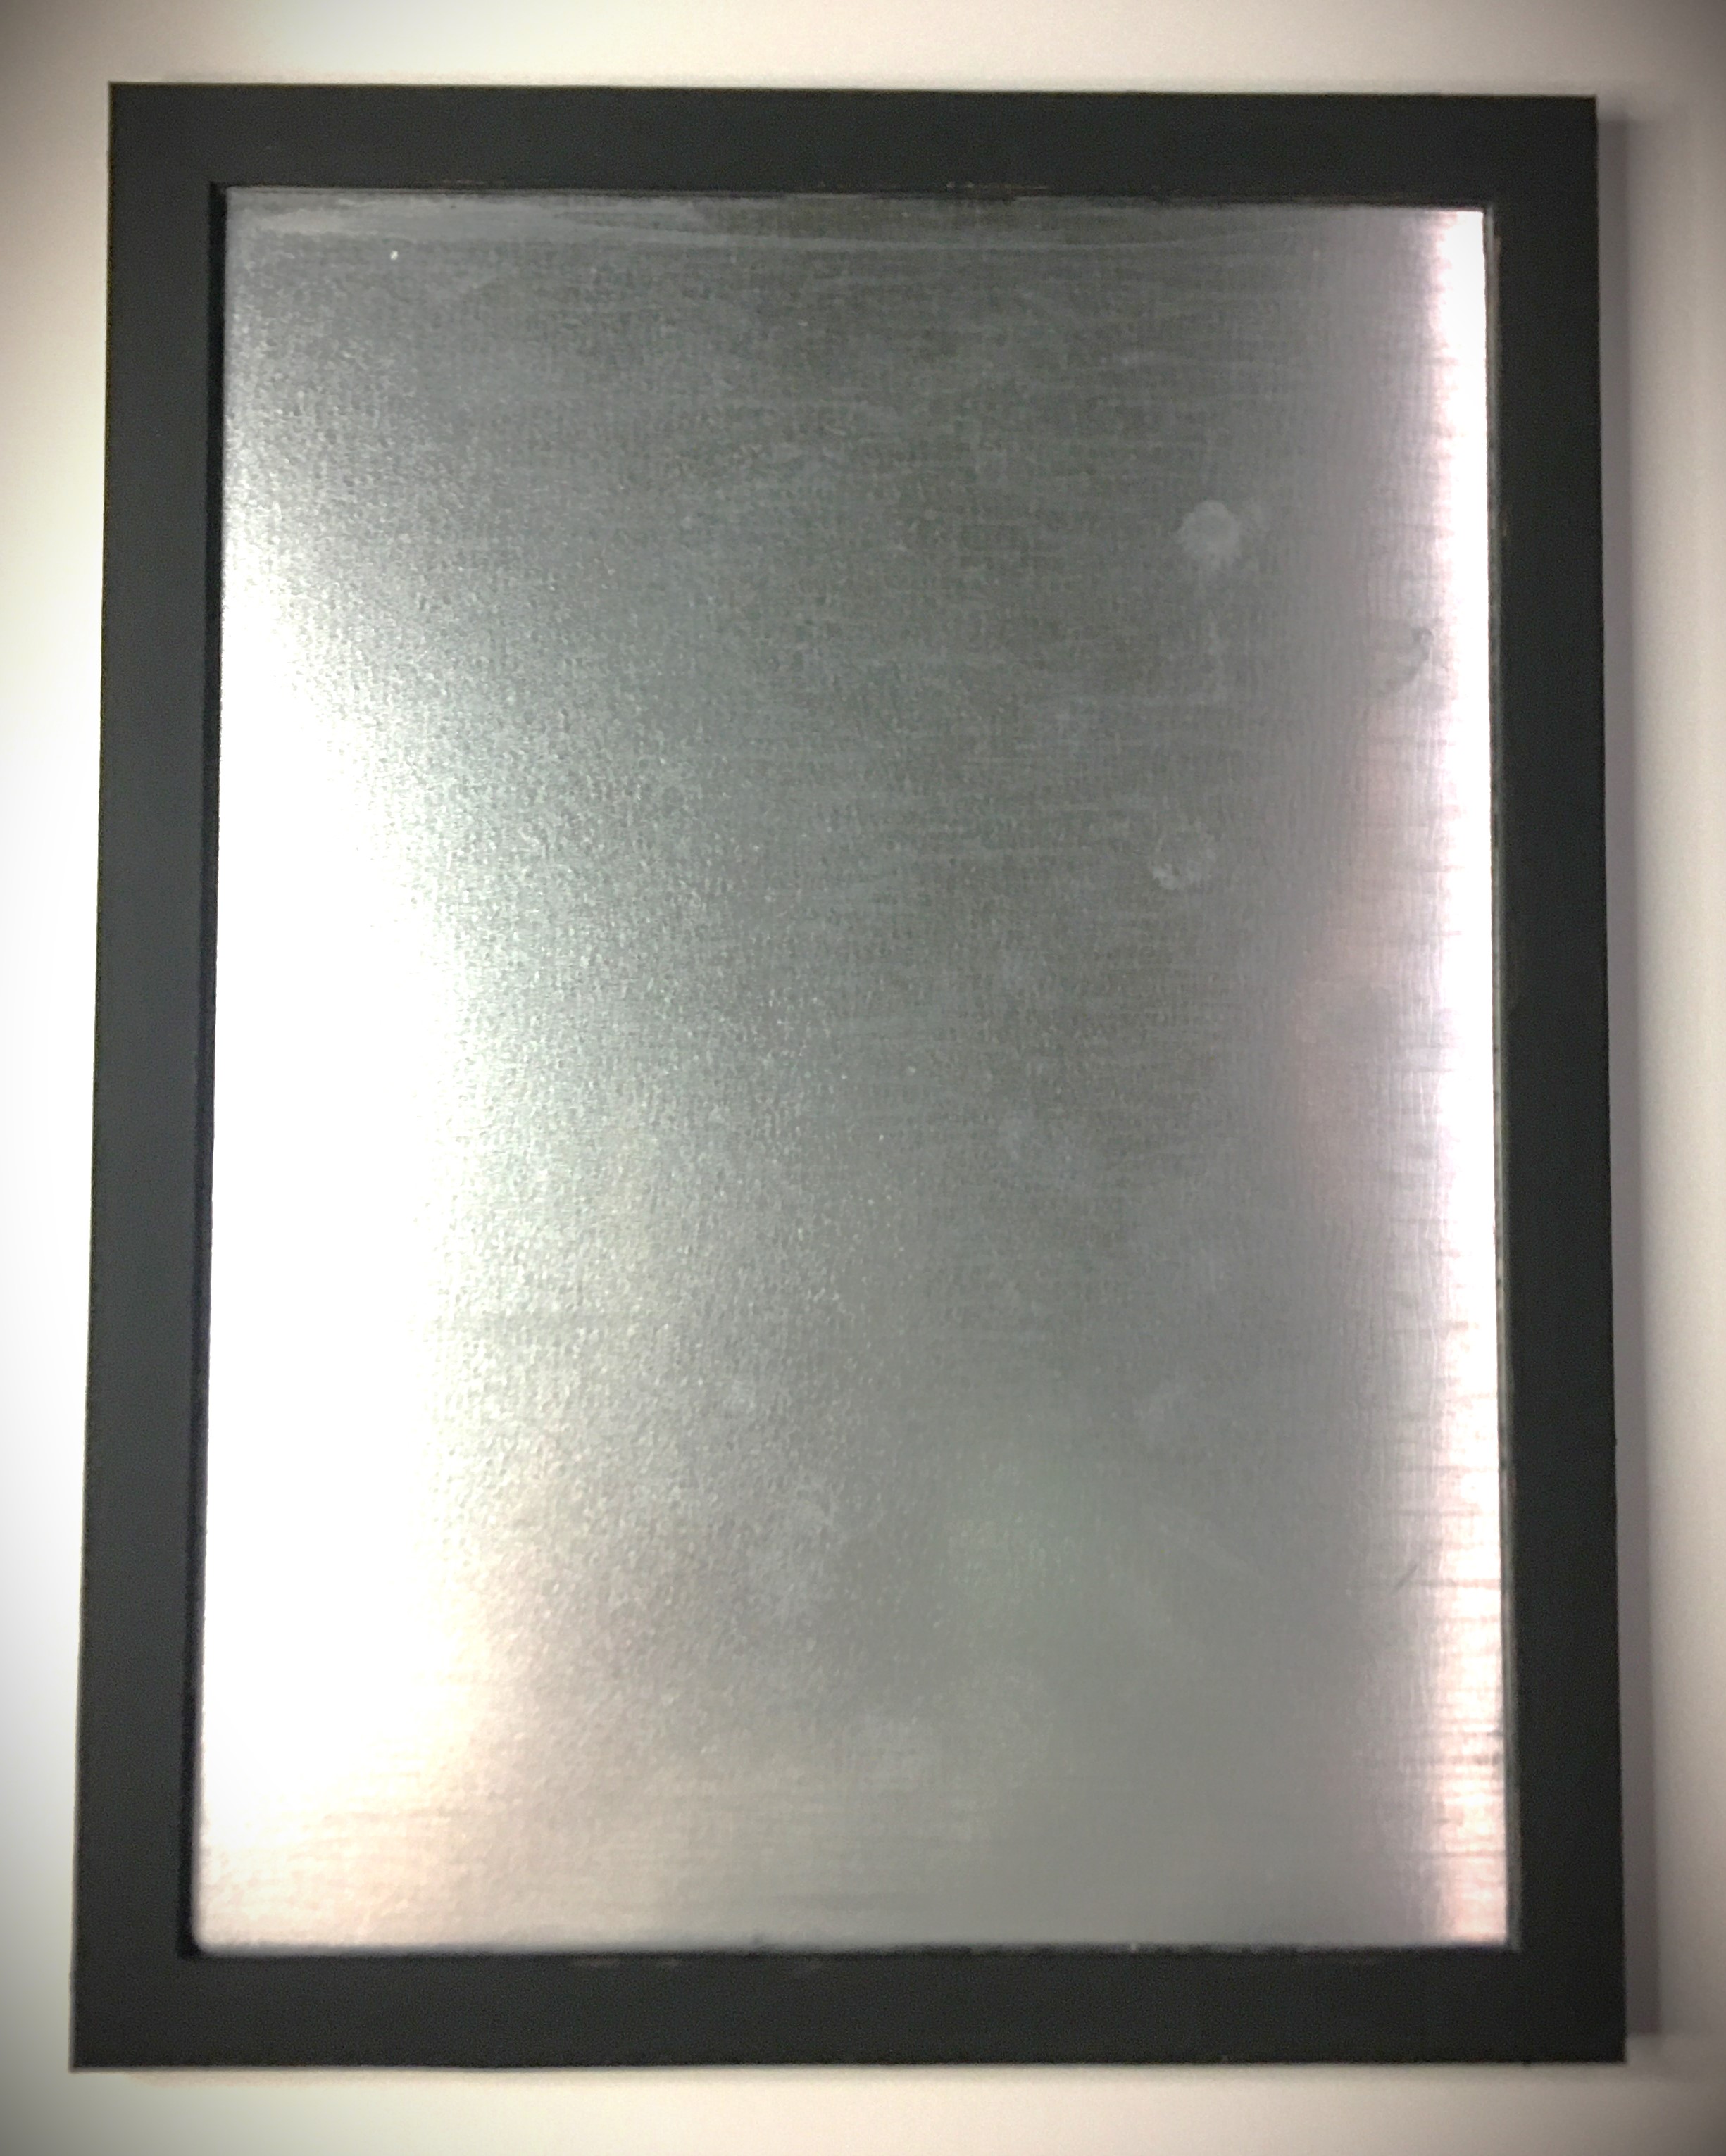
I know the galvanized finish tends to overtake everything. So with the galvanized frame and banner, everything gets lost real quick. Not to mention that the frame was a really bad fake wood. To dress all this up a bit and minimize the galvanized look, I painted the frame and banner black.

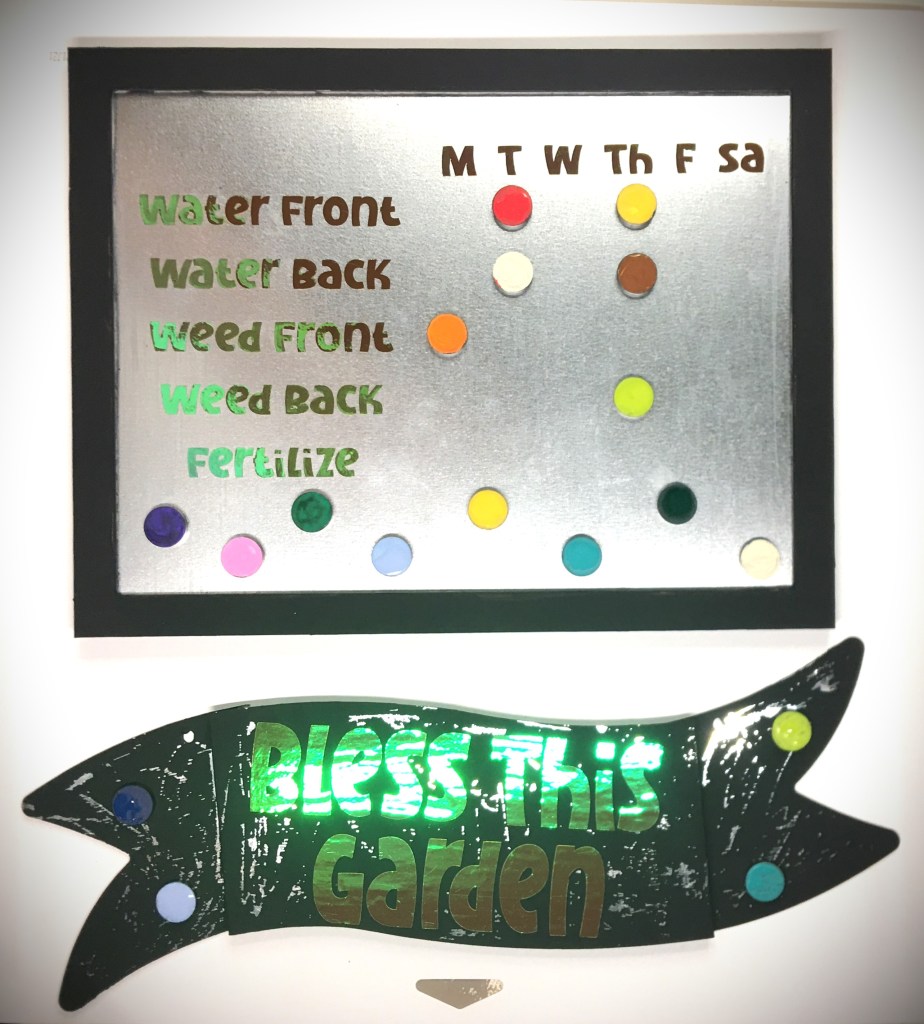
I forgot to take a picture of the banner painted in flat black chalk paint (the same paint as the frame). It looked too minimalistic for my taste, so I took the transfer tape (which I used to apply the vinyl text) and put it straight onto the paint. Some places lifted the paint quite easily. But to get the distressed look, I scratched the tape

The magnets needed a little something extra. There are so many things that could be done. I have children and they’re helping with this garden and they’ll also be marking what we do when we work, so I went into kid zone and painted the magnets with acrylic paint and did all the colors.

If you want to keep minimalistic, pick your favorite color.

Love things that sparkle, glue on gem stones or use glitter.

What about texture? Glue on fuzzy pom poms, baby pine cones, large seeds or nuts… literally whatever catches your imagination. Maybe you have a farm and want to use small farm yard figures and animals. (I wish I had these in my craft room!!!)

Something that is great about using the galvanized banner is that the extra magnets can be kept on the banner so you can add stickers, personalization, more tasks, or a note section in the blank space on the bottom.

And then while typing I decided to go a different direction.

I pulled these out! Last year I made carrots out of my corn cobs. And I brought out the wooden beads from my drawer (which I also got from my local dollar store).

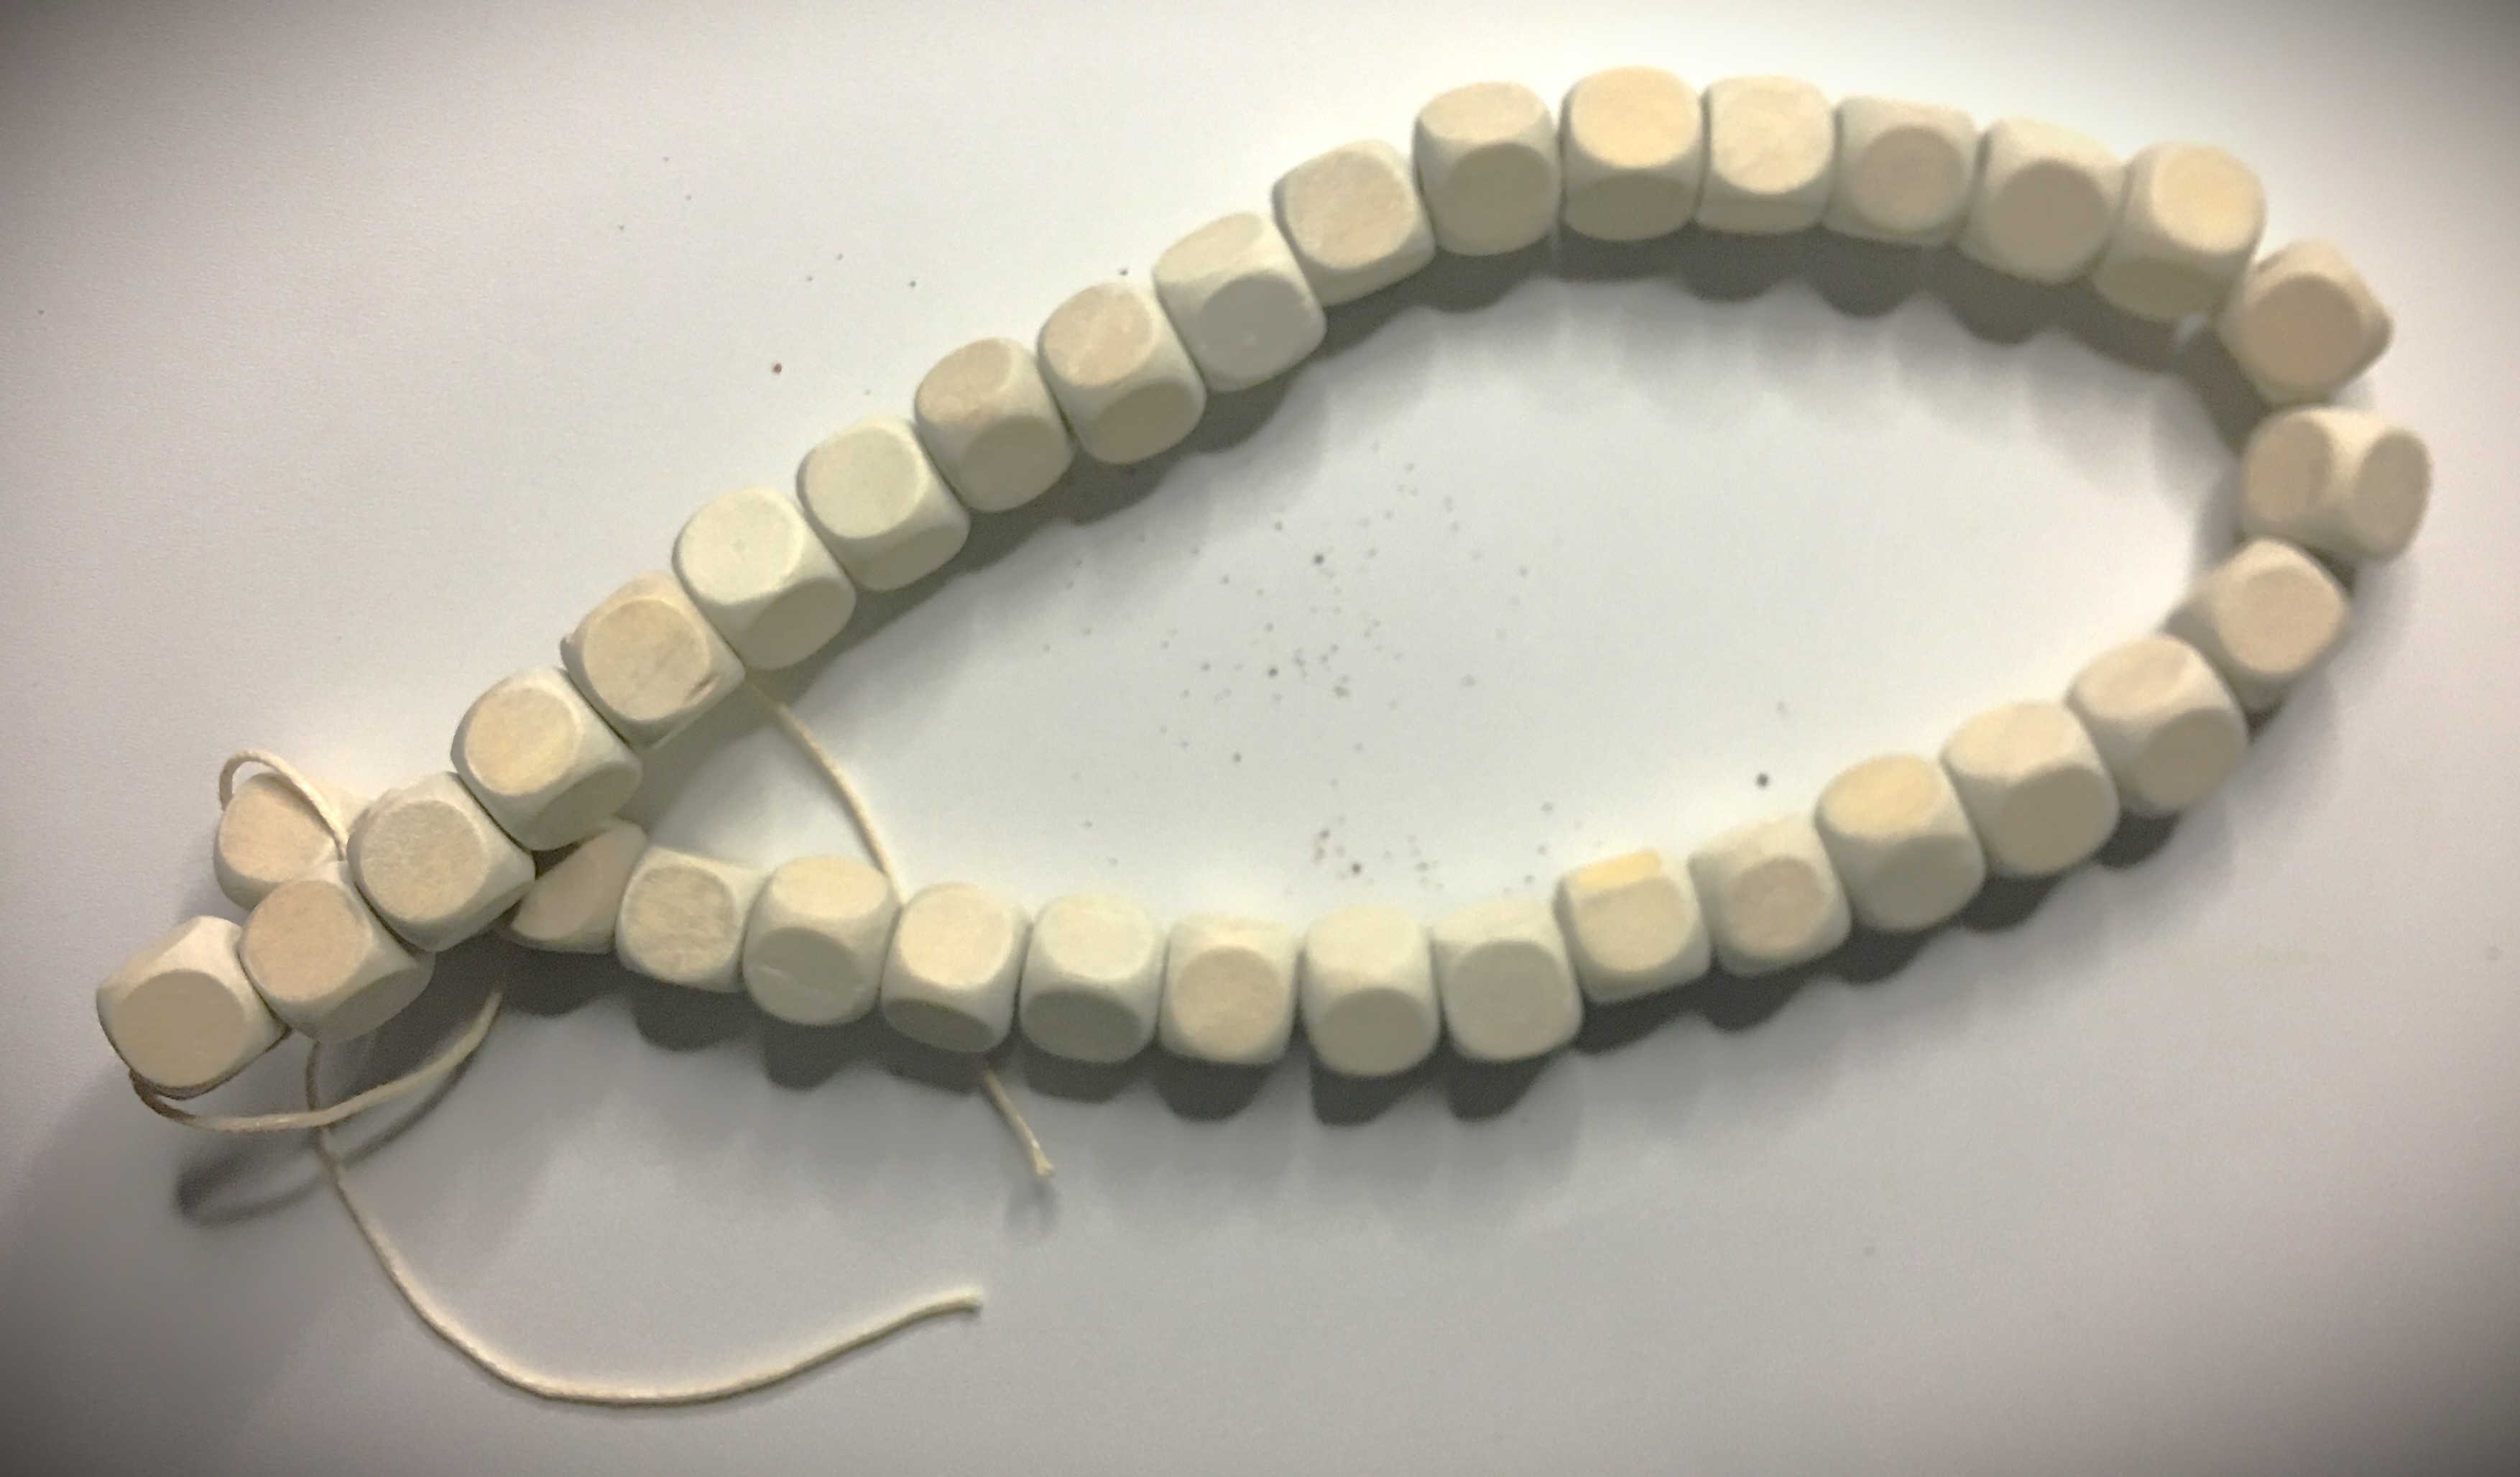
With the beads I removed them all from the string they came on and noted how they tied off the end bead to keep them all on the string. This “knot” that they used was how I spaced the beads further apart on the string.

Once I made those changes, the colorful “polka dots” needed to change. The gold and green glitter styrofoam balls simplified the overwhelming colors.

Even with the new modifications hanging, I’m not satisfied with the final color scheme. And sometimes that happens when you’re creating. You start building from the image you see in your head and make a change here or there and an earlier idea you loved just doesn’t work anymore.

The black isn’t working anymore. I loved the idea to begin with because it was a nice basic color that goes with where I was going to hang this. But it’s just not working anymore.

Advertisements

First thing first, I need to lighten up the banner. So I’ll be distressing it heavily so that the majority of the galvanized metal will show through. With the addition of the carrots, which obviously take the spotlight, I can bring out a lot more of that metal and the metal is not going to overtake and make everything else hide.

But before I do that, I need to decide what I’m going to do with the frame and that’s going to take a few days of looking at it to see where I want to go. At the moment, I’m leaning toward the idea of painting on white striped and creating a plaid hand painted design on it. If I go that route, I might keep the banner predominately black still and incorporate that same design element into parts of the banner.

Stay tuned to see what I finally decide!

Advertisements

And I’m going to leave you here in this moment just because sometimes the right thing is to take a step away from a project and let it tumble around in your brain. You don’t always have to have the answer right away. And you don’t always have to have things done in an hour.

Perhaps it’s convenient to have an idea presented to you in a finished state.

But I’m going to leave you here with your own thoughts. Because I know someone has that inner voice screaming, “You need to ____!”

Go ahead and leave that comment below.

Or better yet, use that idea to make your own magnetic board for your daily tasks, your children’s chore board, a classroom helper sign, your regular “Honey Do” list, or that board that I didn’t mention but you just got the idea for.

And when you’re finished, send me a picture so that I can see what you came up with.

Happy Crafting!


Want to have the cut file for Bless This Garden, click here.

Processing…
Success! You're on the list.

Leave a comment

Advertisements

On The Court

Winter sports have started and parents everywhere are volunteering for coach their kid’s park and recreation teams. And I am that parent-coach.

After spending quite a few years working with kids, you learn firsthand that not all kids learn the same way. But one learning style that all kids have in common is that they have to have a visual of some kind. And when you’re on a sideline, during a game, and you can’t walk out on the court/field to physically show your team what you want them to do, the next best thing is a whiteboard clipboard of your court/field. (So you don’t have to wait for school athletics for kids to be learn from this court map.)

For whatever reason, if you want to have the benefit of having a court/field dry erase board but don’t want to go through the expense of buying one, I’m going to show you a couple of different ways that you can make one rather inexpensively. (This is a huge perk for summer camps where counselors are coaching and you don’t want to worry about misplacing or breaking a nice board.)

Advertisements

Laminated Court

I went this route because I already had in my craft room a clipboard, laminating machine, laminate, paper, printer, magnets, white board pen, ink pen (you never know when you need an ink pen), and hot glue gun. All in all, for the materials I spent under $4. So this is really inexpensive and gets the job done.

First you either want to make or down load a copy of a basketball court (or any other court or field you’re coaching) and print it off.

Run it through a laminating machine with a laminate cover. And as soon as it’s cooled, this mock white board is ready to write on.

I can’t tell you how many different of these “white boards” I’ve made for homeschooling with worksheets that I want to use over and over again. Yes, some colors like to stain the laminate (red and blue are the two colors that cause problems in my house). BUT they’re super easy to clean up. Take a cotton ball with rubbing alcohol and you’re back to a crystal clear “white board”. And if you’ve ever found out that you grabbed a permanent market instead of a white board pen. Don’t worry! Rubbing alcohol will also take that right off. Or if you ran out… simply take a dry erase pen over the permanent marker and erase. The permanent marker comes right off! (It’s the same trick for with a real white board.)

Now I modified my white board. After my first practice I got tired of fishing my pen out of my pocket. So on the back of my clip board I hot glued a magnet for my dry erase pen and for my ink pen. I hot glued magnets to my pens, in a place where they wouldn’t interfere with how I hold my pens (near center, in the crook between my thumb and first finger).

Advertisements

Depending on your pen, hot glue may not work. Hot glue works like a dream on plastic finishes, but if you grab a metal pen like I did its 50/50 if the glue will hold. My pen popped off with a minimum amount of glue. This second time I used a very generous amount (where I had to wipe off a large glob of left over glue) and the magnet has stayed on the pen. My back up for another glue failure is to switch over to liquid cement glue that is formulated to work on metal and ceramic. I didn’t start with that glue because I didn’t want to rig up something to hold the magnet in place while the glue dried.

As you can see, I don’t have to worry about making sure I have pockets while coaching and my pens are taken care of without having to worry about tying my pen to the clip on the clipboard.

But what if you don’t have a lamination machine that you can use???

Plastic Holder

This one is another one of my homeschooling hacks. And I love it for absolutely everything, including a recipe protector in the kitchen if you have a sauce or frying and you get liquids flying next to your stove.

So far I’ve only seen these plastic holders at the dollar store. If anyone else has found them anywhere else (other than Amazon), please comment below!

But with this option, all you have to do is find a court or field that you want and print it out on a piece of letter sized printer paper and then you just slide it in. White board pens work on this plastic just the same as the laminate option above and white boards! So for under $2 this is really affordable for any scenario where your “basketball clipboard” will go missing. Or even if you have young kids who want to pretend play “coach”!

This option is also good if you want to be hands free coaching, but want your board with you. Connect it to a lanyard or a retractable key set on your belt loop. It’s handy when you need it and the pouch can also hold your pen.


Files Used For This Project

Don’t want to hunt down another basketball court image to print? You can use this PDF file here. Other sports fields and courts will be added to this link. If you don’t see the one you’re looking for, please leave a comment!

Other Items that may interest you

This post contains affiliate links that give us commissions on products purchased at no additional cost to you. These items listed here are from Amazon but may be purchased at local markets.

15 mm disc magnets I know these can be found in your local store. I used magnets, of this size, that I had found at my local dollar store (traditional black refrigerator magnets).

Processing…
Success! You're on the list.

Leave a comment

Advertisements
Advertisements