Use that print vinyl without cutting remorse!
In one of my favorite online crafting groups, we were talking about if we were print or solid crafters. It was while I was reading and commenting that I drew the connection that we probably all craft with vinyl the same way we dress. Think about it! Is your closet full of prints or solid colors? Now, think about your vinyl stash. Do you primarily have solids or prints?
Me? 1 out of every 5 vinyl bins is for print.
What’s in my closet, you ask? Solids once again grossly out number my prints!
I’m not afraid of prints. I fall in love with prints. I own prints. Just like when I’m clothes shopping, I ask “What am I going to do with that?!” In fact, I only own one item with a leopard print–boots that my mom bought me because she said I needed a little fun in my life.
I love you mom!!!!
Another truth is this. All of the print vinyl I own is because of grab bag and mystery box deals that I treated myself to. I was raised on Bon sales. (Anyone old enough to know what that means just knows!) A quick summation is that you buy the deals when you see them. And when I need a quick infusion to my vinyl it is the mystery box and grab bag deals that I go. The prices are vastly better than buying like my husband is a limitless ATM. And just like a Bon sale, you know you’re buying the end of the line vinyl, the inventory that just didn’t sell, or some other reason. Even knowing that I’m going to get vinyl I wouldn’t choose for myself, I have opened boxes and said, “What am I going to do with that!?”
Sometimes we stumble across an SVG that is perfect for that print. Or there is a gift we can make that is perfect for that baby or holiday print. But sometimes we feel stuck with something that was in a surprise box, a gift given by a well intended friend or loved one, or you must have had one too many glasses of wine while you were scrolling through the eye candy we call prints… you know what I’m talking about. It looks good at the moment and it shows up at your door and your questioning your sanity.
Here is a trick that I’m going to help you move through your print shyness or buyers remorse. Because lets face it, one print that baffles us is another crafter’s unicorn. We’re going to use the technique called Masking.
(The following steps are written for those already familiar with the Inkscape program. If you want to learn how to use this program email me at info@pacificnorthwesteventdesign.com for information on how or where to get resources. If you have any questions on these steps, do not hesitate to leave the question in the comments below and I’ll help you through the hurdle.)
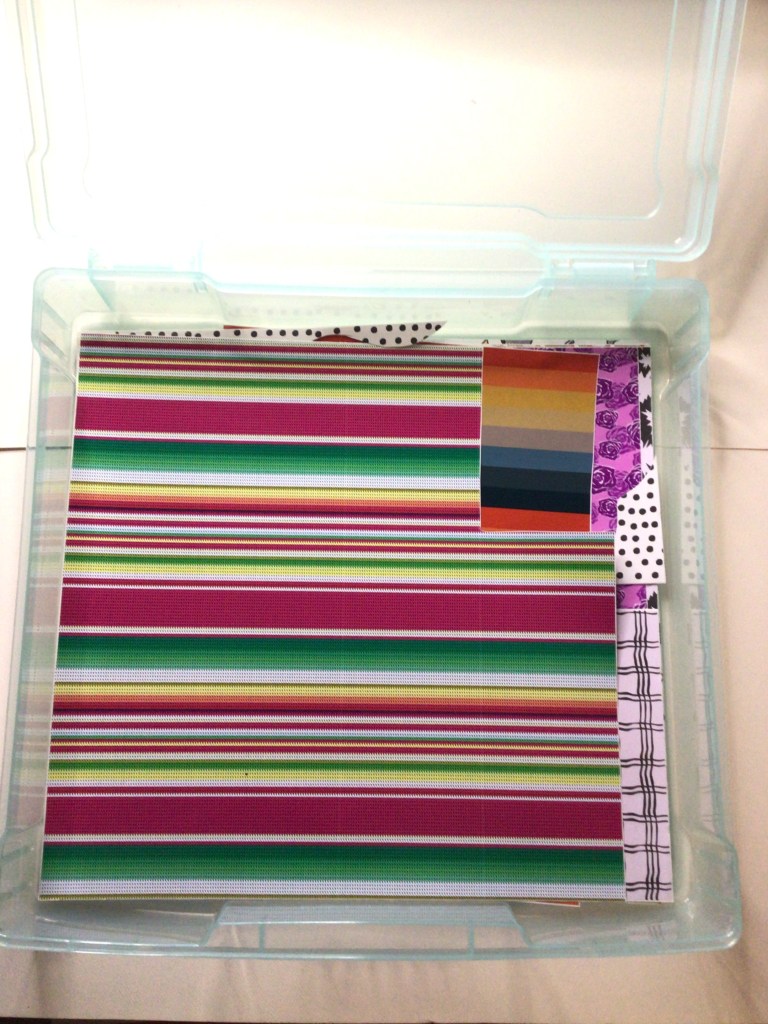
Step One: Take pictures of your print


Knowing the size of your vinyl is going to help you in a couple of steps when you’re ready to mask. This is going to prevent you front distorting your image and give you an acurate read on what you’re print is going to look like when you actually go to cut.
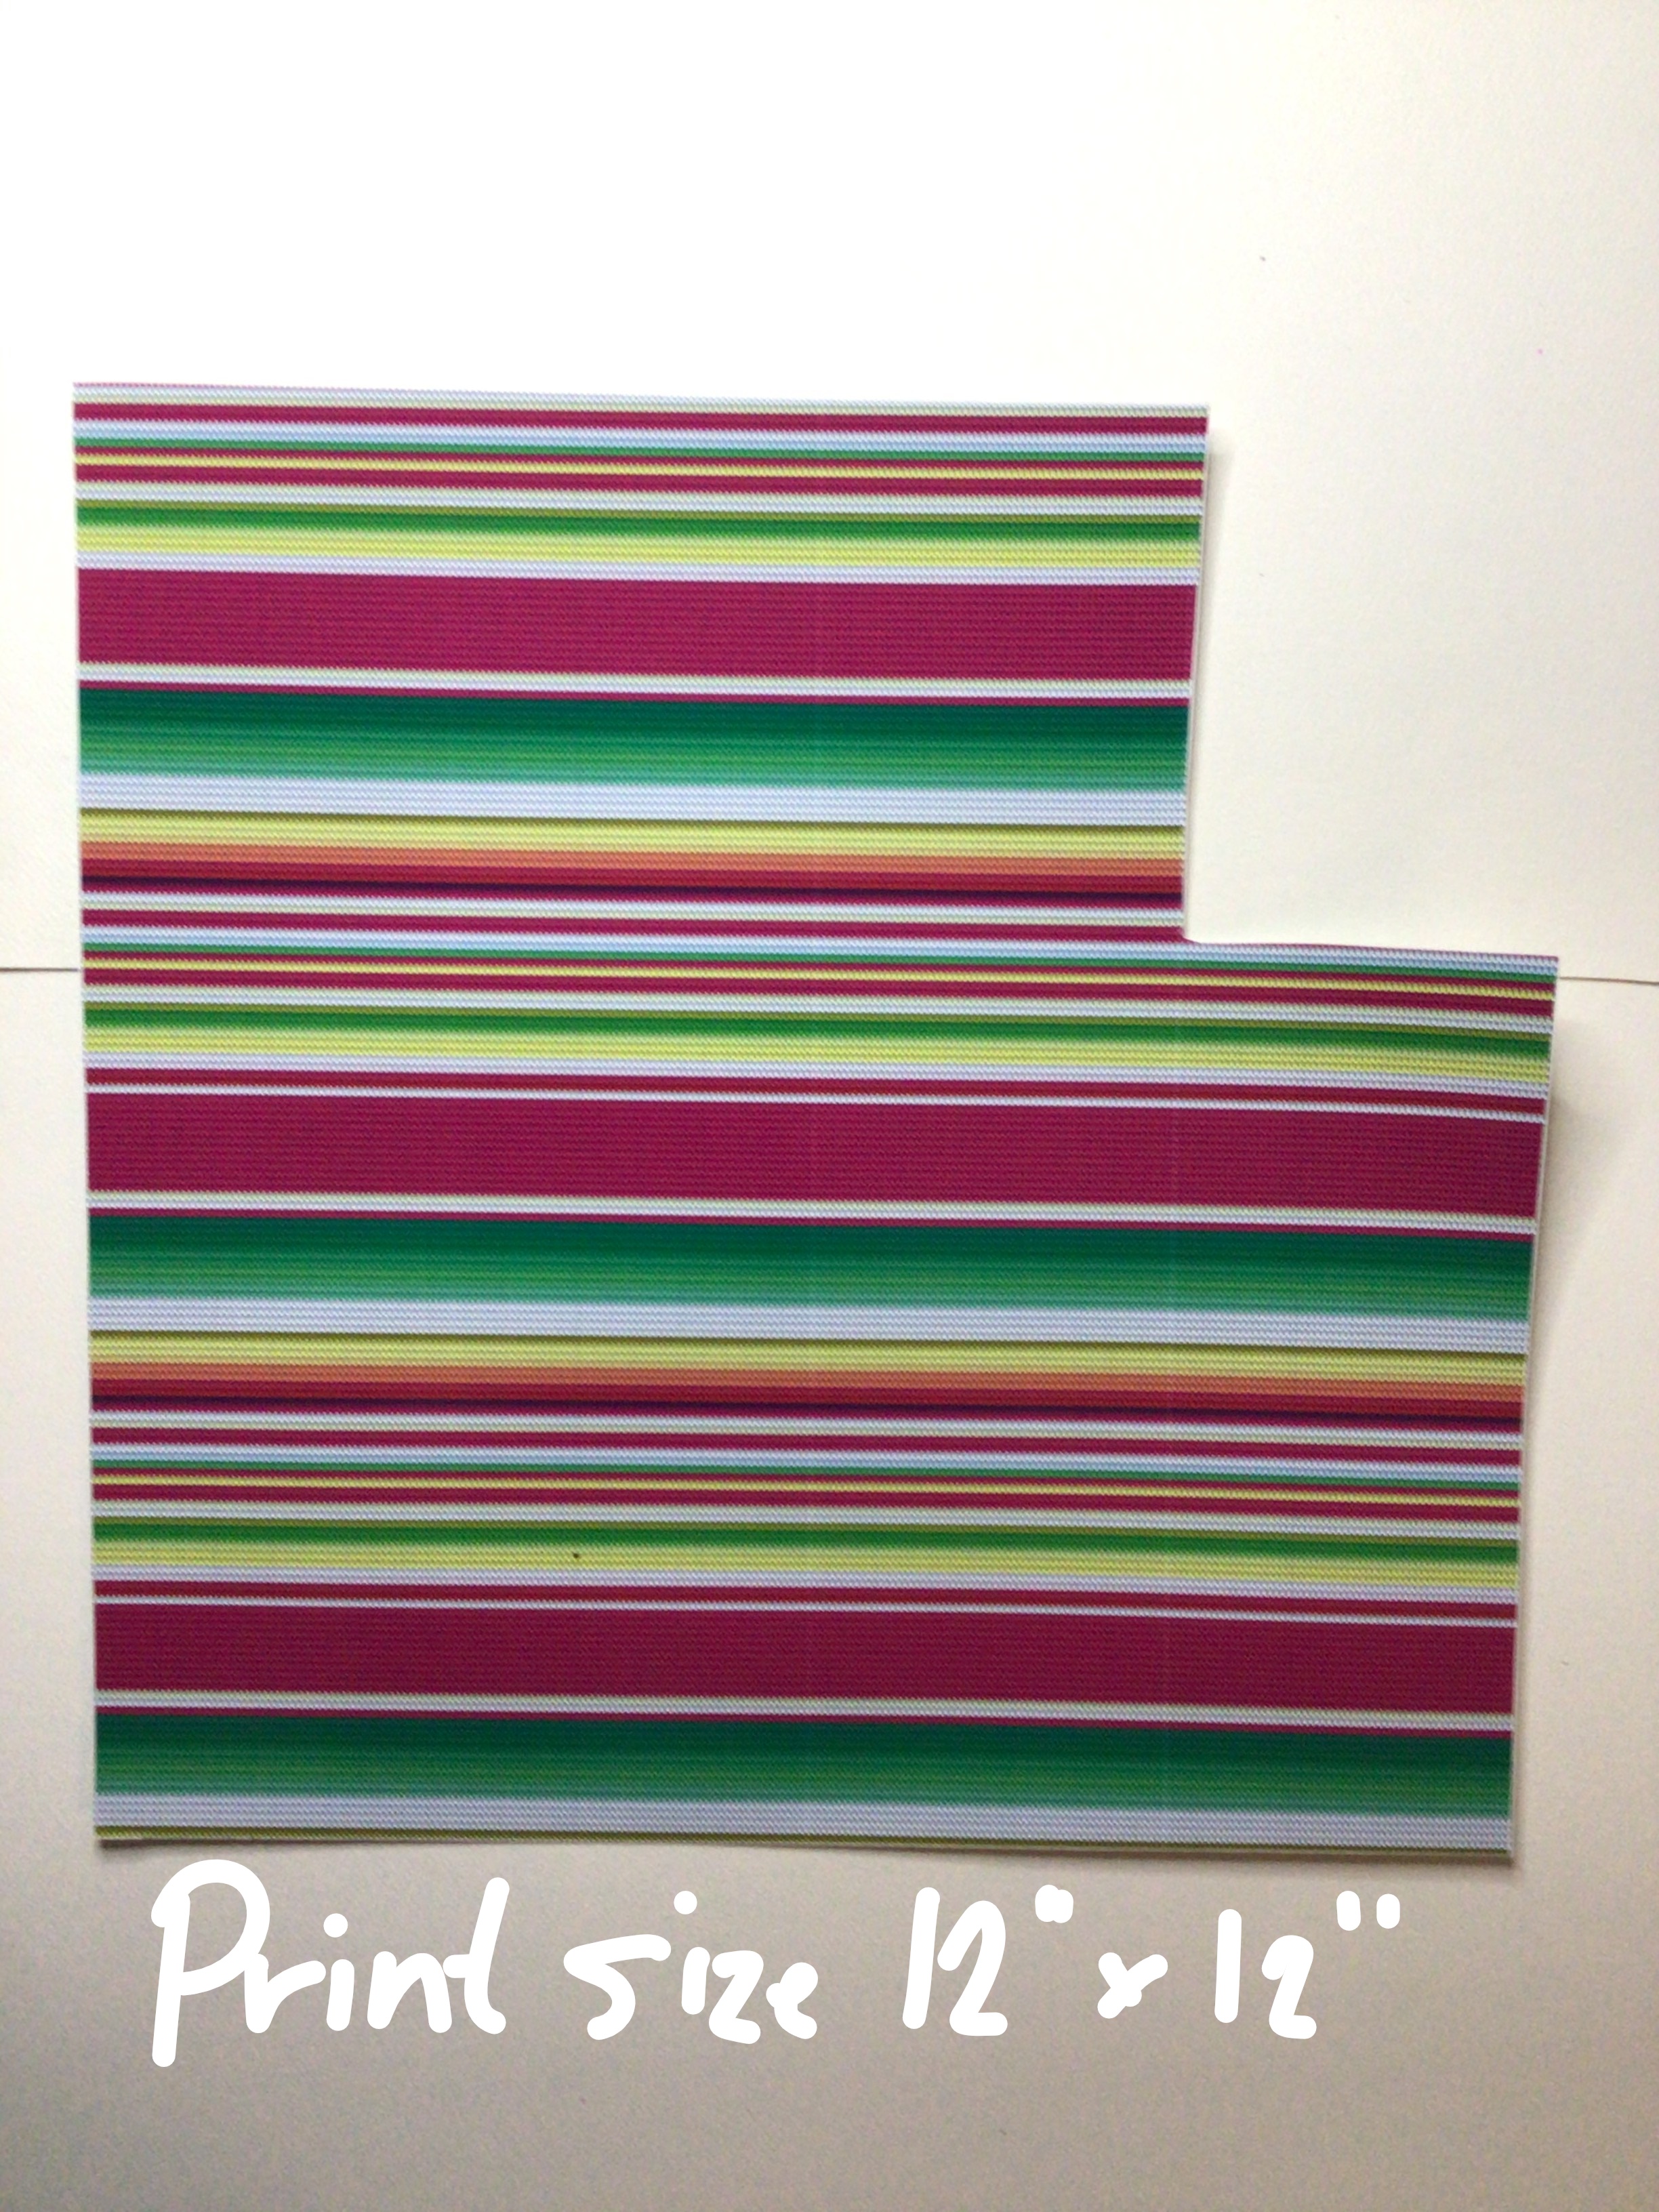
Step Two: Square off your print
I’m not going fancy with any of these images because these images are not leaving our computer. So a quick and dirty process here is going to save you time and become a reference point for you in your crafting process. The lighting just needs to give you a close enough representation of what the print looks like and near true colors. I used my phone’s camera. And in about 5 minutes I had pictures of all my prints uploaded into my computer. You don’t need to use any fancy programs. Just the photo editor that is already in your system.

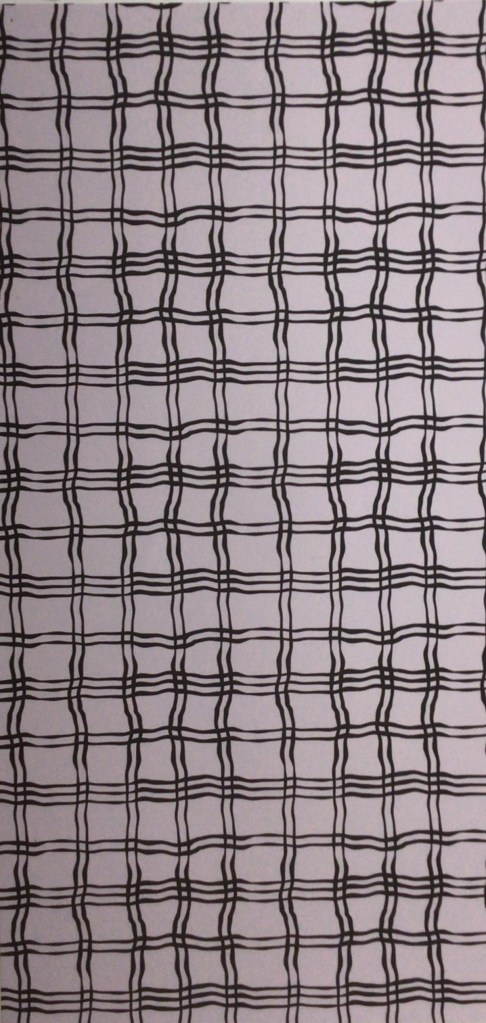
When you square off you’re edges, are just making the image look like a sheet of vinyl. You’ll see here that some of the edges didn’t make it in the resizing. That’s okay. It’s not going to make a difference in the end. The goal here is to keep thr verticle and horizontal lines as even as possible, and your print as close to its original size. In fact, I even left in the blank areas from previous projects. Because this method will help you determine if the SVG size is going to fit in your vinyl remnant. Believe me, this is going to beat pulling out the ruler and resizing your image in your cutting software.
Step Three: Save your images in a file that you can locate and pull into an editing software.

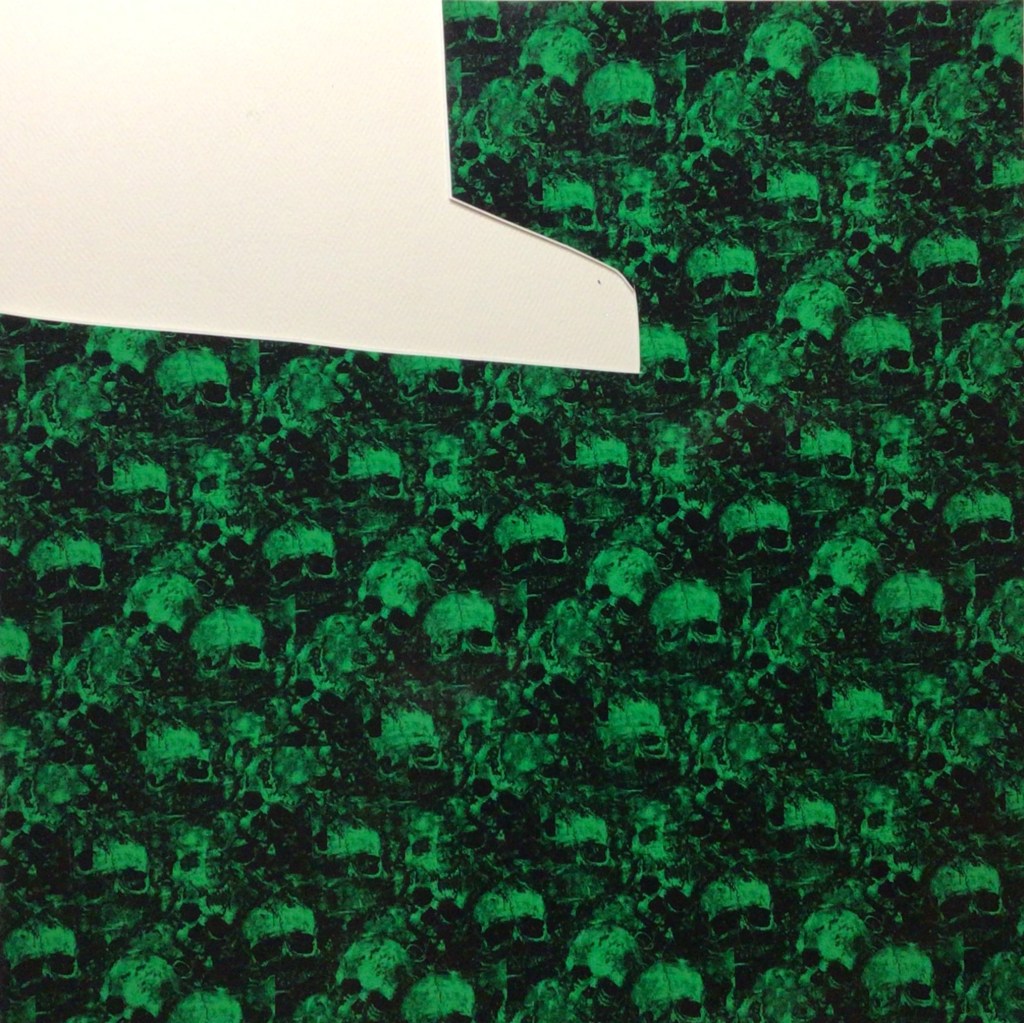


Here are the additional prints that I pulled.
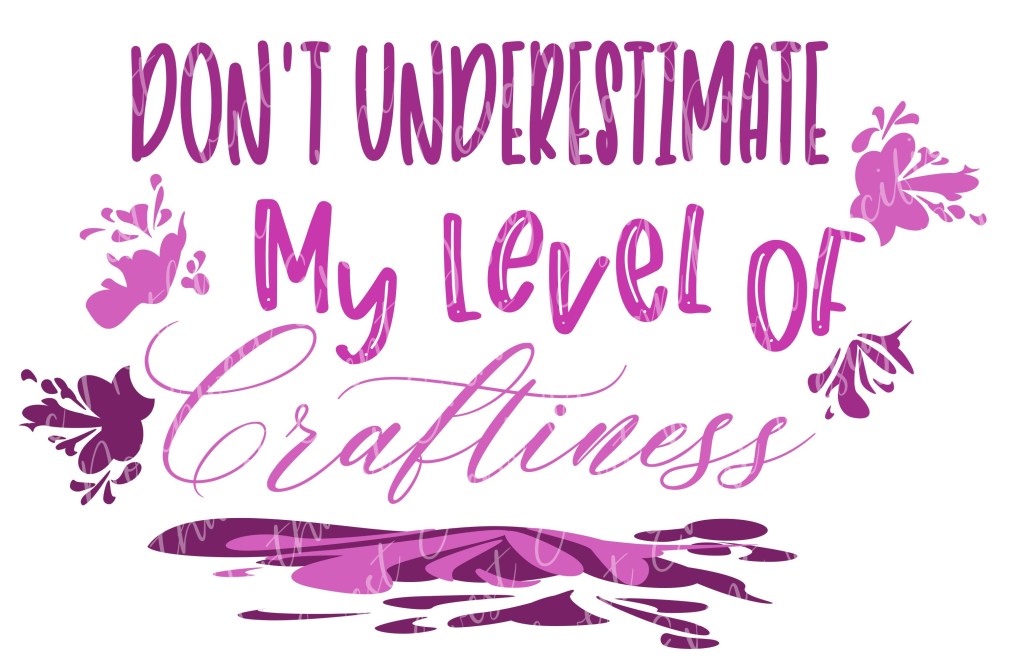
This SVG design is one that I wanteded to take further (I wasn’t feeling like solids were doing it enough justice), so I’m going to use a print to make it come to life. Obviously, this saying speaks to me.
Step 4: Open an editing software and pull in your SVG and vinyl images.
I’m going to use Inkscape, although Adobe Illustrator can be used as well. (If you know another program that uses masking, please leave that in the comments below.) I like Inkscape because it’s a free program and it’s the one that I design in right now.

Step 5: Resize your vinyl images and SVG.

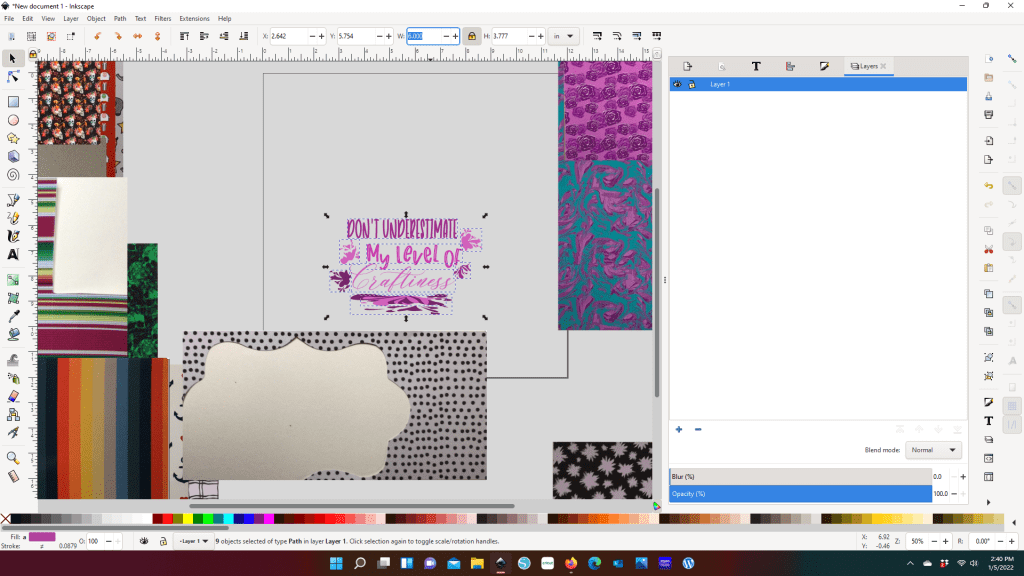
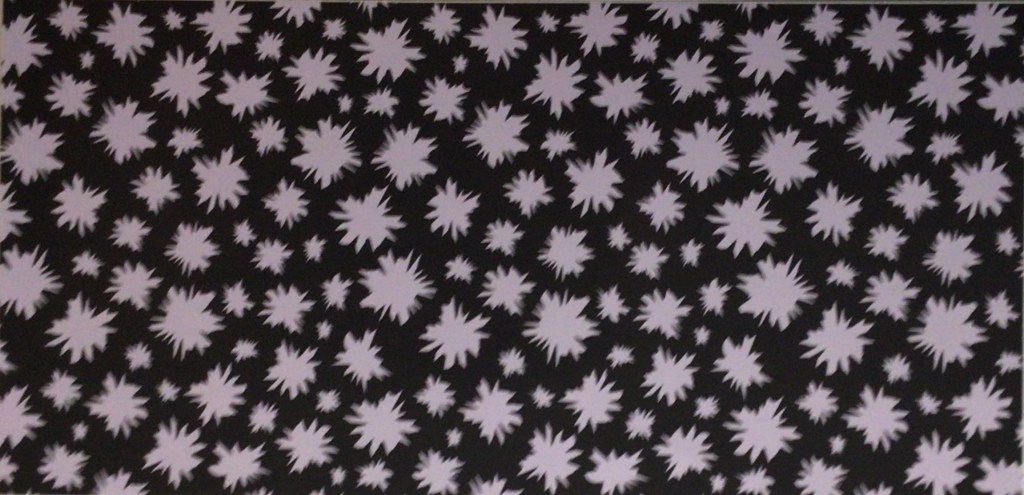
I knew right away that I wanted to use the polka dots for the first text line. With that Vinyl being the limitation to the design, I adjusted the SVG width to 6 inches. And now with the SVG able to fit on my Vinyl I set about selecting which prints I wanted to use.
Between you and me, I find matching two prints intimidating, let alone 4. But when I had all the vinyl imputed and saw the SVG with the dots and three prints I put on the right, I knew immediately I was going to throw caution to the wind and go all in on print. Yes, this solids girl is going print.
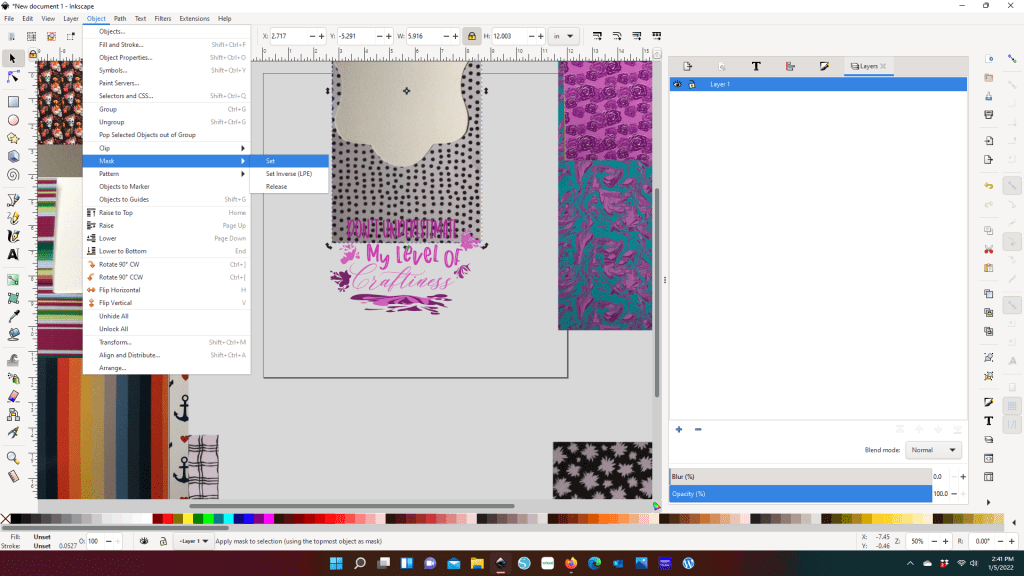
Step 6: Mask your print on your text/elements


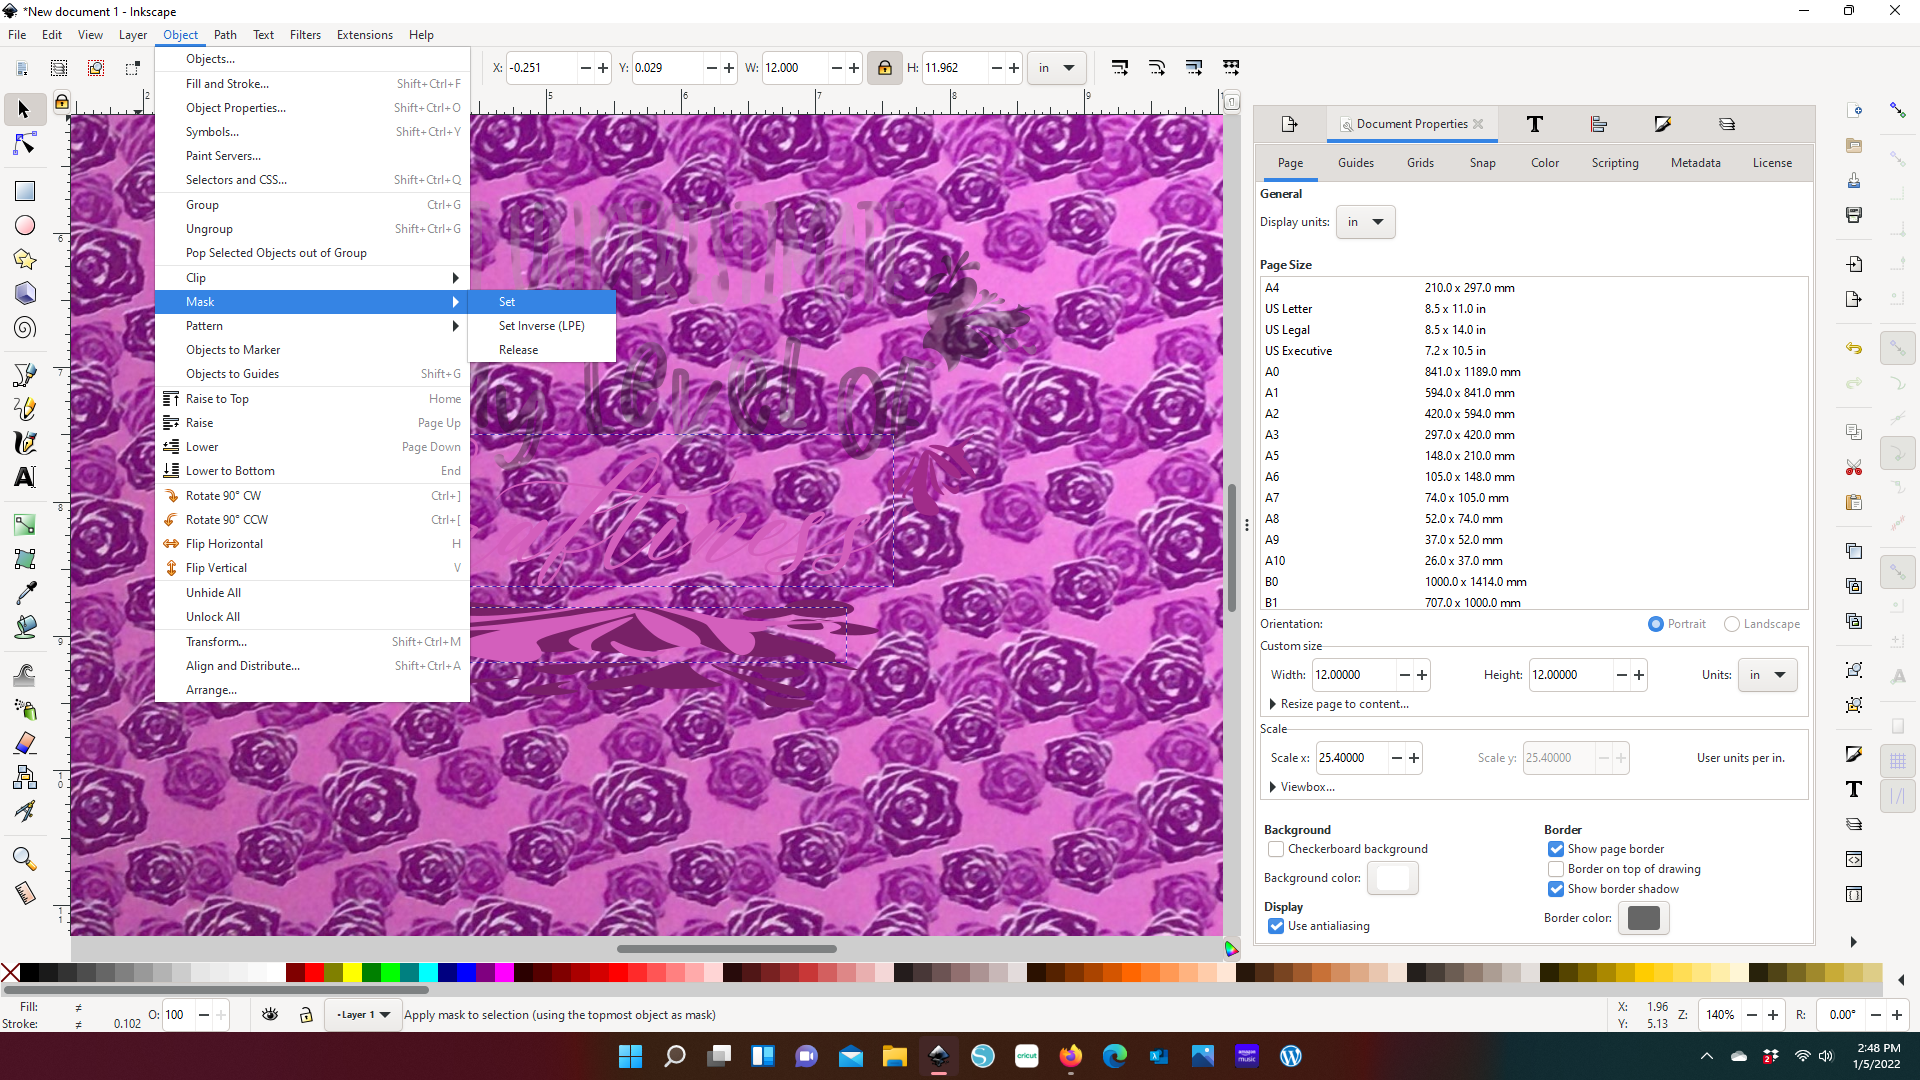

To Mask, you want to want to select your vinyl image and the text/element you want to attach the design to. If there is more than one text or element you want to use with a particular print, you will need to make copies of the print. Because once you make the mask, the vinyl image is going to disappear.
If you add the mask and you either don’t like it (color, design, etc.) or it’s not giving you the effect you want to create, you can drop the the mask by hitting Release.
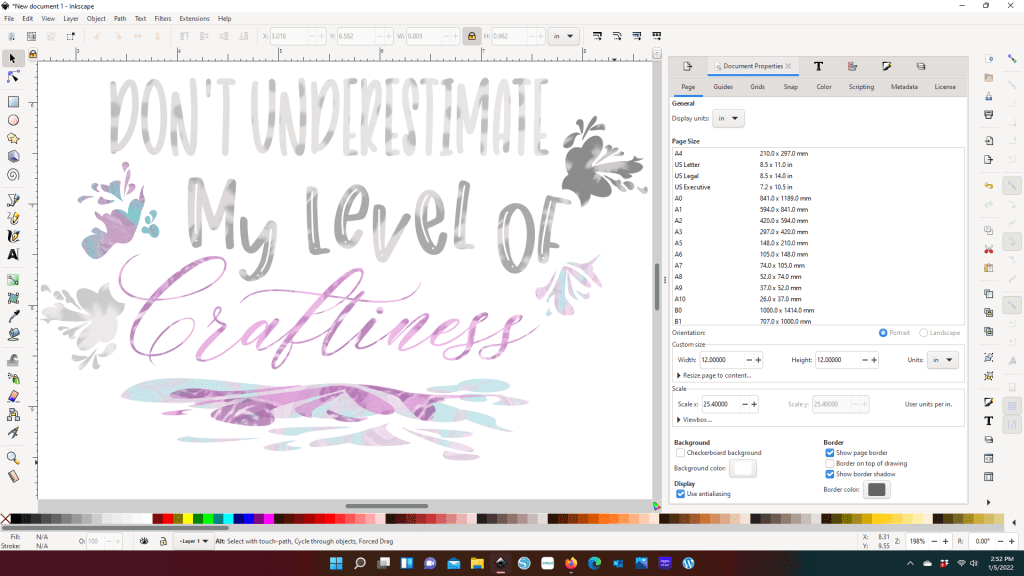
You will notice that the vivid vinyl image is muted. I don’t have the exact reason why this happens. However I have the suspicion that it has to do with the pixels of the image I brought in. Since I’m only using this technique as an aid in helping to decide how I want to use print, the muted colors are only a slight inconvenience. I can see the print design and have enough color coming through to see that these prints will work with each other.
Complimenting your prints here, instead of just having your sheets next to each other, gives you a better idea of how your print is going to show up as a final product.
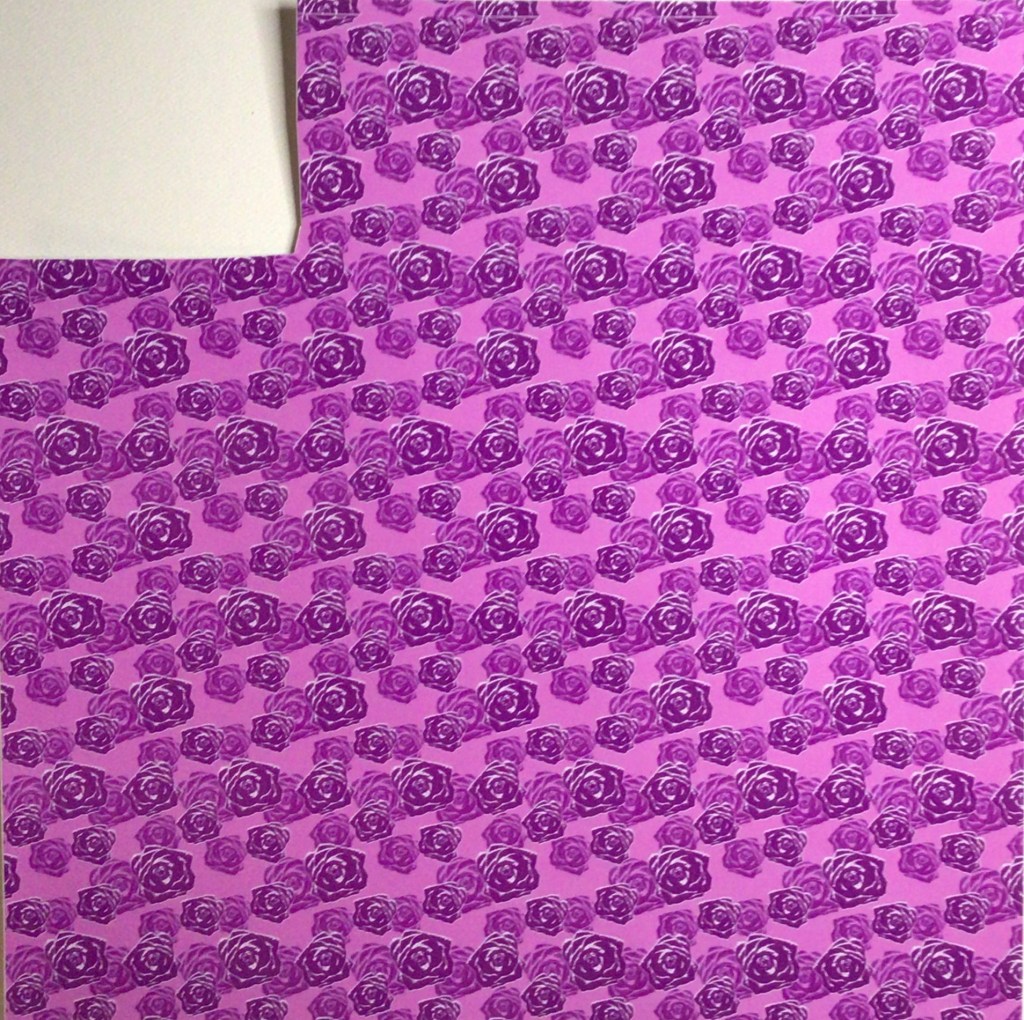
For example, look at “Craftiness” and the top splash layer below it. I chose to use the same purple roses print. The roses don’t come through at all in the text. However in the splash you can pick up about 4 roses. Even though that is the exact same vinyl, my project is going to show those two elements differently. I’m not a fan of this vinyl (yes, it was a what-am-I-going-to-do-with-this vinyl), but after I cut this project out, it’s probably my favorite part of the design.
Step 7: Import the original SVG into your cutting software
For right now my cutting machine uses Design Space, so that is the screen shot that you get for this shop. But no matter which software you use, you will still have the same step here. You’ll want resize your SVG to the size that you determined from your vinyl selection. Then you will ungroup the image and join the text/elements that will cut from the same vinyl. And before I go to cut, I always make sure that each vinyl has a different color

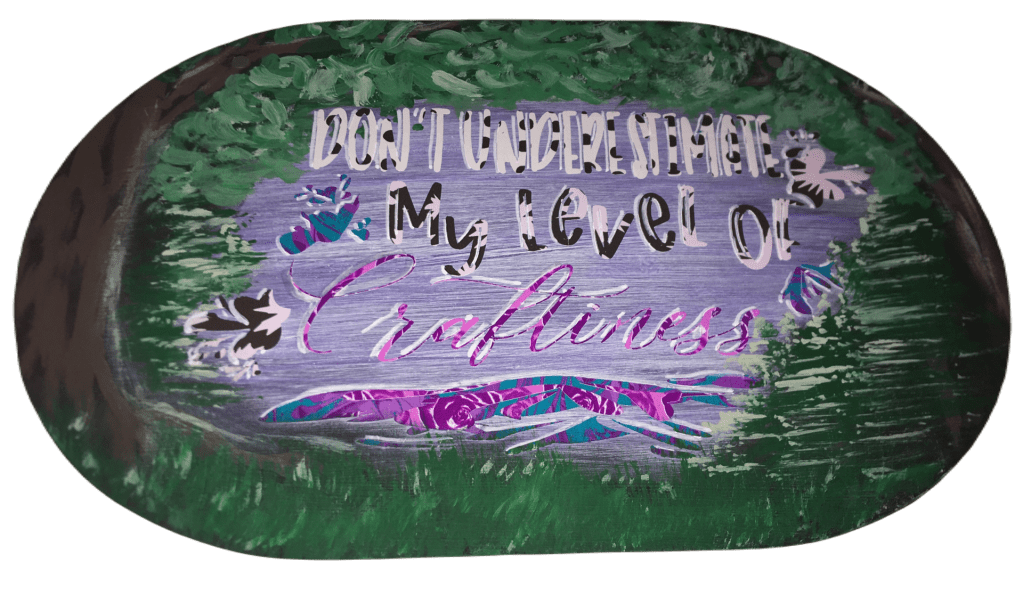
Here’s my final product. And true to this SVG, this has been a full expression of craftiness. From past experience, galvanized steel looks barren if your vinyl takes up less than about 80% of your surface. And originally I had painted the steel a light grey that complimented all of the full size vinyl. However the dot and splat vinyl blended in too much with the grey. The texturized blue correction (that you see in the center) did not work either. So Take #3 included hand painting in a nature scene.
Art continues to amaze me because what started off with a stylized splatter design took on additional form by becoming hills or a low lying mountain through a forest clearing.
I want to hear from you!
What did you think of using this process? I also want to see what you’ve made and hear if it has increased your confidence in using different prints together.
Be sure to sign up for my Newsletter so you don’t miss out on future content!
