
There are just certain cuts of meat that no matter how attentive you are, they just dry out. Instead of stressing out for a dry dinner, I’ve decided to embracethe dry and put it work for me. You’ve had the roast, chicken, and pork loin that just dry out no matter what. I know that I certainly have. And when we were able to get some pork loin for $0.99 a pound, we made the sale and I decided to make jerky!
I decided to try 2 different ways of seasoning, and 4 different flavorings. One was a wet rub (with minimal liquid) and the rest were marinades.
For the wet rub, this is the recipe that I used. It isn’t mine and even after searching through my devices and searching online, I can’t seem to find the post again. So if this is your recipe, please let me know so I can properly give you credit!

The benefit of a wet rub is that you have just enough liquid incorporate your seasoning into your meat without the need to drain off excess liquid. You can pull the meat straight from the bag and place on your dehydrating trays. But you will notice that the marinades absolutely need to properly drain or you will have to clean the bottom of your dehydrator. This wet rub didn’t need to be drained because the salt content didn’t have enough time to extract the water content from the jerky, like you see through the processing of bacon.
- 1 Tbsp Worcestershire Sauce
- 1 tsp. Salt
- 1/2 tsp. Pepper
- 1/2 tsp. Ginger
- 1/2 tsp. Onion Powder
- 1/4 tsp. Garlic
- 2 tsp. Brown Sugar
This recipe calls for a rest period of 15 minutes before laying the meat out on the dehydrator racks. I processed at 160°F, even though some people say they process at 145°F. The thinness of the cut (I aimed for paper thin although there were a few pieces that were a bit thicker) I made allowed me to have crispy jerky strips at 5 hours. The thicker bits took another hour.
And let’s face it, I’m a busy mom and I usually don’t get around to process projects like this until the evening (usually while I’ve got the dinner cooking and I have a few minutes to do another task). The shorter processing time is most definitely my best choice.
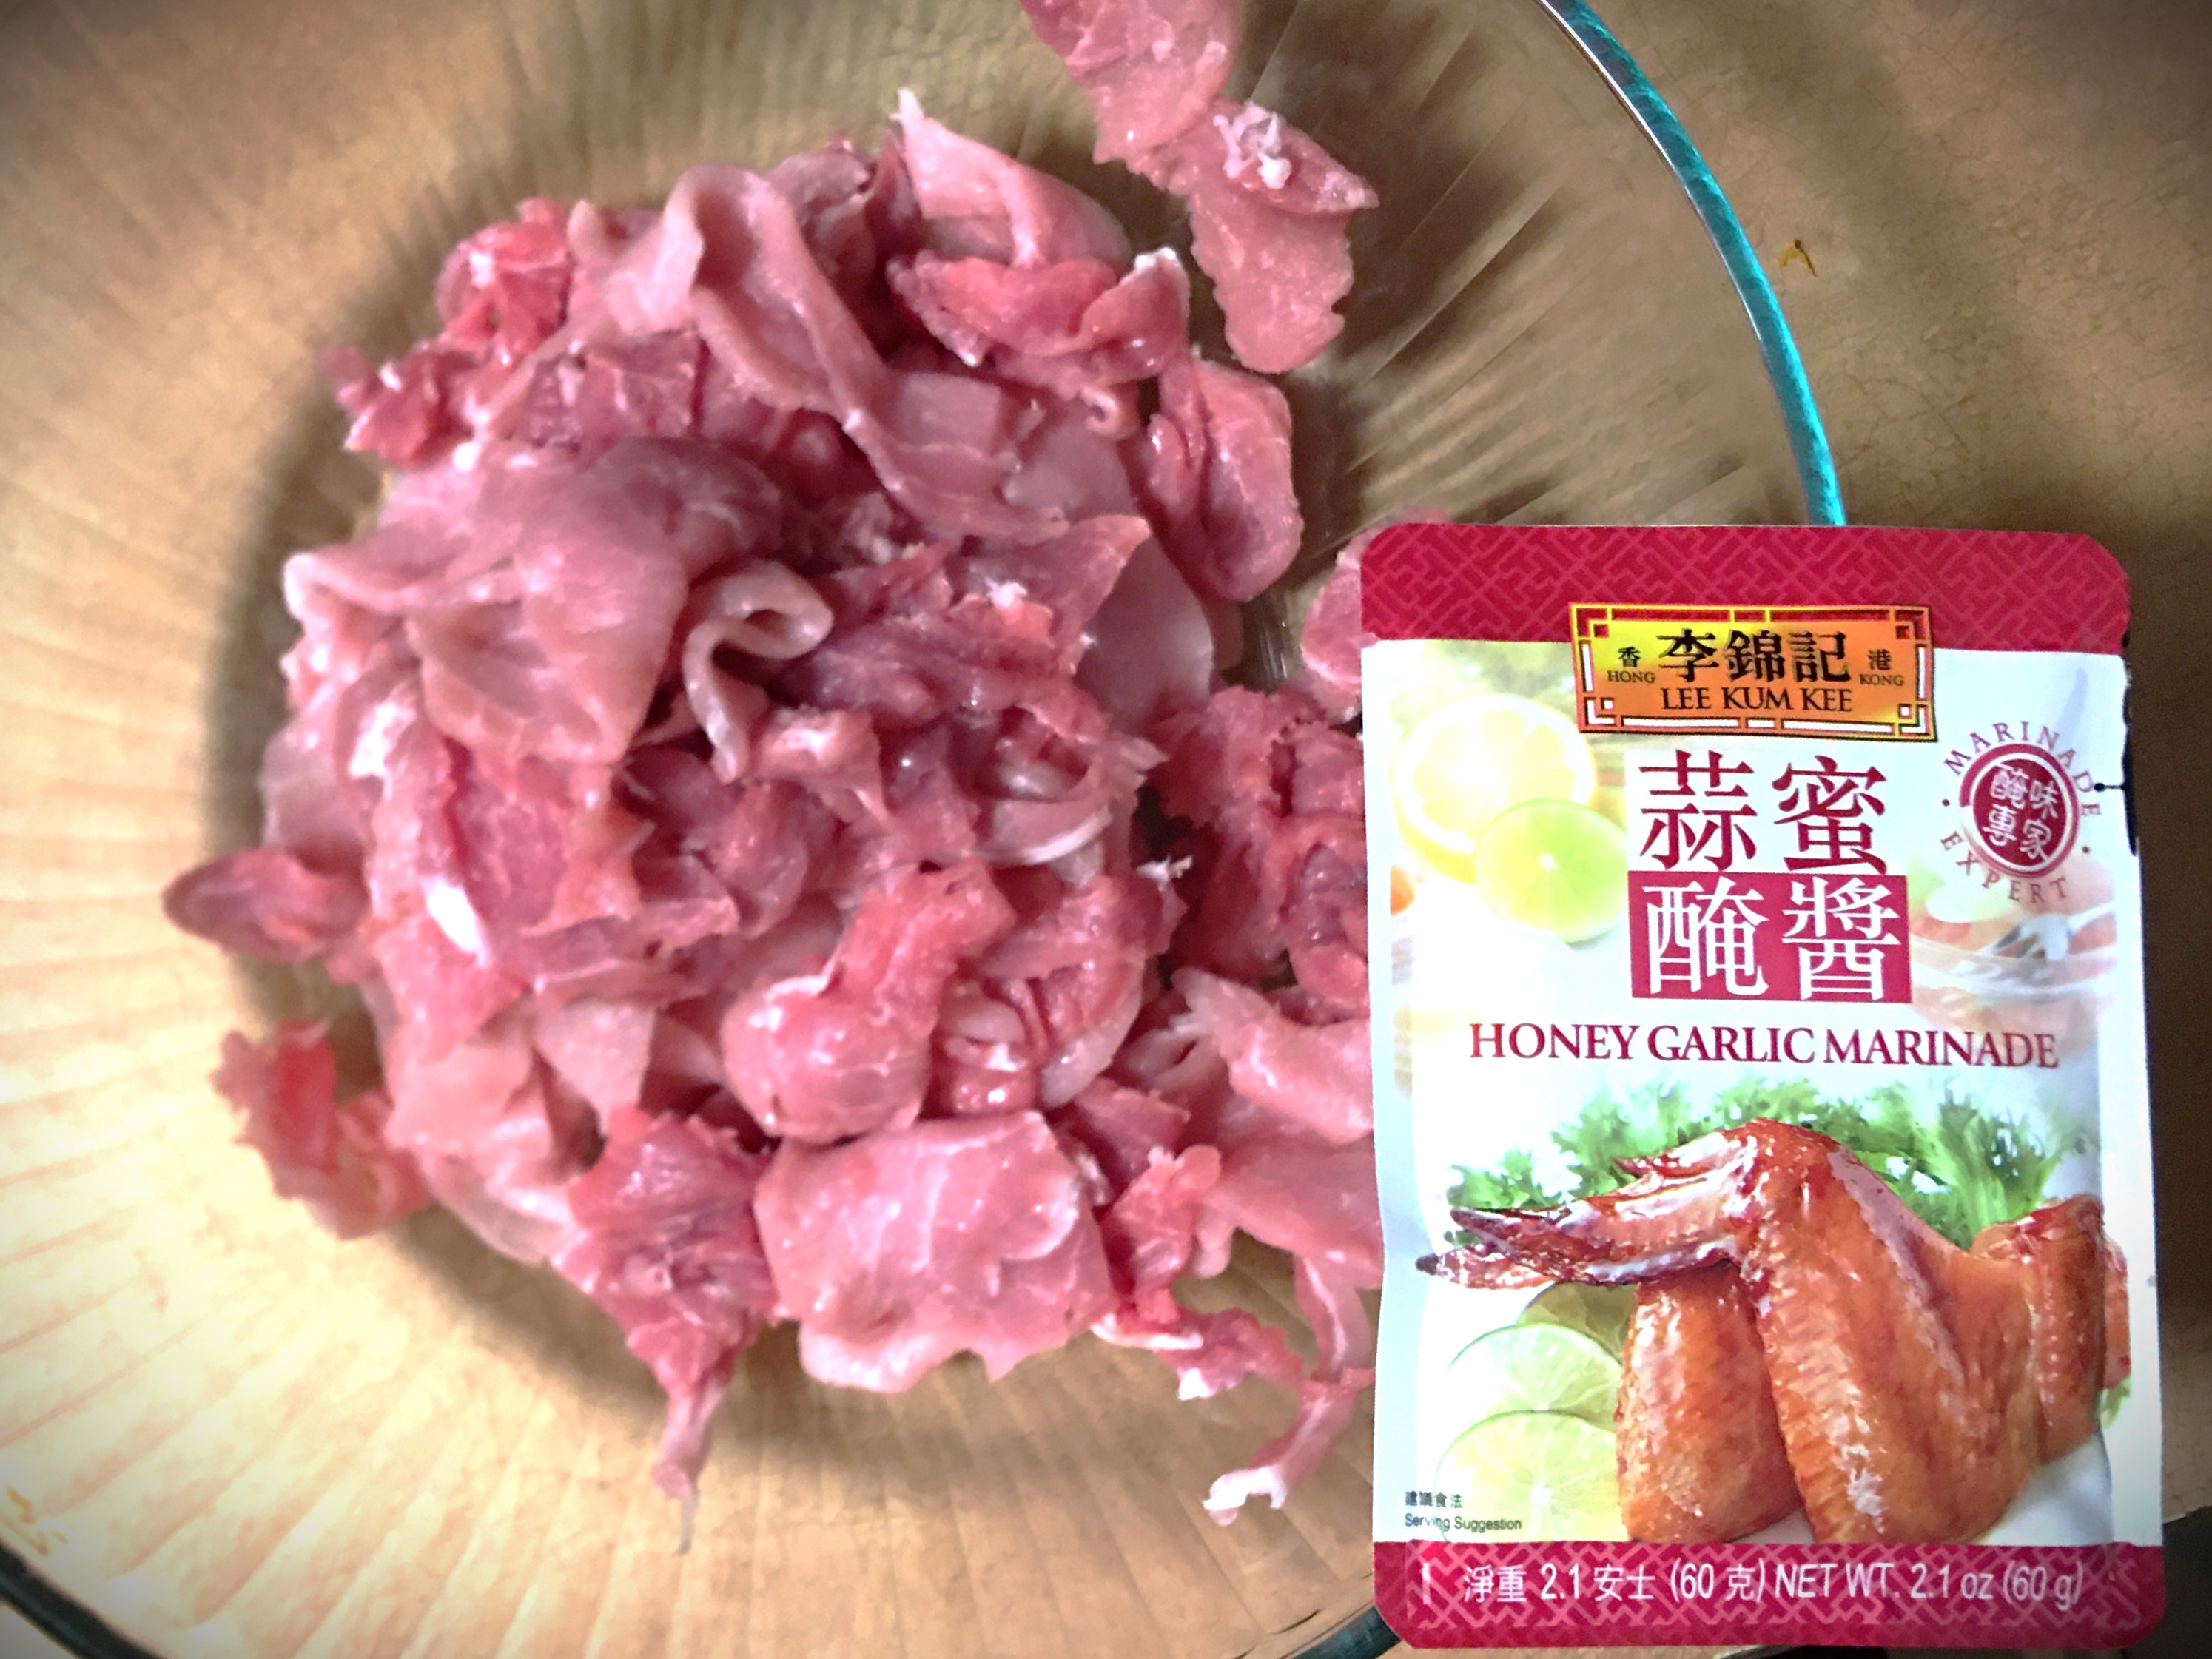
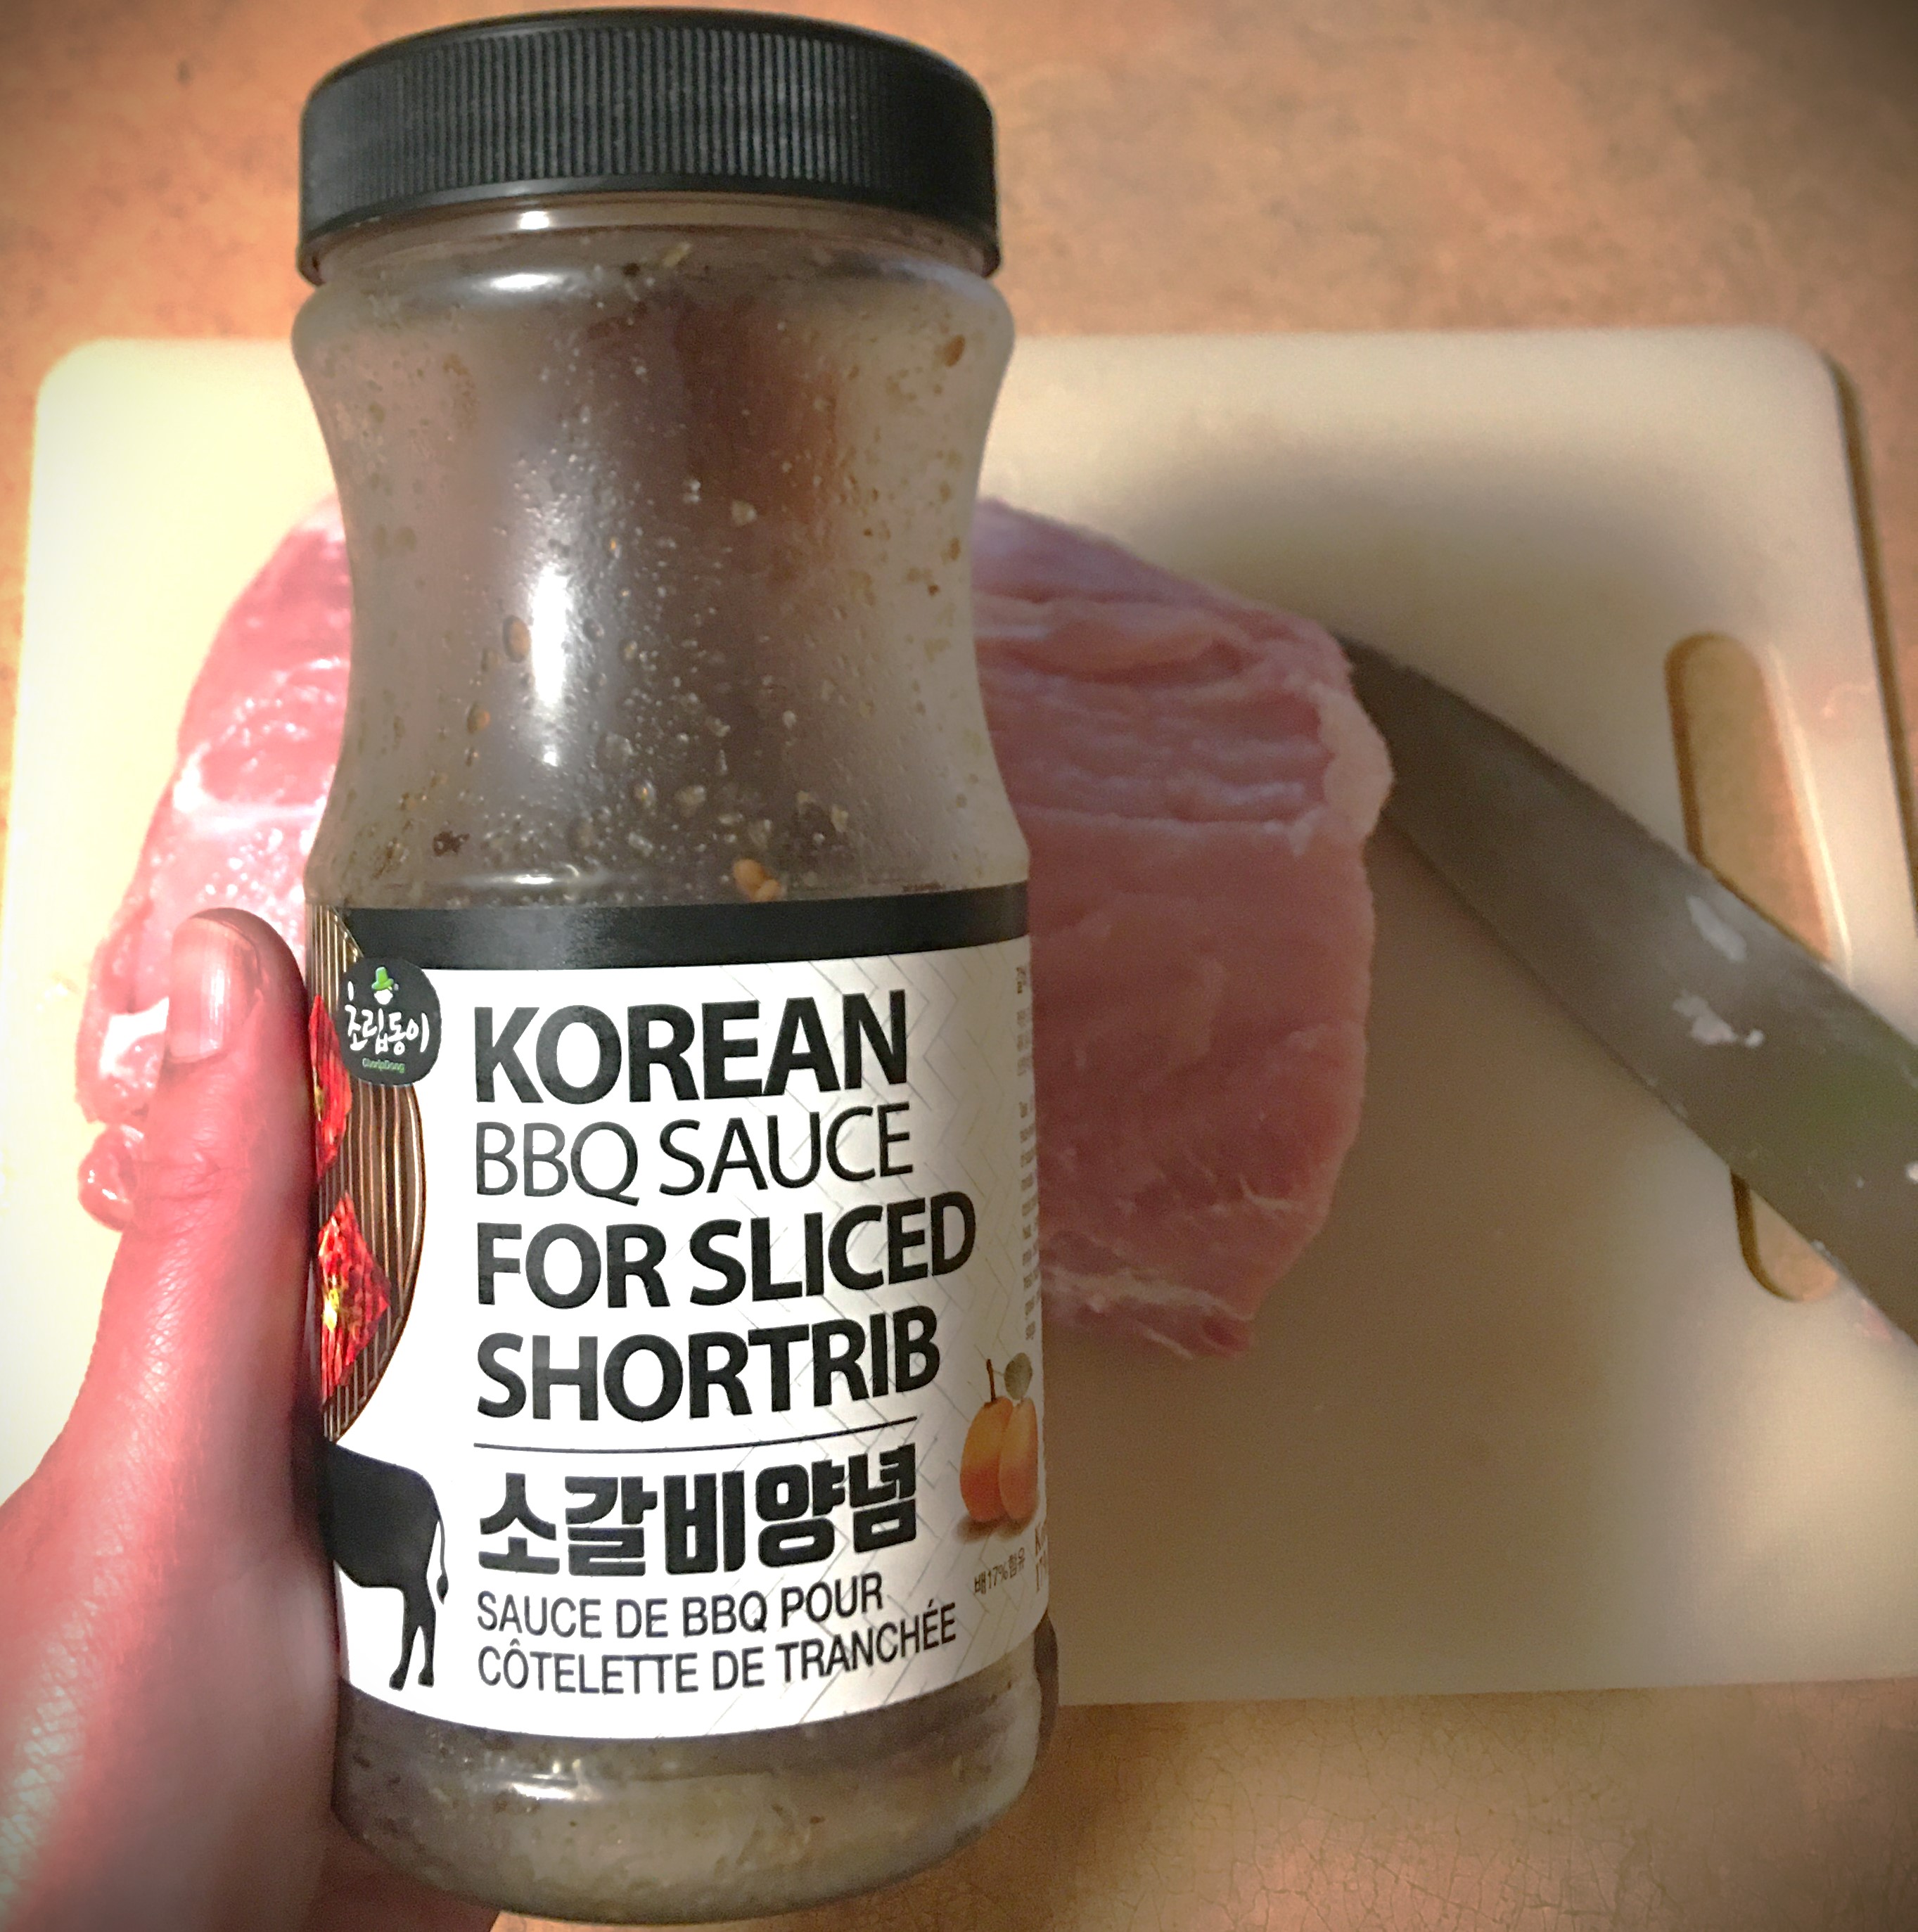
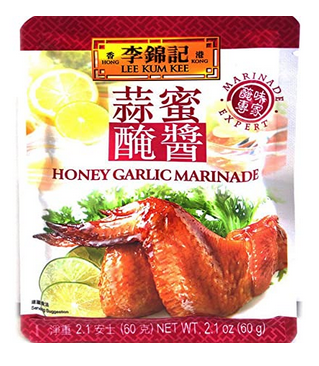
For the marinades I chose from the Asian cuisine just because they are all great for an all round punch of flavor and generally well seasoned. From a local Vietnamese grocery store I had purchased a Honey Garlic Marinade and Korean BBQ sauce. From a local restaurant supply store I used Mr. Yoshida’s Original Gourmet sauce. (Mr. Yoshida’s is the sauce that I freezer marinade chicken and pork in for a quick pull out of the freezer “teriyaki” dinner where I don’t have to plan a marinating time.)

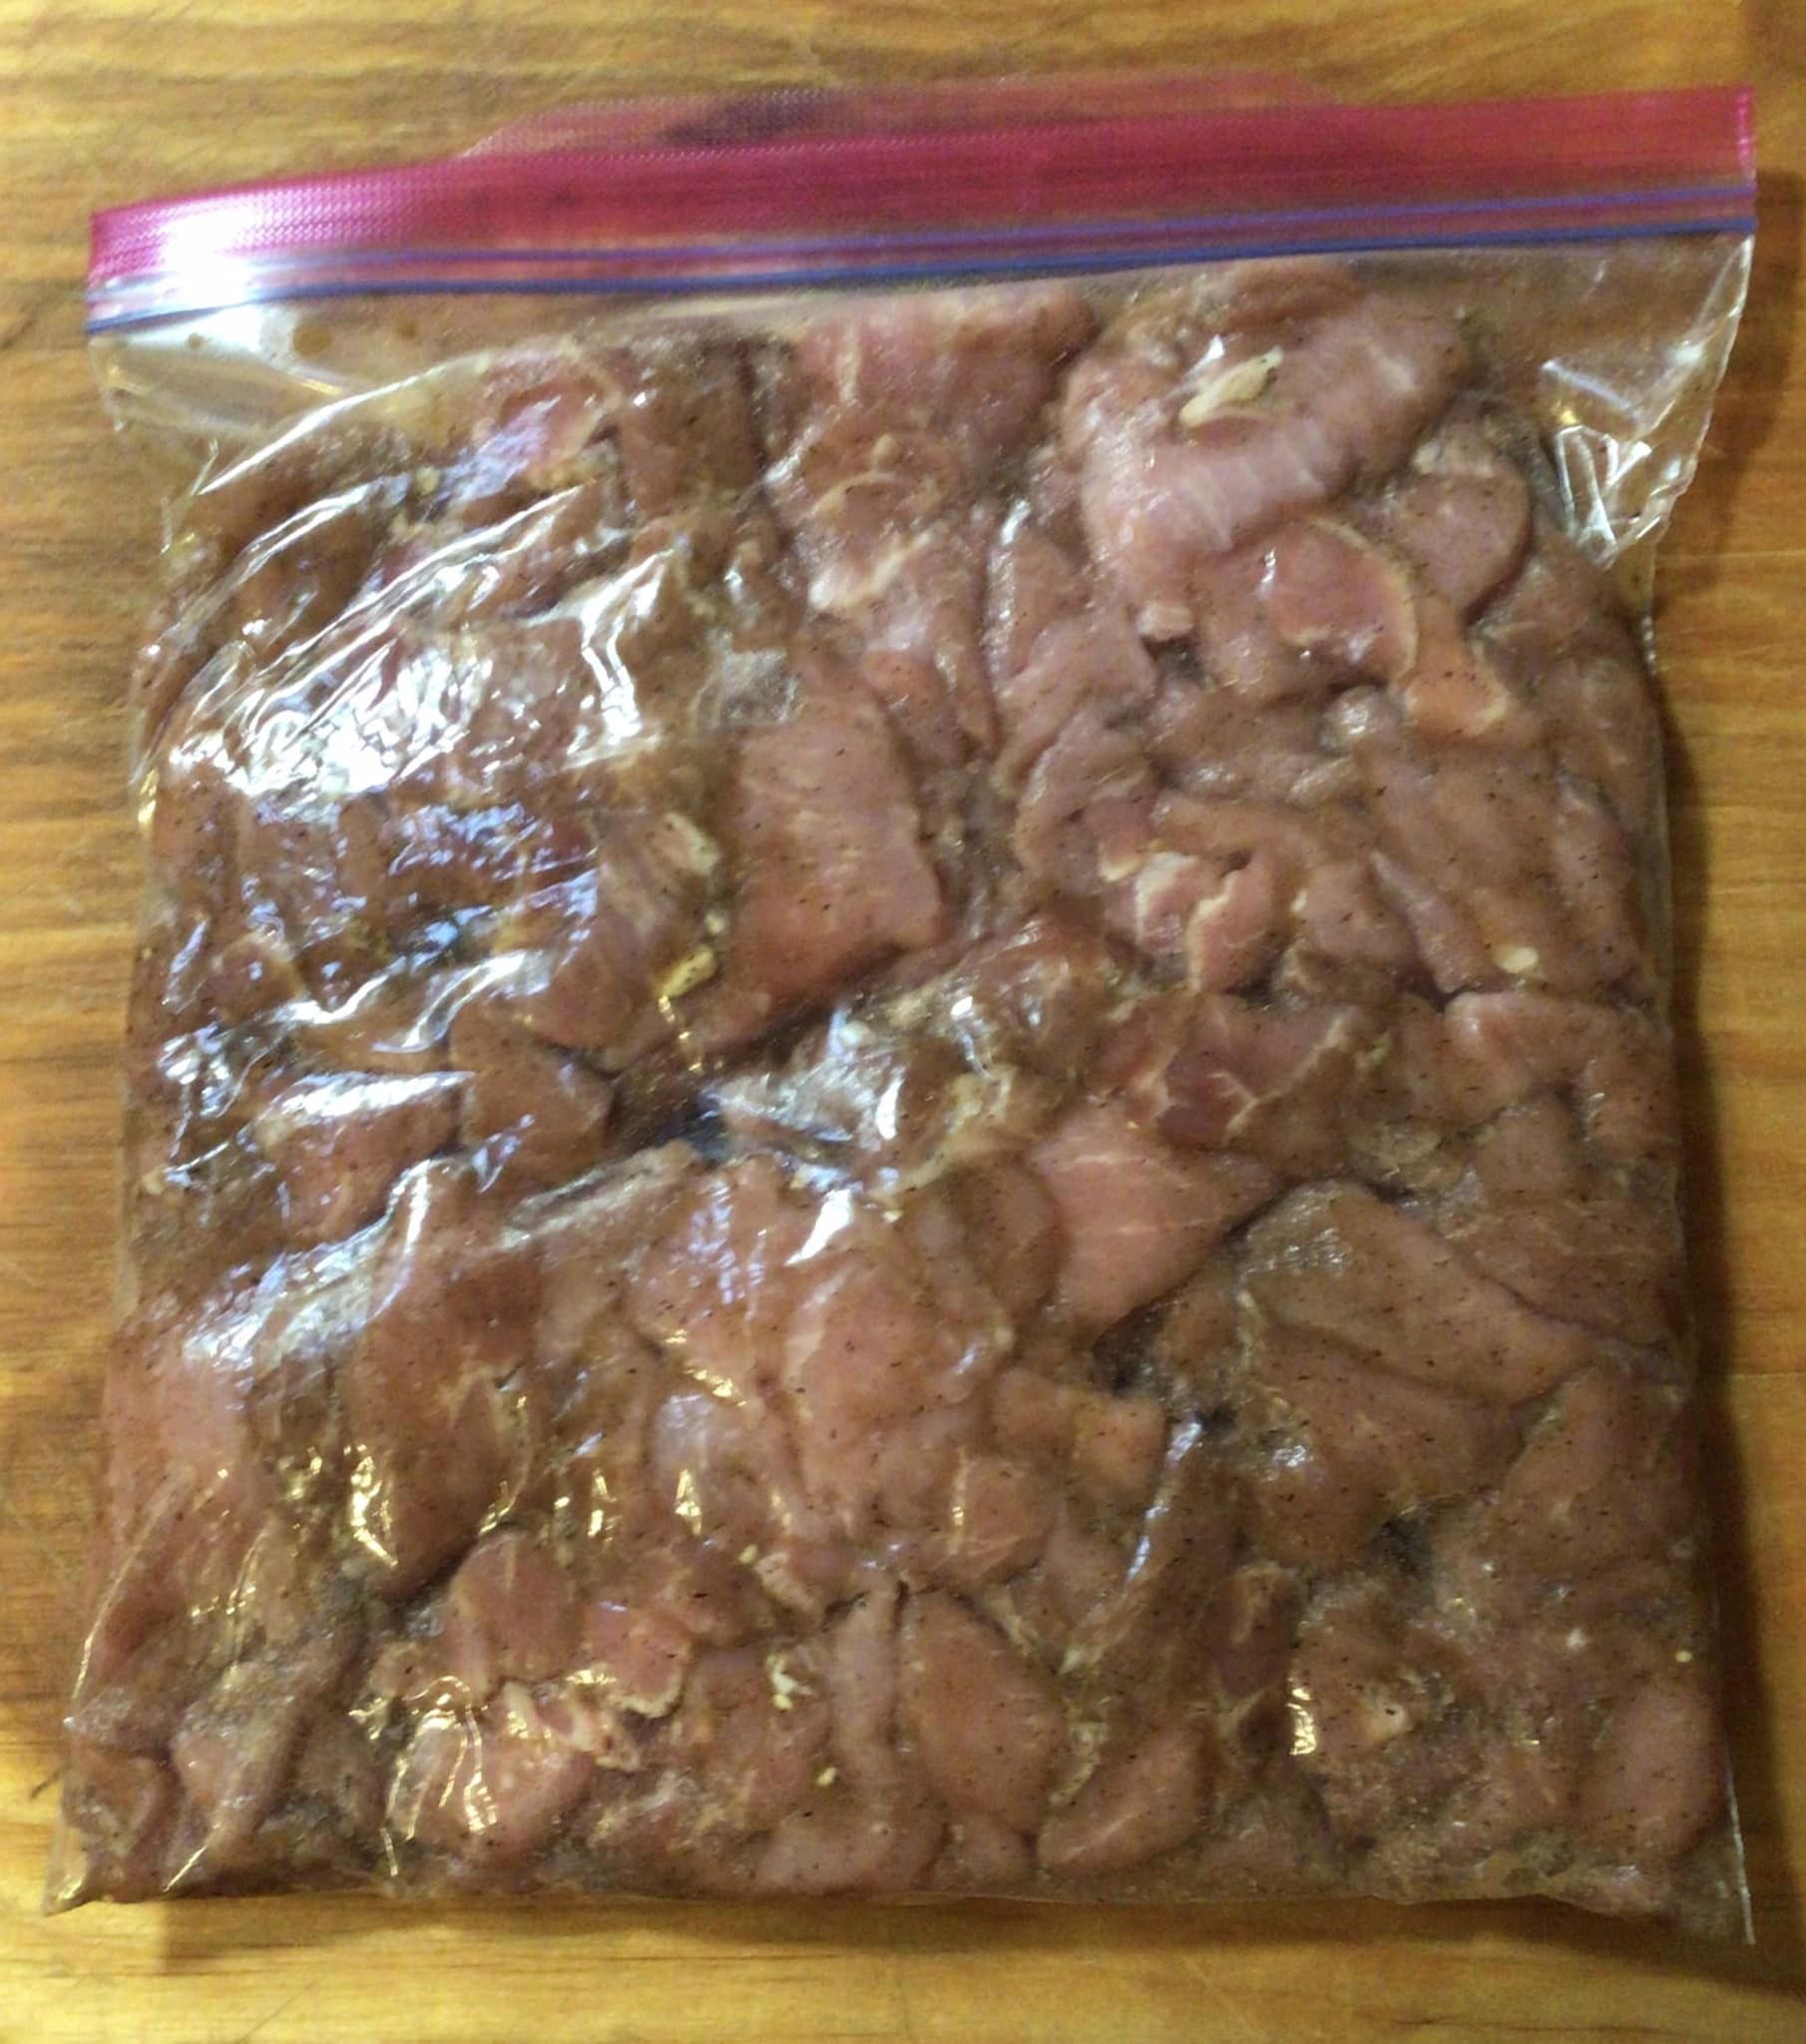
For marinating, I used the bowl and zipper bags. Obviously the bowl is the better option. However, in the middle of trying to get Christmas presents created and made, let’s just say I forgot two marinades for two days and am very glad that I used the zipper bags. My fridge space is at a premium right now and they were easier to store than a bulky bowl.
And as a side note, I highly recommend a longer marinade time than the recommended 15 minutes that I used for the wet rub and the Honey Garlic Marinade. Obviously the two day marinade imparted much more flavor into the jerky. 15 minutes on a marinade gives you only a hint of the flavor. However for a wet rub 15 minutes is most definitely all you need and you still get more flavor than the marinades.
Prepping the Jerky
You are going to run into a world of difference of opinion when it comes to jerky thickness. Some love the thin. Others prefer the thick cut. Then there are the people who love jerky that snaps and is crunchy. And others who want more of a soft chewy bite.
I really can’t tell you how you should cut your meat in prepping your jerky. Just know this. If you want the chewy bites of meat, you will want to cut the meat thick. If you want crunch and texture, you want to go with a paper thin cut (think Pho or Fondue, where slices of raw meat are added to the broth and cooked by the soup almost instantly).
The thickness of your meat is going to drastically determine your dehydrating time. So even if a recipe tells you that the time is x hours, in reality that is when you’re going to check the jerky. Chances are very good that you will need to add a few or several more hours depending on just how thickly you cut your meat.
The absolute cardinal rule of making jerky is that you have to remove as much fat as you can from your meat. Fat is the limiting factor for how long of a shelf life you can keep your meat before it turns rancid and is spoiled. Small thread like seams of fat is not going to be an issue because the heat of the dehydrator will usually render that fat out, especially on the super thin cuts of meat. If you prefer the thick cuts of jerky do not count on any rendering to take place at all. The fat that goes in will still be on the jerky when it comes out.
TIP: If you cut your meat against the grain you will have tender jerky that you don’t have to work and pull to take your bite. It’s the difference between have crispy jerky and looking like you’re a pup working on a raw hide.
Looking at the above pictures (of raw meat), you will notice that there was still fat on my slices. But here (below) you will notice that they rendered out.

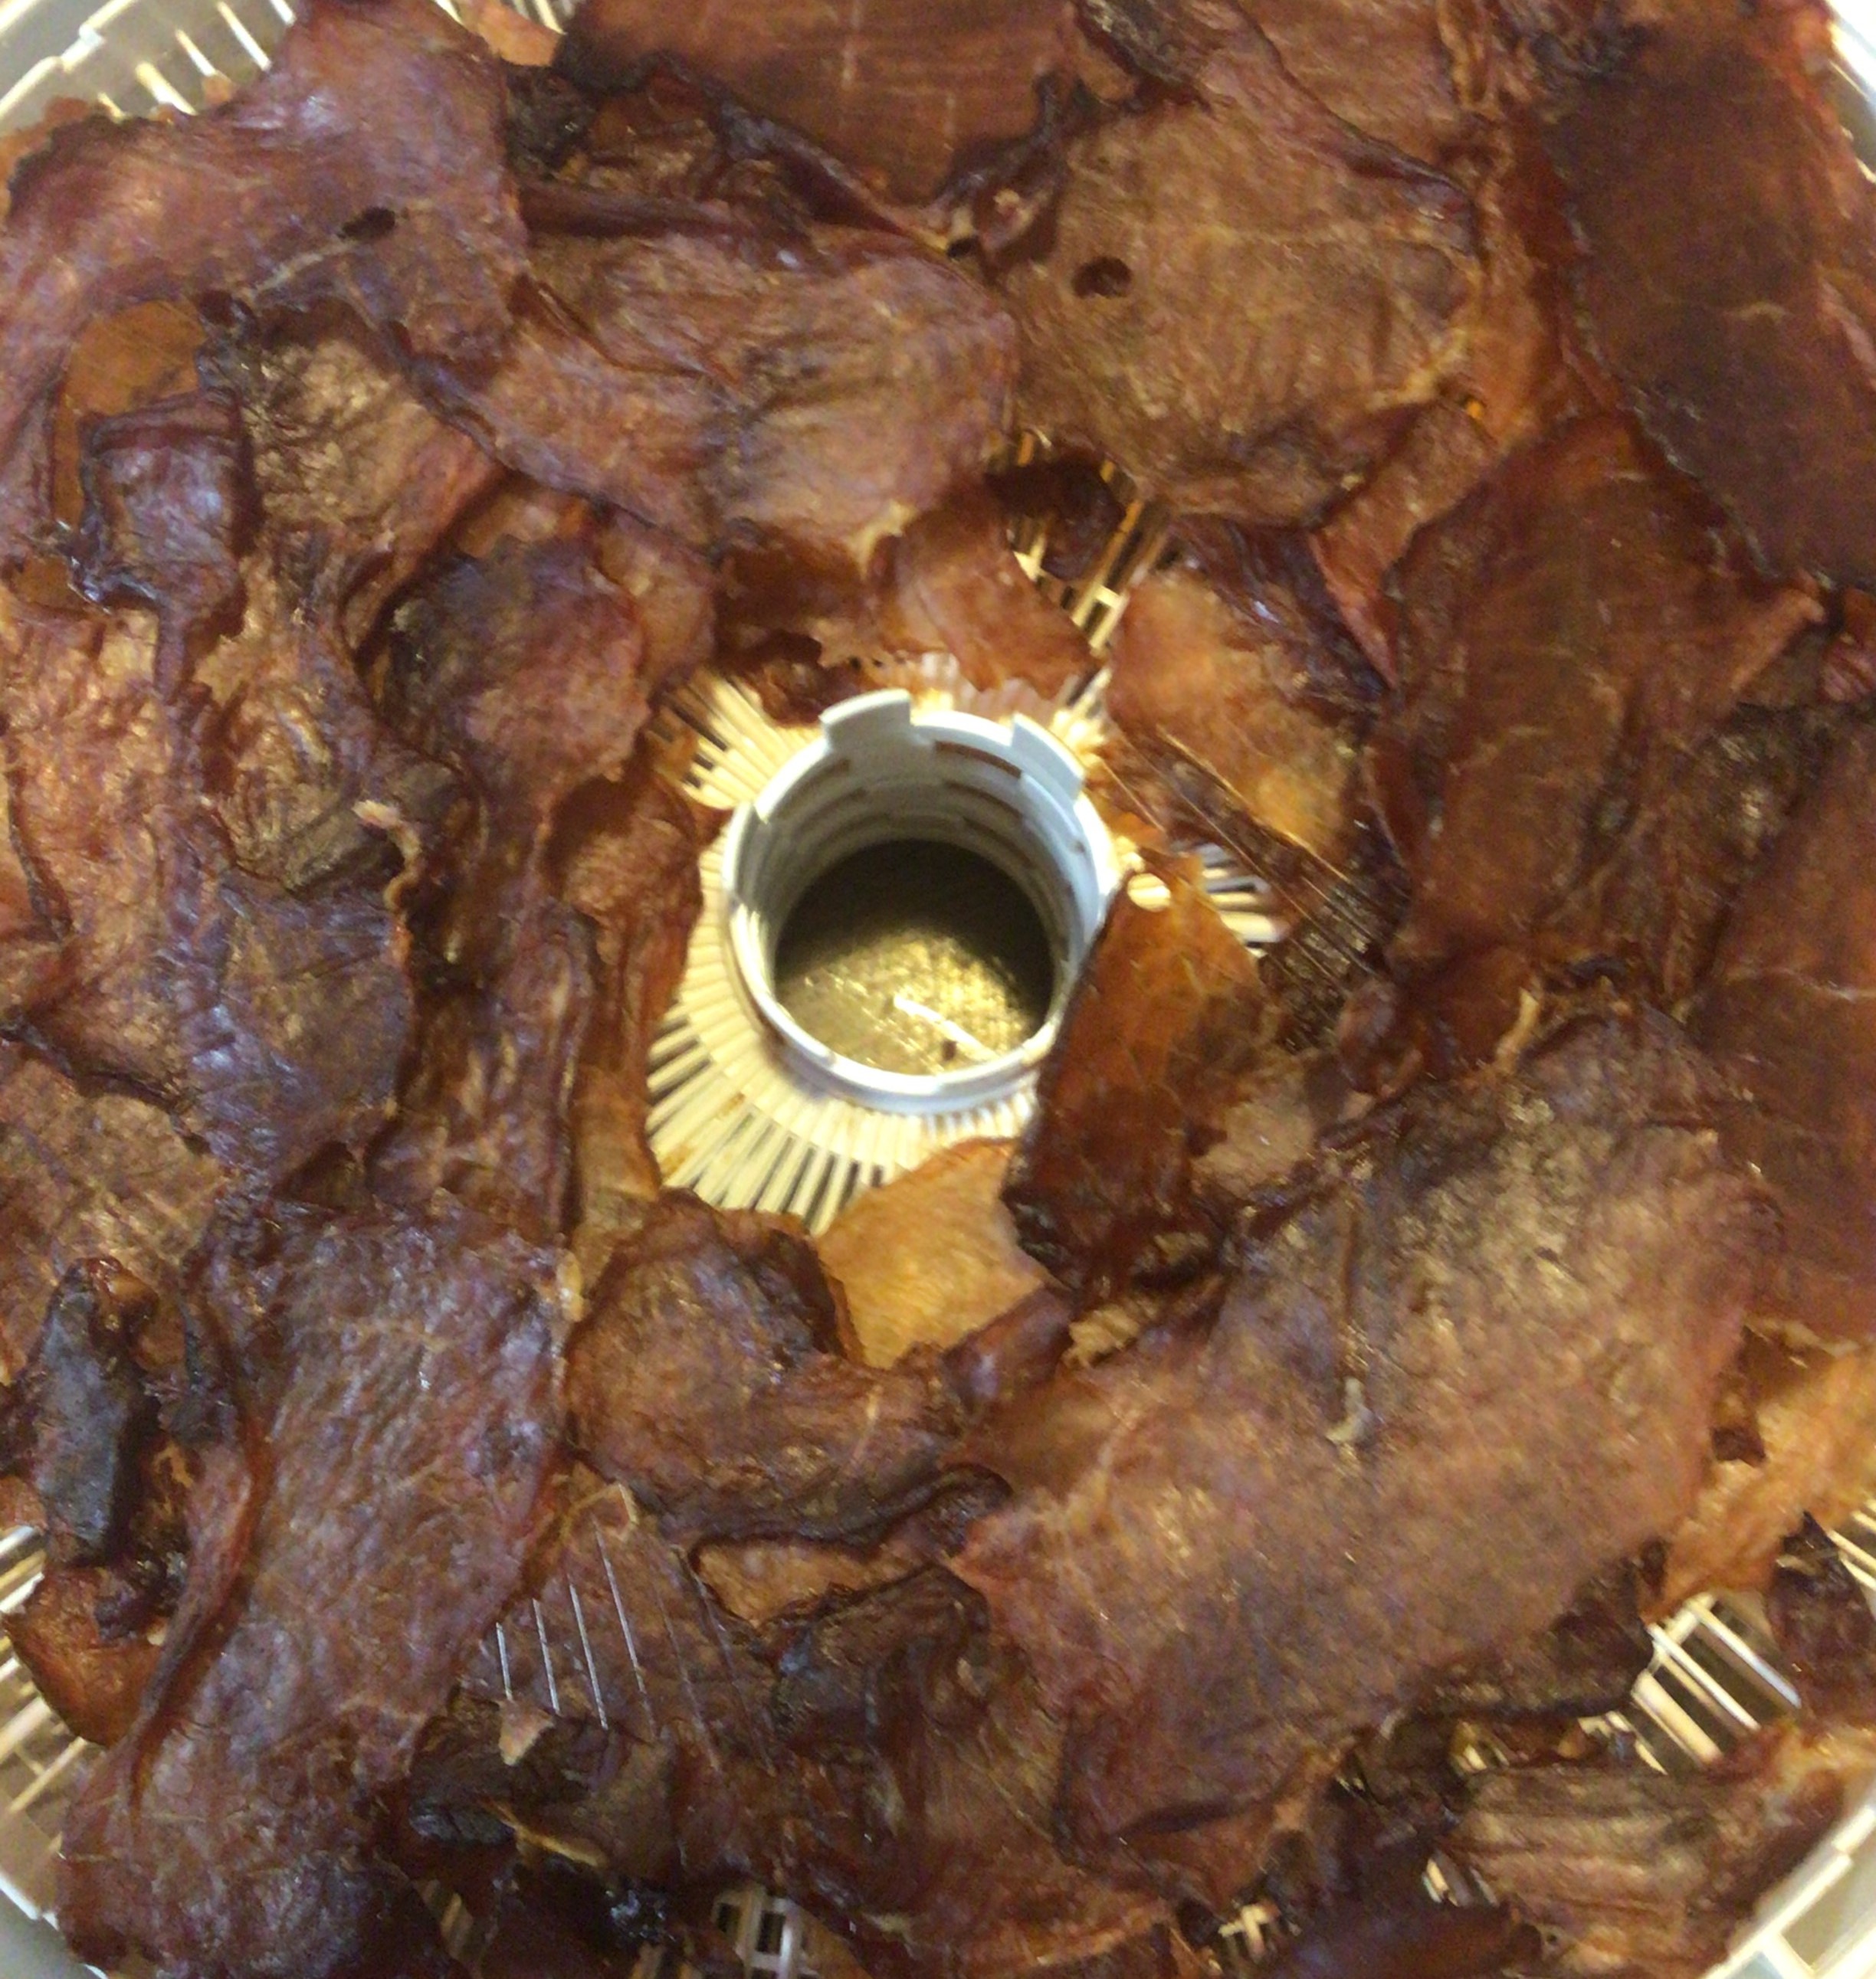
In fact, what you see in these pictures is four trays worth of jerky that I piled up before packaging up. On the left is the Korean BBQ. And the right is the Mr. Yoshida’s marinade.
When dehydrating jerky make sure that the meat is laid out flat (not folded over into layers) and isn’t touching it’s neighboring piece of meat. If the meat over laps the jerky is going to stick together. It’s not too much of a problem with the very thin slices. But the thick slices, the meat will still be raw even after several hours of dehydrating.
Sealing it up for storage
The great thing about making jerky is that it does not require fridge or freezer space. If you have air tight containers, chances are that you will probably eat the jerky you made before it goes bad. (This is especially true if you were diligent in cutting off as much fat as possible.)
There are many great products out there. There are vacuum glass or plastic containers. You can vacuum seal in mason jars using a vacuum sealing lid attachment.
One word of caution on this one. There new canning lids have greatly reduced the amount of rubber used on their gaskets. Everything I vacuum sealed with these new seals has completely failed from about 1 month up to 4 months. So please be aware of the lids that you use for vacuum sealing. While these new lids have remained true for water bath and pressure canning, they have been a complete failure for vacuum sealing my dry goods. If you wish to vacuum seal in your mason jars, I highly recommend that you switch to a reusable gasket and lid set like the ones made by Tattler. The more cushion created by a thicker gasket you have, the greater the longevity of your vacuum seal is going to have in remaining in contact with your jar.
The method that I used for these roughly 15 pounds of pork loin (actual jerky weight is less because weight of water content was removed) was sealing in mylar bags.
Mylar bags can be used with a vacuum sealing system. However I don’t want to discourage you if you are on a budget. The truth is that I haven’t found a vacuum sealing system that I’m in love with. Even sous vide vacuum sealing systems have failed me and I’ve gotten rid of them. What I’m about to show you, I’m not happy with for long term storage. However I am very pleased with the results for at least a year’s shelf stable storage condition.
Below, I’ll leave a link to this model of a mylar sealer. It is not vacuum sealing, but it is economical for the families on a budget.
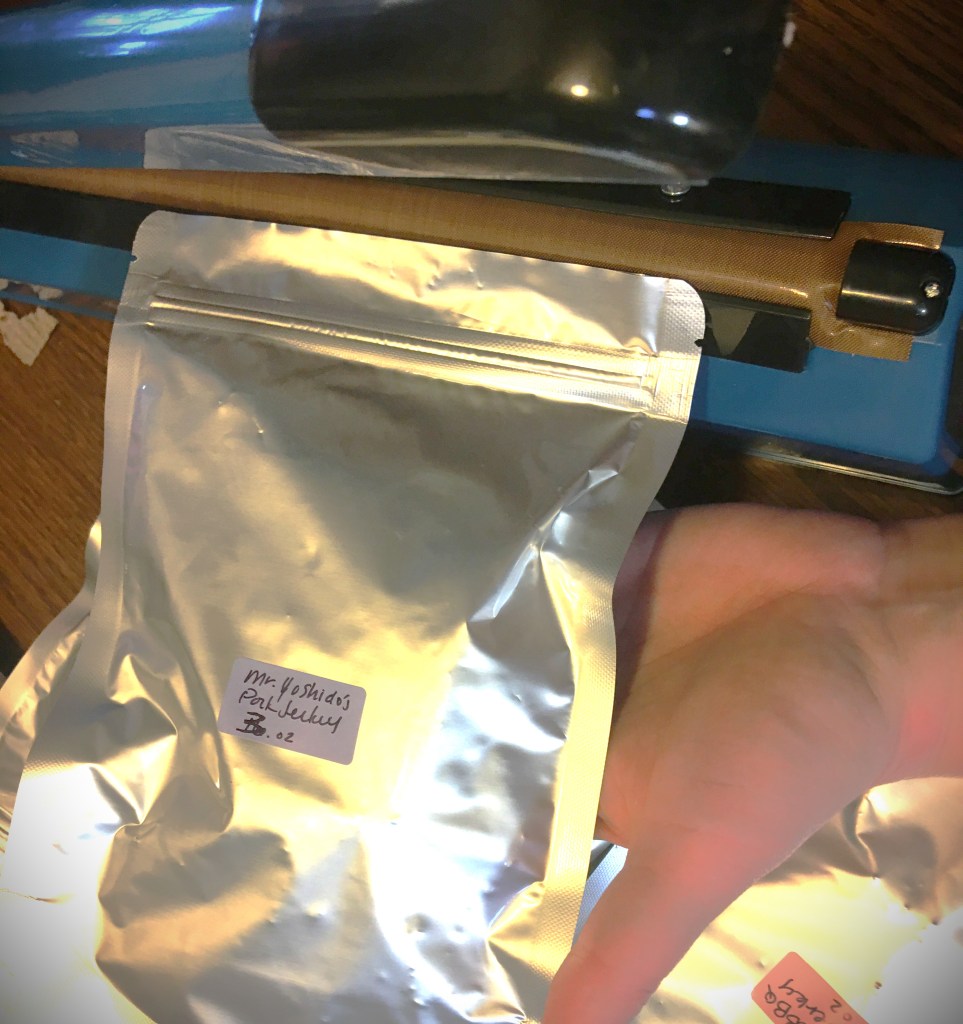
Once you place your jerky in the mylar bag, place an oxygen absorber. (Oxygen is the enemy of food preservation.) An oxygen absorber is all that you need in a bag like this. The bags, before sealing are open at the very top. Once I have the meat and oxygen absorber inside, I hand press the excess air out of the bag and use the zip lock to close it off.
By removing as much air as possible, it creates less work for your oxygen absorber. And in that process, there’s more absorbing properties available should you fail to seal the bag properly and a little air leaks in.
Oxygen absorbers are soft when they have the capacity to absorb more oxygen. When they are no longer functional, they become hard.
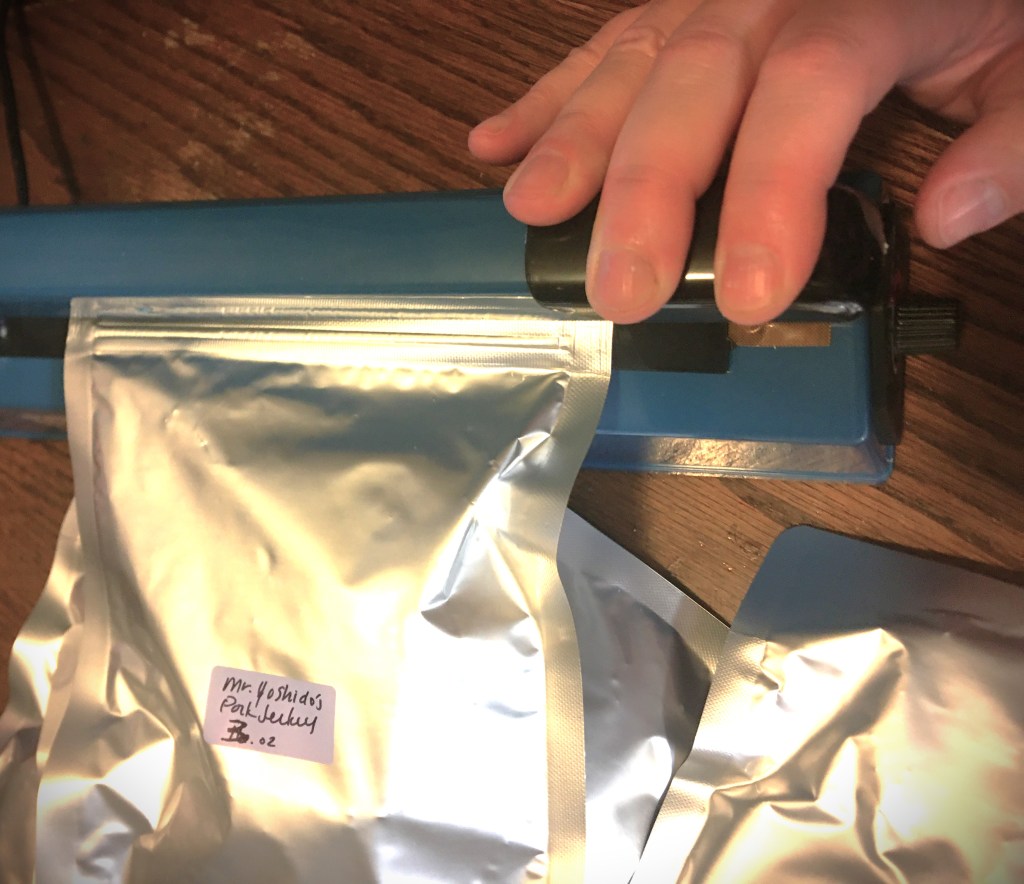
With the zip lock closed, I then place the bag in the sealing device. (Pay attention to the notched tabs that make opening the bag easier. You want to seal on the far side of that notch or else that feature will not open the bag for you when you’re ready to open your jerky.) This particular sealer works when you press the lever down on top of the mylar bag. There is a light that turns on when it is sealing and turns off when it’s finished. The maker recommends leaving the pressure on for an additional few seconds to make sure the seal occurs. And I highly recommend this step of patience. While this machine is economical, it’s not fool proof. I have better sealing than the sous vide machines I’ve previously used, but it still has its margin of errors.
One thing to look out for when sealing mylar bags are wrinkles in the seal.
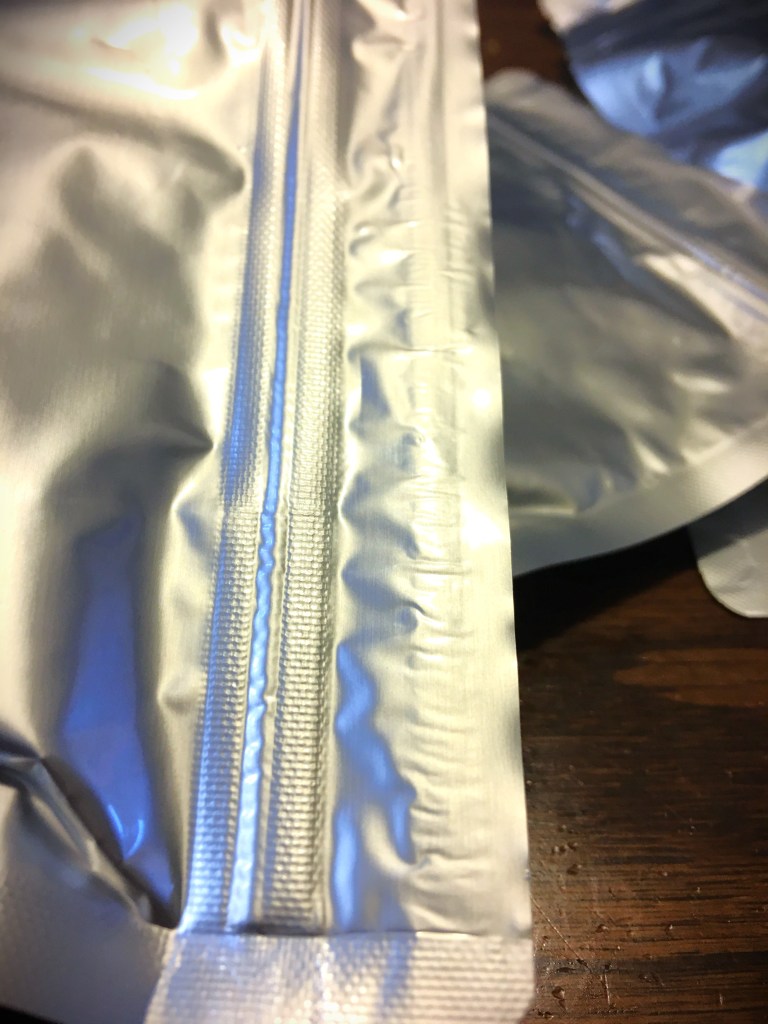
As you can see here, the top part of the bag has a smooth seal. The bottom part, closest to the camera, has wrinkles. These wrinkles are where you seal can fail and put your oxygen absorber to work. If you see this, seal the bag again and manually check to see the condition of the seal. There have been a couple of times where I sealed the bag, but the seal absolutely failed and when I checked to see if the top was sealed, it popped right open as if I hadn’t sealed at all. No matter what, always check that seal!
Absorbers
There are two types of absorbers; oxygen and moisture. My jerky is so dry and snaps that I pass on the moisture absorber. If you are making a thicker jerky with more chew, you will most definitely want to add a moisture absorber into your bag with the oxygen absorber. After all moisture is that creates the environment for mold to set in on food. And we don’t want that.
And just because you’ve not had rain for a while does not mean that you are clear to skip the moisture absorber.
This past summer we were a couple months with zero rain and yet we had humidity levels in the 90% and higher range. This is completely unusual for the Pacific Northwest and frustrated me to no end. I was dehydrating my vegetables to turn them into powders for seasoning. I would shut my dehydrator off at night, when I went to bed, and in the morning my dried vegetables were moist and flaccid again. I was so frustrated!
The point of that story is that even though you don’t have rain falling doesn’t mean that you’re free of moisture.
With these rounds of making jerky I packaged them the same day, after they cooled down. I was not going to chance moisture being in my bags and ruining my jerky. (It also helps that my humidity levels were also in the 50% range, so I know the jerky was not being a moisture sponge while it cooled.)
Pay attention to your humidity levels. When in doubt add a moisture absorber with your oxygen absorber. And if your meat is thick cut, absolutely add that moisture absorber. It will keep your jerky’s texture and minimize the threat to your preservation.
TIP: If your absorbers come in a single large bag rather than smaller packages, you can still use the amount of absorbers that you need and seal the bag back up with your heat sealer. This will prevent oxygen from further exposing your extra absorbers. They will be preserved and ready for you to use when you’re ready to use them.

Which was my favorite Jerky?
I’m going to hands down say that my least favorite was the Honey Garlic Marinade. I had such high hopes for it because it smells so amazing! The problem was that the package directly said it was for 1 pound of meat and my jerky was 2.5 pounds. I will try this one again but make sure the meat to marinade ratio is true. The other problem was that the marinade turned out to be a low sodium finished product. My preference is toward a salty jerky. (Salt is a natural moisture absorber, it draws the water out of the meat. This is why jerky and preserved meat is always so salty.)
If you’re looking for a low sodium option for your jerky, than I think you’ll be pleased with the Honey Garlic Marinade. Both the honey and Garlic were mild in flavor, almost negligible in flavor–again, the problem of meat to marinade ratio.
In third place was the Mr. Yoshida’s jerky. While it was not my favorite and I may or may not make this jerky again, I do have to say that I loved this mild Teriyaki flavor. All the Teriyaki flavored jerky I have ever bought from a reputable jerky brand and always been too sweet and even off putting. I love Mr. Yoshida’s for having that palatable Teriyaki flavor.
I did learn from the Honey Garlic Marinade. So before I turned my dehydrator on, I sprinkled salt on top of this jerky. A light dusting of salt was just enough to season the meat without becoming a salt bomb. It enhanced the flavor of Mr. Yoshido’s. Even with two day’s marinating, had I not dusted with salt, the flavor would still have been bland.
Unless you’re going for a low sodium jerky, always salt it before you dehydrate it.
A very close second place goes to the Korean BBQ marinade. I will most definitely make this one again! There is a hint of sweetness, but you pick up bites of garlic. The reason for this is because the marinade had minced garlic in it. Even if you’re not familiar with Korean food, you will love this marinade just for the garlic. The best part is that you can eat and eat this jerky and you won’t need a breath mint.
This one was also dusted with salt before dehydrating. I played around with the salt levels on this one. A light dusting will keep you down in the lower sodium range. Although this marinade is still amazing with a heavier hand of salt, more to the traditional levels of saltiness. So you can go light or heavy on the salt with this one and still have an amazing jerky that beats out the ones that are bought in the stores.
My absolute favorite was the wet rub! I seriously had to bag that jerky up to keep from eating it all up. And even then it took self control not to open the bags that I just sealed. Flavor wise it’s true to the “original” that the professional brands sell. It’s not a fancy flavor, just good classic jerky. The salt level is probably on the moderate side. For my personal preferences, it’s on the upswing on the salty spectrum, but I also prefer my foods less salty than most people. If you like the salt, I would recommend, for the first time, sticking to the recipe above, and giving it a dusting before you put it in the dehydrator. If you’re a moderate salt person, the recipe is plenty good enough. And if you’re a low sodium person, go ahead and cut back on the salt.
Whether you’re limited on freezer space, want to take advantage of a great meat sale, looking for shelf stable foods, want a snack that won’t go bad on you, or just want to try something new, making jerky is definitely worth the time and effort!
You don’t even have to keep it in the snack food groups.
The great thing about jerky is that if you’re in a power outage setting you can use jerky as a meat in a soup. Thin slices of jerky will warm up and rehydrate rather quickly. The thicker jerky will give a soup texture. Or maybe you want to try something new with your chili or stew. You seriously don’t have to leave jerky in the category of a meat stick snack. There are so many uses that you can use it for when cooking for meals during an emergency or when you’re out enjoying nature.
What’s your favorite jerky flavor?
Products used in this post
This post contains affiliate links that give us commissions on products purchased at no additional cost to you. These items listed here are from Amazon but may be purchased at local markets.


ChoripDong Korean BBQ Sauce for Sliced Shortribs This product I could only find on the Canadian Amazon site. However it was at my local Vietnamese market.


Leave a comment