Since last week I continued my experimenting with whey and I wanted to do a follow up post on what I learned. And this information is important because of the inflation, the items that are starting to not be stocked in the grocery stores, and supply chain issues.
So whether you are trying to be more efficient with how you spend your grocery budget, or if you’re trying to find a replacement for the things you cannot find on the shelves here are some ideas for you.
First, for those of you who are dependent on keeping some probiotics in your diet for your guy health, know that whey gives you a better option for probiotics. Check the label on your yogurt with probiotics. It’s been brought to my attention that those yogurts often have higher sugar content than other yogurts. If you’re not up to making your own yogurt, you can buy greek yogurt, stir in whey and you have a probiotics yogurt, at a better price, and lower sugar content.
If you make a dressing at home (for example we make Ranch) from a packet/scratch, switch out the milk content for whey. If your dressing calls for water instead of milk, still use whey instead of water. This simple switch automatically adds gut healthy probiotics and gives you the same dressing. The whey will impart a hint of lemon to the final product, but that gives new life to a favorite condiment that you take for granted or no longer excited about.
Whey also solved a problem that we had with the Ranch dressing we’ve experienced for the last 6 months or so. For whatever reason, the dressing (same recipe we’ve been using for years) always separated after a week. I was tired of this waste, and got excited when I came across an article that talked about how homemade mayonnaise normally lasts a week. However if you add whey into your homemade mayo, the shelf life increased for one week to a month. That was what caused me to substitute out milk for whey in our Ranch dressing mix. We are approaching two weeks and my dressing no longer separates. It hasn’t turned bad yet either.
So if you’re looking to extend your shelf life on a mix, look to whey.
Do you remember the list, I posted last week, about uses for whey?
I’ve been working my way through that list.
Here is everything that I got out of that first gallon of milk:
- 1.5 pounds of Mozzarella Cheese
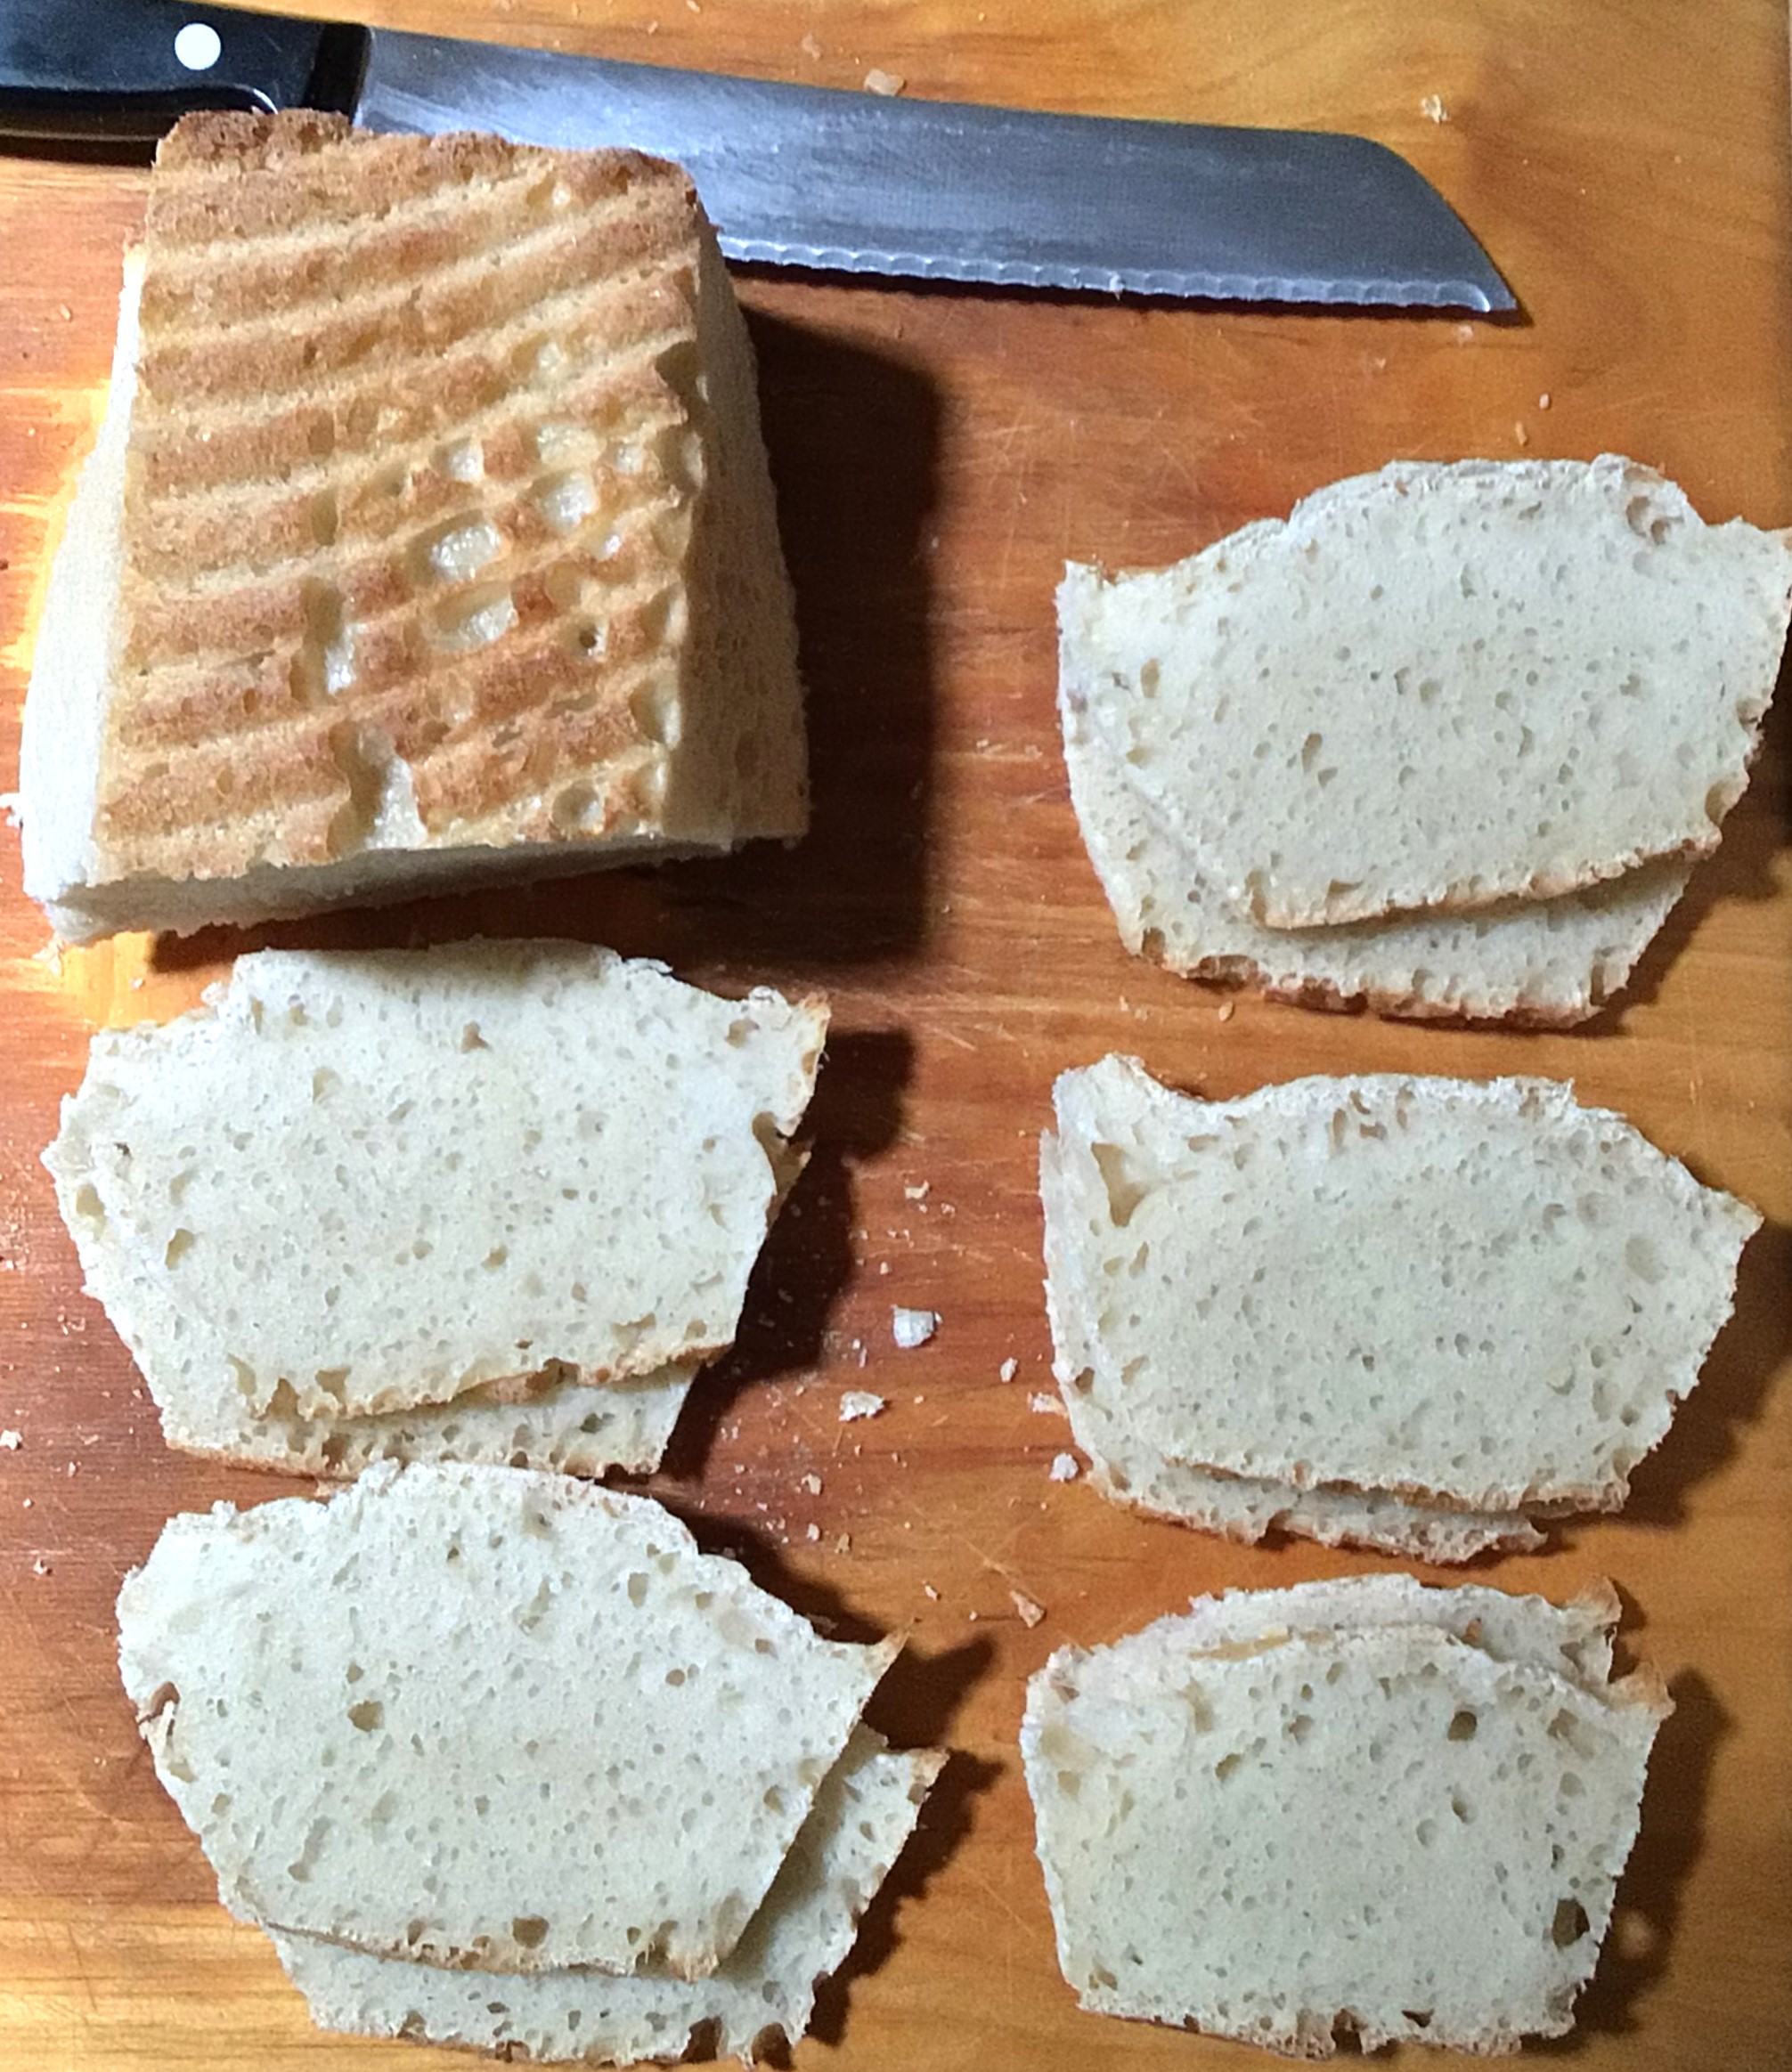
- 4 loaves of Bread
- 1 jar of Ranch dressing
- 1 batch of homemade Doughnuts (which my boys and husband’s coworkers couldn’t eat enough of)
- Pizza dough (enough for 2 large pizzas)
- 66g of Ricotta Cheese
- And I froze the whey left over whey before it went bad for 5 more loaves of bread.
I couldn’t believe how much I got out of 1 gallon of milk! If I had used milk for all of that, instead of whey, I would have used at least 2.5 gallons of milk.
How great is that?!!!!
More Cheese
I know that even with my first time experience, there’s a chance that someone might still be uncertain of making cheese. So I wanted to make Ricotta from the mozzarella whey. And Ricotta is the absolute easiest cheese to make.
If you were leery trying to make Mozzarella for the first time, try Ricotta!
Now above I already stated that I was able to recapture 66g more cheese by making Ricotta from the Mozzarella cheese. This was not enough Ricotta to make a lasagna dinner with for my family. So that same day I grabbed a gallon of milk from my fridge and made Ricotta from a second method.
Get ready to make the easiest cheese from one of these two methods!
Traditional Method From Whey
Before I made this first batch of Ricotta, I had already used about half of my whey from making Mozzarella. (I share this with you in case you’re reading these two methods to see which is going to yield you the most cheese–yes, I see you!)
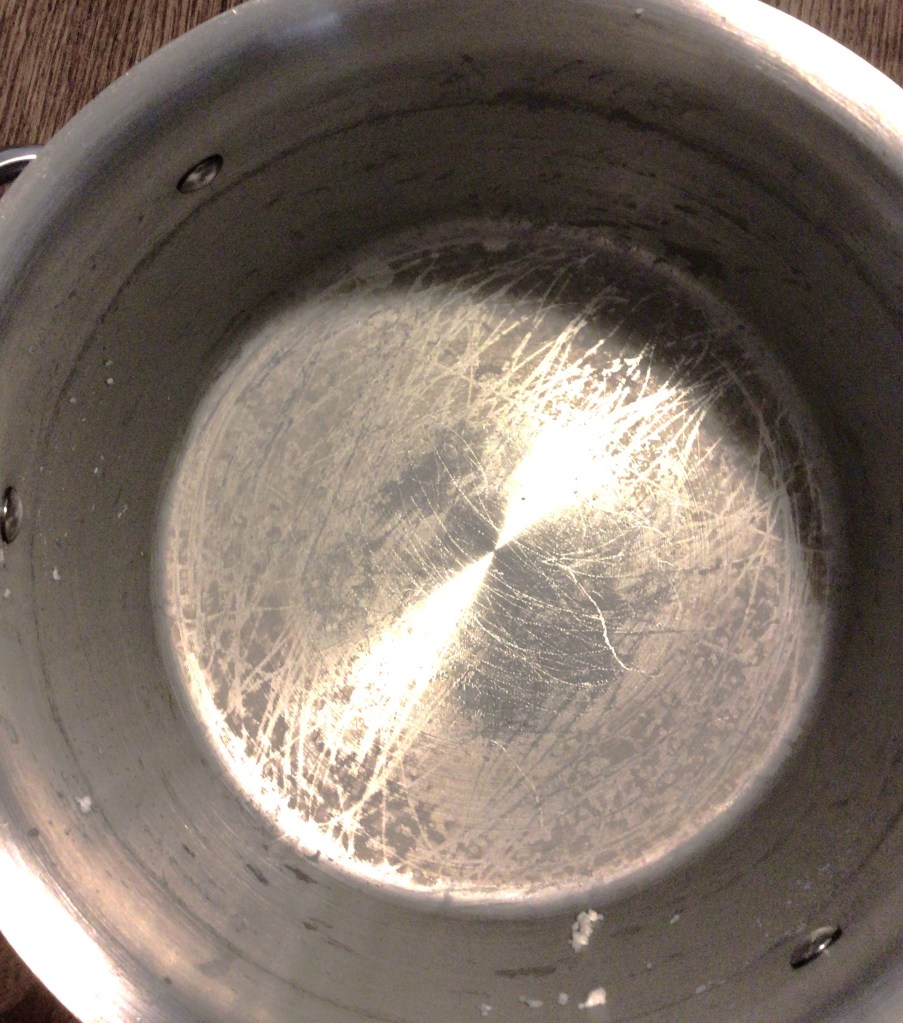
With the traditional method, you put your whey into a stainless steel pot and turn on the heat to medium low.
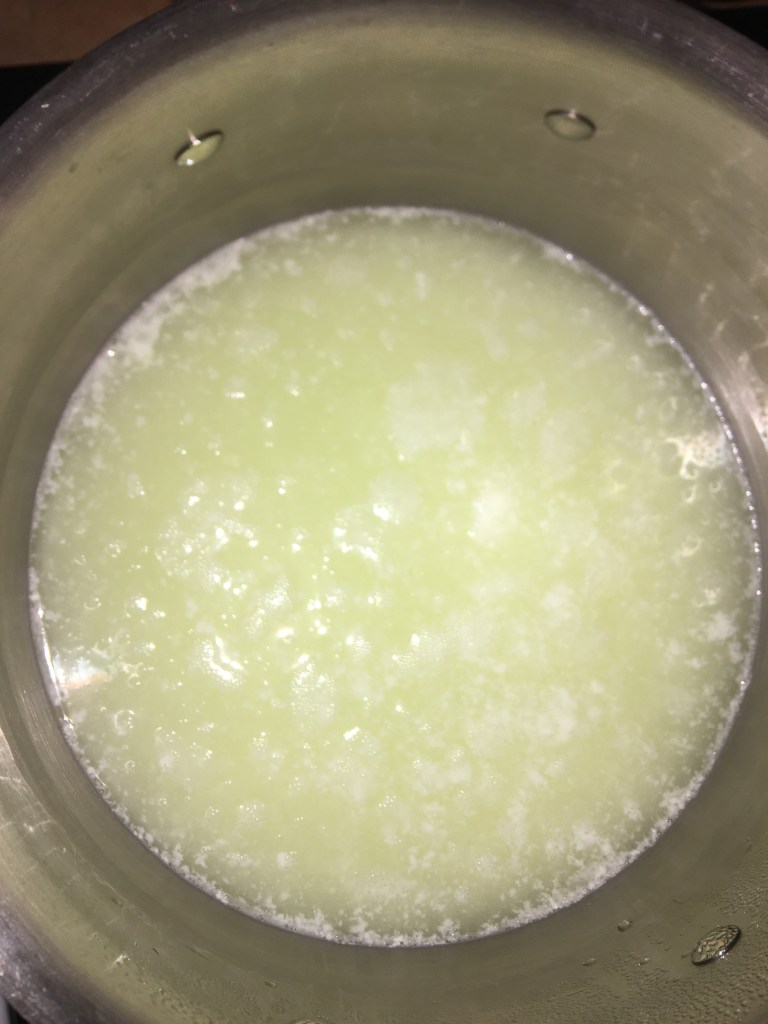
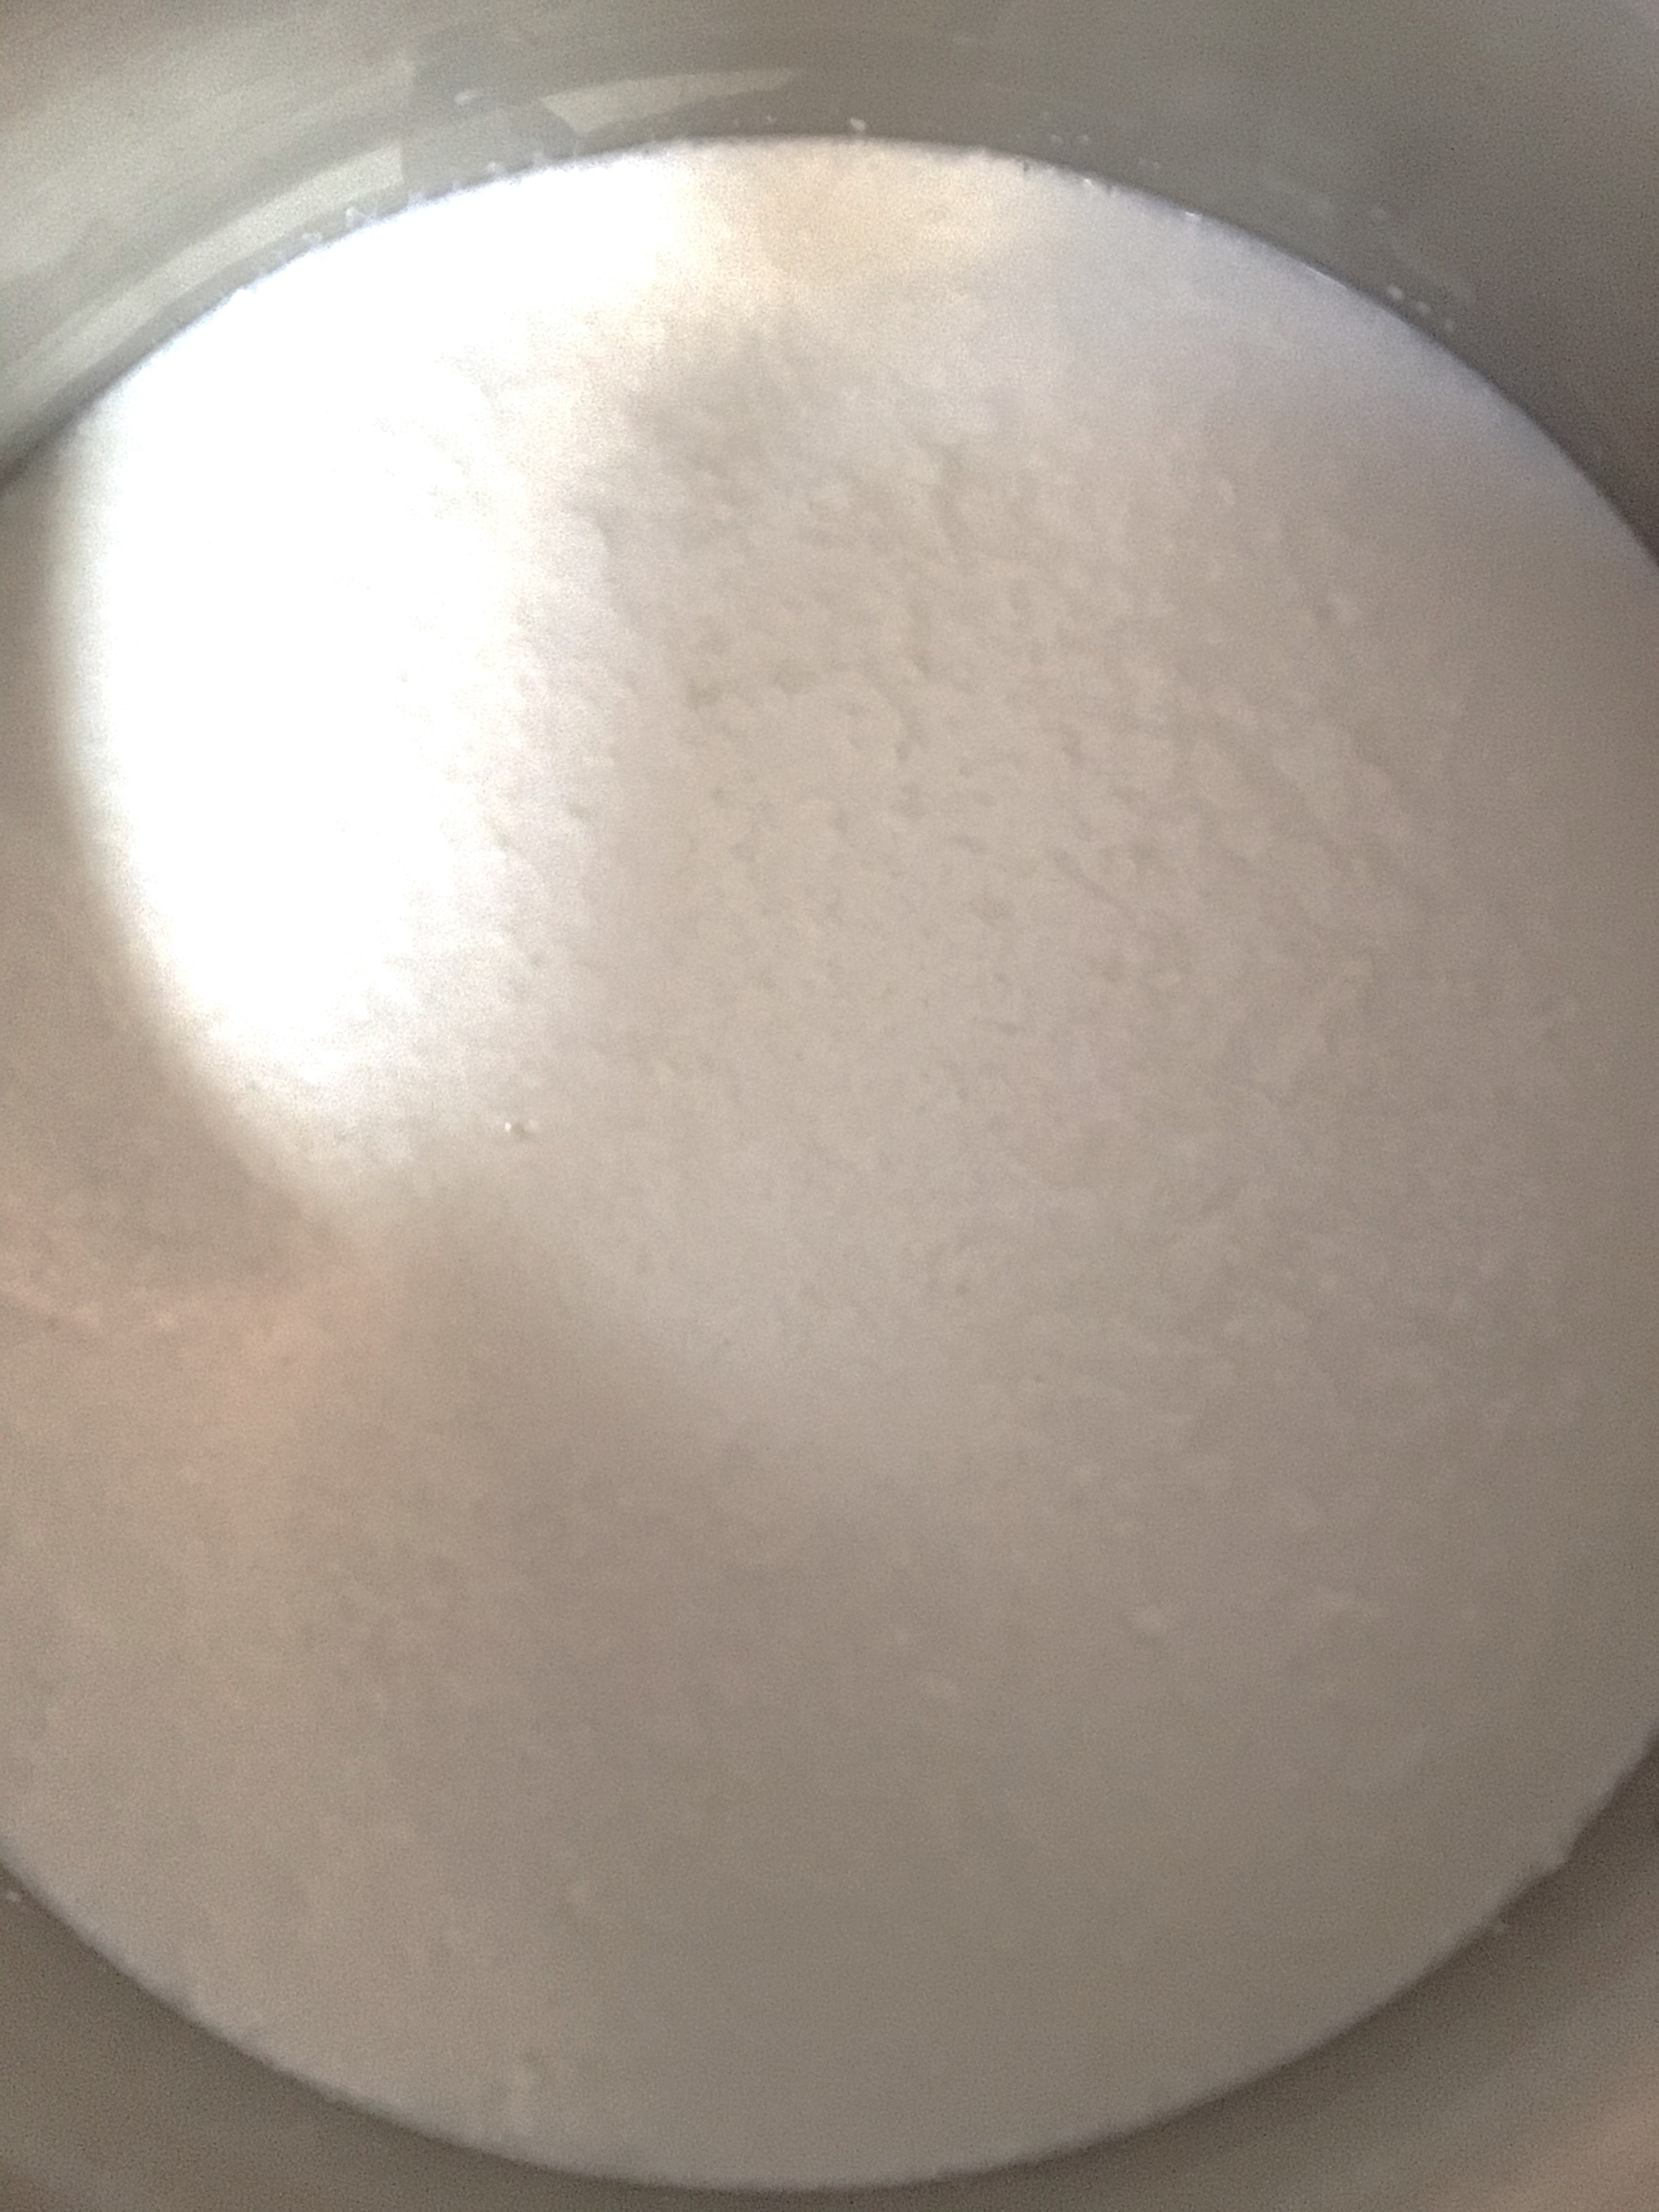
That is it. You let it warm up to 200°F. There are small bubbles that start to form around the edge of the pot. Don’t be afraid if you don’t see Ricotta forming until the whey reaches in the neighborhood of 140°F. That was about the temperature that I started to see some action take place.
Once you reach 200°F, turn off the heat and remove the pot from the burner.
The instructions, that I followed, said to immediately remove the cheese and drain it.
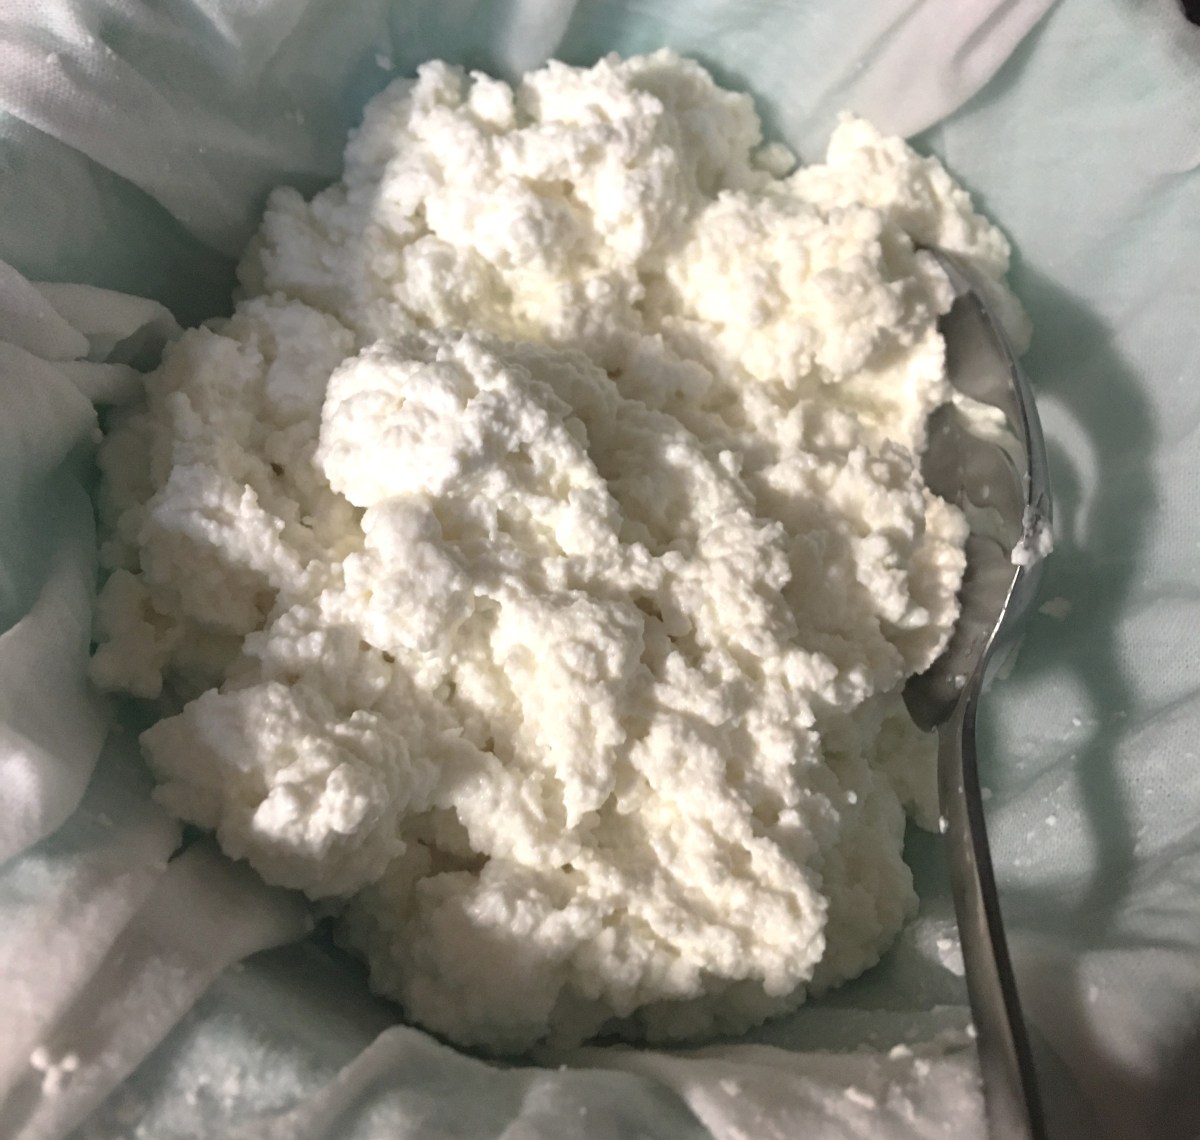
Now Ricotta has smaller curds of cheese than mozzarella, so this time I used a cheese cloth to strain the curds from whey.
The instructions said to let the cheese drip dry for 2-8 hours depending on how dry you want your Ricotta. I had very gently squeezed the whey out and hung it to dry for an hour and a half before I taste tested it. It was already too dry for my liking and tasted like chalk. The instructions never told me to salt the Ricotta. So I’m going to tell you, salt the Ricotta.

Tip: Salting Ricotta is easier when it is warm instead of cooled from the drying process.
This is the left over whey that I put in the freezer to make 5 more additional loaves of bread. I pre-portioned the whey out into baggies so that all I have to do is defrost the whey in the fridge, the day before bread making day, and I don’t have to measure it out again.
The great news about this method, of Ricotta making, is that even though I didn’t stir the whey during this cooking process, my pot was clean on the bottom.
This traditional method is right in the skill level of my 6 year old’s cooking level. So if you were nervous or afraid of making Mozzarella, rest easy and KNOW that YOU CAN DO THIS! I have every confidence in you.
Ricotta From Milk Instead of Whey
As I already mentioned, 66g of Ricotta is not enough for a lasagna dinner. It is enough to make a spread out of and eat it on top of a toasted bagel.
I grabbed a fresh gallon of milk, the Ricotta recipe from the beginner cheese maker kit (that I shared last week) and tried a different method of making Ricotta. The Recipe I used called for whole milk and a couple of cups of heavy whipping cream. All that I had in my fridge was a gallon of 2%. So that is all that I used. From just 2% milk, I yielded 630g (1.4 lb) of Ricotta.
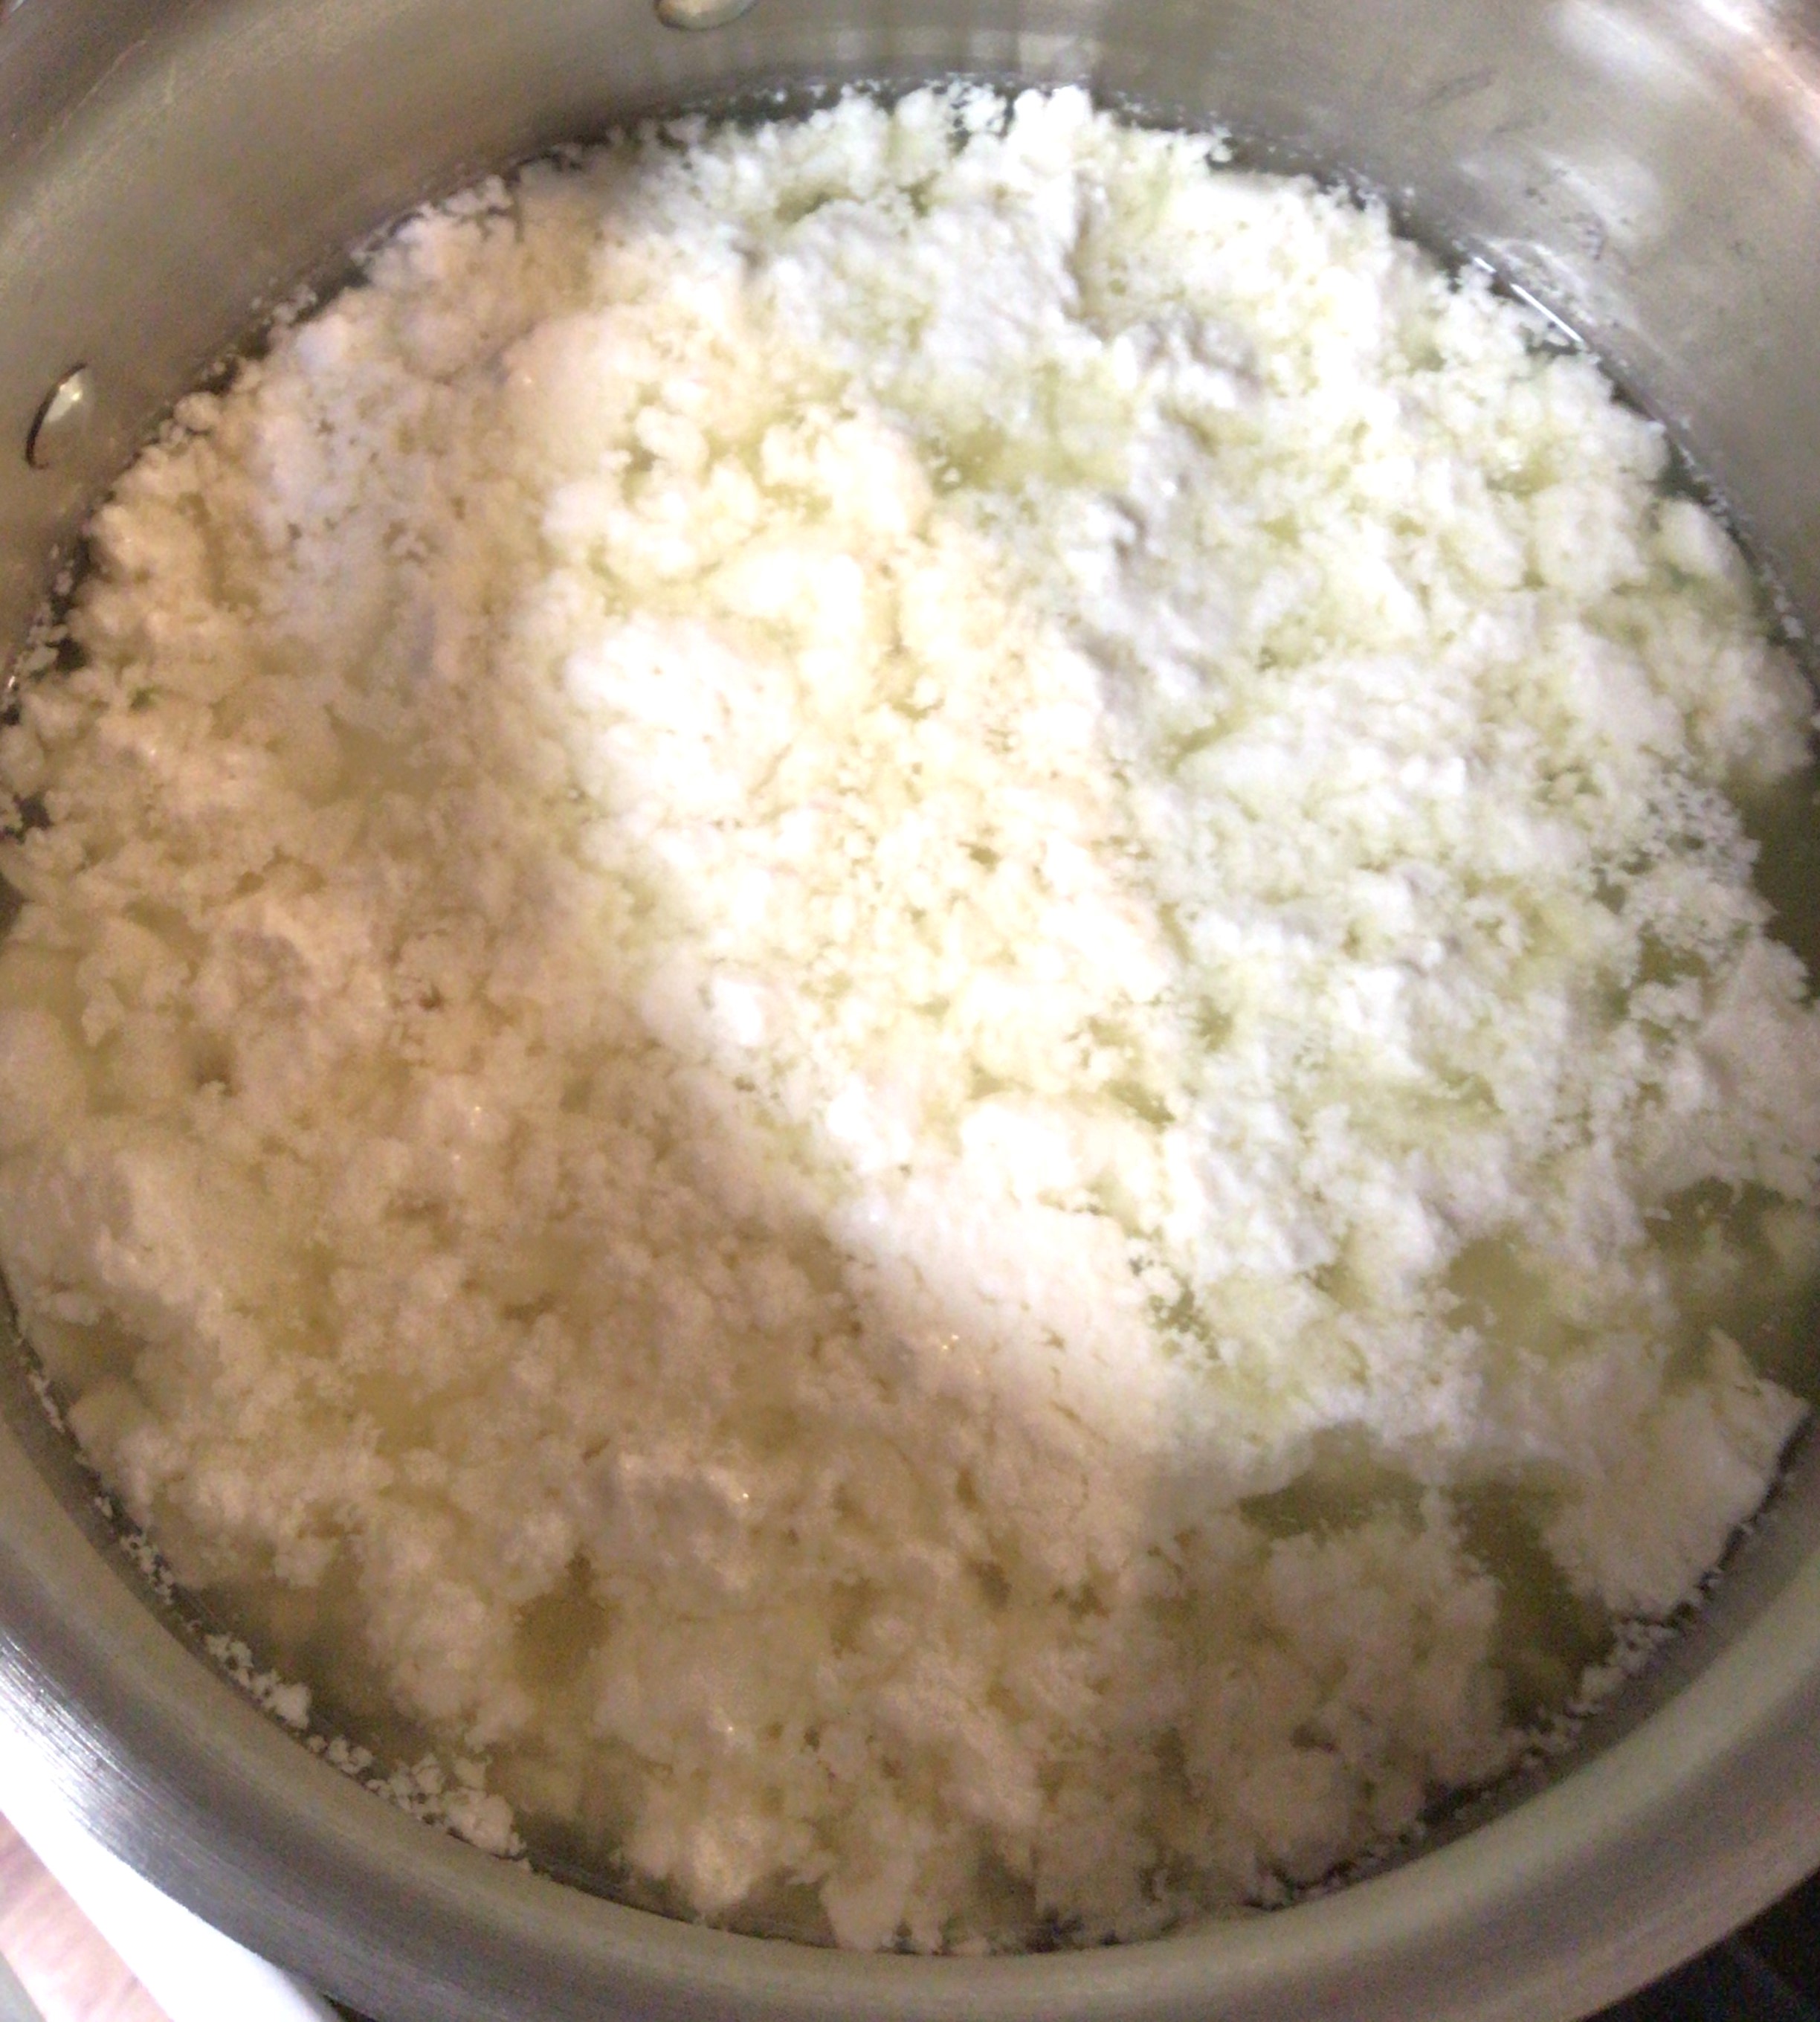
Into my stainless steel pot I added the milk, 1 tsp. Citric Acid, and 2 tsp. Non-iodinated salt. Turn the burner to low-medium heat. Leave the milk alone until it reaches 140°F. Then you scrape the bottom of the pan with a rubber/silicone spatula. Do not touch it again until you see the cheese layer, on top, crack and the whey start to boil up through that crack(s). Turn the burner off and put the pot on a cool part of the stove. Cover the pot and let it sit for 20-30 minutes.
Strain the Ricotta through a cheese cloth, inside a fine mesh strainer.
In this method, instead of air drying I used my spoon (or you can use your silicone spatula from earlier) and pushed the Ricotta around in the cheese cloth. The whey naturally separates without the gentle squeeze or drip drying. And while you push the Ricotta, take a pinch of salt at a time and season the Ricotta to taste.


You are in control of how salty your Ricotta tastes. And you are in control of the sodium content, for those who are on a low sodium diet.
I stopped pushing my Ricotta when I got to the creamy texture that I prefer. If you prefer your Ricotta to be drier and you’re not able to get it from just pushing the cheese in the cheese cloth, go ahead and hang it up to air dry in the cheese cloth. I recommend checking on your cheese every half hour just to make sure that you do not get too dry.
Tip: If your Ricotta gets too dry and you just can’t eat it like that, don’t worry. Mix in a little whey at a time to re-wet your cheese. If it becomes too wet, hang it up to dry again.
The only problem that I had with this method of making Ricotta is that the heat was a little higher than I did with the first method. The bottom of my pan did start to scorch, as you see here.
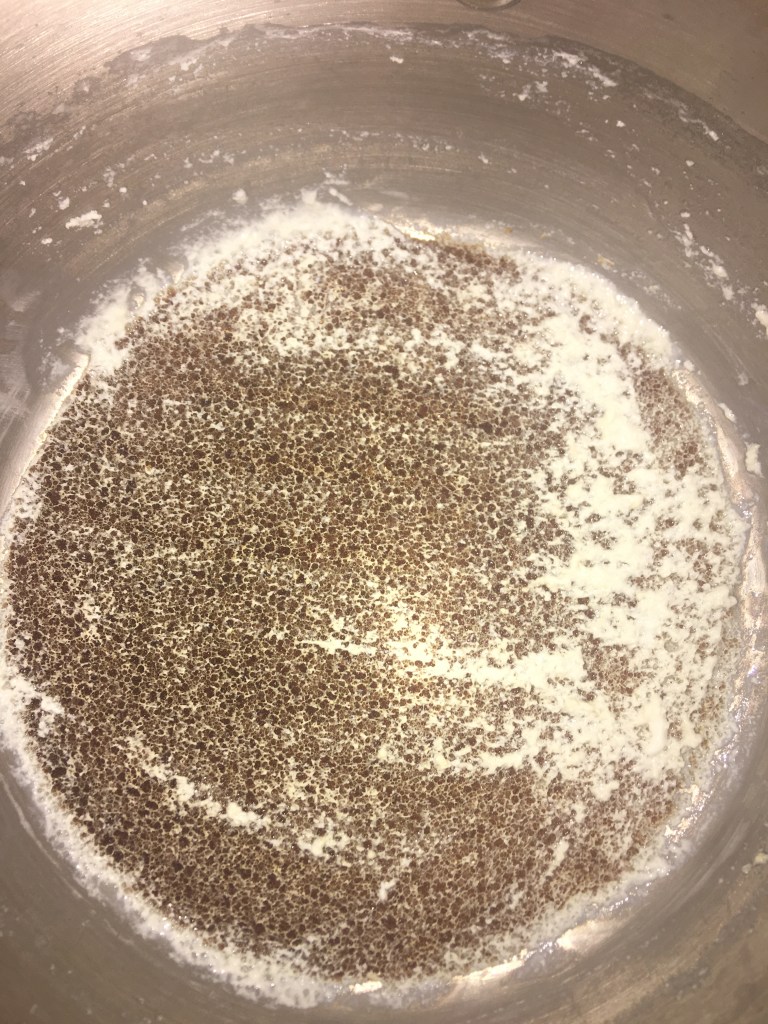
The next time that I make Ricotta from this method, I’m going to drop my heat a little BECAUSE I know that my stove runs HOT. I am forever reminding my husband to drop the heat when he cooks because it slips his mind that our stove does this and he has burning issues. He’s a good cook, he just expects our hot stove to behave like a normal stove and it just doesn’t.
Tip: Know your stove. If your stove runs hot, drop the heat a little lower. If your stove runs cooler, add a little more heat.
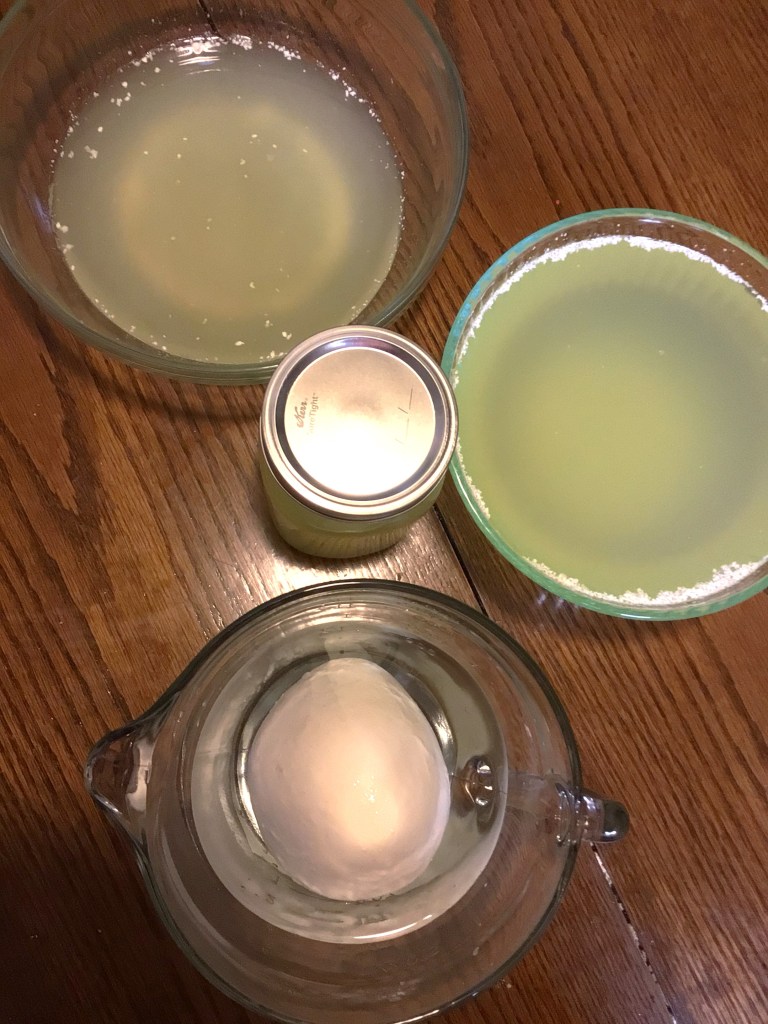
Differences in Whey
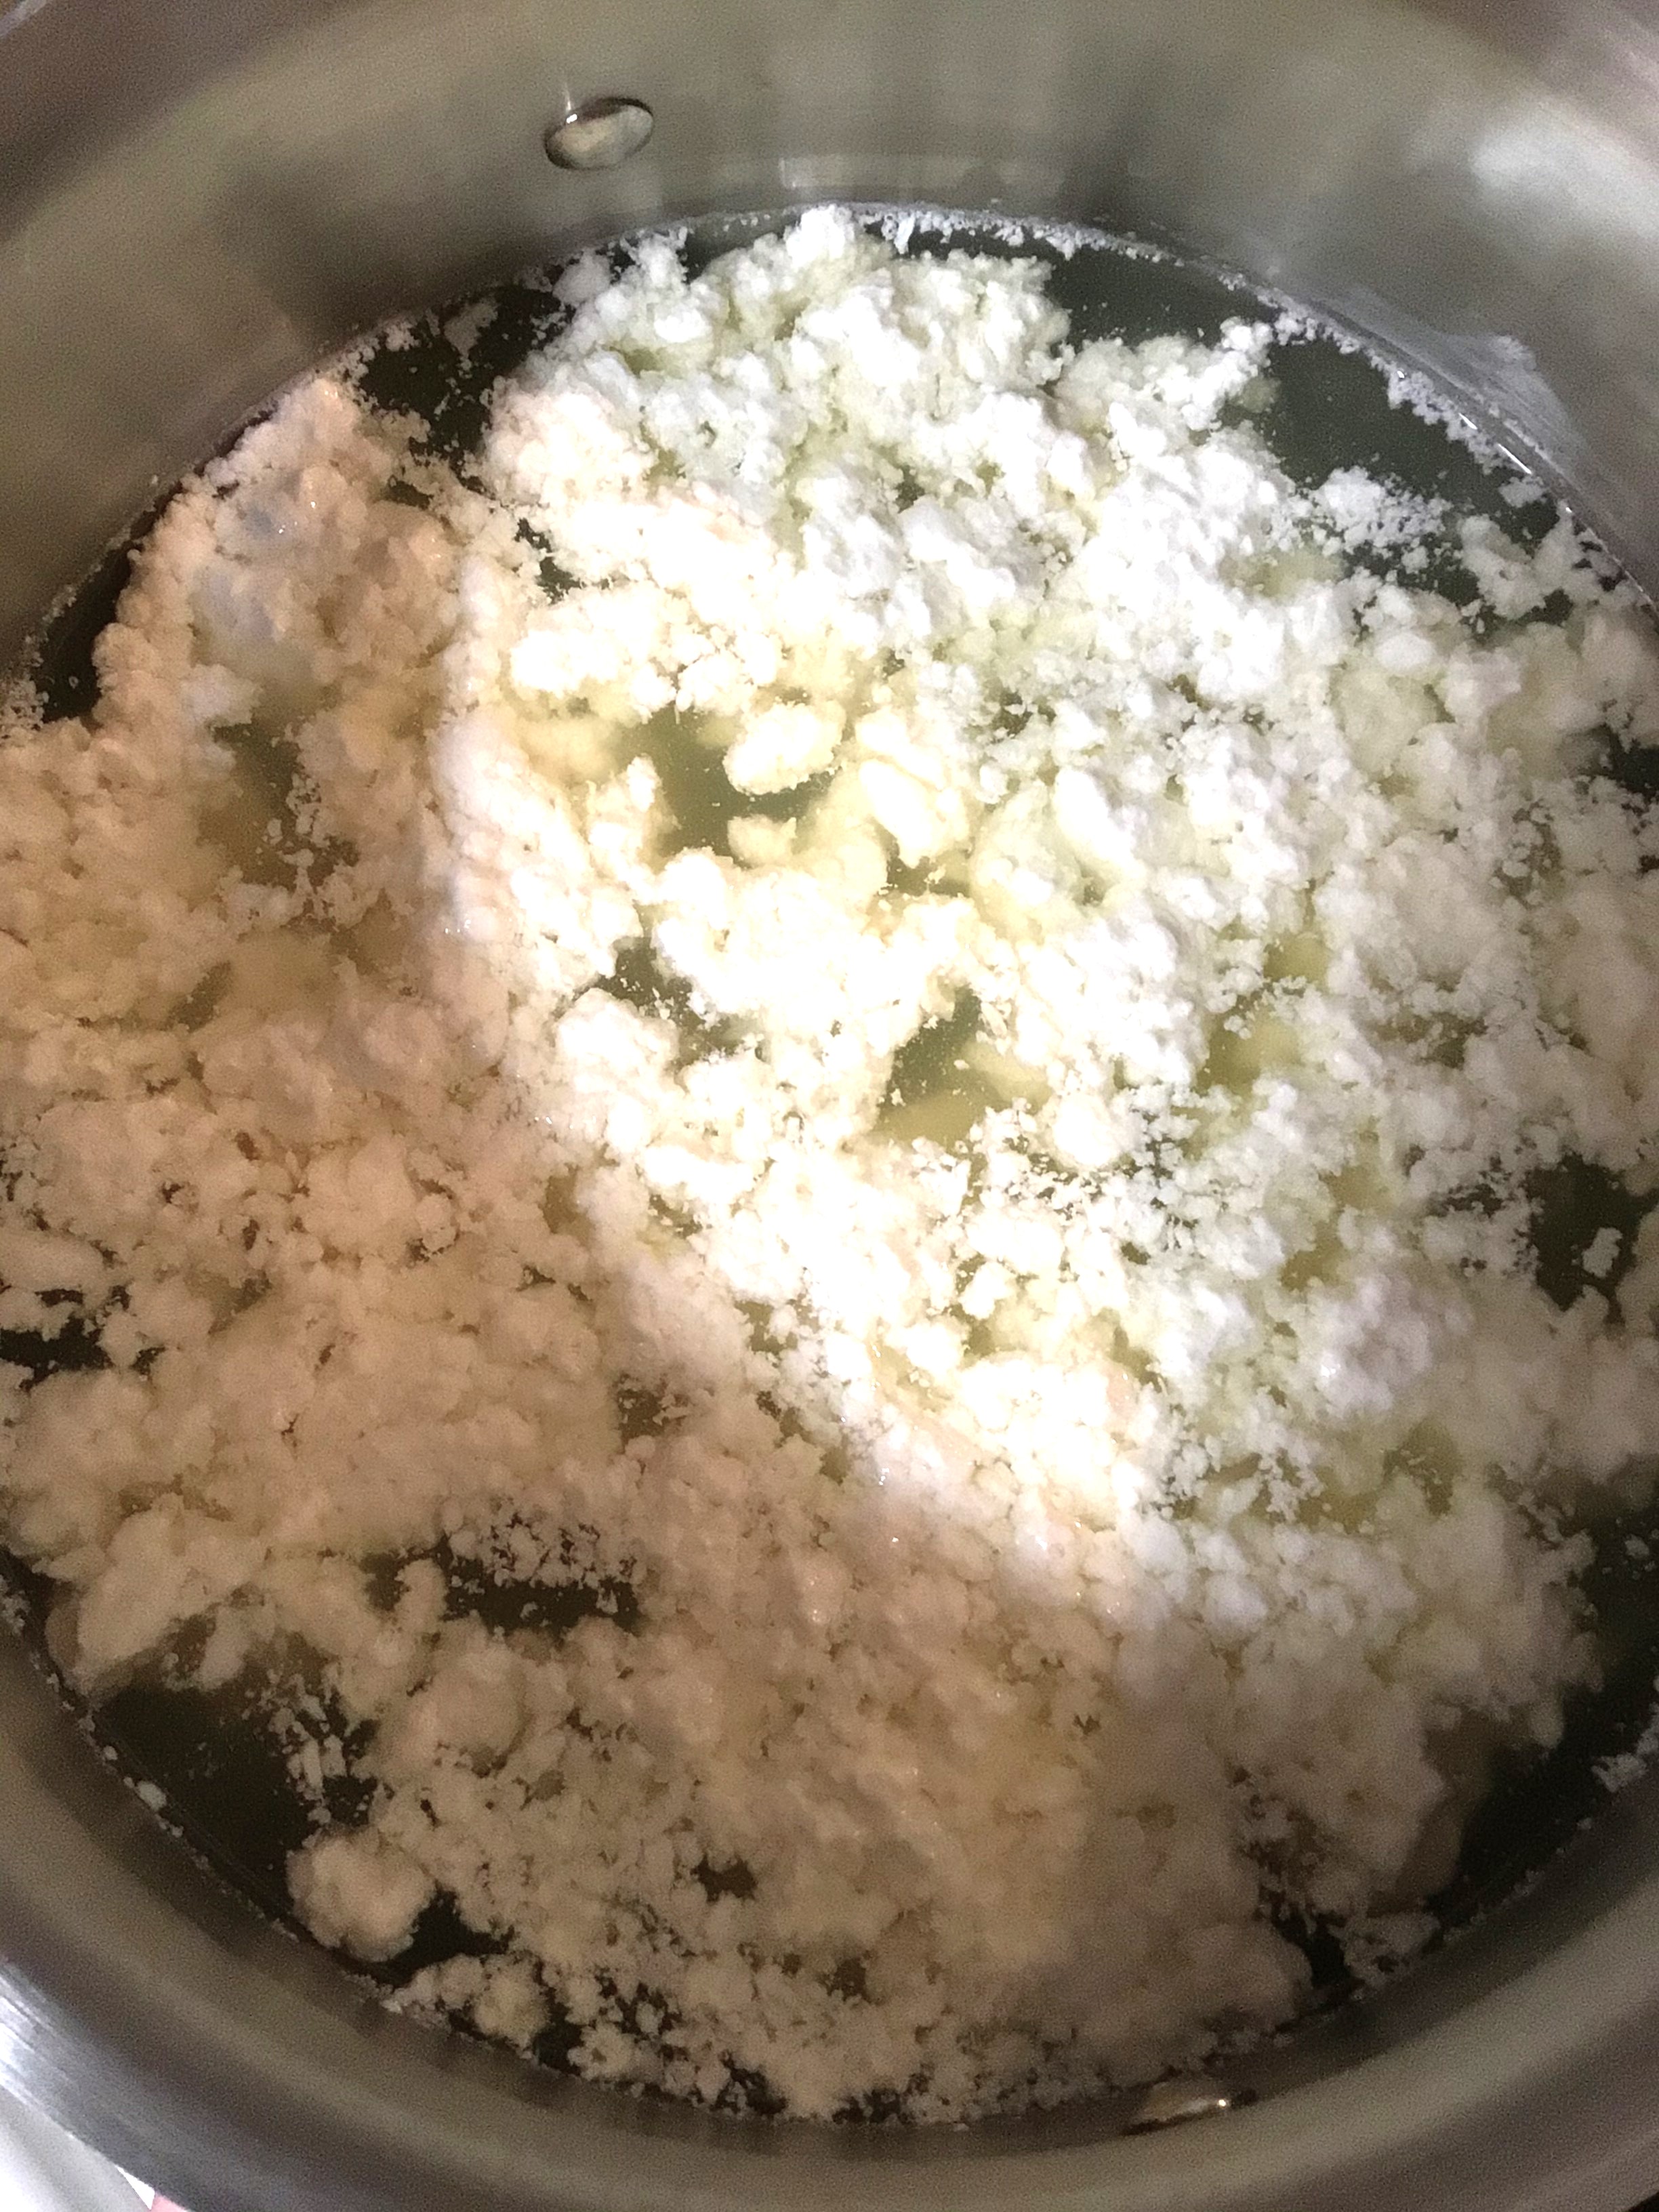
There is a difference in the appearance of the whey from Ricotta compared to the whey from Mozzarella. The Ricotta whey was not as clarified.
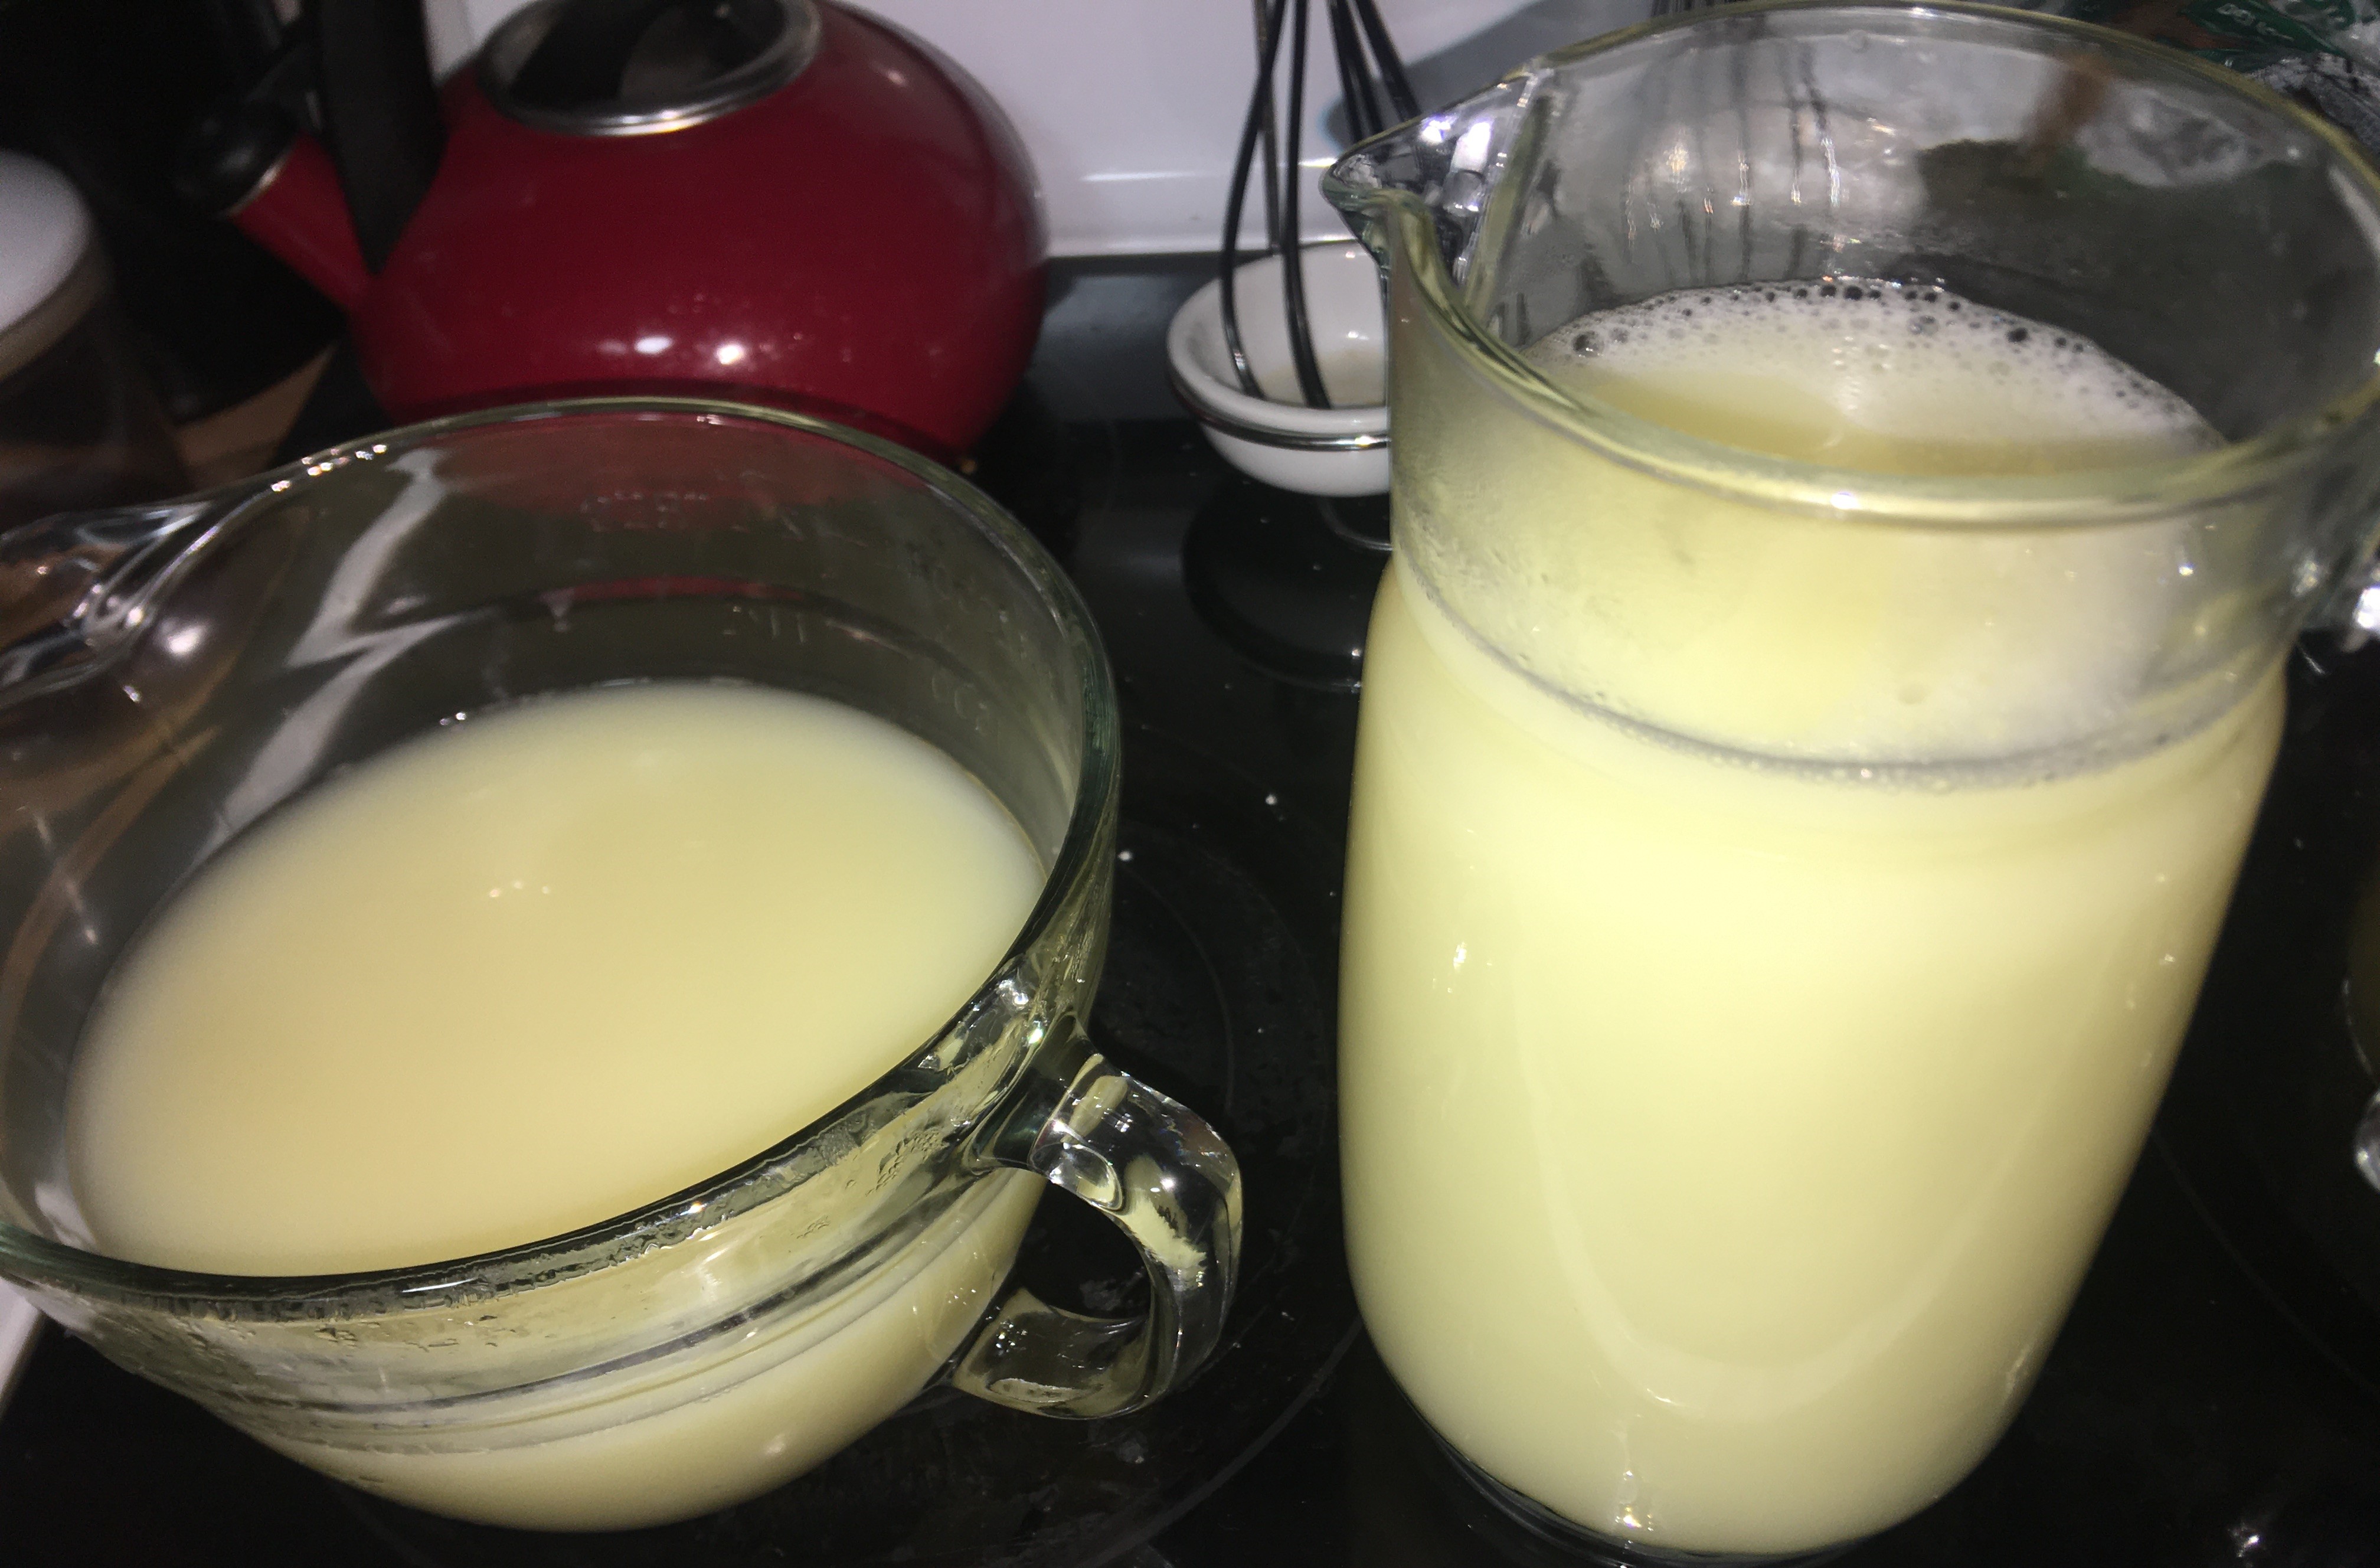

Independence Day weekend is very busy with my family, so I have yet to put the Ricotta whey into the pot and run a second batch. But as you see here, there is a lot of material left in this whey that I anticipate a greater return in additional Ricotta (vs. what I pulled out of the Mozzarella whey). I have time to food prep coming up early this next week. So be sure to sign up for my newsletter below and I’ll email you the results of this second run in my 7 July 2022 email. (If you are reading this past the email date, please comment below and I’ll respond with the results that I found).
Over all…
I’m excited to have cheese in the house that only has 3 ingredients: milk, citric acid, and salt. In a day and age where the ingredient lists grows longer and longer, this makes me feel good about the food I cook my family. Even more so, I learned new skills that I can teach my boys that I don’t have to wait until they’re older for them to make.
I am also happy that I have healthy probiotics on hand that I can add to as a seasoning and milk alternative to other recipes.
Please walk away from today with ideas on how to stretch your milk ingredients and add more nutrients into your other foods.
An idea that just popped into my head, how whey would work with making risotto. I know that I’ve made it with wine and also with chicken broth. So it makes me curious. I may have to try this out for dinner later on this week!
If you’re interested in making a Ricotta spread (which I use for my bagels), cut up some fresh herbs and mix it in with your cheese. I used the leaves from two sprigs of Italian Oregeno, from my garden, and used enough Ricotta for two bagels.
Use your imagination with the herbs that you have on hand.


Leave a comment