
For about a year and a half now, I have wanted to make cheese at home.
What kept me from doing it for so long?
I lied to myself stating that it was just the fact that my days are busy with three young kiddos in the house. It’s a convenient enough excuse. But deep down these were the core issues that I was dealing with. Maybe you’re familiar with these fears.
- It’s too difficult.
- What am I going to do to keep from burning my hands?
If you had a childhood like mine, and you pulled homemade taffy, you know what I mean about burning your hands. At least with taffy you could coat your hands with as much butter (or other fat product) to protect your flesh from the hot candy. And if you’ve read about Mozzarella making, you know you have to pull cheese. Buuuuut, you can’t put butter on your hands.
Let me tell you something. I am so glad that I set my fears aside and dove in to make my first Mozzarella!!!
First let me assure you that I did NOT burn my hands. So you can rest assured that you can also keep your hands safe.
Second, Mozzarella cheese making is so much easier than I made it out to be in my head. In fact, the next time that I make more cheese, I’m going to have my 6 year old help me. With the exception of handling the warmish hot cheese for the stretching and shaping, I know he can do this with me verbally walking him through the steps. So if you think cheese making is too difficult, I think you’ll also be surprised with how easy it is.
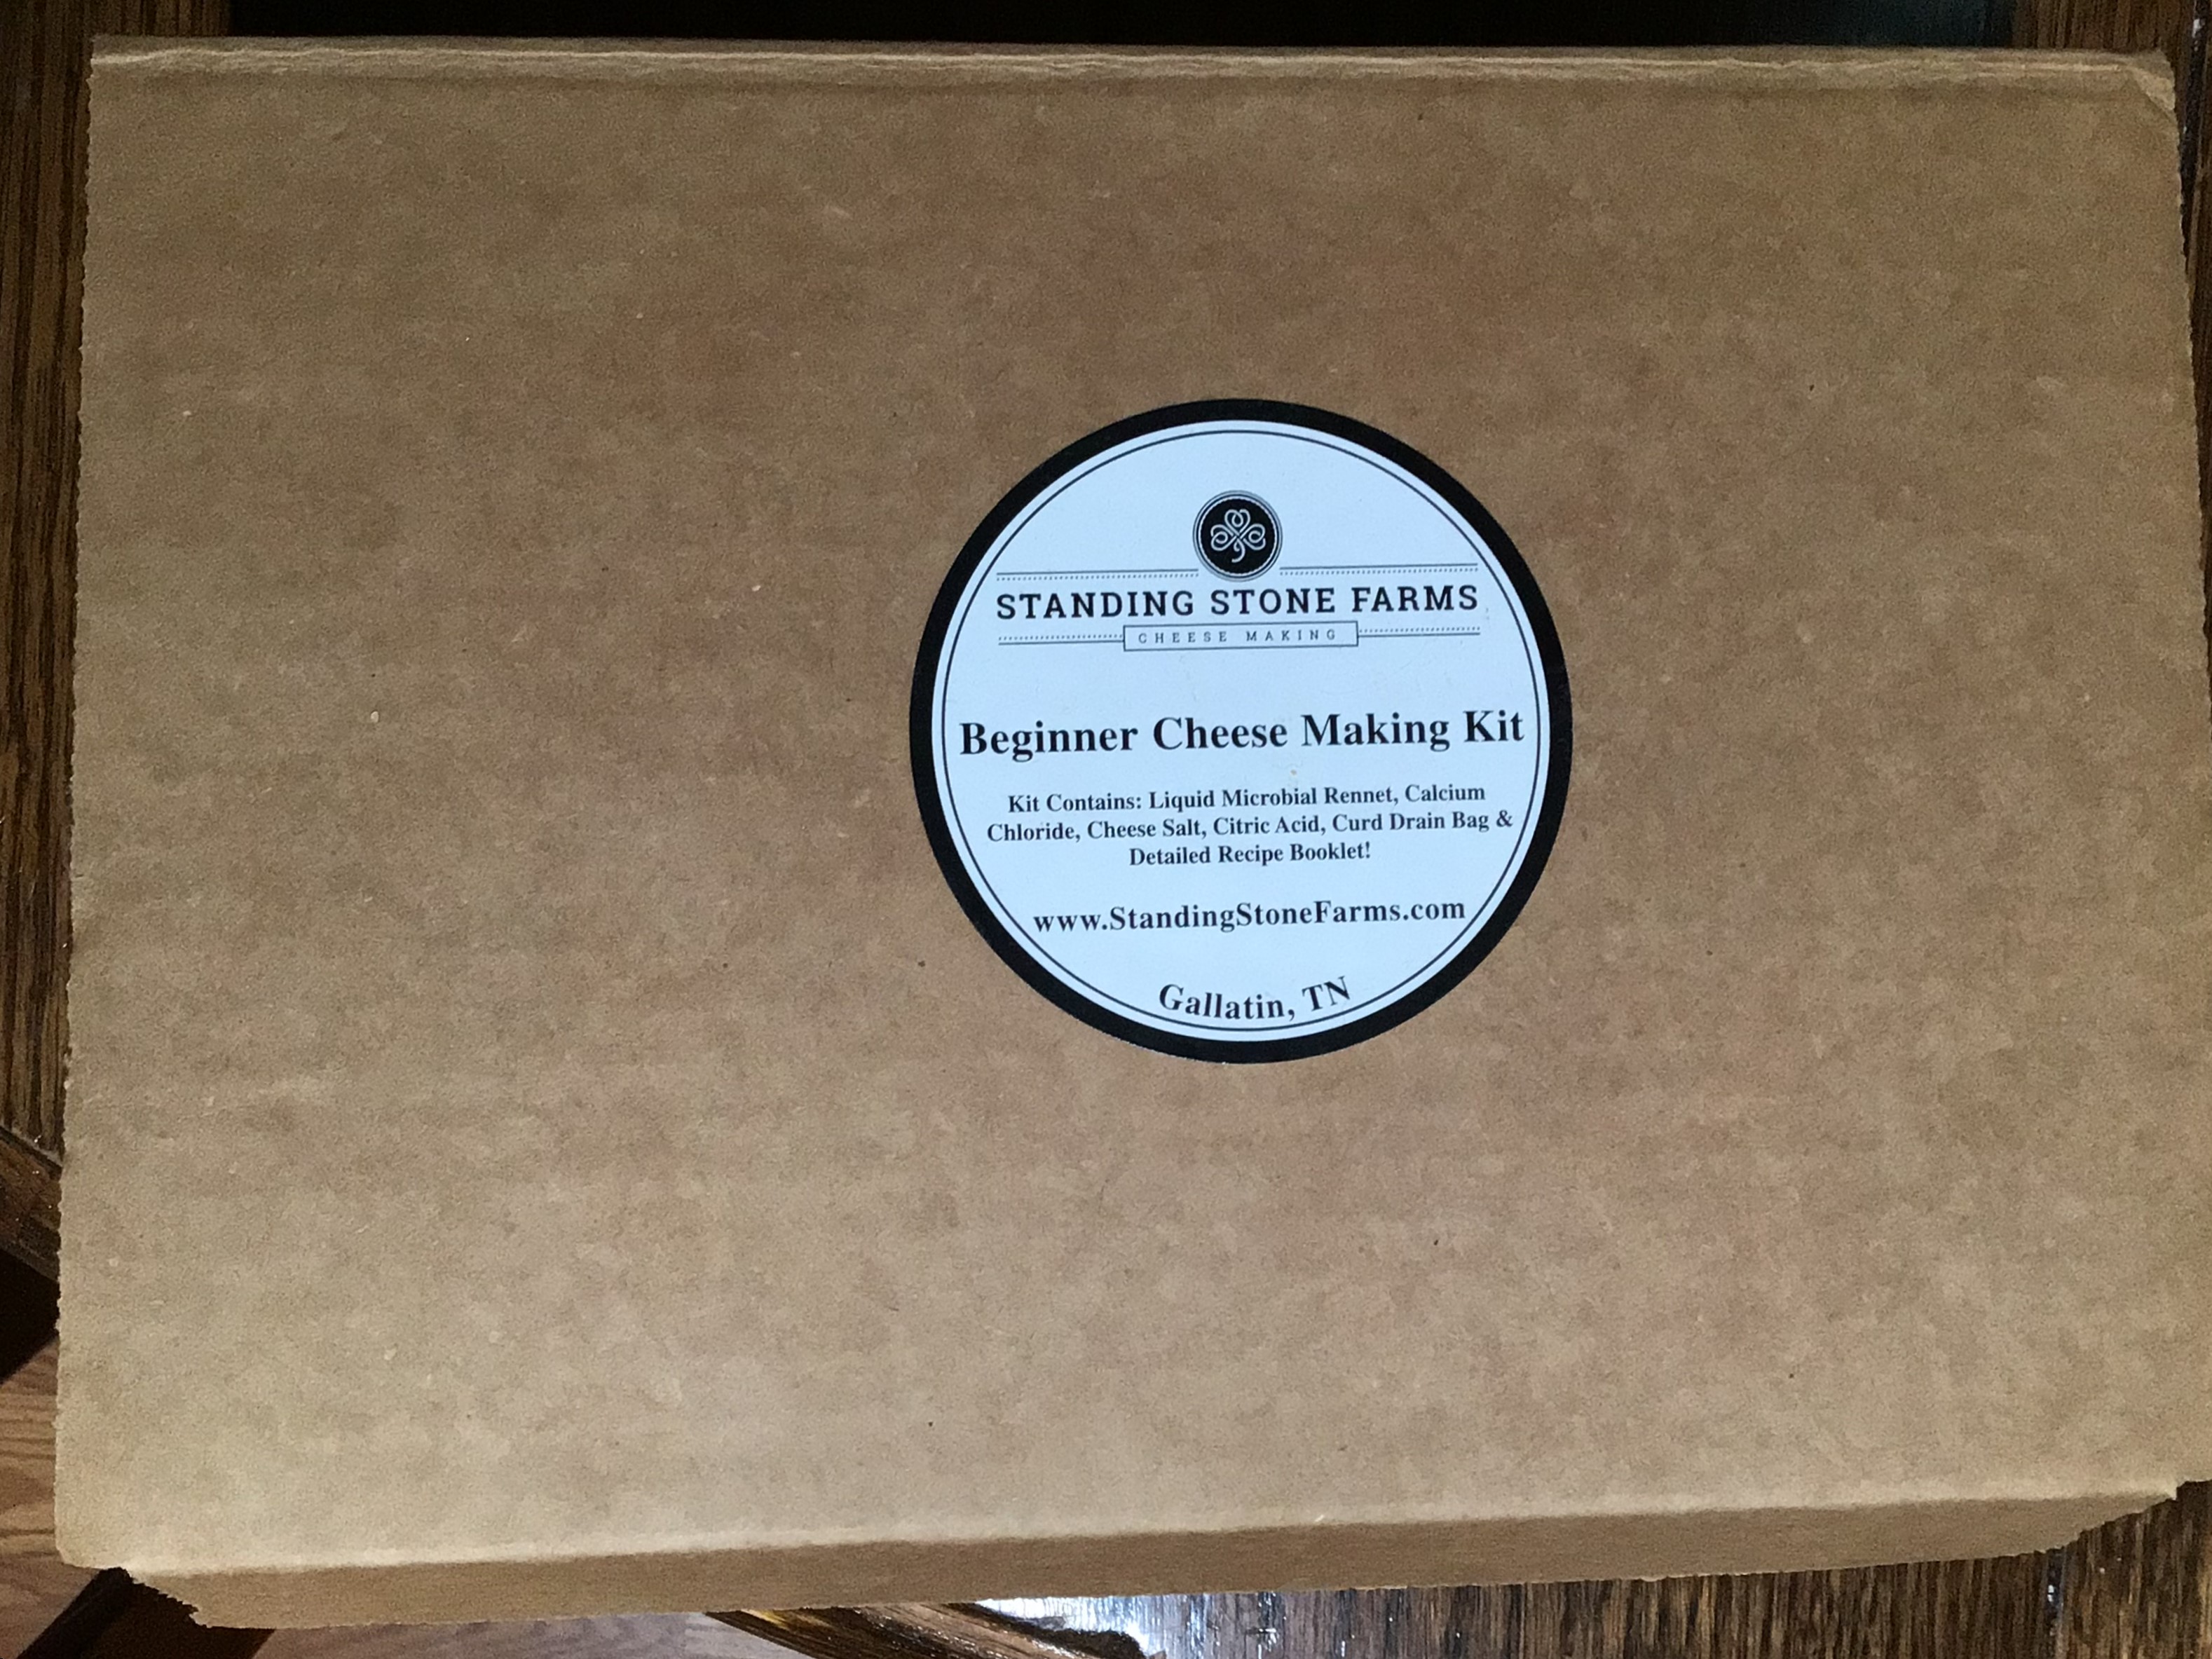
I used this beginner cheese making kit from Standing Stone Farms. Their recipe comes in the kit, which is included here with their permission. Thank you Paula Butler for allowing me to share this recipe! Here is another link for their products, and the link for this beginner cheese making kit on Amazon.

If you want to branch out on your own with a different recipe, I know there were a couple that I specifically or indirectly linked to throughout the post.
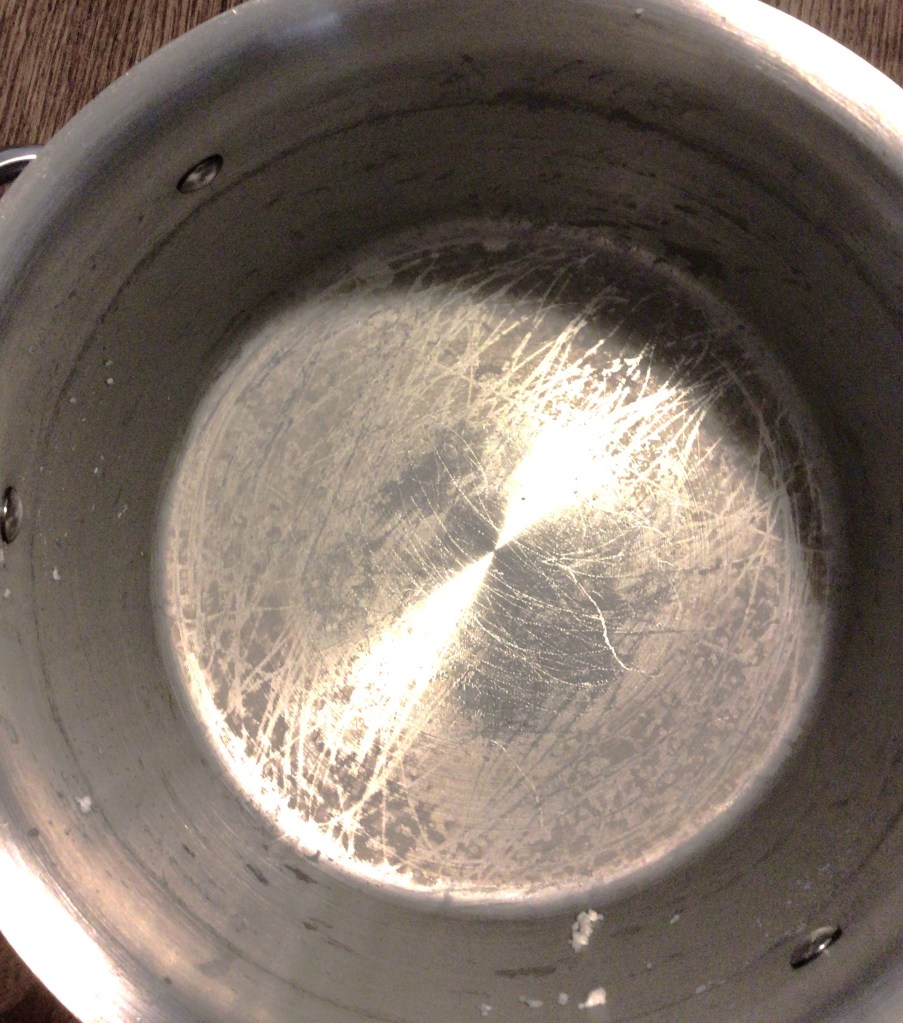
Before I get in the flow of my first time experience, I want to mention now another fear I had. It didn’t rear its ugly head until I had my pot on the stove and the milk already on heat. Let’s just say I’ve scorched many pans cooking milk based soups and chowders. If you cook with milk, you know what I mean. There comes a point where you just accept it as normal.
So now you understand what I mean when I say, I had a legitimate fear of scalding my milk because I’ve been told in the directions, that with Mozzarella cheese you have to be gentle when you infrequently “stir” the milk and you can’t circular stir your milk. Maybe some Italian Mama will comment and say, “Pssht, stir the milk.” Or maybe they’ll agree. So please Italian Mama’s comment and put some minds to rest!
Here is an after the cheese making shot of my pot. My pan didn’t scorch. This is cooked over medium low heat and this was the damage done. So if one of your fears is burning the milk, as long as you keep your temp low and slow you won’t burn your milk.
Making the Cheese
I know another real fear in cooking is not having pictures of what is normal so you have something to compare to. In what I’ve read in my own research, I haven’t seen any pictures like this. I want to set you up for success!
These are all in stage order so you can compare your own journey as you go.
What I didn’t anticipate was how quickly the Acidic Acid works in curding the milk. That gets added to the milk before you turn heat on the burner. And almost right away curds started forming. Obviously the acid and the milk are going to react. So don’t freak out if you turn on your burner, look at your milk and suddenly think, “OMG did I just put in expired milk?!” No you didn’t. The process is already under way.

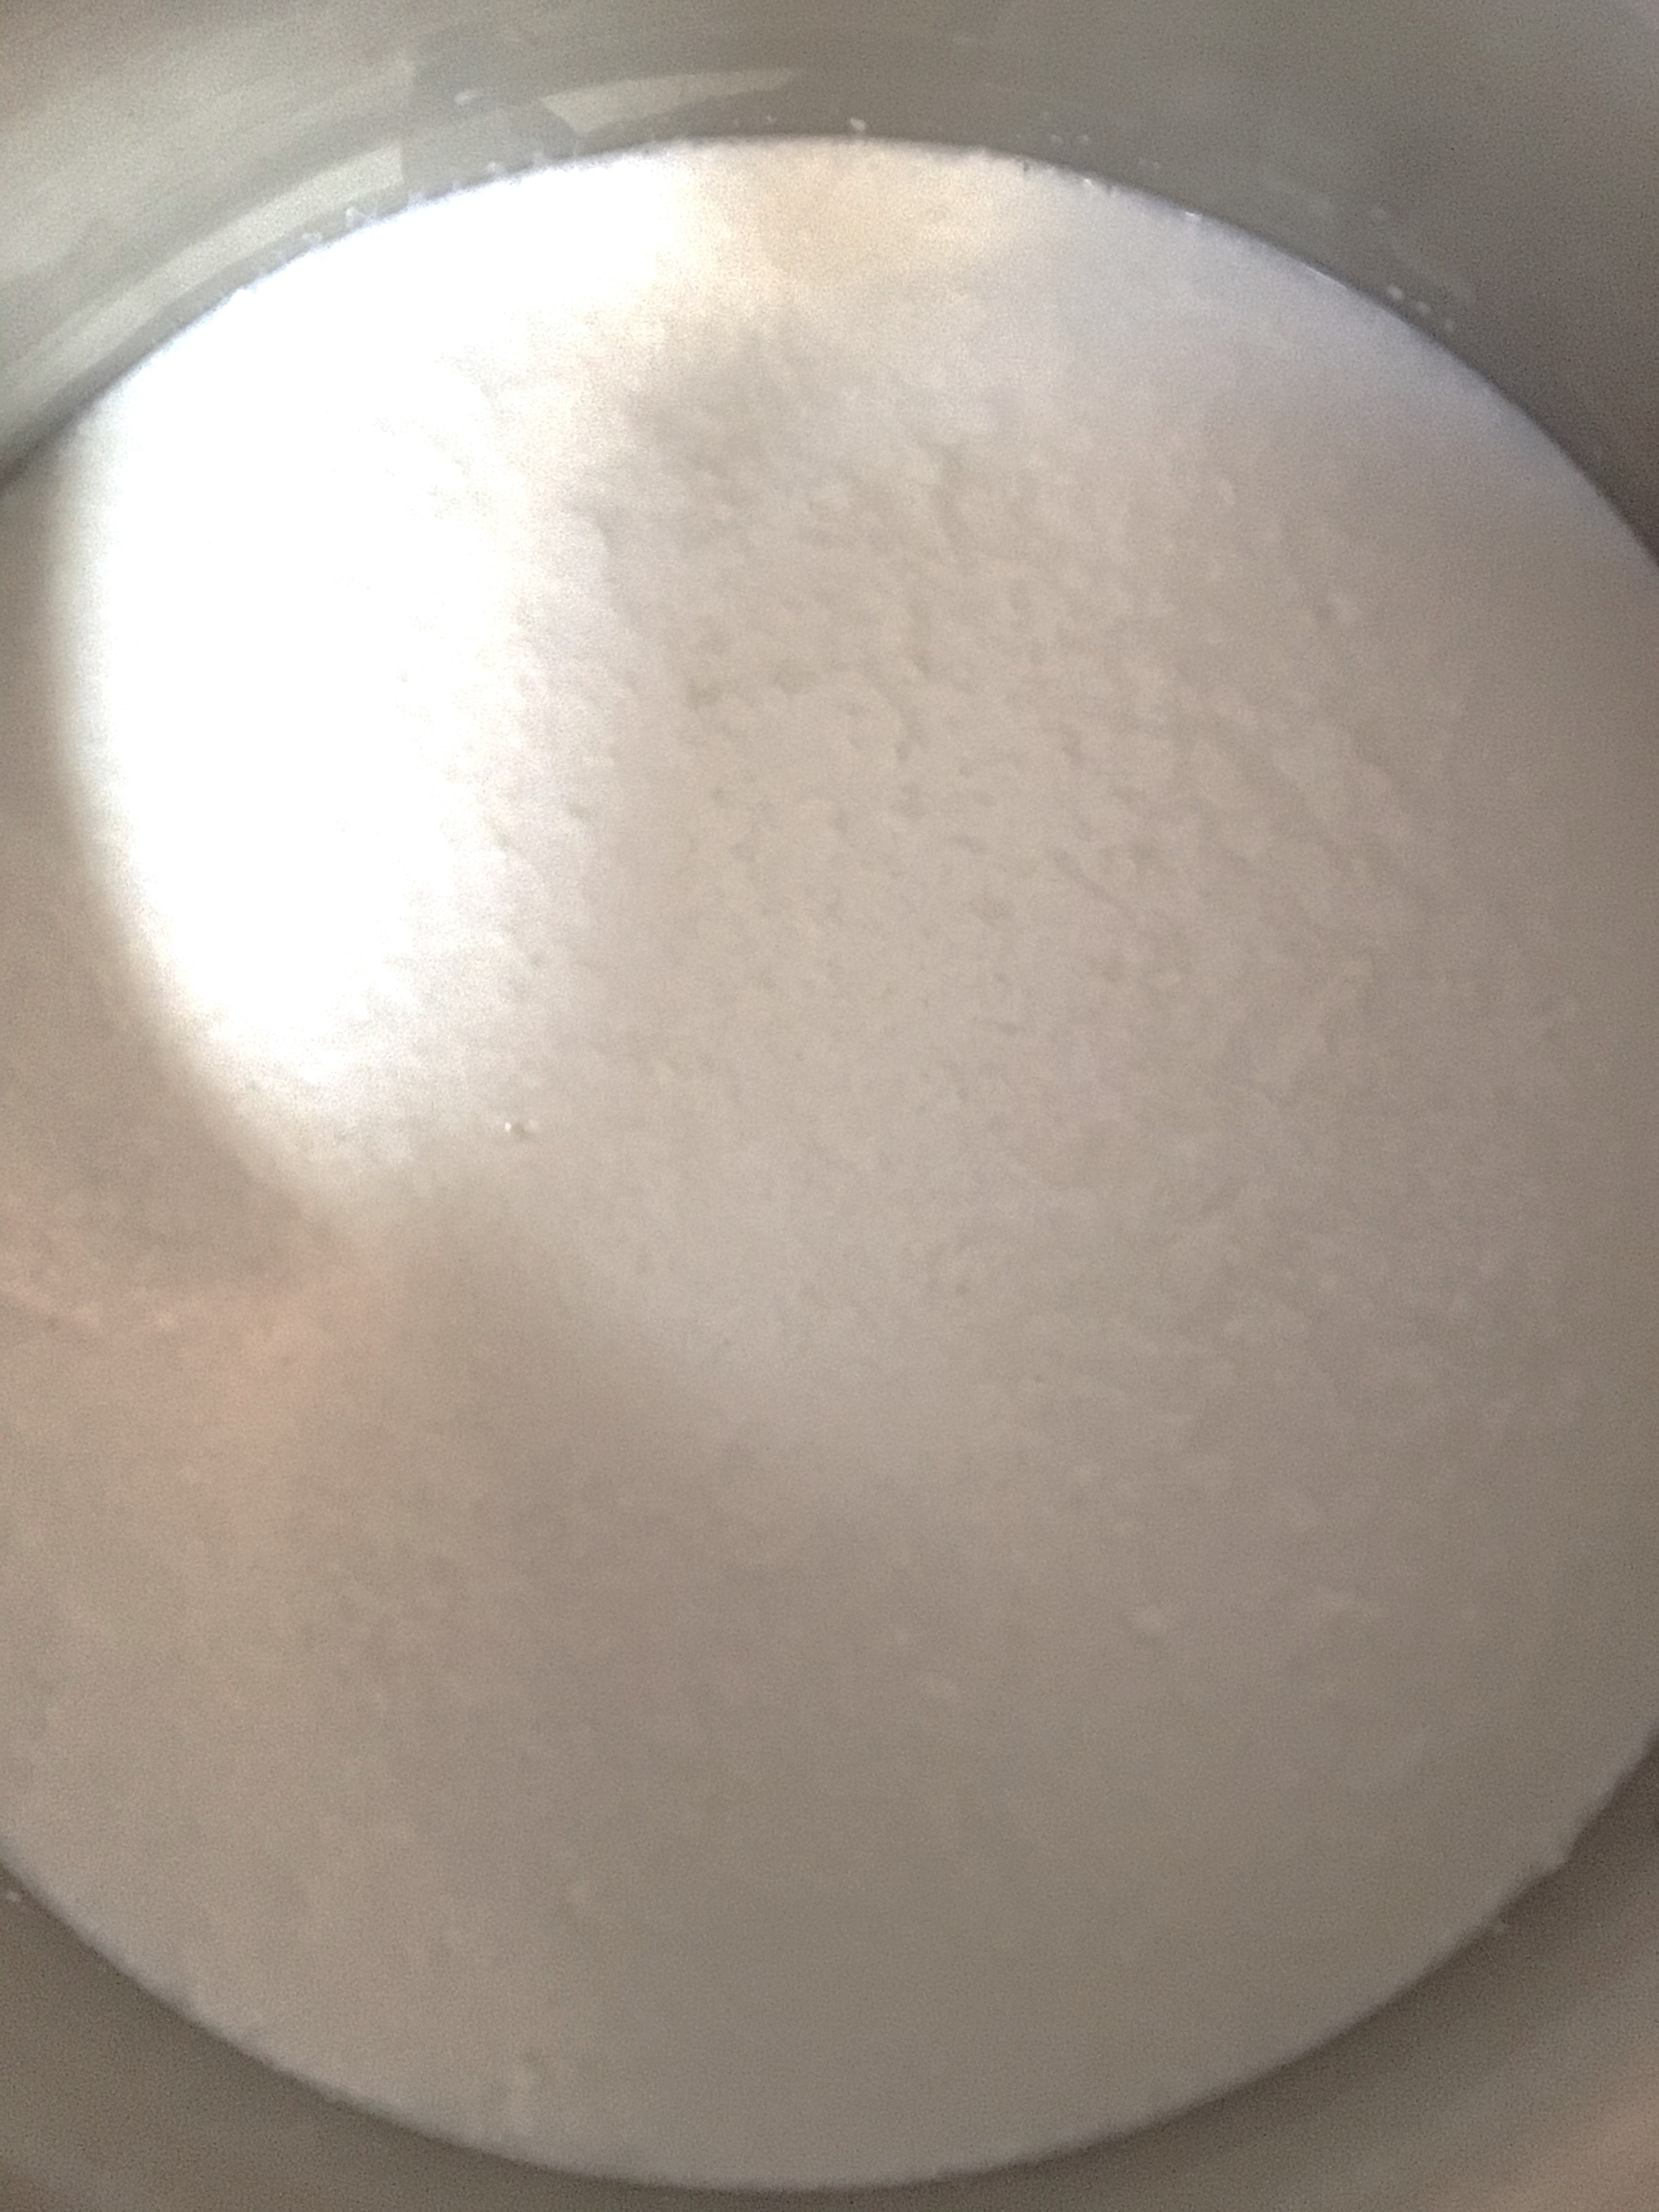


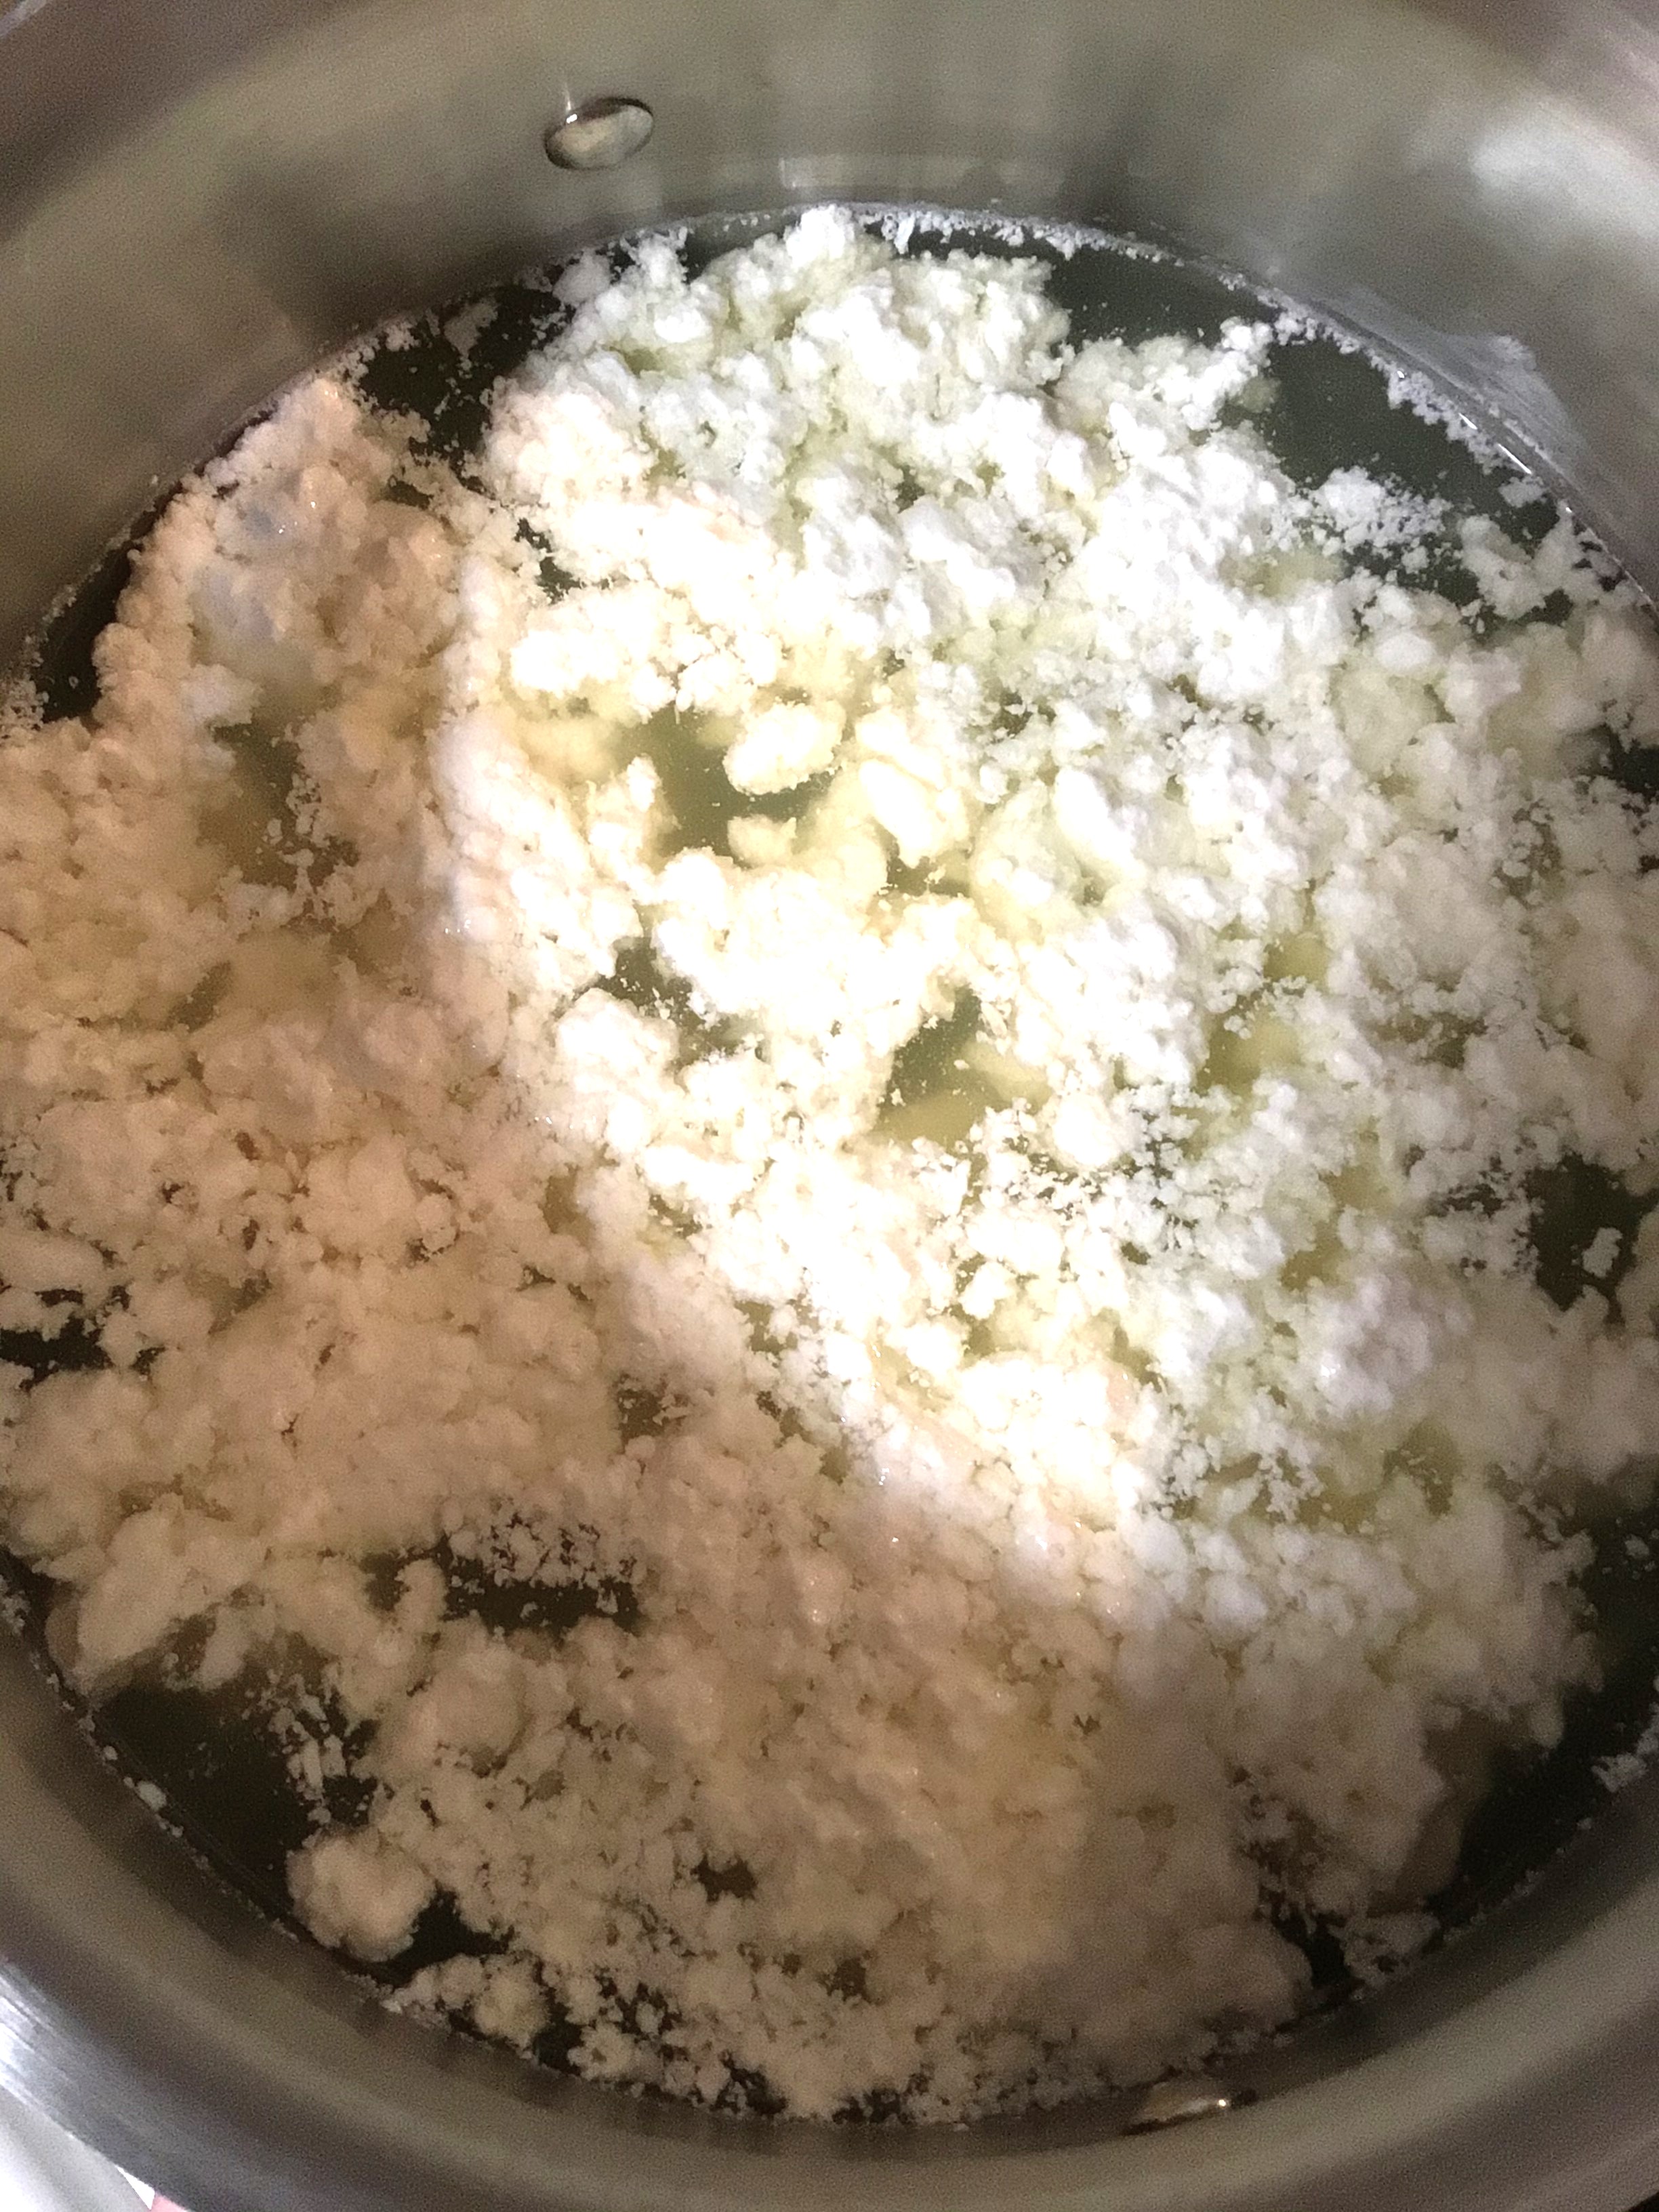

At 88°F I added the Calcium Chloride and Liquid Rennet.
After all this instant gratification of seeing curd growth, I have to admit it was hard to have the patience for curd temperature to reach 104°F.
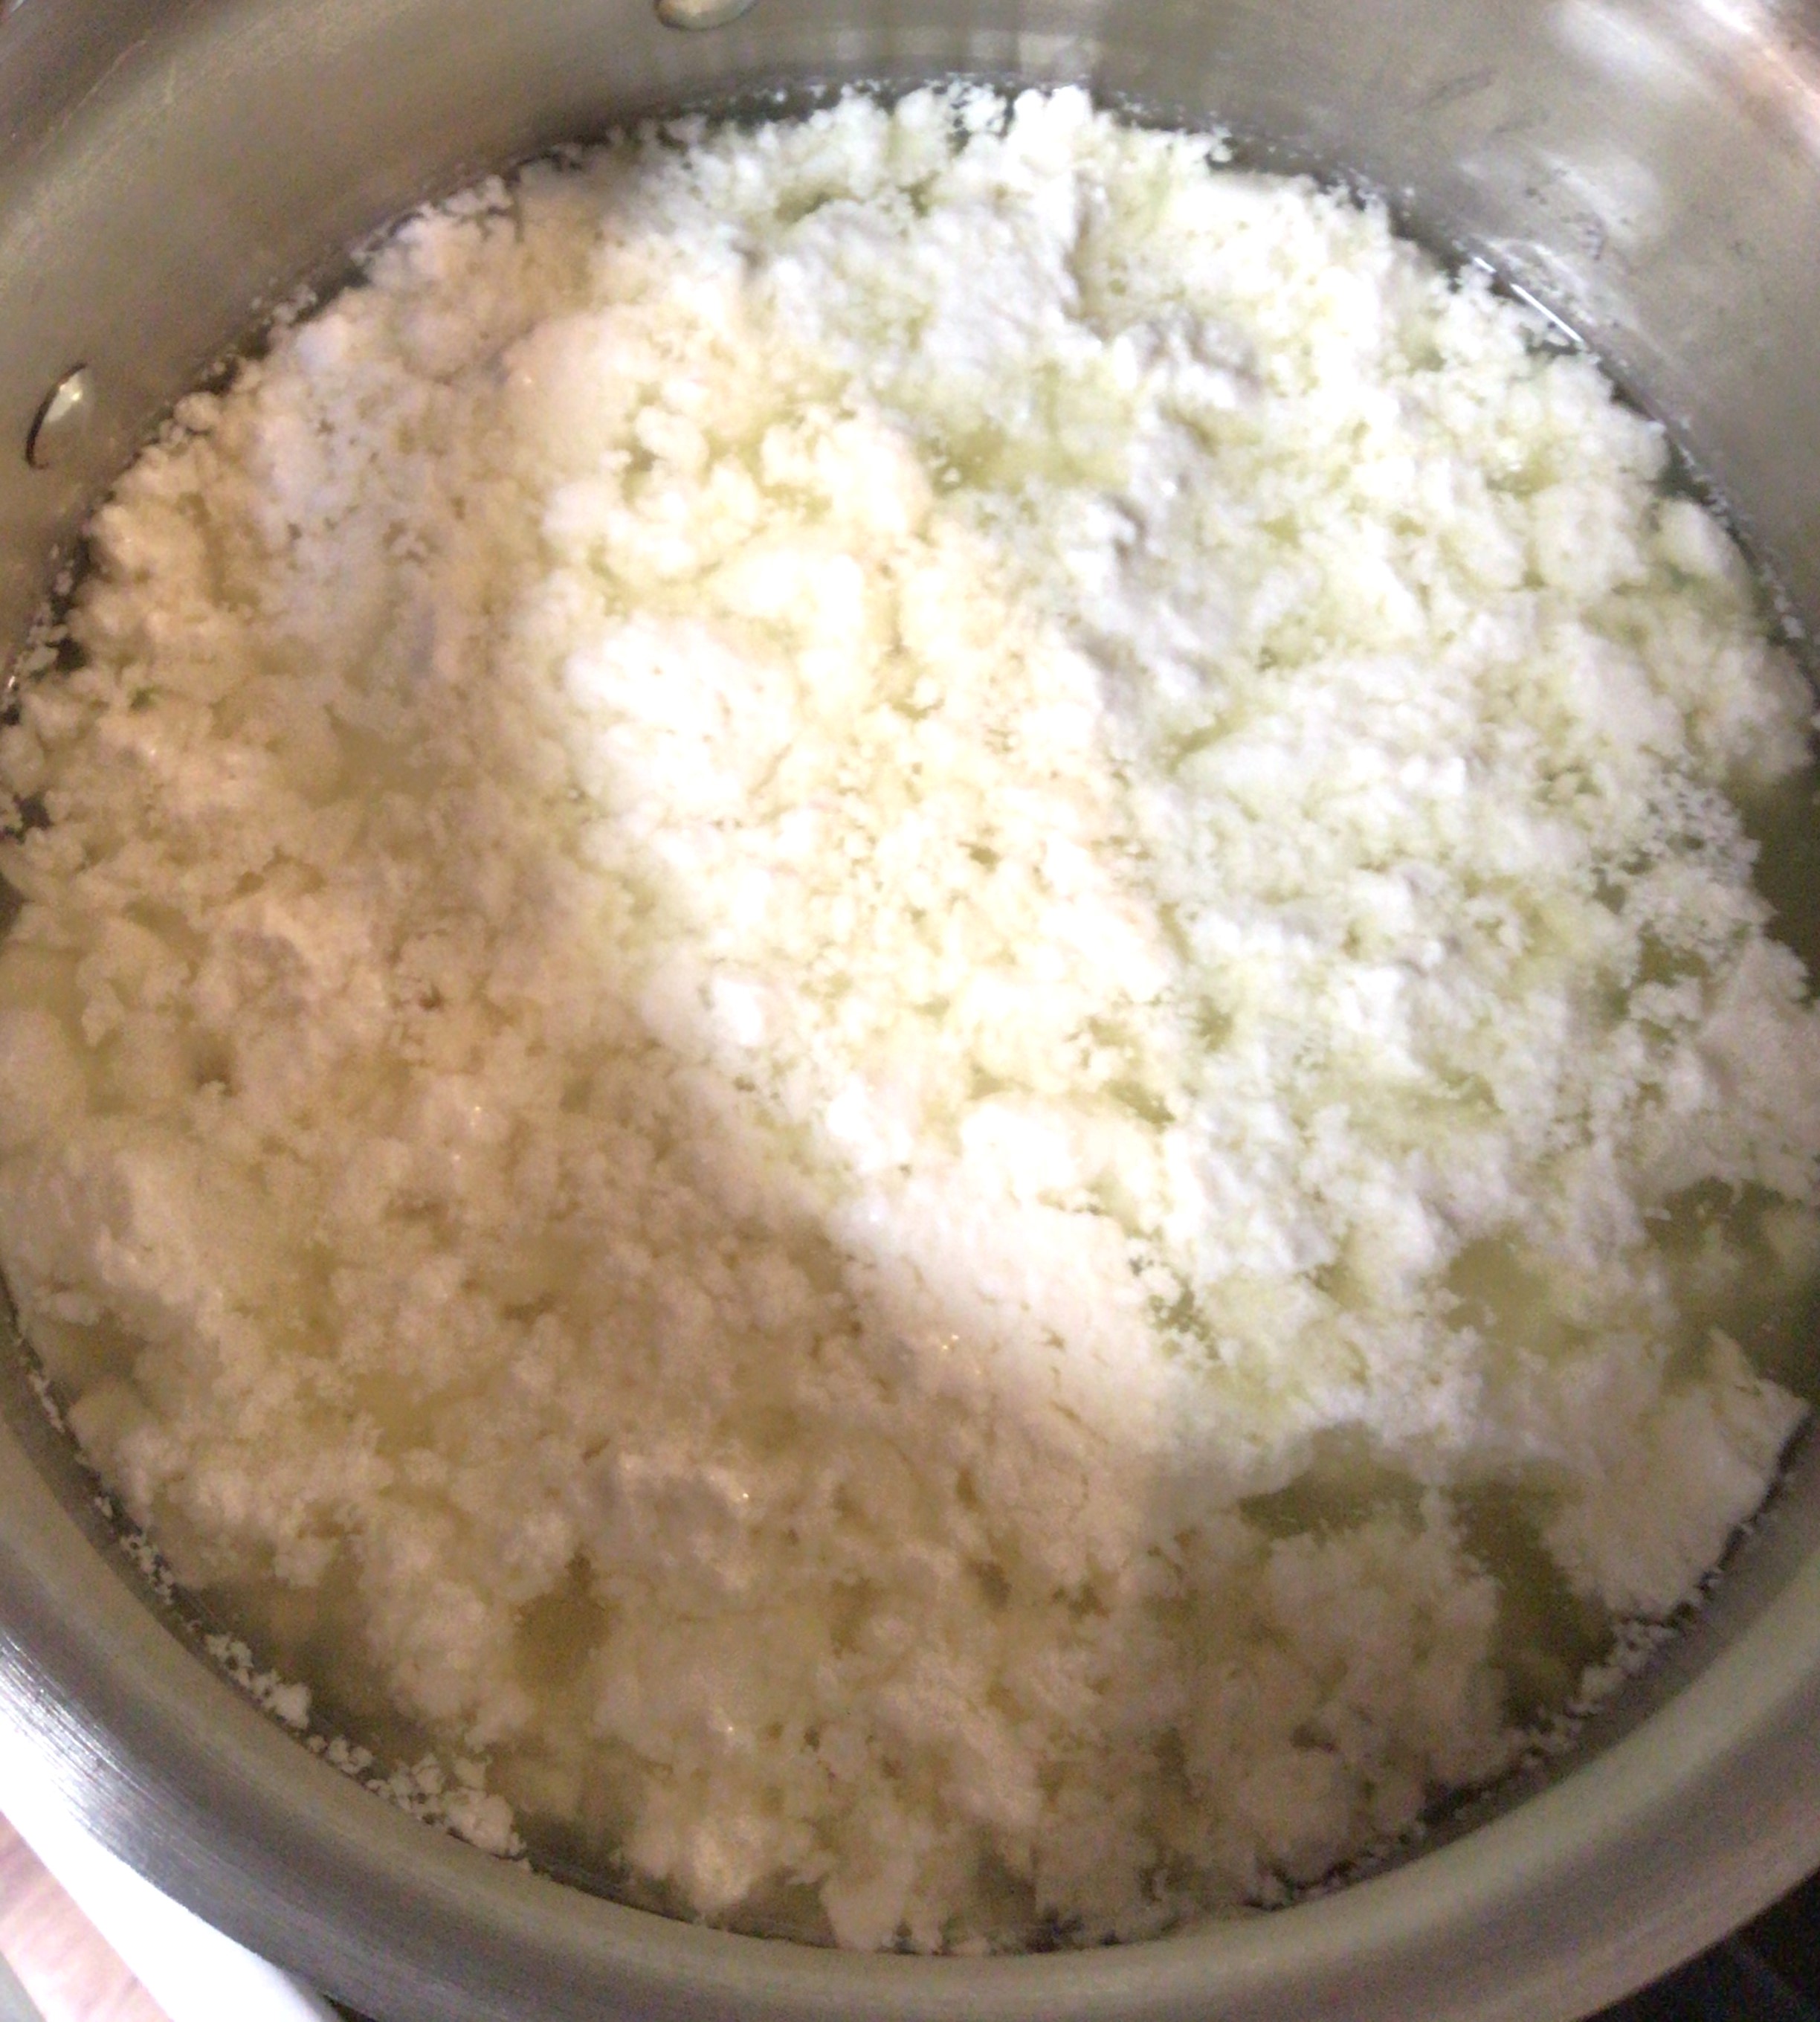
Again, as a first time cheese maker, I assumed that whey was going to be milky white. So you can guess how it felt when I saw the whey was yellow and I asked, “What did I do wrong?”
Nothing. I did nothing wrong. Whey is going to be yellow. The pictures below do no justice to it. It kind of reminds me of neon yellow lemonade. So if you have yellow liquid with your curds, you’re doing great!
Once your curds come to temp, remove them from heat and let them sit for 2 minutes. Once the time is up it’s straining time!
I was super excited for this part! Looking down from the top of my pot, I thought I was going to pull out something like large squeaky cheese curds. I tried to be gently lifting the curds out of the pot with a slotted serving spoon. Low and behold, I was pulling out Titanic Iceberg cheese curds. Okay, maybe that’s an exaggeration, but there were a good dozen chunks that stretched over the edges of my slotted spoon. I felt like a rock star.
Once the cheese is all strained out there’s one of two methods you can go; stovetop or microwave heating of the cheese. Normally, I avoid using my microwave. I think it best serves me as a bread/cookie box. However, I undertook this new venture during nap time and the kiddos would be waking up any time. So I opted for the microwave. This method works, but I have the feeling I can get better results with the stove top next time. Again, I just don’t cook using my microwave unless I’m cooking popcorn or quickly heating leftovers.
If you’re interested making Mozzarella without using a microwave during the stretching process, here’s one resource I found.
Back to the show.
The heating of the cheese is to help release the whey from the curds. And the light addition of salt before each 60 session of warming is to help extract the liquid from the curd. Once you have about a Tbsp of whey left you’re good to move on to the stretching and forming of the Mozzarella.
In the directions I was using, I was told I could use a metal spoon to fold over the cheese while it was hot. And you better believe I took advantage of that tip. (I still cringe at childhood taffy pulling. That candy was hot!)
By the time that I got to the point of this first picture, the spoon lost its effectiveness and I was ready to bite the bullet and go to town using my hands. It was still hot (something similar to a hot spa towel, hot but not flesh burning) but quickly cooled down as I stretched it a couple of times.


For shaping, I decided to go the method that bread makers use when folding the dough under to build up surface tension for boule bread.
Tip: This method of folding the cheese under did two things. One, when the cheese cooled to hold its shape, there’s a canyon like crevice on the center bottom. Two, when I cut a test slice for my mom today that surface tension made a dense slice. If you want a solid slice of goodness, this shaping method might work for you.
Tip 2: I suspect that if you’re looking for more of a string cheese pull apart texture, the method that you’re probably looking for is to keep with a taffy pulling method. Keep going with a pull and fold until you start to feel the cooling of the cheese tightening it up. Then I would focus smoothing the surface for that finished look.
Tip 3: If you’re looking for that soft, squishy ball of mozzarella, I’m pretty sure you’re looking to just stretch it a couple of times, smooth the exterior and then let it cool in your brining liquid or whey.
Once the cheese is shaped, it’s time to put it in liquid to cool and store. I should have just put the cheese back into some of its whey. Or even just water, because I had seasoned it to my liking before I stretched and shaped. The brine I had made was 1 Tbsp of kosher salt in 4 cups of water. It’s too salty for my liking.
If you are sodium sensitive or limit the amount of salt you use, I recommend skipping the storage in brine.
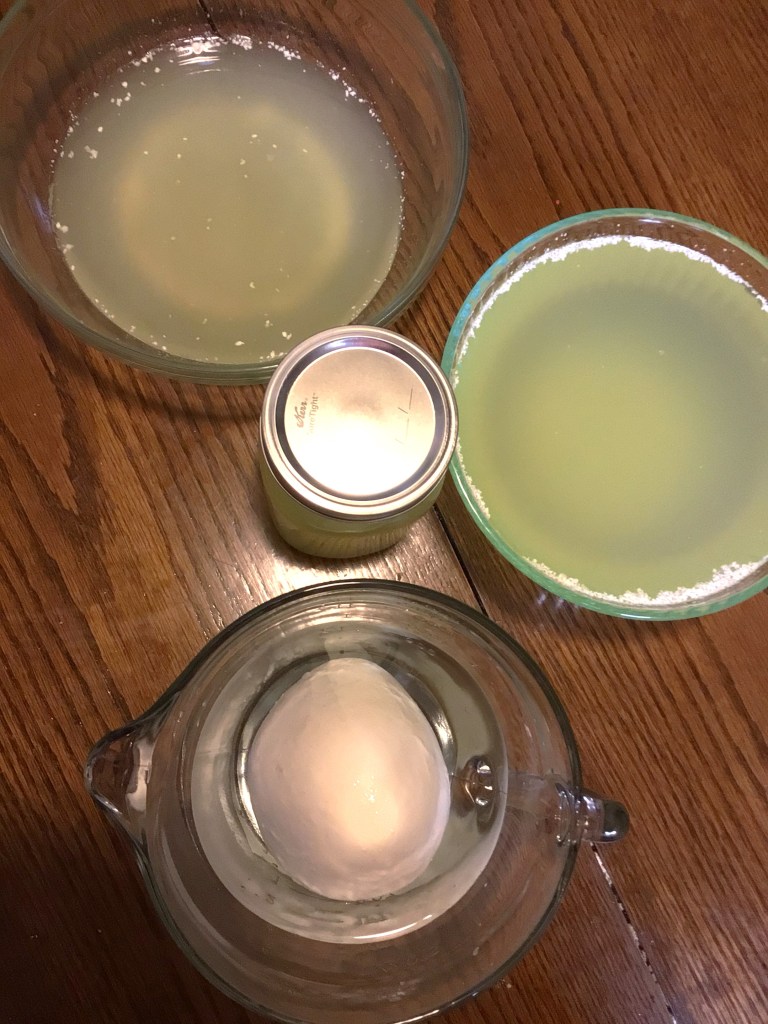
As you can see here, I have a bit more whey then I thought I would. And I looked at my table wondering what I’m going to do with all this whey. But I think I’m going to be okay. The day of and the day after I made the cheese, I used all the whey in the bowl on the top left.
What I’ve Used Whey For
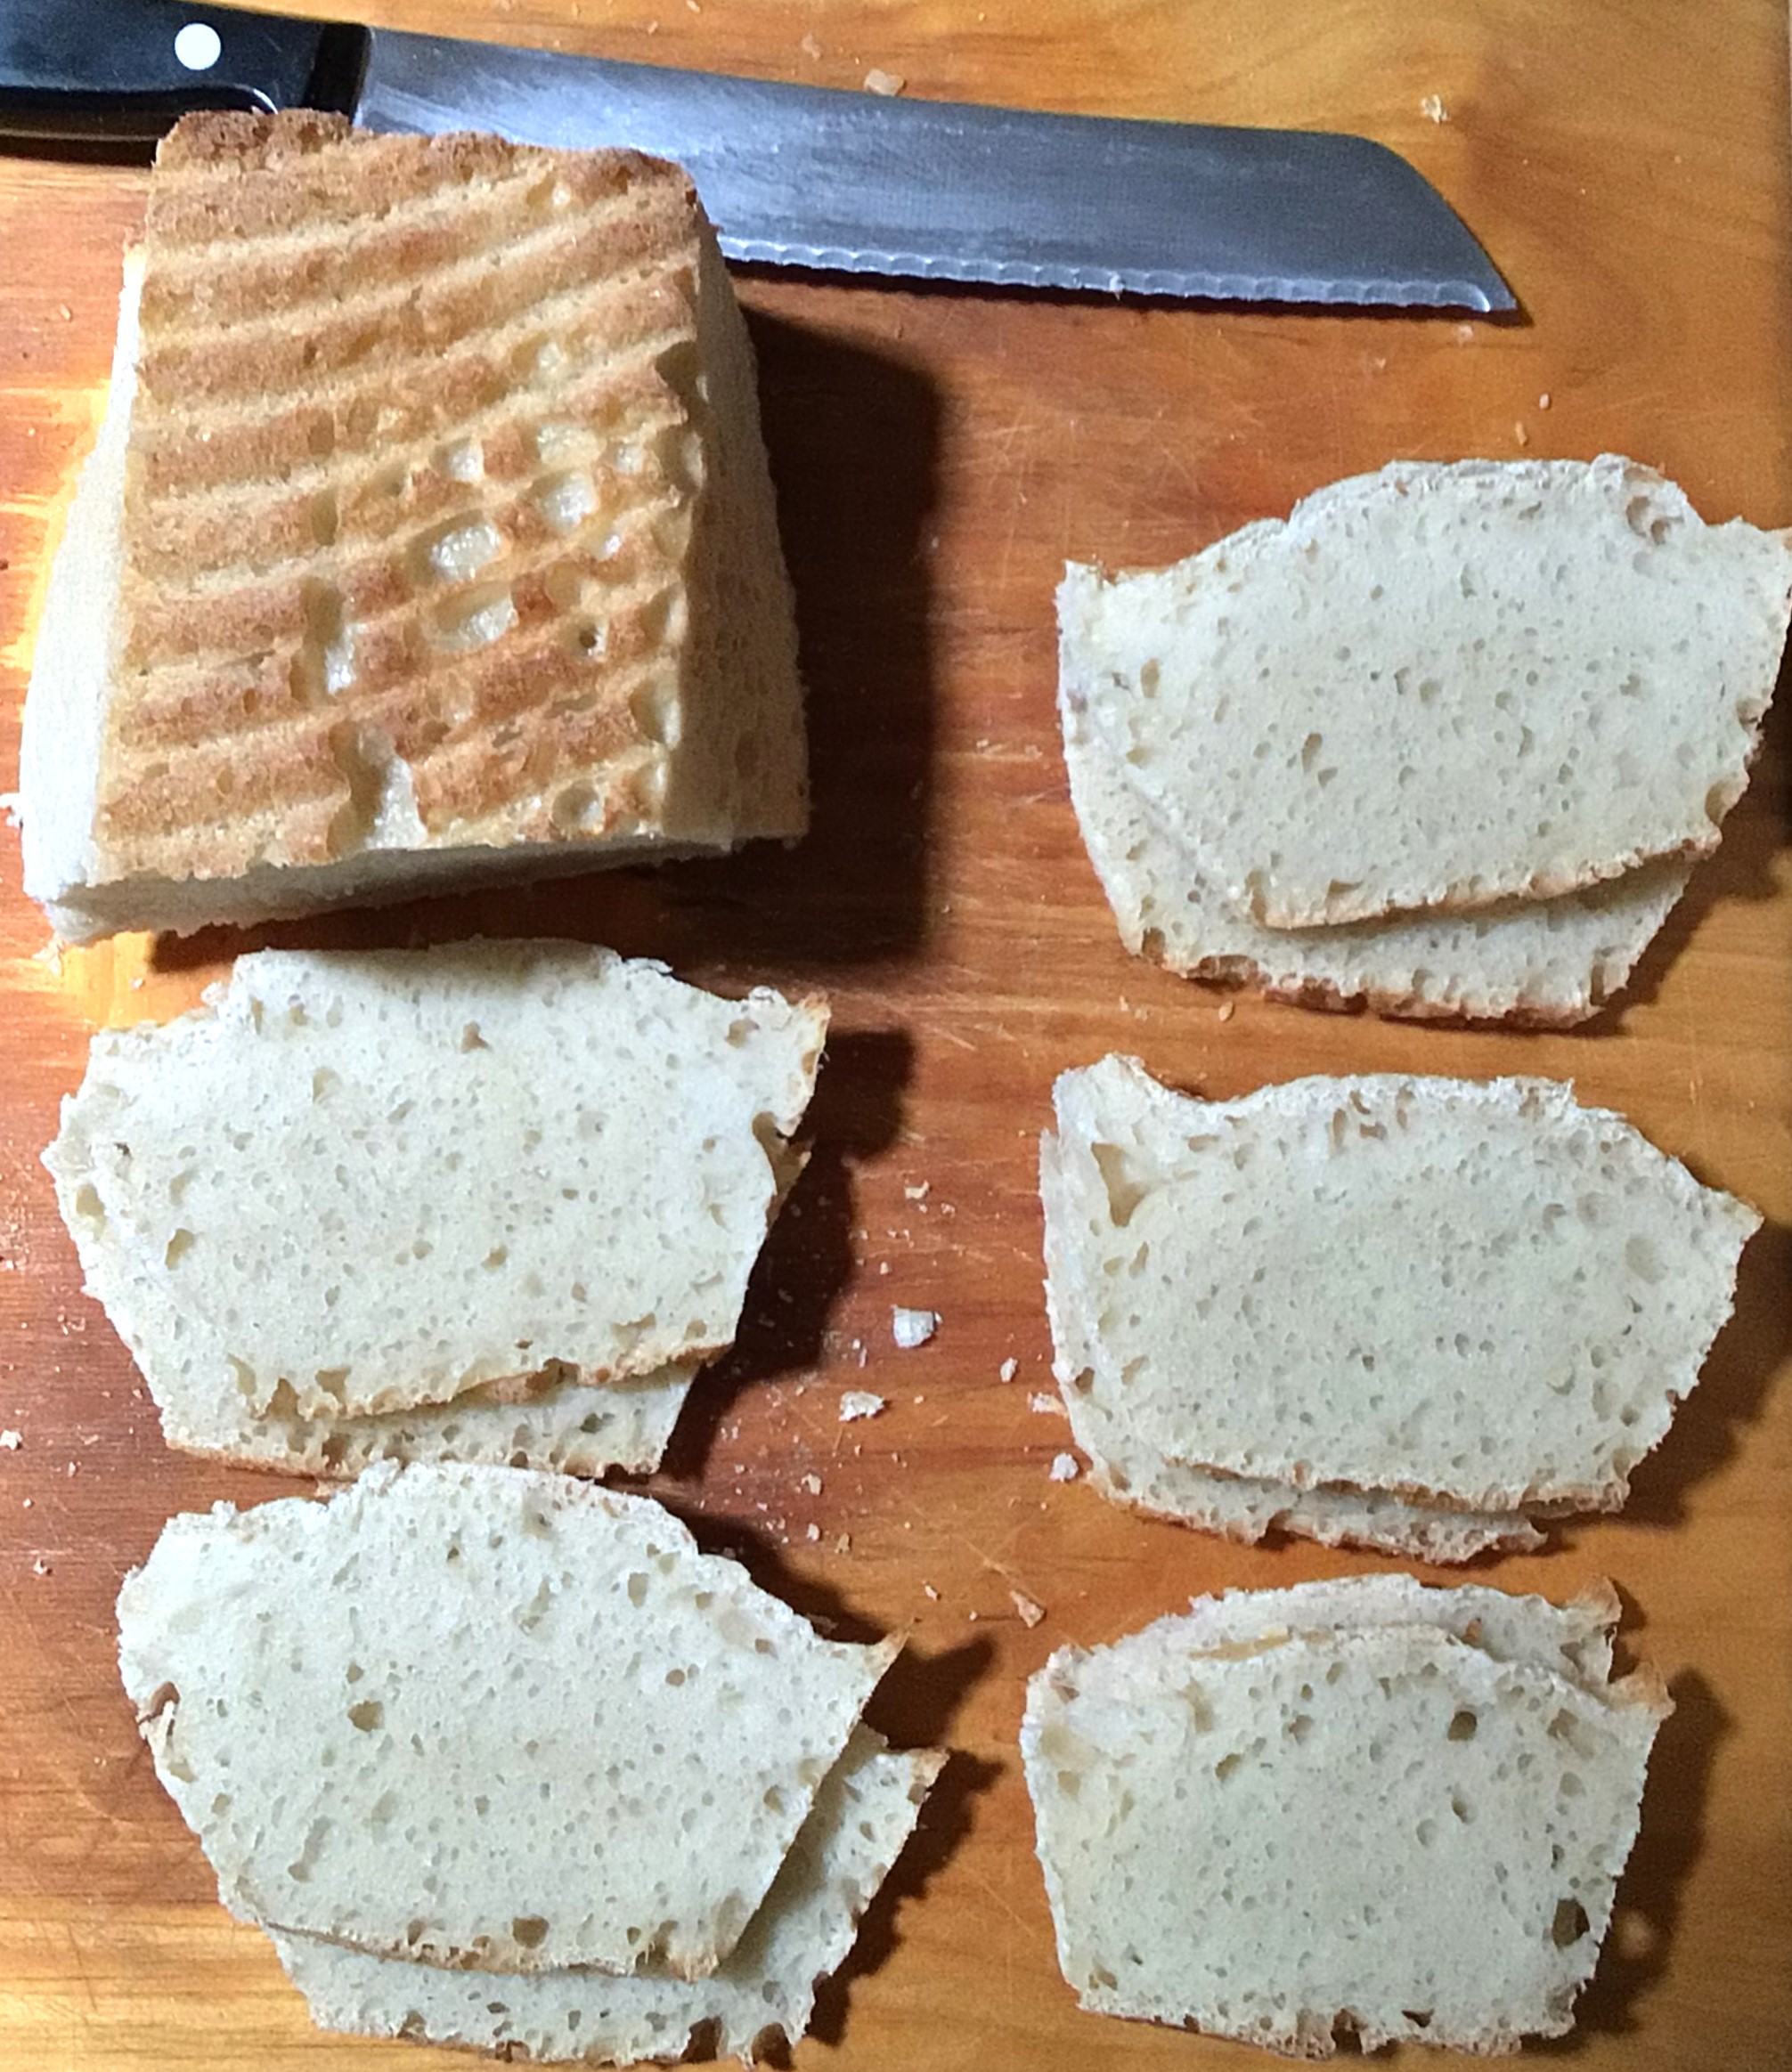
The first thing I made with the whey is my bread recipe that I posted a few weeks ago, found here. The full volume of milk that I use for my bread, I completely replaced with equal volume of whey.
There were a couple of differences that I found with using whey in my bread recipe. One, the dough was much wetter than I’ve ever seen my dough, even on high humidity days. (Picture below) I’m the only person in my family who doesn’t eat raw bread dough, but I have nibbled before just to know what everyone feels so appealing about stealing my dough during proofing. With the whey, the dough feels smoother in my mouth and has a more sweet and bread like flavor than just the overpowering flour flavor that my dough has with milk.

I accidently forgot my dough (thank you children who pushed all my buttons that evening) and my dough over proofed. Because it over proofed I can’t tell you an accurate description of how the whey proofed with the bread. Nor can I tell you how the flavor was different with the whey vs. milk. If you’ve over proofed your bread before, you’ve probably noticed that not only do you have flat tire bread, but there’s also a kind of funk to it. When I over proof bread, the only good thing it’s really good for is grilled cheese sandwiches. My boys won’t really touch it. However comparing over proofed bread flavor, I can tell you this. My boys at 3/4 of a loaf for their PB& J (asking me to make extra sandwiches–this only happens on fresh from the oven days of properly cooked bread). Flavor wise, the only difference from properly cooked and this over proofed was that the natural sourness of the bread was neutralized. And I was about ready to bust out my oil and vinegar and have that for lunch. So I’m excited to try again and do a properly proofed baking of bread with whey!
For Taco Night I decided to take advantage of whey’s natural probiotics, as well as solve my problem with homemade ranch dressing separating after a week.
Ranch Dressing with whey really surprised me! I used a premixed packet, added the store bought real mayo, and for the cup of milk that I normally use I substituted out 3/4 C of whey. I have never tasted ranch dressing that was so good! It had a citrus lemon flavor to it that just lifted it from normal hum drum standard condiment to I think I have a cooking secret ingredient. I had my mom taste it (and she doesn’t do ranch dressing) and she immediately said that she was so glad that she tried it. To her she picked out a cucumber like sub-note, which makes sense with my husband’s reaction that you can taste the herbs in the dressing instead of being overpowered by the mayo.
With the Refried Black Beans that I plopped out of the can into my little sauce pan, I added whey instead of water to get that smooth spreadable consistency. If you think that canned beans are heavy, you most certainly won’t think so after adding whey to it. Again, there was a citrus note that just lifted it into something lighter and much more pleasing to eat.
Let’s just say that those two changes were enough to transform Taco Night into a let’s stay home and skip eating out. I have had some amazing authentic Mexican Food from Chefs who used family recipes. And the only restaurant I would now take over my family Taco Night is Los Cubanos in San Jose, where the Chef has cooked for Presidents and A-Listers.
I am amazed at how much whey can improve the flavor of run of the mill, standard recipes.
As I mentioned earlier, I’m writing this post as a first time cheese maker, so you can have an idea what to expect from a first timer and not someone who has been making cheese over and over and perfected their skills before sharing with the world. I want you to know what you can expect when you first try your hand at cheese making.
Please Try! I want to know what results you find.
As you can see I’ve only tried the whey in three things. But I did pull a search of different ways that whey can be used. I’m going to forewarn you that the list that follows is extensive, but don’t let it intimidate you. I’m looking at this list with Christmas Morning excitement, because the quantity of whey in my fridge is going to get used up AND there are so many different things that I get to try! And let’s face it, I am definitely going to be making more cheese in the future.
Other Uses For Leftover Whey
- Ferment Foods “such as sauerkraut, ginger ale, ketchup, and pickles.” Almanac.com
- Ginger Ale or Lacto-fermented Root Beer (I’m going to have to do a project with the kiddos making the root beer)
- Fruit Kvass
- Fermented Mayonnaise (extends homemade mayo from a week shelf life to a month)
- Kimchee
- Freeze for future use
- Add as acidic note to smoothies, slushies, or milkshakes
- Pour on top of dog dry food
- Feed to Livestock (chickens & pigs)
- Whey Lemonade (this is definitely a recipe I WANT to try)
- Sauces
- Soups
- Pizza Dough
- Mashed Potatoes
- Frosting
- Fruit Salad
- Add to Pesto
- Use as a substitute for Buttermilk
- Use when stir frying Vegetables
- Spray on the leaves of peas, cucumbers and squash that has powdery mildew (Ratio 1:1 with water)
- Toner for Skin and Hair
- Lemon Whey Pie
- Make Gjetost Cheese (sweet cheese)–traditionally made from Goat Milk Whey BUT can use Cow Milk Whey
- Fermented Bean Dip
- Lacto-Fermented Apple Sauce–This is another Must-Make for me
- Lacto-Fermented Horseradish
- Baking recipe replacement for water or milk
- Truffles
- theprairiehomestead.com has used whey in cornbread, pancakes, waffles, muffins, homemade biscuits and homemade tortillas.
- Use for lacto-fermentation (pickling) in vegetables, condiments, chutneys, and jams.
- Soak legumes–one site said NOT to do this because it made their dry beans tougher (so a judgment call)
- Dilute down and water your garden (acid and Calcium loving veg and flowers)
- Make Ricotta Cheese (traditionally made from whey)
- Whey marinade (add your herbs and seasonings of choice) for your meats
- Use for your mozzarella storing brine
- Soak your oatmeal overnight in whey
- Cook your grits, rice, grains and pasta in whey
- Cocktail alternative for raw egg whites
- Add to Fire Cider
- Added to your stock of choice (replacing a cup or two of water)
- Use when making Risotto
- Substitute for Orange Juice in smoothies and baking.
- Substitute for Lemon Juice in recipes, vinaigrette, and cocktails
- Make Fermented Salsas, Dips, & Spreads (more recipes on this one link than I can state. Looks like it covers just about everyone’s flavor profile. So you should be able to find at least one to excitedly work with)
Expectations for Best Use Dates
From the Cheese Making directions I used, the Mozzarella is good for 2 week when stored in bring or water. It can be frozen for up to 3 months.
From what I’ve read, frozen whey is good for 3-6 months. (But you will not be able to make any cheese products from frozen whey.) People have made Ricotta cheese with whey that’s been in the fridge for 4 days. One source says that it’s good for 5-6 days. Another says no longer than a week. If you dehydrate it into a powder, you have 6 months refrigerated or 6 days at room temperature on the counter.
If you are looking for a more professional answer, instead of experiential hearsay, the USDA liquid milk products are good in refrigerators for 1 week. Cheeses are good frozen for 3 months. This doesn’t answer precisely for liquid whey, but it appears to fit with circumstantial evidence.
So if you don’t think you’ll get to all your whey right away, be sure to freeze it.
Your whey has gone bad when it has a rancid smell and/or bitter taste.
Pulling from being a breast feeding mom “rancid” and “bitter” may not be what you think. It’s more of an “off” sent/flavor. Yes I tasted my fresh breast milk and warmed frozen breast milk. When the milk was within the 6 month recommended frozen window, it warmed with not much flavor difference. Older freezer milk, when warmed did not have the same flavor. It had more of a sour instead of sweet taste.
In the same manner I recommend that you take a little taste of the liquid whey that you produce and focus on remembering the smell. That way when you ever have a question if the fresh or frozen liquid whey is still good you have a working knowledge to pull from instead of the random descriptors that writers use to convey a thought. After all your taste buds are going to pick up something different than mine, and the milk we could be using could be different in base flavors. (Ask a picky child what this means LOL.)
I know this is a lot of information, but I hope it empowers you into making some cheese and using the whey for other uses. Be sure to leave a comment below about what cheese you make and what you’ve made with the whey.
I know that I will never look at a gallon of milk the same!
Check out what’s new in my store for Cut Files that you can use on your favorite crafting machine. New Releases go live every Monday!
One response to “Something New To Stretch”
-

[…] last week I continued my experimenting with whey and I wanted to do a follow up post on what I learned. And […]
LikeLike

Leave a comment