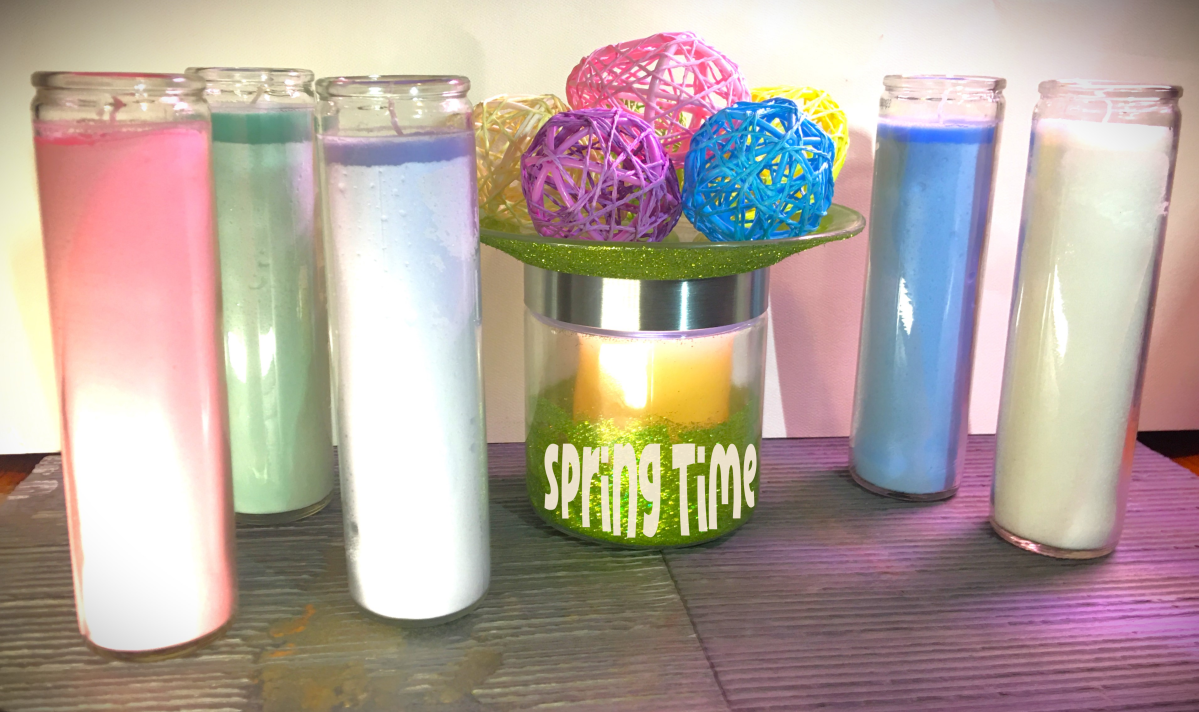
Depending on the space you’re looking to decorate for spring and Easter, you might find that you want a little sparkle in a small place. Maybe it’s a window ledge, a office desk corner, a mantel piece, or just a side table. This is something quick that you can put together and adds as much or little color as you like. The best part is that with the exception of glue drying time, you can have this project done in under an hour!

Materials Needed:
- Clear Glass Salad Plate
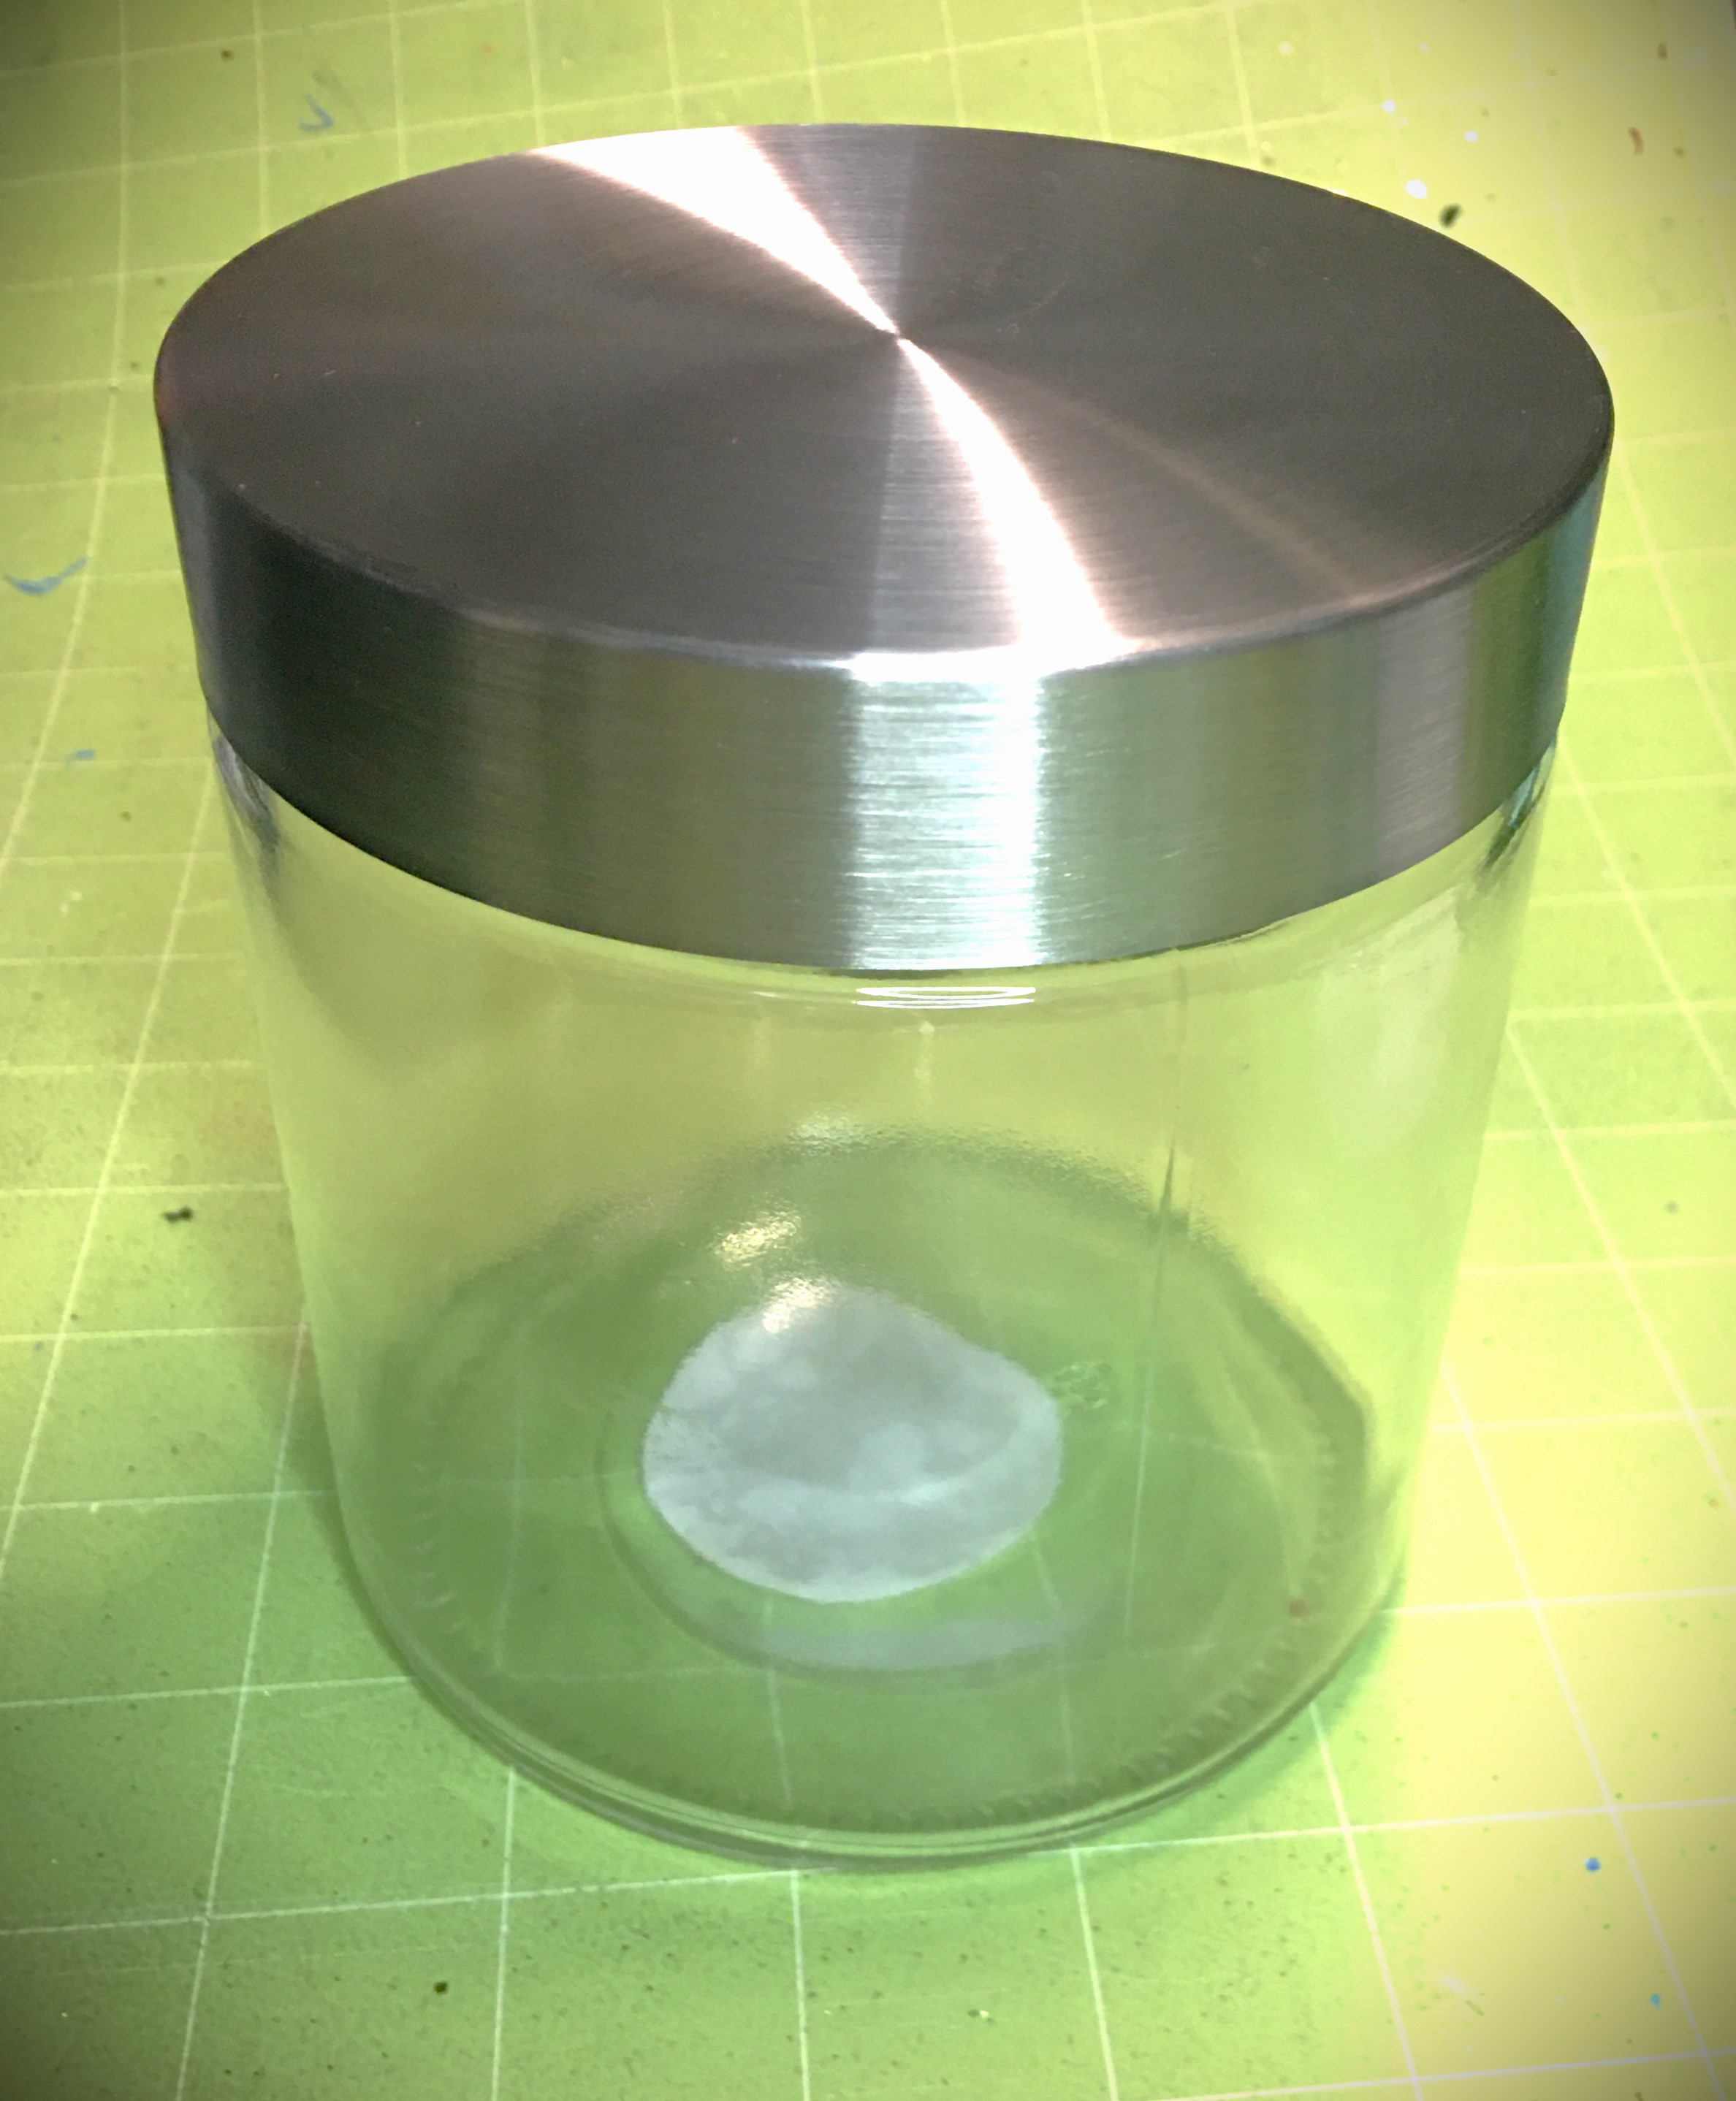
- Clear Glass Cylinder Container (with lid)
- Glitter (color of choice)
- Glitter Glue (complementary color)
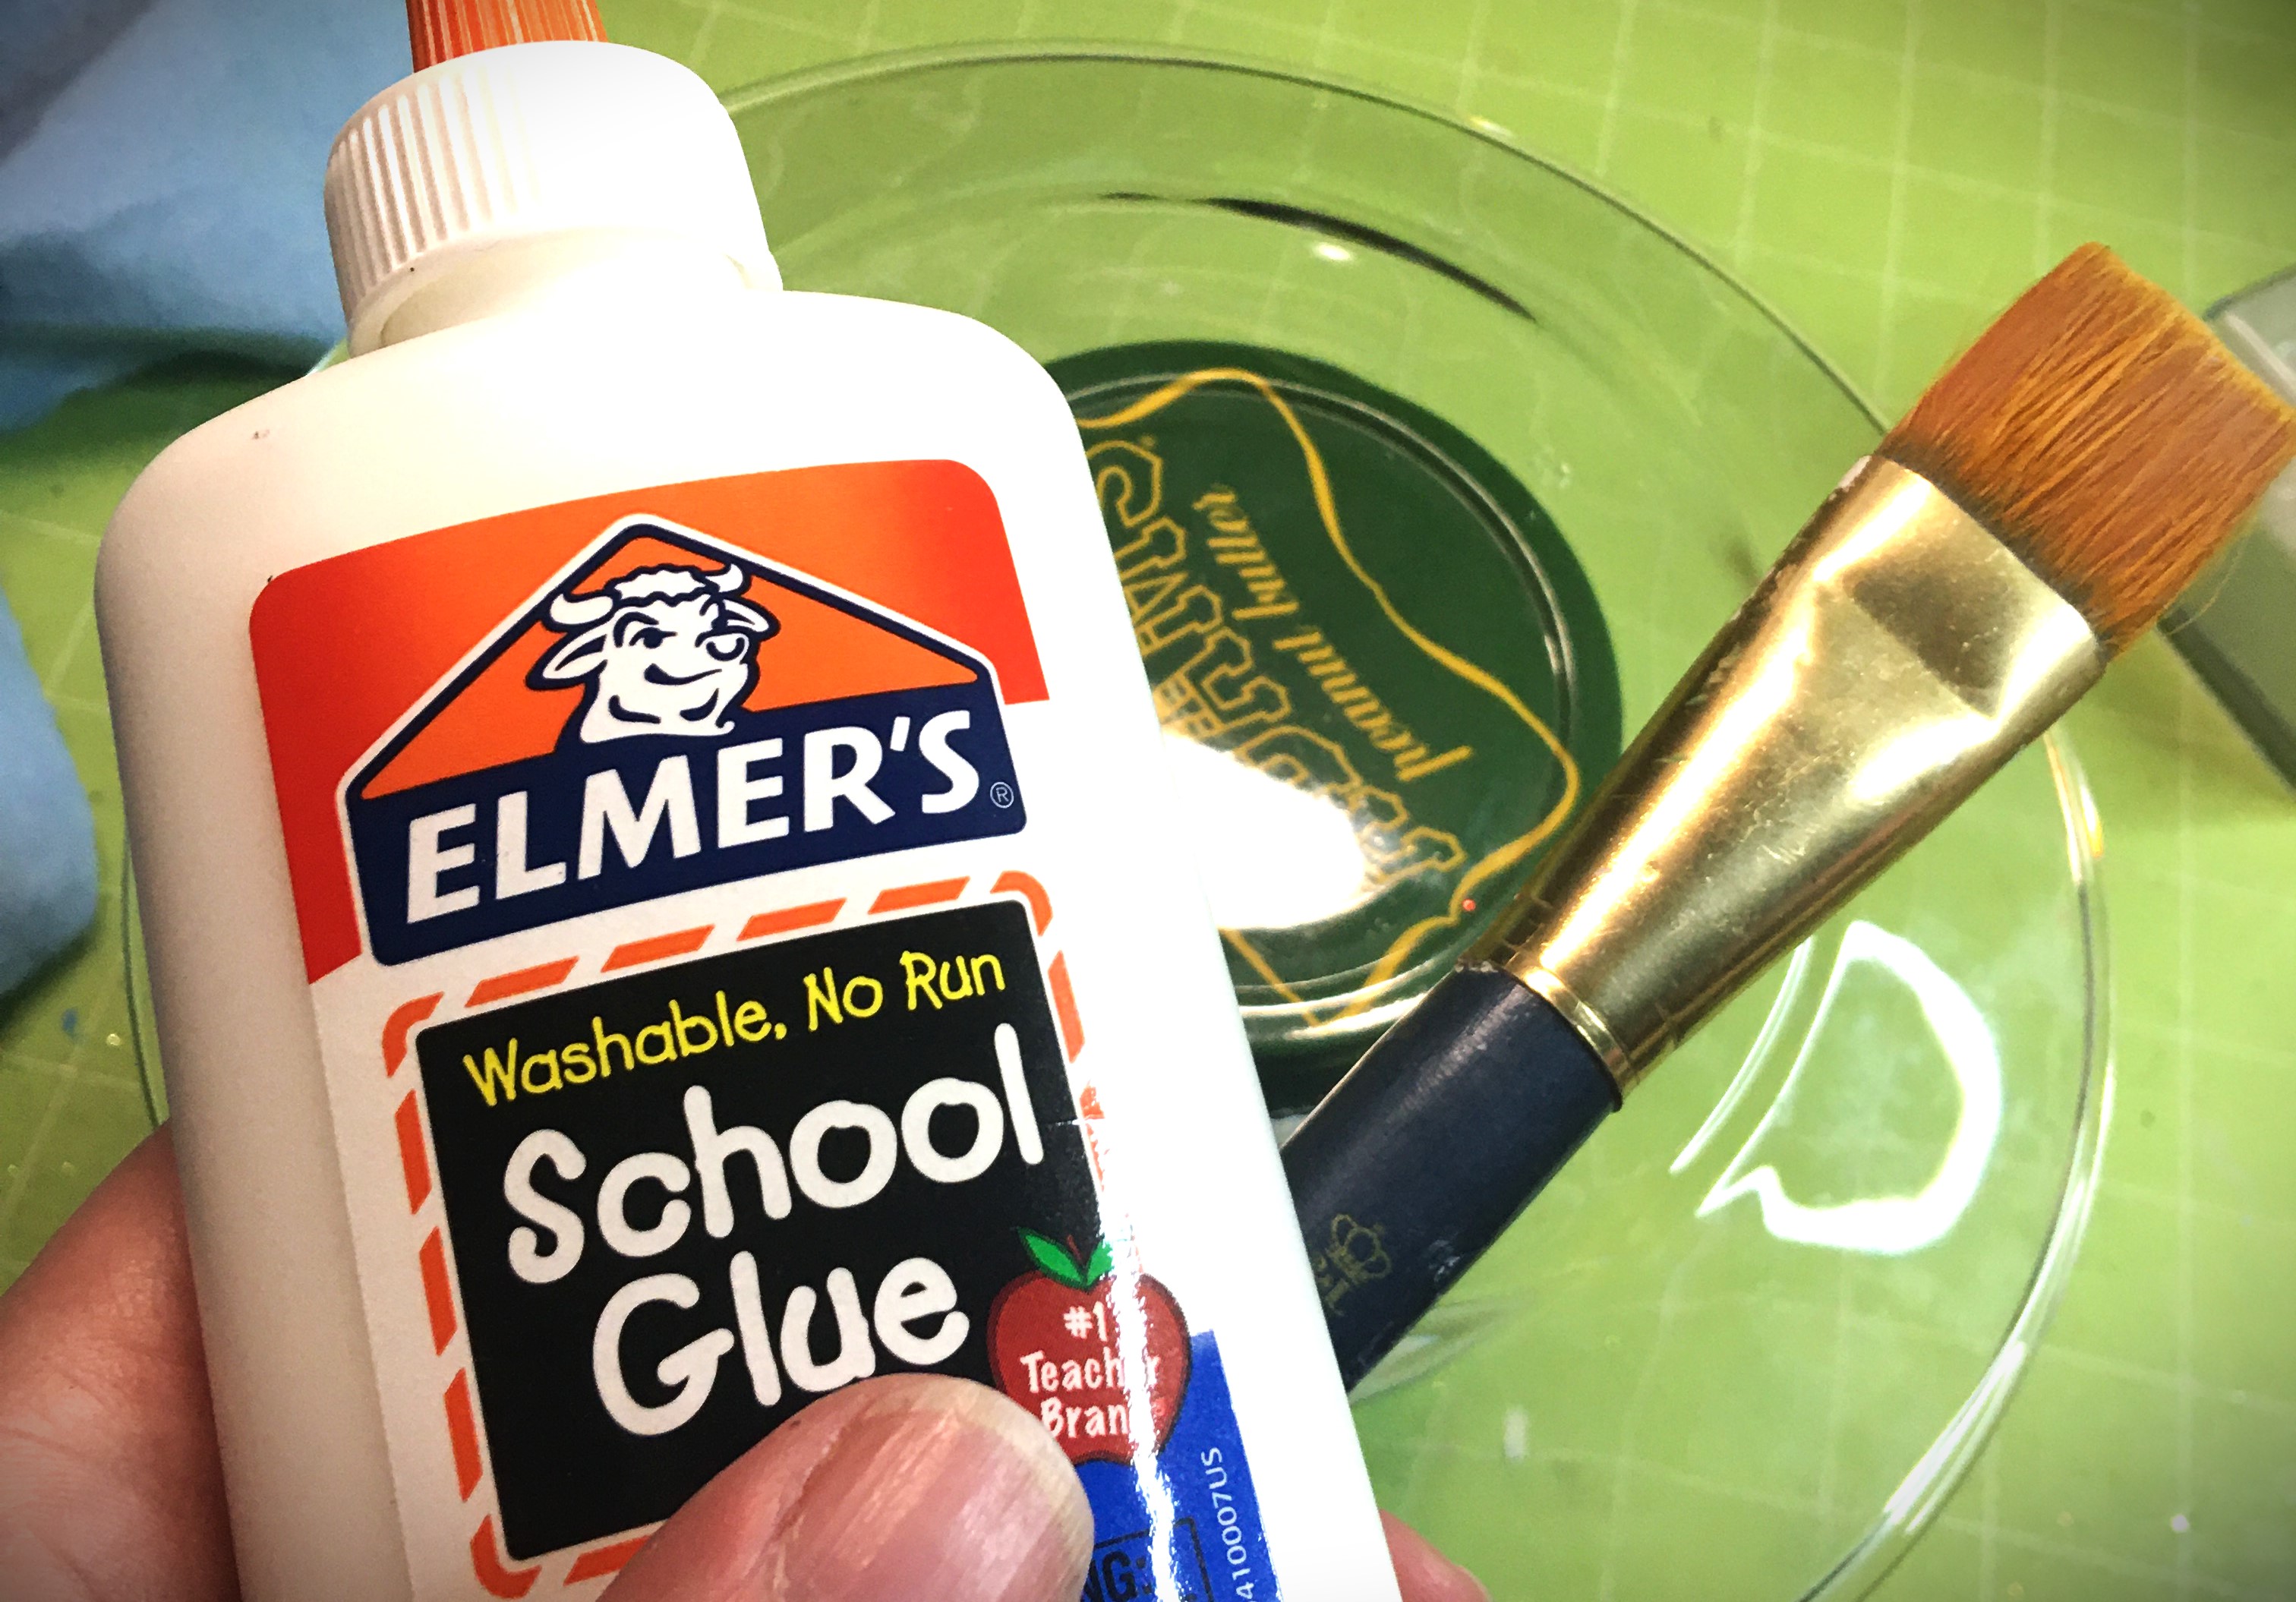
- Elmer’s Glue
- Paint Brush
- Paper and Wire Decor Eggs
- Tall Candles (colors of choice)
- Fairy Lights (optional)
- Polycyclic or Clear Acrylic Spray Paint (optional)
- Vinyl Decals/Stickers (optional)
- Silk Flowers (optional)
Everything you see here I sourced at my local dollar store, with the exception of my Elmer’s glue and polycyclic. Hello mom of young children here! I found that I’m least likely to cry with accidents when I buy things from the dollar store. And accidents happen.
Let’s Make It
Jar Stand
This one is a multifunctional component. I’m showing you how this holds a decor item, the paper and wire eggs. Instead of the eggs, you can use the plate for treats. Or you can set the plate aside and use the jar as a plate holder for part of your Easter Brunch.
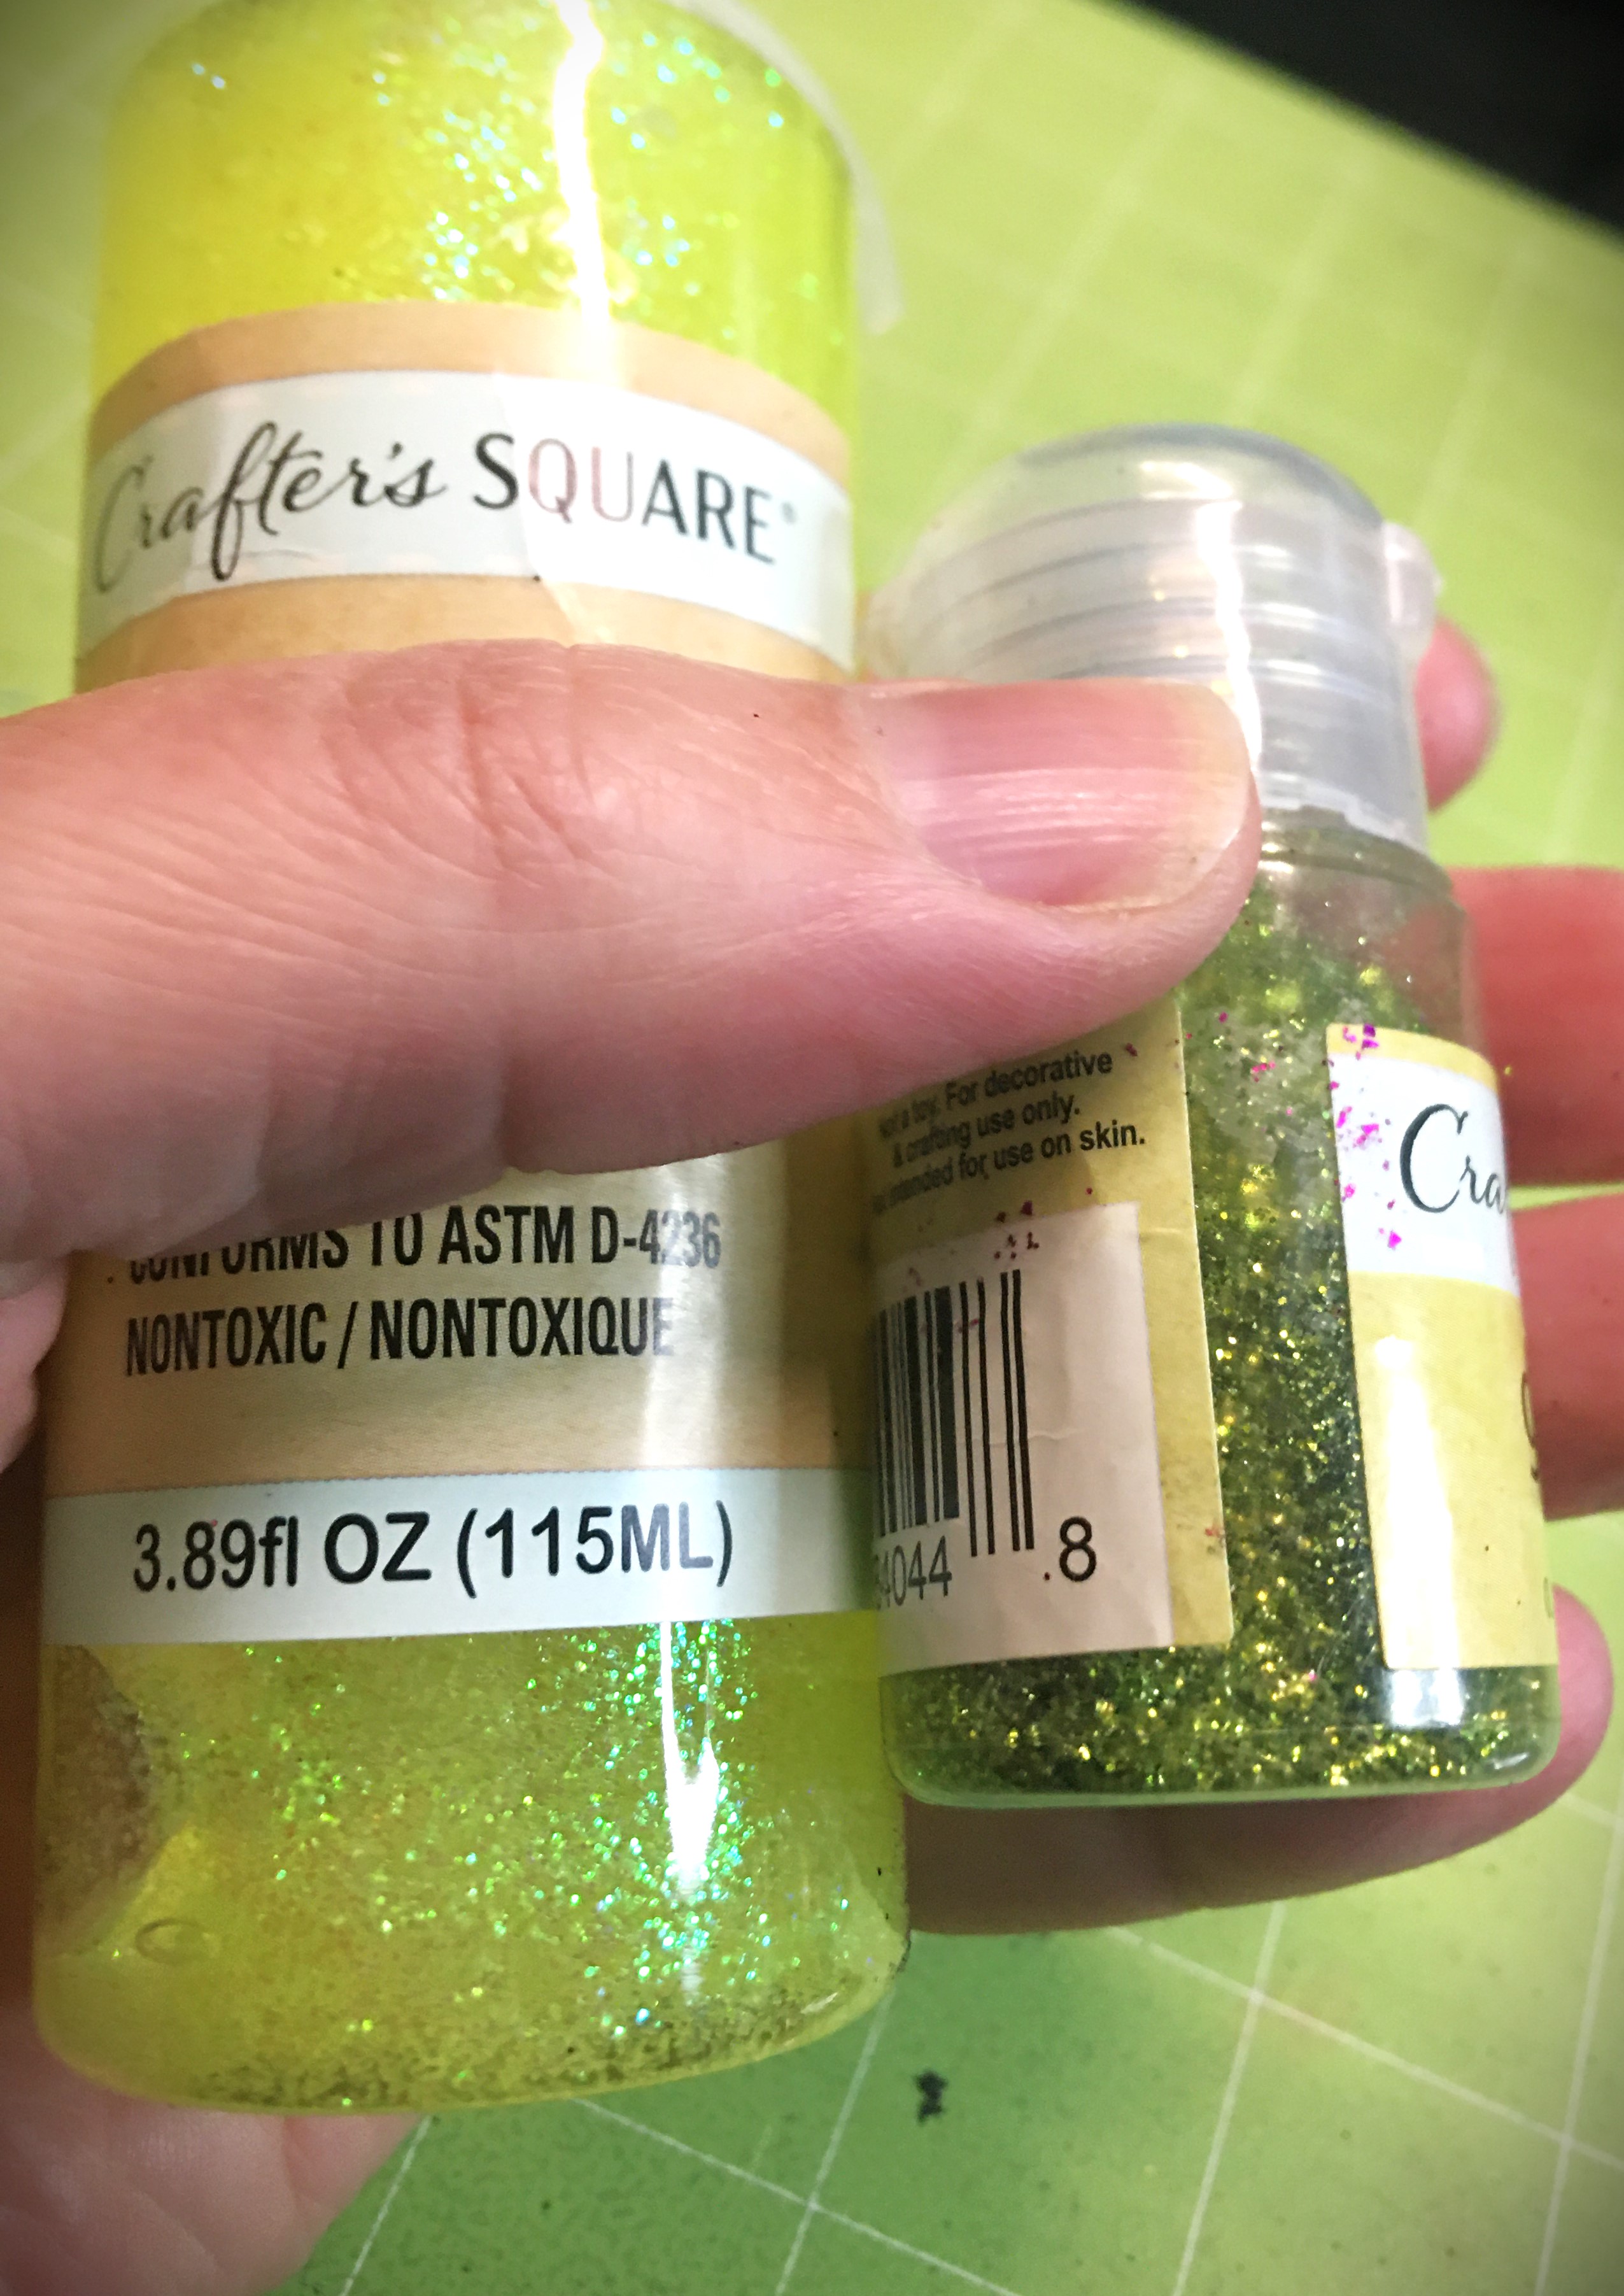
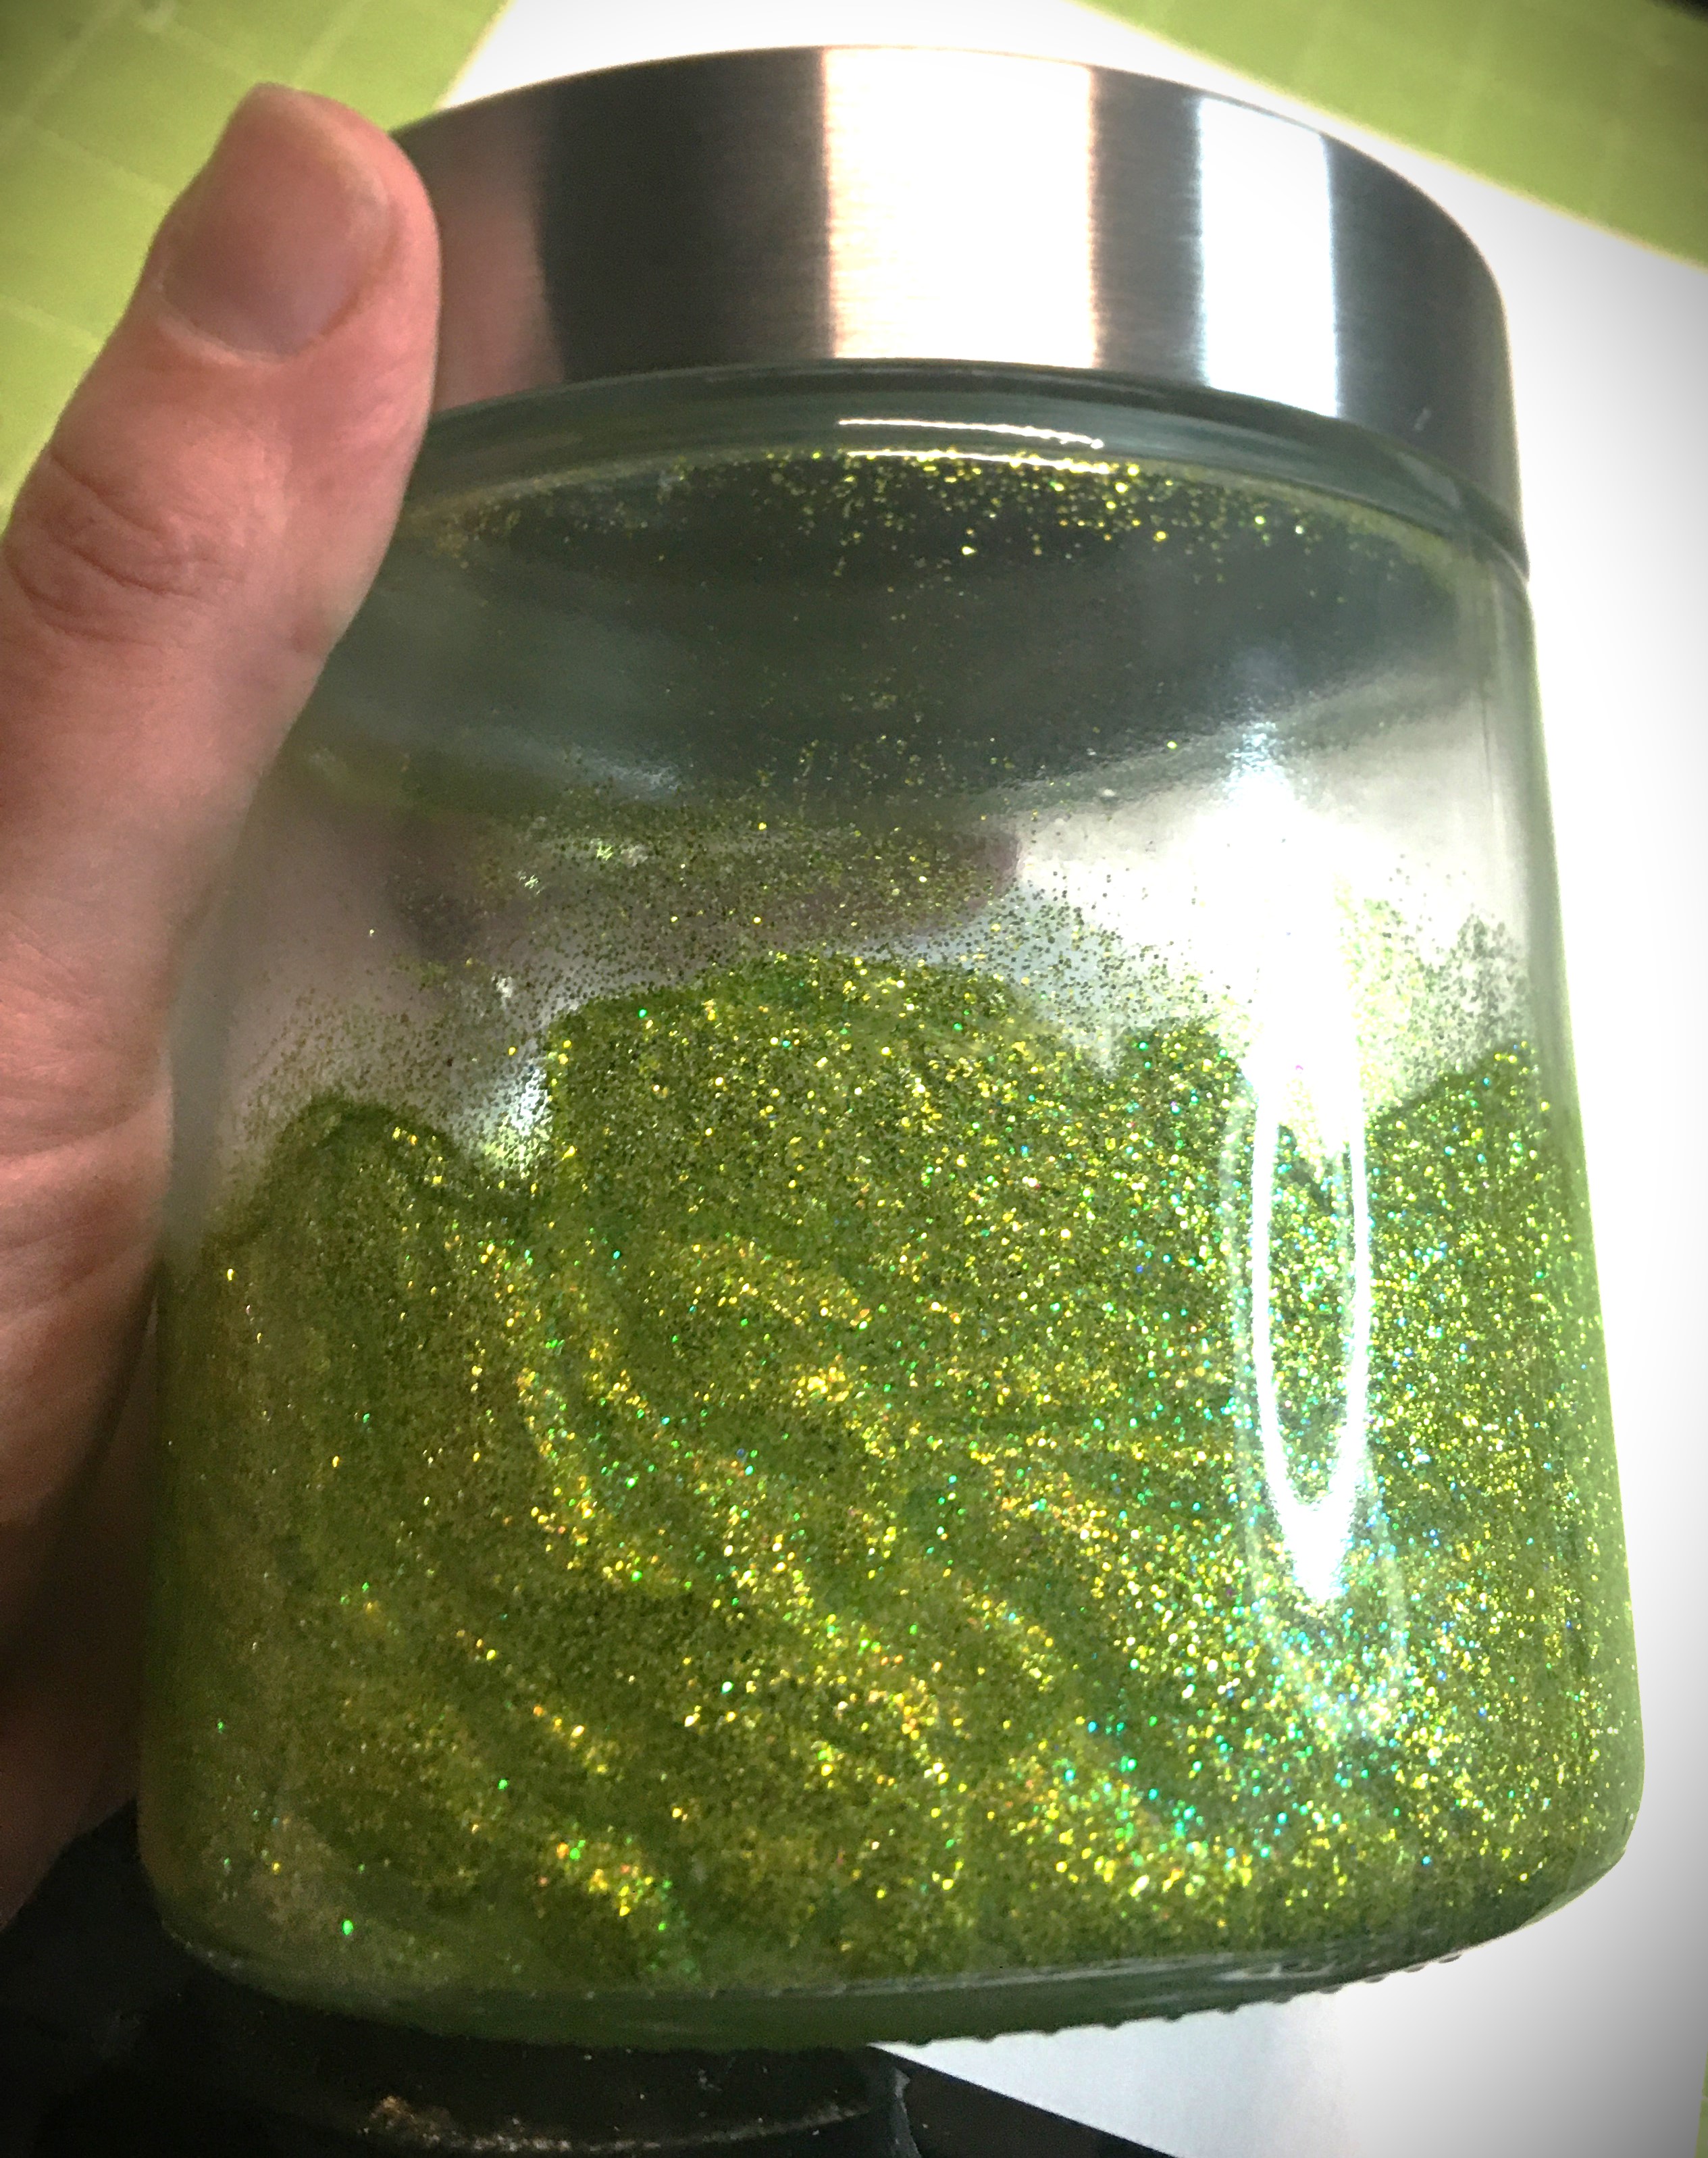
- Inside the glass jar paint in your glue in the bottom portion of the jar. I used a yellow glitter glue to complement the green glitter. When using glitter glue, it’s important to pat the glue on your project and not paint it on. This type of glue does not have the holding power that Elmer’s glue has. I chose to stop the glue a little over halfway up the jar and stroke upwards to create a grass like effect. If you want to use Elmer’s glue you’ll have a little better control over the glue and a quicker dry time. Just make sure to add a little secondary color of glitter into your original glitter choice. This will give dimension to your color and keep it from becoming flat looking.
- Dump a good portion of glitter into the bottom of your jar and swirl it around on top of the glue. For the sides of the jar, I turned and tilted the glitter from the bottom of the jar down toward the mouth. I also hit the sides as I turned the jar, so that with it came to knock out all the excess glitter, there was very little that came out.
- Allow to thoroughly dry.
- You may find that you need a dry loose bristle brush to brush out some stray glitter that likes to stick to the clear glass.


Egg/Treat Plate
In order to keep this plate safe for treats, make sure to apply the glitter to the underside of the plate. This makes the face hand washable.

- Apply a thin layer of Elmer’s glue to the area of the plate that you want to add the glitter. For me, I love the silver coloring of my jar’s lid and want that to shine up through the bottom of the plate. So I only applied glue to the lip of the plate.
- Sprinkle glitter over the wet glue. The more thorough you are on the shaking off of excess glitter makes the final step easier to apply without lifting the glitter.
- Once the Elmer’s glue is dry, seal in the glitter with polyclinic sealant or clear acrylic spray. This is an important step if you want to make sure that you won’t leave glitter trails when handling the plate. If you choose to use polycyclic, you want to tap the sealant on instead of brushing. Brushing actually ends up stripping glitter off of the glass. If you tap it on, the only glitter that comes off is whatever is loose to start with. If you’re like me and want to minimize the amount of glitter loss, clear acrylic spray is perfect. There is no loss. Plus the acrylic spray has the additional bonus of retaining the sparkle of the glitter more.
- Allow to thoroughly dry.


Assemble the Accessories
For my display I chose to go with the multi colored paper and wire eggs and different pastel colors of tall candles. This is where even more personalization can happen. If you have rattan balls, you can use those here and keep with white candles to keep a clean minimalistic look. (In this instance a white frosted paint or white glitter might be your choice of decorating the jar and plate.)
For the candles, if you choose to go the color route, you can mute the colors by frosting the outside of the glass.
Or perhaps you have ribbon from other decor you already have up. You can hot glue a band of that ribbon around the candle.
For this set, I’m going to apply vinyl decals onto the glass. Also I’ll apply a decal on the jar.
Coming back to the jar, you might choose to further decorate the inside. Perhaps you want to add battery powered tea or short pillar lights. Maybe you love fairy lights. (For this one I would recommend hot gluing the switch the bottom side of the lid. This allows you to turn on the light just by lifting the lid and not having to fish for the switch on the bottom of the jar.) You could be a flower person. You could arrange your favorite silk flowers inside. Combined with fairy lights could be very dreamy looking. I think I’m going to have to find where I stashed my silk butterflies. The wing span is about 6″ and I could arrange 1 or 2 butterflies on the inside and have a little whimsy on the inside of my jar.
Put It All Together
Even with all the different ways of personalizing this project, it’s all going to take on a different life depending on how you will set this up. Will you use a colorful table runner? Or maybe you’ll display this set with absolutely no further modification. I can totally see the white frost, rattan balls, white candles set on a reclaimed wood side table.

How will you set this up in your home?
Vinyl Decal designs can be found here:

Easter Candles (Decal)


Leave a comment