I considered waiting to share this post until the fall, but then I thought why not now. This is the perfect idea to share now while you’re still deciding what you are putting into the ground or containers for this growing season.
If you have some tomatoes planted and wondering if you should plant more, the answer is a resounding yes!

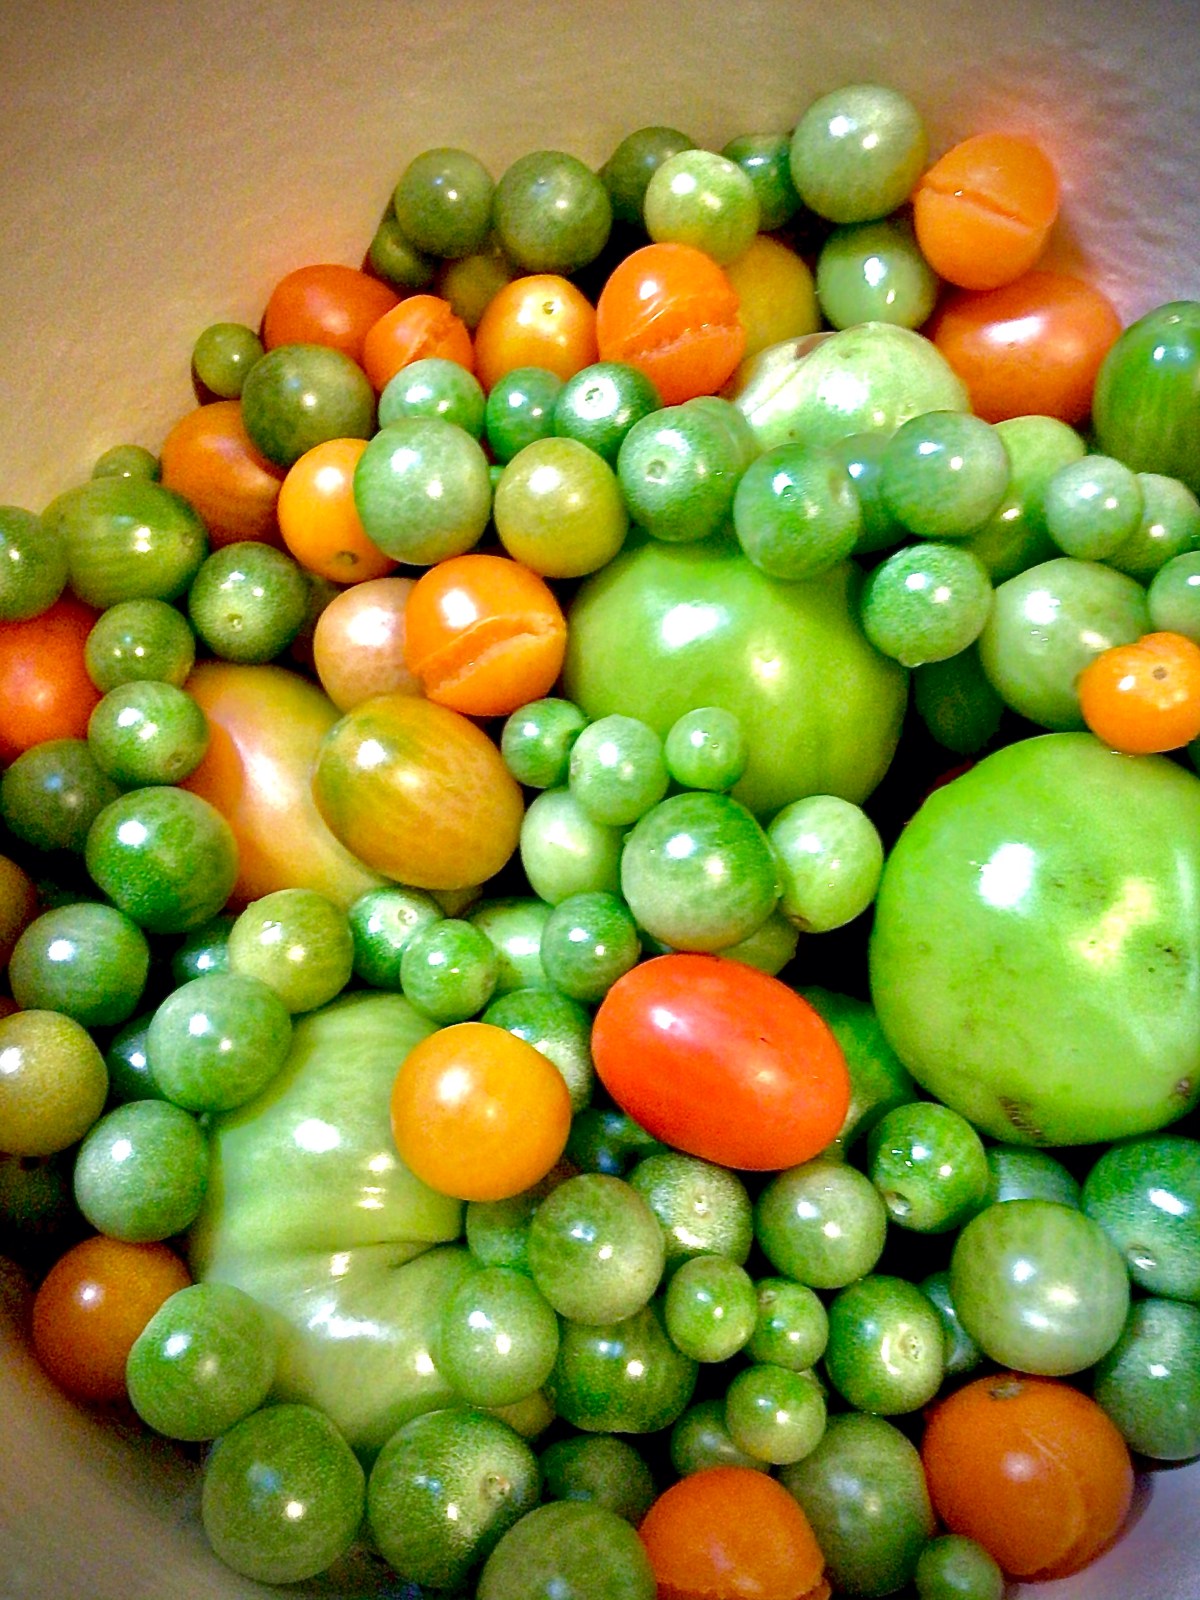
I’ve mentioned before that last year, the growing season here in the Pacific Northwest was horrible. Nothing really took off until the end of June and the beginning of July. And I was concerned with my tomatoes. If fact, the above picture was the last of the tomatoes that I took off the vine at the beginning of October!
As you can see, there were so many green tomatoes that I still had, but my plants were dying off. So instead of all these beauties, I brought them inside and found a recipe that has now entered my MUST make every year when I bring the tomatoes in.
But I wanted to share this recipe with you now, because this is worth planting the extra tomato plants that you’re debating about adding to your garden.
If you’re like our families, you grow enough tomatoes to make your tomato sauce, pizza sauce, tomato soup, salsa or other tomato product you store for the winter. (This year I’m going to add making our out ketchup and tomato paste.) You definitely want to add Green Tomato Relish to your list!
I tried this last year not just because I had a plethora of green tomatoes, but also because my husband loves relish and I hate pickles. So I gave this a test drive to see if I could make something that is on his list of condiments and yet is something that I will eat as well. And I tell you that this hit the spot for everyone!
OurHalfAcreHomestead Green Tomato Relish
Mrs. Volfie posted her Green Tomato Relish here, but for your convenience I’m leaving the directions she walks through below. Please note, that if for your first time you don’t have the celery seed in your cupboard you are still going to have an amazing relish without it. I now have celery seed in my kitchen so I can’t wait to see how much better it turns out.
This is the vegetable ratio that Mrs. Volfie talks about in her recipe. You can mutiply it according to how many green tomatoes that you have.
- 2 C Green Tomatoes, minced
- 2 C Onions, minced
- 1 C Sweet Peppers, minced
The Base for this recipe is 5 Cups of produce.

As you can see here, I used red onions instead of the yellow onions that Mrs. Volfie used. They are just my personal favorite onion, but please feel free to use the onions that you have on hand. I also want to mention that I was about a half cup short of the minced peppers and I still instantly fell in love with this recipe. Just remember that if you’re light in one vegetable, you should try to make up for it with one of the other vegetables.
I didn’t and I ended up with a slightly wetter finished product than I would have liked. But that is okay. Having run this recipe and knowing what the outcome is and what my personal expectations were, I know that this next batch that I make, I’ll make sure to keep that 5 Cups Base ratio and I’ll go a little lighter on the liquid, but I’m ahead of myself.
Let’s move forward.
This is a 2 day project. On first day, you’re going to mince your vegetables and let it sit over night. The next day you’re going to cook and bottle or jar your relish. And as a busy mom, I sure do love recipes that I can break up into steps like this and not have to take an entire day to run a canner.
Day One
- Mince your vegetables to make up your Base Unit. (In the video Mrs. Volfie made a triple batch, which is a total of 15 Cups of produce.) I didn’t have the chopping tool that Mrs. Volfie used, so I minced by hand.
- Combine your vegetables and add 2 Tbsp of Pickling Salt. If you are running less or more of a Base Batch, you may need to adjust the amount of salt used accordingly. (The purpose of the salt is to soften the vegetables but also reduce some of the water content.)
- Put the raw relish in your refrigerator overnight.

Day Two
- Strain and rinse off your relish.
- Put back into the pot and add the following. (This is for a triple batch, so please adjust these ingredients according to the Base Batch of recipe that you’re running.)
- 2 C Sugar (Mrs. Volfie mentions that she prefers brown sugar. I just used cane so can’t comment on the difference in flavors.)
- 2 C Organic Apple Cider Vinegar
- 2 tsp. Salt
- 1 tsp. Celery Seed
- Fresh Cracked Black Pepper
- Bring to a boil on your stovetop.
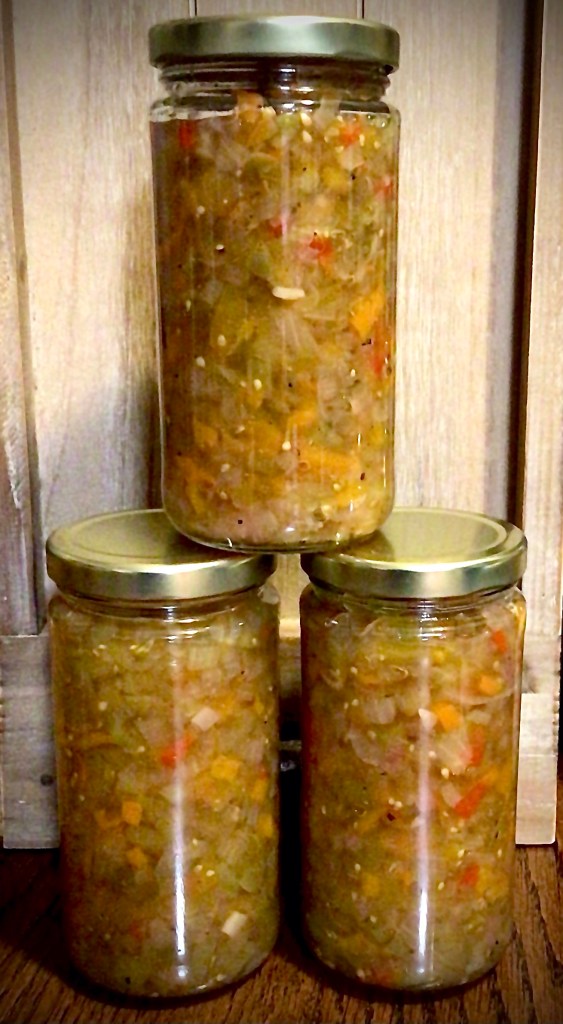
- Fill hot jars or bottles with the relish with 1″ headspace and de-bubble.
- Hot Water Bath the relish for 15-20 minutes.

For Christmas, my husband and I gifted this relish to friends and loved ones. And everyone came back raving about it. Not only that, but have talked with their loved ones who are also interested in this relish.
You won’t hear this in the video, but I would be remiss if I didn’t tell you that this relish makes the BEST tartar sauce just by mixing in your favorite mayonnaise. Everyone I’ve told that to in person just gave me the humored head nod that said, “so you say. I might give it a try.” Everyone did try and they came back with fireworks in their eyes.
Living in the Pacific Northwest, we are spoiled with fresh seafood. So of course when anyone talks about tartar sauce, people get a little snobby. But please, please, please, give this a try. Because I have yet to have someone come back to me and tell me that it did not hit the spot.
And if you are planning a special event, are a caterer, and seafood is on the menu I am telling you that this one condiment is the way to wow your customers and come back with glowing revues!
Other recipes that may interest you…
I have not yet tried these recipes, but these are on the top of my to try list.
Ketchup
The ingredients on this recipe from Self Sufficient Me sounds about right for what I look for in a ketchup. The written recipe is found here.
There is one glaring issue that I have with this recipe by watching the video is that it is too thin and liquid based for the type of ketchup my family likes. The culprit for this being so runny is that he runs his tomatoes through a food processor at the very beginning.
I was teaching a small class on how to make tomato sauce and we found out the hard way that when you process tomatoes like this you just can’t ever get that sauce to thicken up! The reason for this is because there is a chemical in the skin of tomatoes that when you release (by blitzing the tomatoes) it counteracts the pectin that is naturally in the tomatoes. You end up with tomato juice.
So to prevent the thinning of your tomato product, you really do not want to cut the tomato more than you have to. Small tomatoes cut in half. Large tomatoes cut into quarters. The pectin inside the tomatoes will thicken your sauce and minimize your time in front of a hot stove.
Tomato Paste
While I do have a few Italian Nona’s that I love watching on YouTube for inspiration, I want to try this Turkish recipe for making a tomato paste. With Turkish Food Travel, you can watch her video here or written recipe here.
A quick walking away point from this is that you notice that the pectin inside the tomatoes are at work in making this a thick sauce to start with. Then you keep the pan on the heat much longer than you would for a chunky tomato/pasta sauce. So if you’re making your own pasta sauce already, to make a paste you keep cooking the sauce down until you cook the vast majority of the liquid out.
I like how this recipe uses salt to reduce the tomato liquid even before you start cooking. This has inspired me to prep the tomatoes the night before I want to cook the paste, so the salt can maximize its extraction time.
At the end of the video you will hear about the method of making tomato paste by cooking it in the sun. Even though there was not enough description here, it sounds very similar to what I’ve heard is done in Italy. There are wooden tables that are used to make the paste. From what I understand, the sauce is first made and then spread across the wooden table. The sun dehydrates the tomatoes for you to make the paste. The only thing you do during this process is to use a scraper or a bench knife and mix the sauce/paste so that everything dehydrates/dries in the sun at an even rate.
If you are Italian, Turkish, or any nationality that makes a tomato paste using the sun, please comment below on the process that you use. Because I want to know how you do it. Making tomato paste by sun is on my cooking bucket list (I want to try this at least one time during my life).
Too Busy? Here’s some quick condiments that can fit in your busy life.
I just came across Becoming A Farm Girl and I’m excited to see what she has in store to share with the world. Here is her video on 7 Quick Condements. I love listening to Cassandra. Her approach for making mayonnaise is the easiest method that I’ve seen to date. And she’s made me super excited to make this the next time I run out of mayo. We’ve been meaning to make our own because of a couple of ingredients that have made their way onto the ingredient labels of commercial mayo.
To get her print out recipes you will need to sign up to Cassandra’s email list. The link to that is in the details of the video linked above. I did sign up to get this recipe book and it is beyond what I’ve received from others. So, if you’re picky about who you sign up for, I absolutely did not regret signing up for this one.
Looking for a tool to make your food prep easier?
This is an affiliate link to mentioned product. We may receive a commission on this product, purchased through this link, but at no extra cost to you. This item is from Amazon but may be purchased at local markets.


Leave a comment